Just received my E2DL..thinking of modding it

ACRbling

Newly Enlightened
Joined
May 2, 2010
Messages
122
Location
Southern California
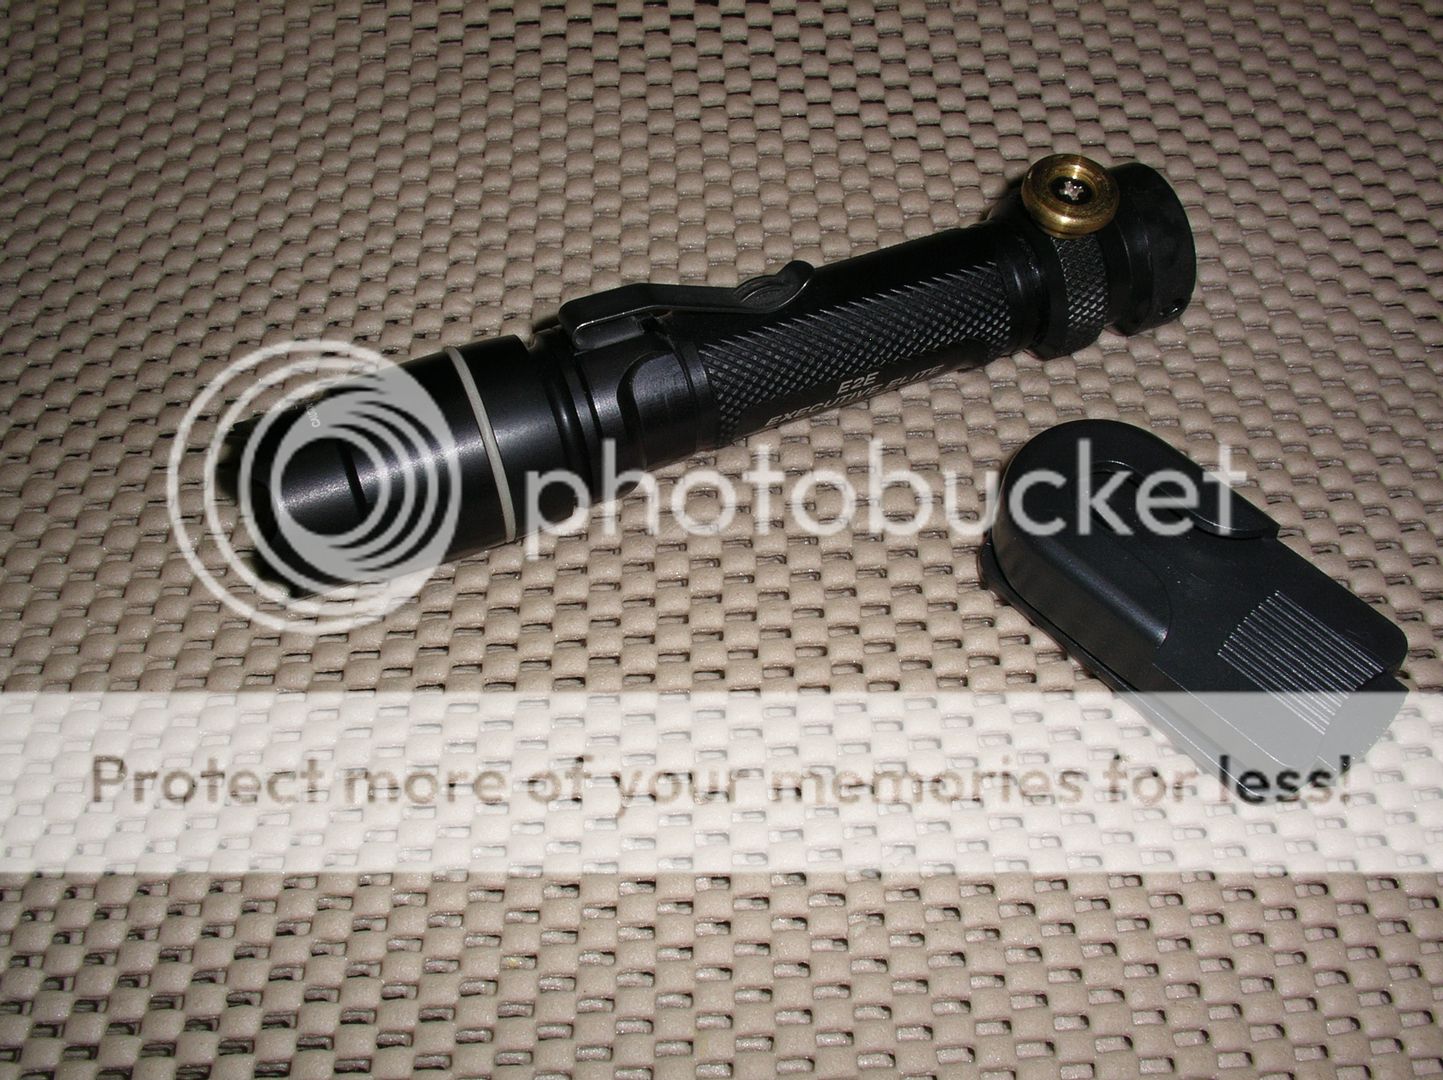
I just received my brand new E2DL and I'm already itching to mod it. The light is decently bright, but not as bright as I hoped. So is it currently using a XP-E Q5?

I measured the tail cap amperage and it's sitting at ~.796 on max, running primaries.

I have a few options..

1. Leave the light as is and enjoy it.

2. Throw in a XP-E R2 with the factory driver at .796 amps.

3. Throw in a XP-E R2. Swap out driver and run at 1.2-1.4 amps.

4. Throw in a XP-G R5 / (S2 if available). Swap out driver at run at 1.5 amps.

5. Leave the light as is for now and throw in a XP-E R3/R4/R5/S2 if its available later. Swap out the driver and run at 1.2-1.5 amps.

What would you do?
 

Simon520

Newly Enlightened
Joined
Nov 13, 2009
Messages
104
Location
Southern California
ACRBling,

The E2DL uses 2 batteries. So, your 0.8 amp tailcap draw is at about 5.4 volts total at load, accounting for the battery's voltage sag at 400 mA draw each.

I don't know what LED the E2DL is using. Let's assume it's an XR-E.

I suspect the Surefire driver will be around 90% efficient at full power.
I suspect the XRE's Vf is around 3.7 volts at high current.
I suspect that at 0.8 amps draw, each new battery would be at 2.7 volts due to sag.

Therefore, 5.4 volts x 0.8 tailcap amps = 4.3 watts battery draw.
4.3 x 90% driver efficiency = 3.8 watts approx. available to the LED.
3.8 watts/3.7 volts= close enough to 1.0 amps (1000 mA). That's the max recommended current for the XRE based on CREE's posted datasheet.

I suspect the Surefire E2DL is running close to 1000mA current at the LED. It's a buck/boost circuit. I haven't seen the insides of an E2DL yet and it would be great to get a look at it. If you do crack yours open, please post pics!

If you ran an XPG, I suspect with the stock driver you'd get your 1000mA current but with the lower Vf of the XPG, your tailcap amp draw would decrease resulting in slightly longer runtimes and a moderately brighter light- the XPG is brighter than the XRE at all drive currents. You may have issues with the TIR not focusing with the different die size of the XP-G.

Personally, I'd leave the light alone. It's a pretty darn good light as it is, and I don't think putting an XPG in there will blow you away as much as you think it will.
 

Cuso

Flashlight Enthusiast
Joined
May 18, 2006
Messages
1,733
Location
Florida
Personally, I'd leave the light alone. It's a pretty darn good light as it is, and I don't think putting an XPG in there will blow you away as much as you think it will.
What he said. The E2DL is the brightest single die flashlight I own ( is yours the 200 lumen version?) and its 200 guaranteed , no B.S. lumens. The only thing I would swap is the optics since there's practically no sidespill, other than that its a keeper as-is.
 
Last edited:

mfrey

Enlightened
Joined
Sep 7, 2007
Messages
256
I recently sold one that I built. Below are the notes in case you can glean anything of interest from them.

New E2DL Mod

XP-G R4 neutral
Custom lathed brass pill
SOB 1227 converter (1.2 amps)
Mil-spec 24 AWG, 19 strand, silver-coated, teflon-insulated connectors
Thermal potted
Stock TIR optic
Focusable

Build notes:

Stock head opened following proper protocol. All components cleaned of adhesive residue. XR-E PCB removed. Heatsink recess cleaned and bead blasted to add reflectivity when light is used in "mule" mode with optic removed. XP-G R4 on 10mm MCPCB from Cutter milled to 1mm thickness for improved focal distance. Thermal grease applied to PCB pad. PCB with emitter centered and secured to heatsink via factory screws. Custom brass heatsink and + post lathed. SOB 1227 converter board reflow soldered to heatsink and post. Thermal potted. Top coat epoxy tinted and applied over thermal epoxy for aesthetics. LED + and - wires connected with Kester 245 solder to board. Tested. Glow ring fitted around heatsink shoulder. Threads lubricated lightly with Nyogel 760G. Bezel/optic threaded to rest of head to proper focus (adjustable).


The resulting beam is bright and well formed with a fairly broad diffuse-edged hotspot with a moderately bright spill. As a point of comparison, it falls between the Malkoff M61 and the original E2DL profile. I find it a better beam than the original for most purposes other than spotting at distance, although it still throws fairly well.
 

ACRbling

Newly Enlightened
Joined
May 2, 2010
Messages
122
Location
Southern California
Thanks for the responses fellas!

Mfrey, you did an excellent job on your e2dl. Sad to see that you sold it. What are the correct procedures to open up the head without damaging it?

I think that as soon as the s2 bin xpg's are available, it's going in.

Thanks again
 

KDOG3

Flashlight Enthusiast
Joined
Aug 4, 2004
Messages
4,240
Location
Sea Isle City, NJ
AWESOME. Do you think there is a way to adjust the focus of the beam to get more throw? That is *CLEAN* mod. I don't know how you guys do this stuff like that. You're on my short list of people to contact if I need a mod done...
 
Last edited:

mfrey

Enlightened
Joined
Sep 7, 2007
Messages
256
What are the correct procedures to open up the head without damaging it?

Thanks for the kind words, guys. I appreciate it.

As far as opening the head, you'll need the right tools and heat.

I adhere to the boil-in-a-bag technique. Water boils at the perfect temperature to soften the ECCOBOND adhesive that Surefire uses to seal the head. Given that water boils at a repeatable and consistent temperature (assuming similar atmospheric conditions), you don't have to worry about overheating and risking damage to the internals. Hold the bag, with the head assembly inside, suspended in the bath for two minutes. That's all it takes. Disassemble while hot with the below tools.

You'll need four phenolic Flexi-Clamps (15/16", 1", 2 X 1 1/8"). These sizes will allow you to grasp any of the various diameters that you will encounter when disassembling the head. Leave your Vice-Grips, strap wrenches, and hose clamps in the garage.

These collet wrenches are the only way to effectively disassemble the head without the risk of damage. With these tools and heat, you can take all of the drama out of opening a Surefire head.

Link to tools.

KDPG3,

With the head disassembled, you can screw or unscrew the bezel onto the heatsink to effectively change the focal distance between the TIR optic and the emitter. This changes the beam profile to some extent. You can tweak the focus to get a more defined hotspot for greater throw (perhaps), but in doing so the beam develops a halo around the corona which is pretty unsightly. From my perspective, the optic definitely has a specific ideal focus. Even though the XP-G has a broader dispersion than the XR-E, it still throws pretty well by my standards especially given the E-series' small form factor.
 
Last edited:

donn_

Flashaholic
Joined
Oct 10, 2007
Messages
8,067
Location
Great South Bay, LINY
Mfrey, you did an excellent job on your e2dl. Sad to see that you sold it.

I'm glad he sold it!

IMGP3294.jpg


I put it on an E2e tube with an Aleph 2-stage tailcap. It's a gorgeous mod and makes a terrifically useful light. :twothumbs
 

donn_

Flashaholic
Joined
Oct 10, 2007
Messages
8,067
Location
Great South Bay, LINY
Matt..those flexiclamps look interesting, but pretty pricey for pieces of plastic sheet.

What are the approx thickness and length of them? They look like they'd be pretty easy to make from Garolite sheet.
 

mfrey

Enlightened
Joined
Sep 7, 2007
Messages
256
Wow, good stuff mfrey. Would you be interested in making some cash once the s2's are available?

Thanks for your interest.

The only way to perform this mod as shown cost-effectively is to have the pills and V+ posts turned in a small CNC run. If I thought that there was a demand for this, I might consider it, especially if Surefire lagged in their adoption of the XP-G. In that event, I would open up an interest list before I commissioned the machine work.

This is a much simpler mod if you maintain the stock converter and just swap the emitter. I could certainly entertain providing that service to those who wanted to maintain the stock two-level functionality but upgrade the emitter. I think that the levels of the stock converter are acceptable and strike a good balance between runtime and output. However, if you want to enter into pocket rocket territory using rechargeable cells you need a different converter in the 1.2-1.5A range along with the custom pill to house the new electronics since the SOB converters are only .55" diameter; there is no way to mate them to the stock Surefire battery contact cleanly and securely.

What are the approx thickness and length of them? They look like they'd be pretty easy to make from Garolite sheet.

Hi, Donn. Nice of you to chime in here. Thanks for your positive comments.

Those Flexi-Clamps measure 0.196" thick. I think that you could make them without too much difficulty with a drill press and a scroll saw.
 

donn_

Flashaholic
Joined
Oct 10, 2007
Messages
8,067
Location
Great South Bay, LINY
Thanks, Matt. How about length overall?

A 12" square piece of 1/4" Garolite sheet is $17.50, and I think I can make all 4 (and maybe more) of the tools you suggest out of one sheet.
 

mfrey

Enlightened
Joined
Sep 7, 2007
Messages
256
I made a pattern that you can follow to cut the three sizes. They share the same external dimensions: 1 11/16" X 4 1/2"

Hope this works: pattern
 
Last edited:

mudman cj

Flashlight Enthusiast
Joined
Dec 14, 2005
Messages
1,827
Location
Where corn and pigs are grown unimpeded by trees
:eek:Those flexiclamps are not made of plastic, they are beryllium-copper. That is some really strong stuff! I wish you luck, but there is a good chance they won't survive use. Surefire heads are a pain to open. :eek::caution::hairpull:

Edit: Oh, nevermind...I didn't originally scroll all the way to page 6 in order to find the ones made from phenolic fiber composite laminate. :eek:
 
Last edited:

mfrey

Enlightened
Joined
Sep 7, 2007
Messages
256
They have a beryllium-copper version which I'm sure is more robust. It certainly is an option. My concern was finish wear and marring, perhaps unfounded, as I know that the copper alloy is softer than the HA finish on the components. I've found that non-marring copper and brass tools leave a little of themselves behind on HA surfaces. I've certainly found that to be the case on the AR-15 variants that I've built. You can remove the smudges with bore cleaning solvent designed to removing copper fouling but I'd rather avoid that procedure altogether.

That said, the phenolic fiber composite laminate is pretty tough stuff. I've found the tools made from it to be quite adequate to open heads after they've been heated. Without heat you're generally SOL short of wielding an air wrench or the like. As always, YMMV.
 
Last edited:
Top