---------------------------------------------------------------------------------------------------------------------
Author's Statement for Transparency and Disclosure
The test sample/s featured in this article have been provided for technical testing and review by the manufacturer. Test samples are retained by the reviewer following publication of the completed review for the purposes of long term testing and product comparisons.
All output figures and test results published in this review are the sole work of the reviewer, and are carried out independently and without bias. Test results are reported as found, with no embellishments or alteration. Though best endeavours are made to maintain the accuracy of test equipment, the accuracy of these results is not guaranteed and is subject to the test equipment functioning correctly.
----------------------------------------------------------------------------------------------------------------------
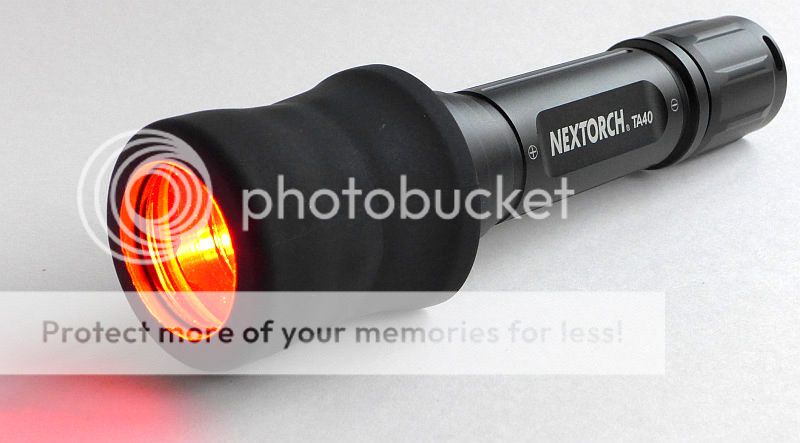
Released as the successor to the Nextorch TA4, the new TA40 adds a XM-L2 LED and significantly higher output. The TA40 includes USB charging and NEXTORCH's Duo Switch as well as a distinctive styling and smooth finish. This review also includes various hunting/gun mount related accessories.
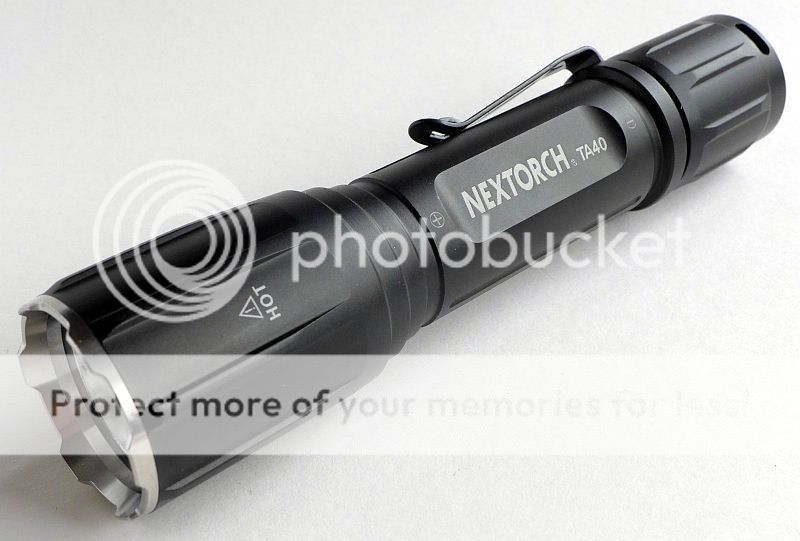
Taking a more detailed look:
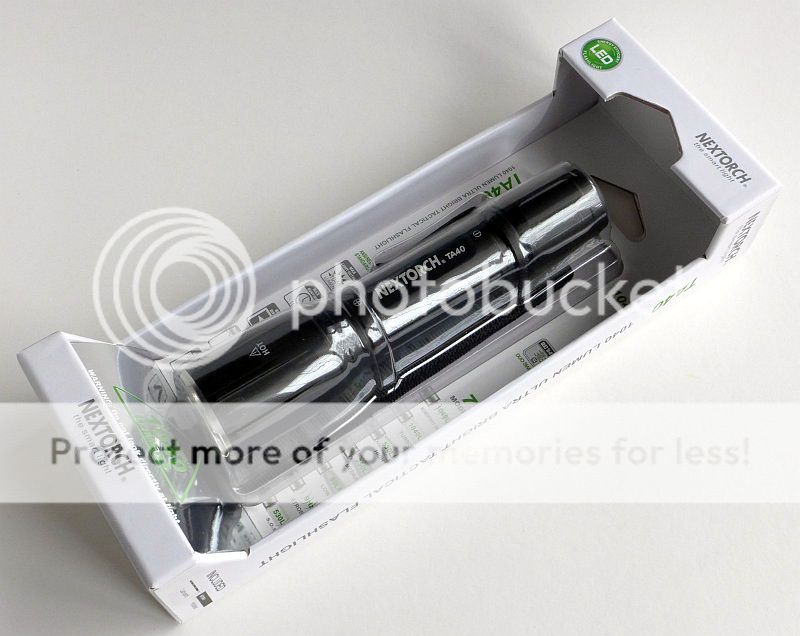
The retail packaging invites you to try out the TA40. Considering its output this might not be the best idea.
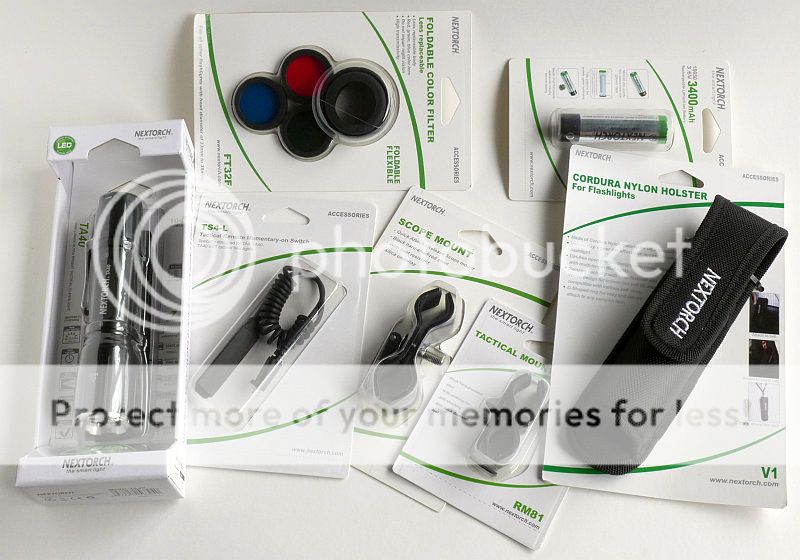
Nextorch supplied a few accessories to try out as well. These include the FT32F coloured filter kit, 3400mAh 18650, the V1 upgrade holster (the TA40 does come with a basic one), the TS-4 remote switch, RM-81 gun mount and RM85 gun mount.
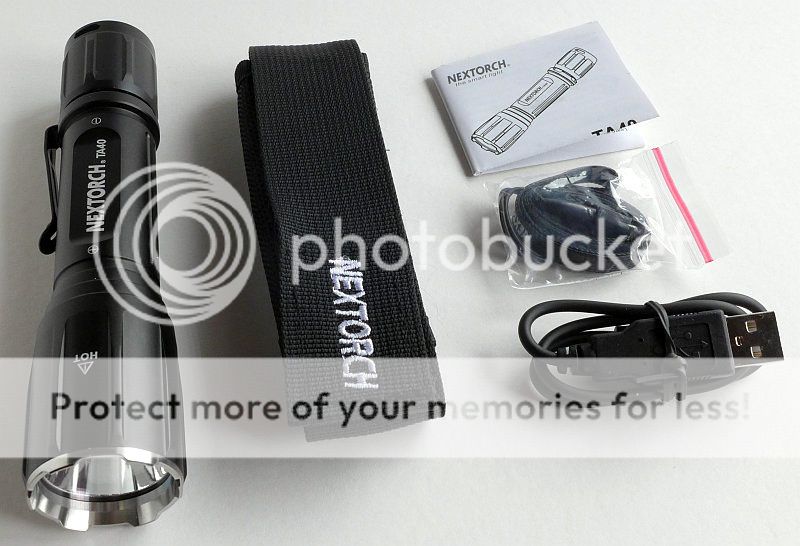
Opening the TA40's package, it is supplied with two spare O-rings, the USB charging cable, bascis holster, lanyard and instructions.
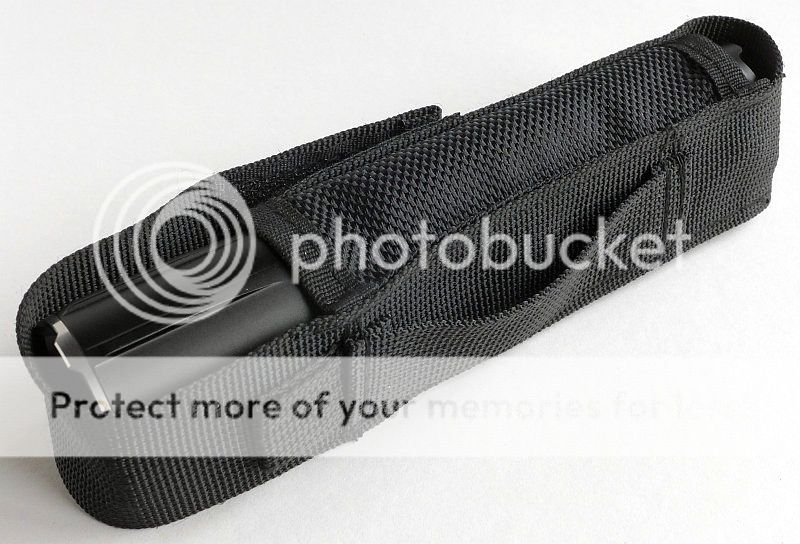
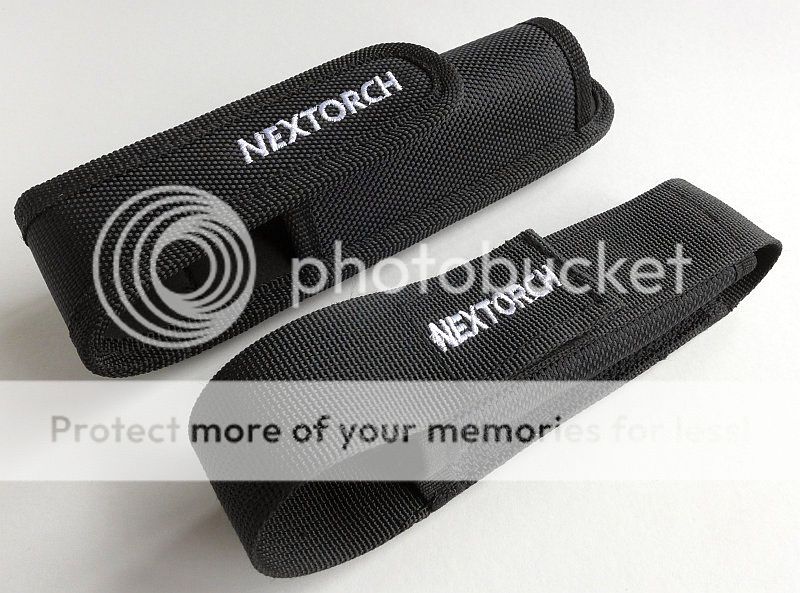
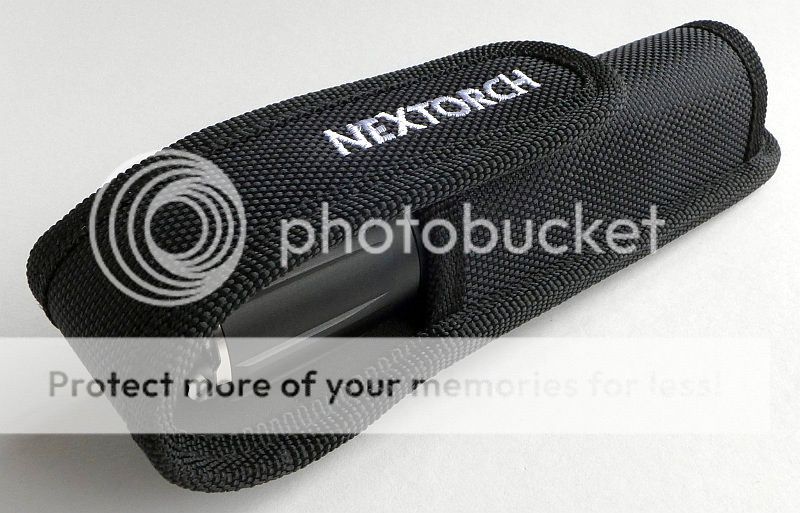
The basic holster is a good snug fit.
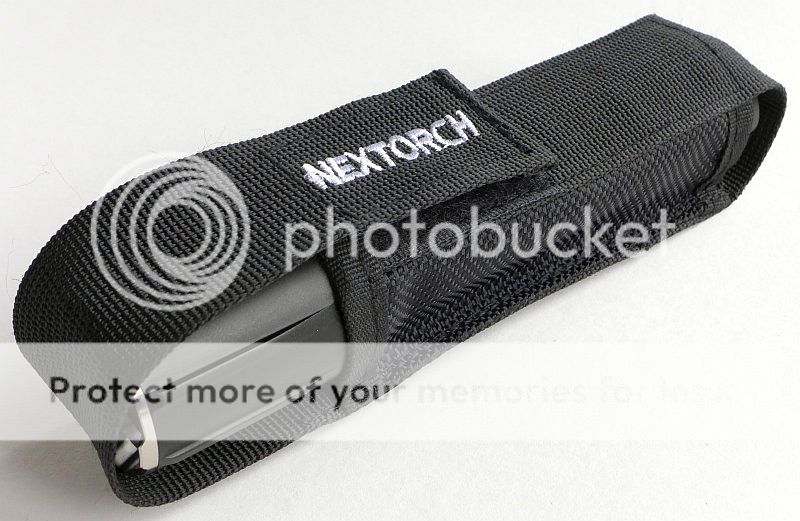
On the back of the holster is a fixed belt loop and a smaller hanging loop.
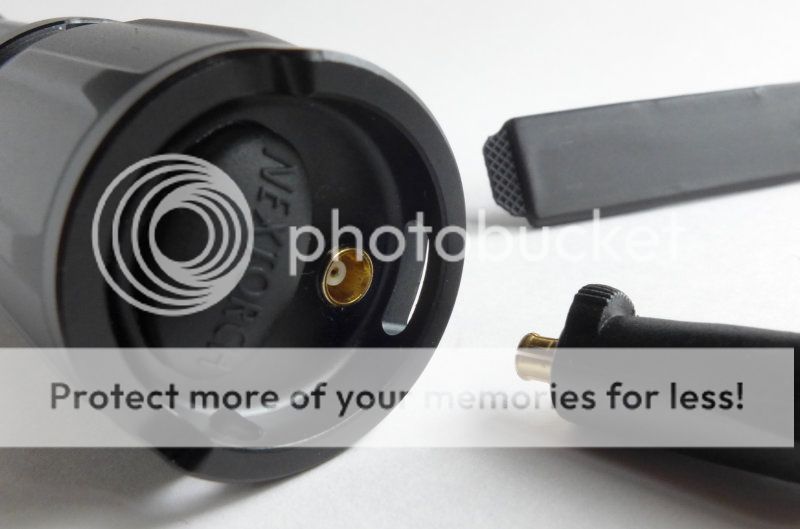
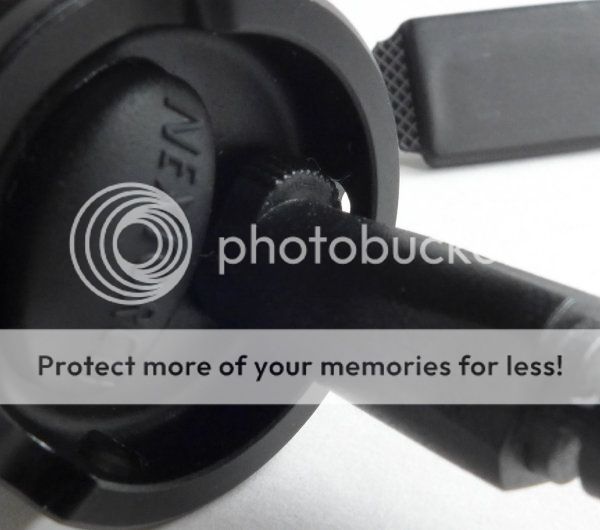
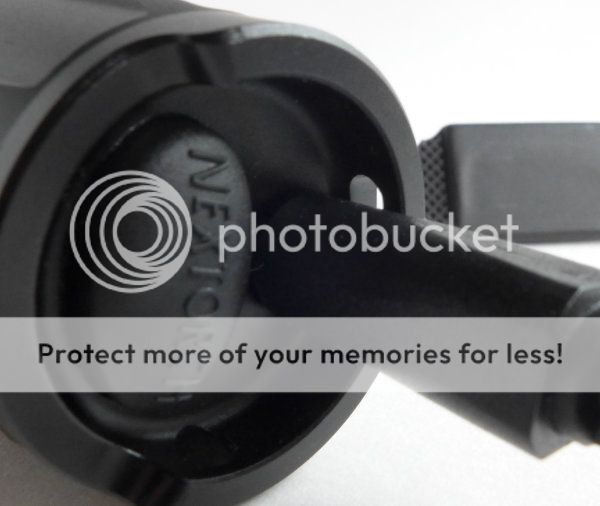
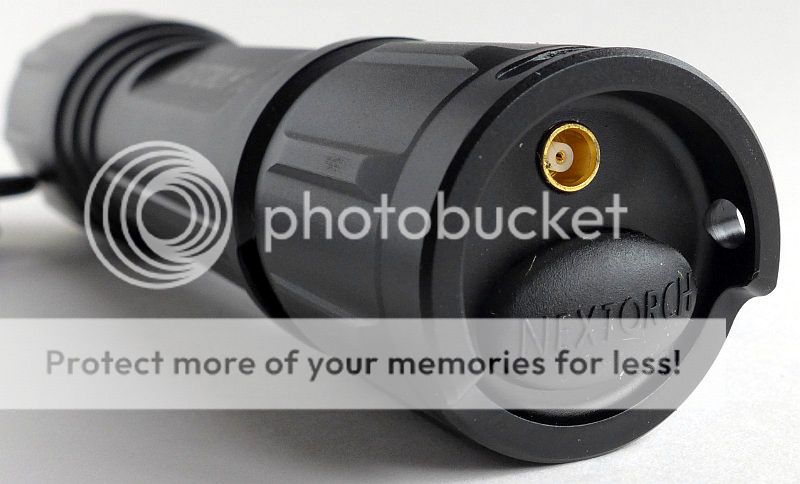
NEXTORCH have given the TA40 a special Duo Switch (explained in the UI section), and next to this is the waterproof charging port (which appears to use an MCX connector). There is a partial cut away to give easier access to the switch.
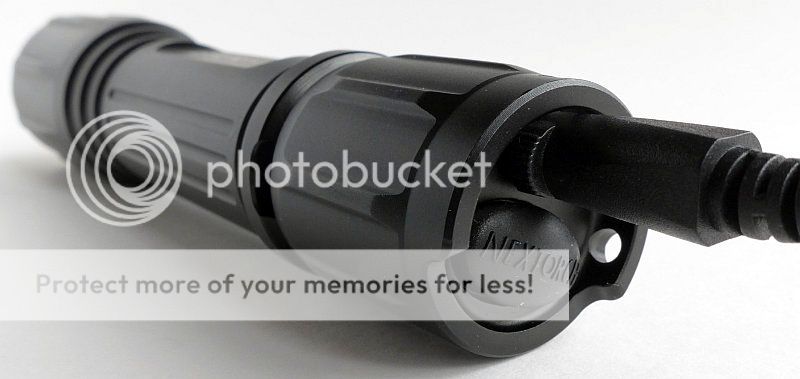
With the charger cable fitted.
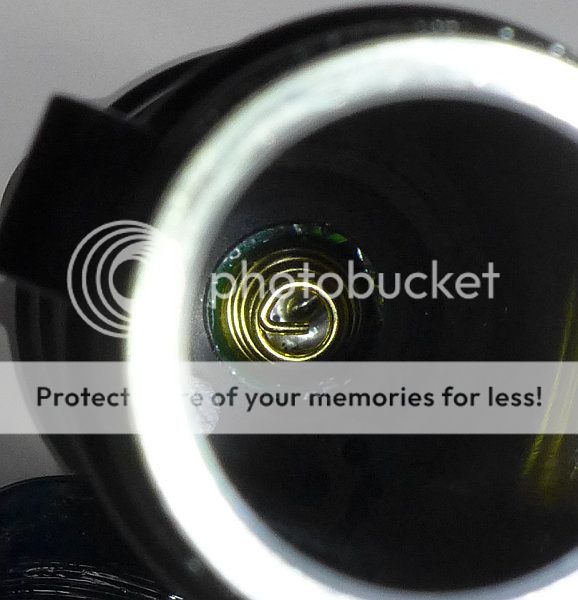
Looking down the battery tube, the positive contact is a long spring.
The threads are cleanly cut standard threads and are anodised.

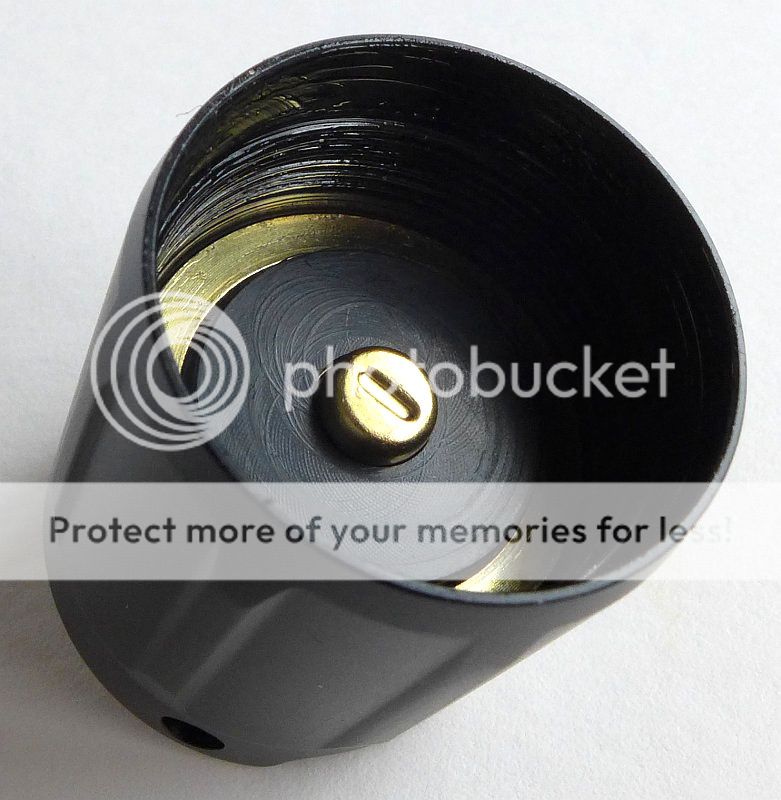
In the tailcap, there is a short sprung negative post terminal, and the circular contact for the battery tube.
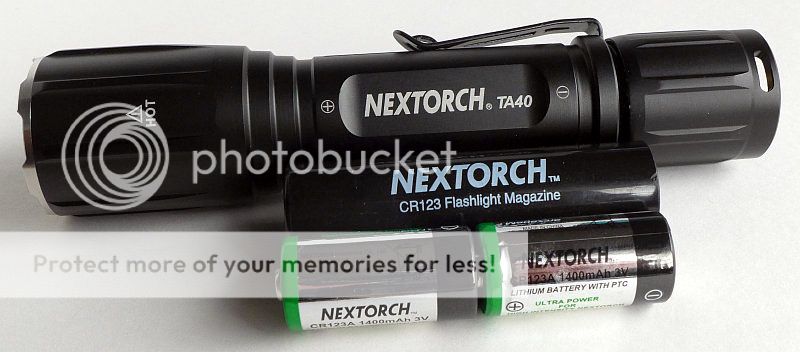
For scale, the TA40 is shown next to 2 x CR123 cells and an 18650 sized holder to stop the CR123s rattling.
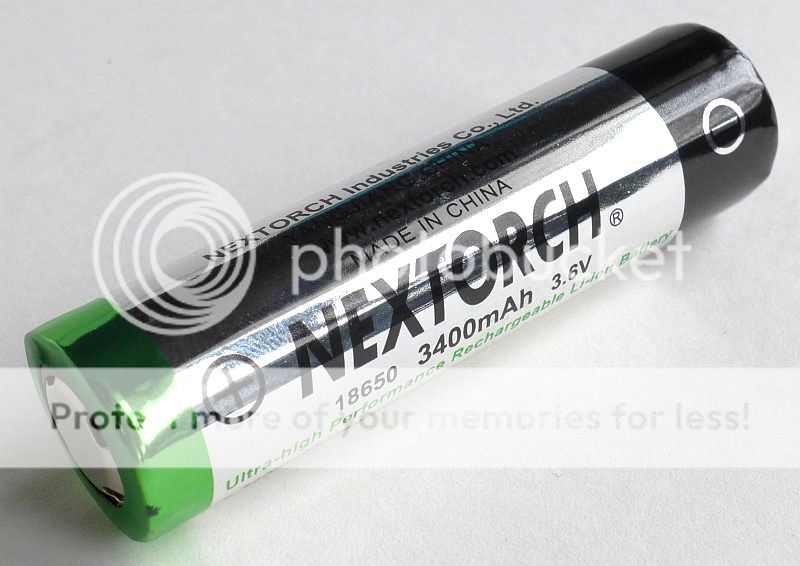
But to use the recharging feature, the TA40 needs an 18650, and there is a 3400mAh NEXTORCH cell.
When charging the indicator light is red, once fully charged this goes green.

The V1 holster is a more substantial holster compared to the one that come with the TA40. It is constructed of a thicker more padded material, but is also bulkier because of this. The feel is of a 'better' holster, and some TA40 owners might like to go for this more protective holster.
The TA40 in the V1 holster.
Being of higher specification, the V1 holster also has a D-loop, and Velcro and press-stud closed belt loop.

To add versatility to the TA40, you can use the FT32F filter set. In this image, you can see the trademark random cut across the package from what I now term the 'DHL Slasher'. Several review samples I have received from Hong Kong have been 'security inspected' which is fine, but not the way the items have been treated. The DHL Slasher has taken to opening packages by making deep cuts across the middle of the package with no regard for the contents.
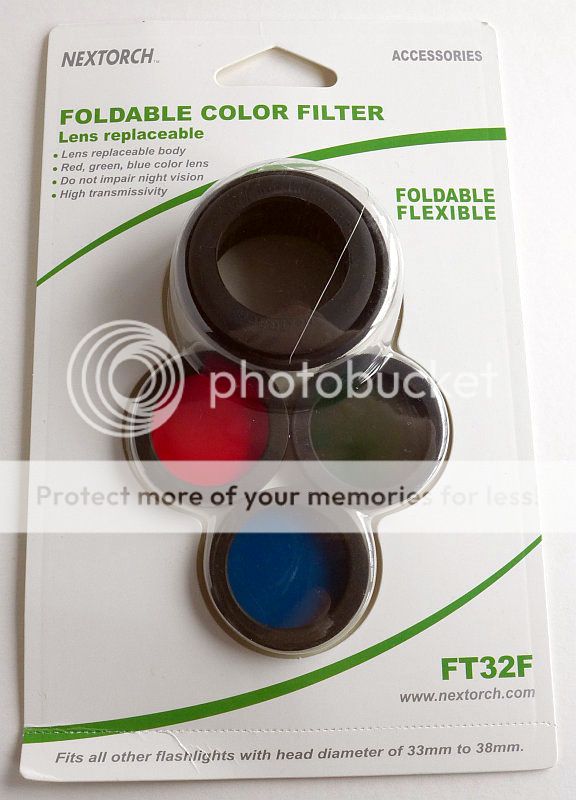
Inside are three high quality glass coloured filters.
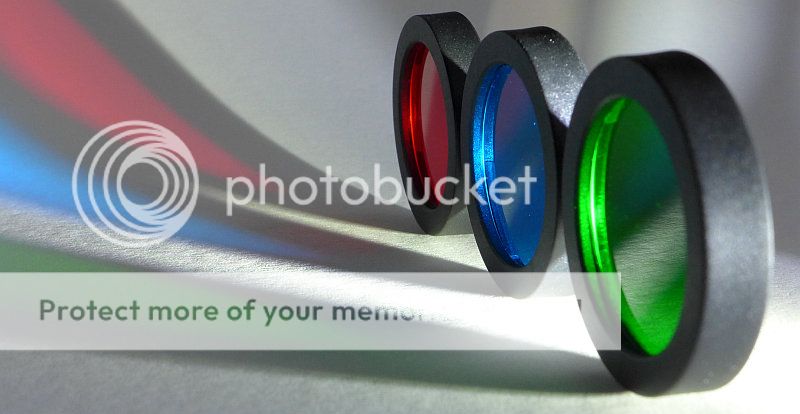
The chosen filter is fitted into a rubber mount that slips over the end of the TA40 (or any other similar sized light).
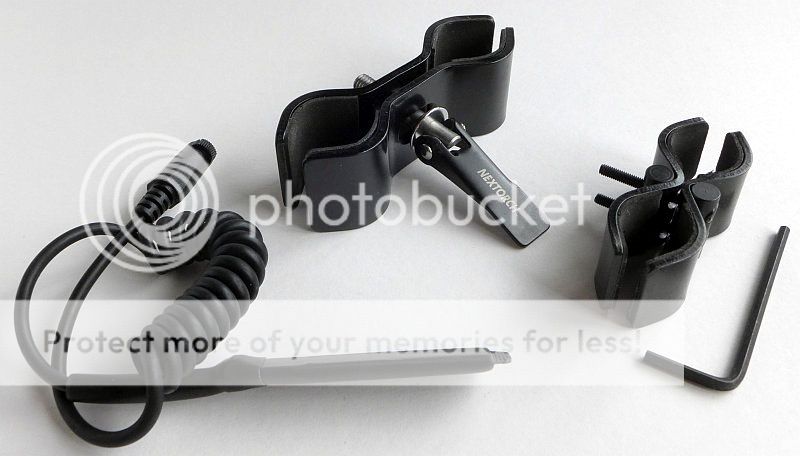
Onto the gun mounting accessories. Starting with the remote pressure switch which fits into the same MCX connector used for the charging cable. Then there are two different clamp mounts to fit the TA40 onto the scope of barrel of the gun.
In the middle is the RM85, which is more of a quick release mount as no other tools are required for fitting and removal. On the right is the lower profile RM81, which is very securely attached with two allen bolts and is semi-permanent (you need a tool to remove it).
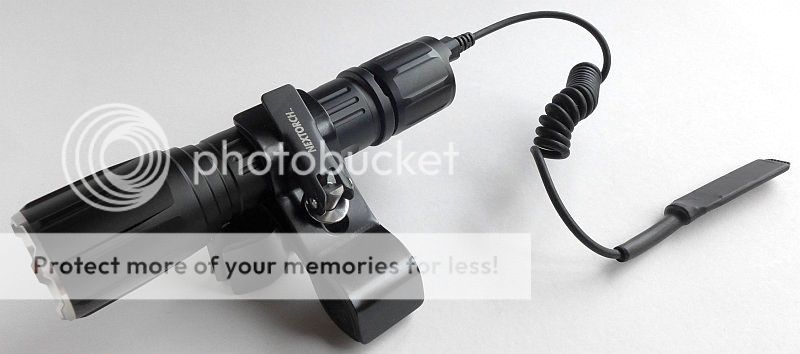
As I use a compact scope, there is not sufficient exposed scope tube to mount the TA40 with either of these mounts, so here it is shown with the RM85 fitted to the TA40 as if on a gun, with the remote pressure switch fitted as well.
The beam
Please be careful not to judge tint based on images you see on a computer screen. Unless properly calibrated, the screen itself will change the perceived tint.
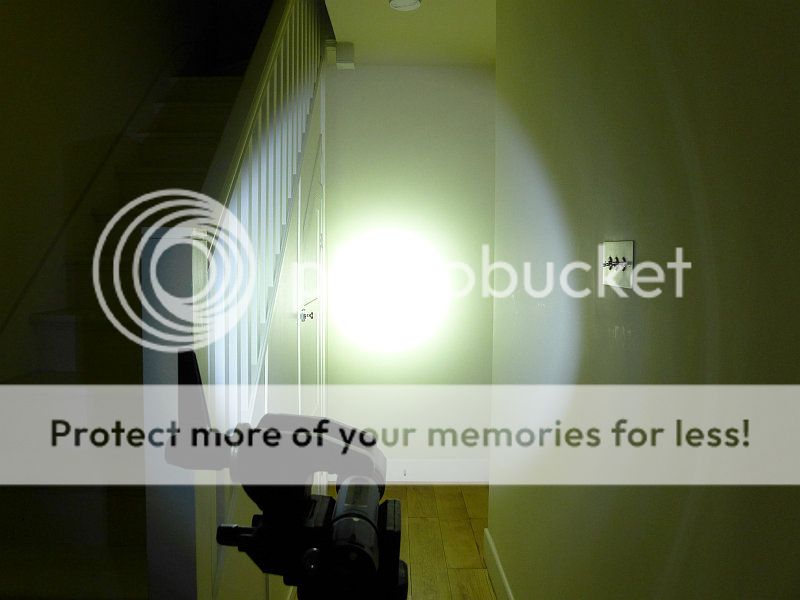
The indoor beamshot is intended to give an idea of the beam shape/quality rather than tint. All beamshots are taken using daylight white balance. The woodwork (stairs and skirting) are painted Farrow & Ball "Off-White", and the walls are a light sandy colour called 'String' again by Farrow & Ball. I don't actually have a 'white wall' in the house to use for this, and the wife won't have one!
The TA40's beam is clean, with a defined hotspot. The stainless steel bezel does cause some artefacts in the outer spill.
This set of images shows the white beam and then each coloured filter, all at the same exposure to show the effect of each filter on overall brightness.
The outdoor shot shows how the spill is bright and wide enough to be useful. The beam is really too wide for use on a rifle, and would be better suited to a shotgun.

Modes and User Interface:
One of the listed features of the TA40 is its DUO Switch. This switch is unusual in that it functions like both a forward and reverse clicky switch. This will become clearer as I explain more.
Momentary operation is possible from OFF by half pressing the switch. This will always use Turbo output.
Strobe is accessed from OFF by a rapid double tap (half press) of the switch. Once activated the switch can be fully pressed to latch on Strobe, or released to switch OFF.
For Constant ON, fully press the switch and release.
Up to this point the operation has been equivalent to a forward clicky switch, now things change –
To set a lower output level, first select Constant ON Turbo. Then tap the switch (half press and release) to cycle through Turbo -> High -> Medium -> Low -> Turbo etc.
To choose SOS, first set to Constant ON Turbo. Then half press the switch and hold for 3s. Release the switch and the TA40 will stay in SOS until switched OFF.
Both these operations are equivalent to a reverse clicky switch.
When the remote switch is fitted, the tail-cap switch still functions normally. The remote switch activates Turbo regardless of whether the TA40 is OFF on ON in any mode. Releasing the pressure switch returns the TA40 to its previous state (OFF or ON in a different mode).
Batteries and output:
You can use 2x CR123 or to take advantage of the built in charging function a protected 18650 can be used (flat top or button top).
Testing has been carried out using a NEXTORCH 18650 charged in the TA40.
To measure actual output, I built an integrating sphere. See here for more detail. The sensor registers visible light only (so Infra-Red and Ultra-Violet will not be measured).
Please note, all quoted lumen figures are from a DIY integrating sphere, and according to ANSI standards. Although every effort is made to give as accurate a result as possible, they should be taken as an estimate only. The results can be used to compare outputs in this review and others I have published.
| ___________________________________________ | ________________________________ | ________________________________ |
| Nextorch TA40 with Nextorch 3400mAh 18650 | I.S. measured ANSI output Lumens | PWM frequency or Strobe frequency (Hz) |
| ___________________________________________ | ________________________________ | ________________________________ |
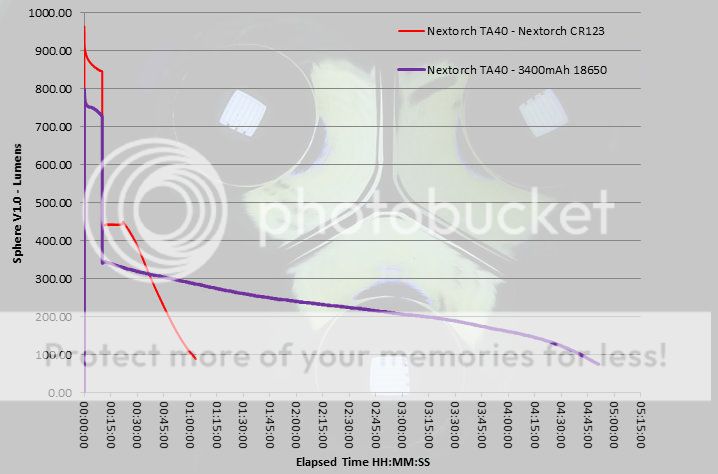
| Turbo | 746 | 0 |
| High | 358 | 1420 |
| Medium | 195 | 1420 |
| Low | 36 | 1420 |
| Strobe | 240 | 12.2 |
Peak Beam intensity measured 16100lx @1m giving a beam range of 254m.
There is parasitic drain at 71uA giving a time to drain the fully charged 3400mAh cell of 5.46 Years.
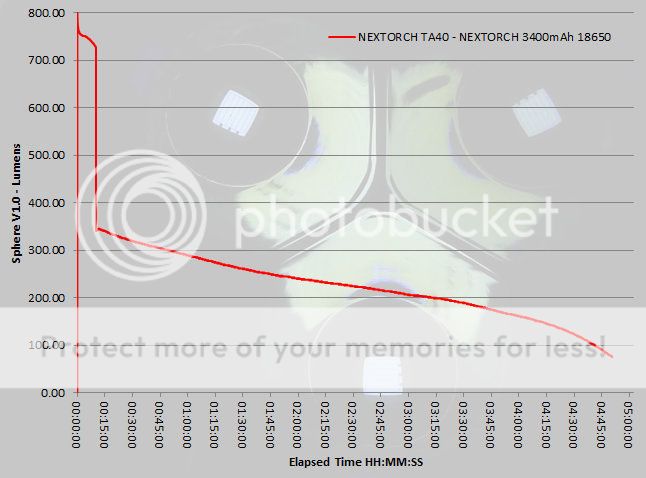
After 10 minutes of Turbo, the TA40 drops to the High output for the rest of the runtime. Output is not regulated and gradually fades.
Troubleshooting
This is a new section I am adding to mention any minor niggles I came across during testing, in case the information helps anyone else.
Nothing has come up during testing.
As per the description of this section, this information is provided in case anyone else finds a similar 'issue' that might be fixed in the same way.
The TA40 in use
A defining feature of the TA40 is the choice of its DUO Switch and mode set. You will always get Turbo at first. This will suit some and not others.
With most other lights that change mode with rapid presses and use a forward clicky, you have to select the mode on the initial switching on. After this, you have to click the light off to change modes again. The DUO Switch gives you the momentary use (also read 'silent'), just like a forward clicky, but the mode change of a reverse clicky. This is an idea I like, but what I would like to see would be a way to turn the modes round so that the TA40 comes on in Low and then lets you switch up to Turbo. Perhaps a TA40T and TA40E (Tactical and EDC) version, or a switching method built in to one model.
With its ability to tail stand, the TA40's DUO Switch is not really accessible enough, and you might struggle if wearing gloves.
A complete lack of knurling on the TA40 gives it a distinctive look and feel. All machining is precise and clean but with no sharp edges. The bezel is similarly well machined and though you feel the corners they are not aggressively sharp. Altogether a quality feel.
Unfortunately I find a bit of a contradiction in that the operation of the TA40 fits 'tactical/gun-light' use, but the DUO Switch is not accessible enough for (and possible not durable enough) for tactical use, there is a lack of grip due to the smooth finish, no grip ring, and the remote switch is only a push fit, so could come loose at a critical moment, all of which make it unsuitable for tactical or critical use scenarios (in my opinion).
Though the TA40 does use PWM for the lower modes, this has not proven to be visible. It uses a reasonably high frequency of 1420Hz, which even this 'PWM sensitive' reviewer has not noticed. However, there is an audible whine on all modes except Turbo.
So where does the TA40 fit? If you want solid build, always on Turbo, built-in recharging and the ability to use gun mounted thanks to the remote switch, then this certainly is a strong contender. Even if all you want is something a bit different to most 18650 lights, the TA40 gives you this with a different look and feel.
Review Summary
| _______________________________________________ | _______________________________________________ |
| Things I like | What doesn't work so well for me |
| _______________________________________________ | _______________________________________________ |
| 746 ANSI lumens | No direct access to lower modes |
| PWM not visible at 1420Hz | PWM whine can be heard |
| Built-in USB recharging for 18650 | Recessed switch |
| Can tailstand | Lack of grip (can be slippery to hold) |
| Optional Remote pressure switch | |
| DUO Switch | |
| Good quality machining and finish |
If you enjoyed my reviews, please remember to 'Like' me on Facebook and follow me on Twitter @Subwoofer_CPF
to get all the latest updates and news.
You can also find exclusive insights on Instagram and Pinterest


to get all the latest updates and news.
You can also find exclusive insights on Instagram and Pinterest