Lighting your flashlight photos... with a flashlight!

run4jc

Flashlight Enthusiast
Joined
Apr 27, 2009
Messages
3,794
Location
Sweet Home Alabama
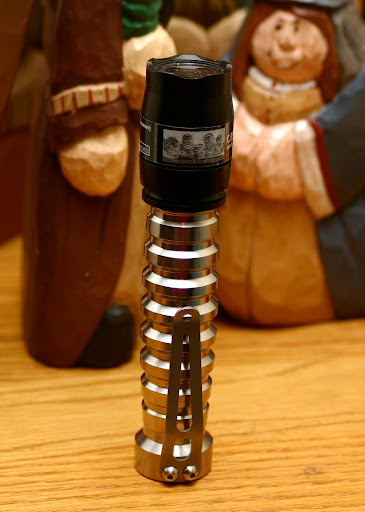
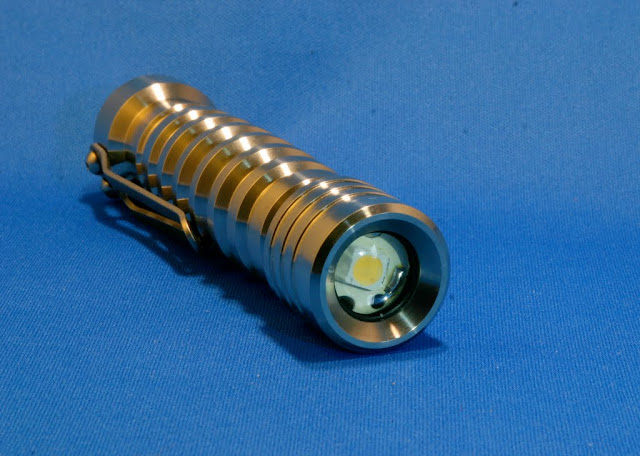
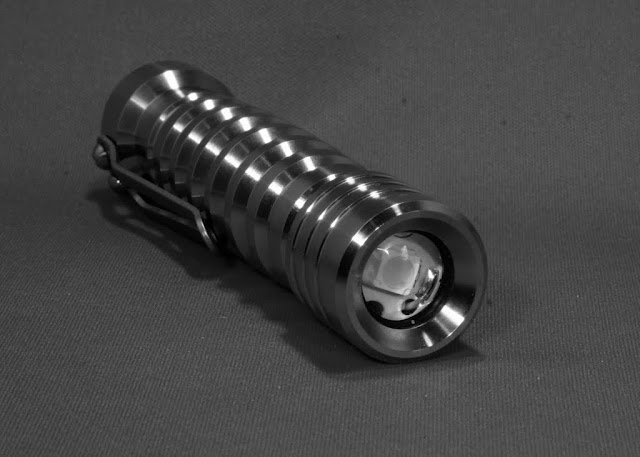
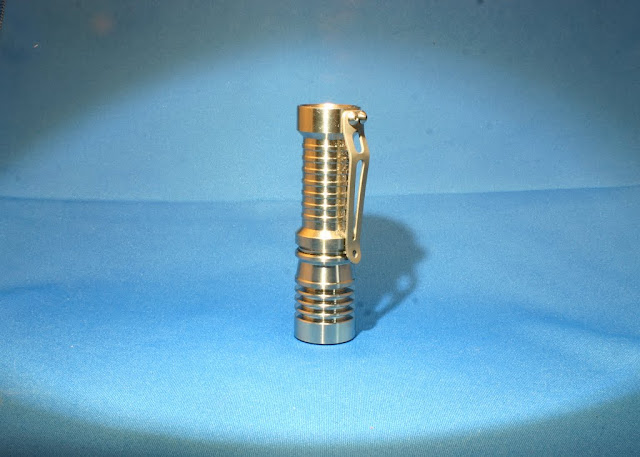
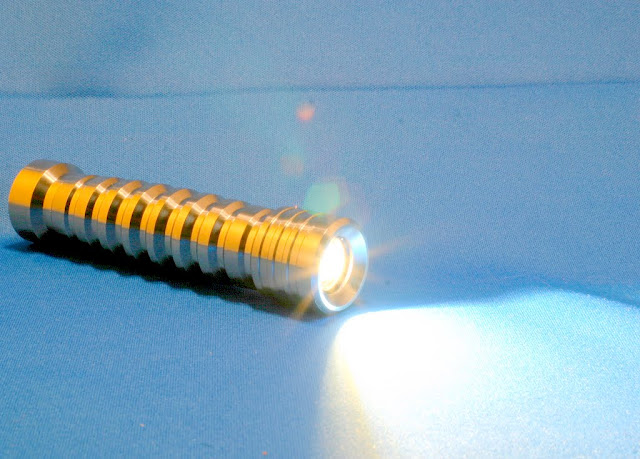
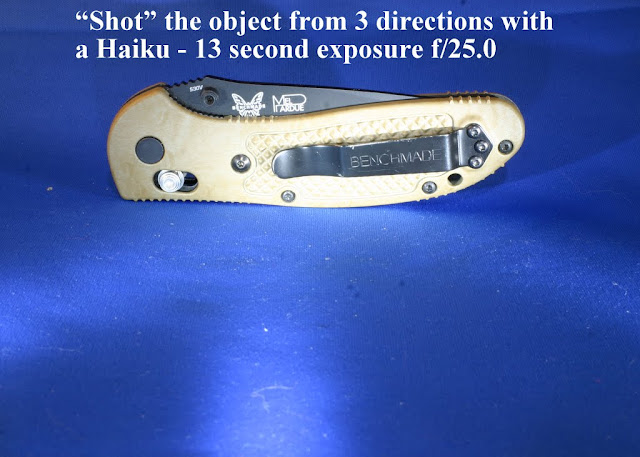
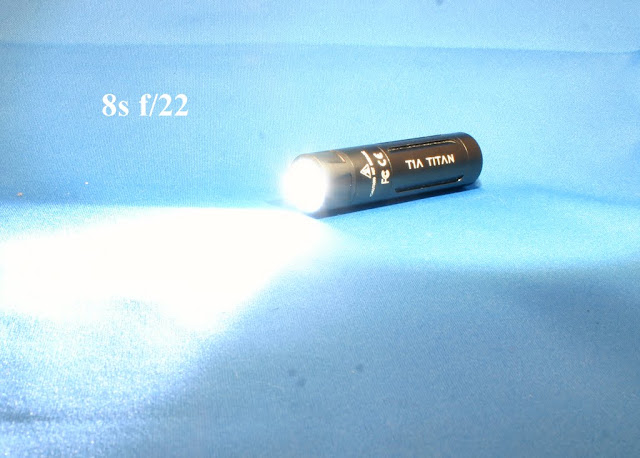
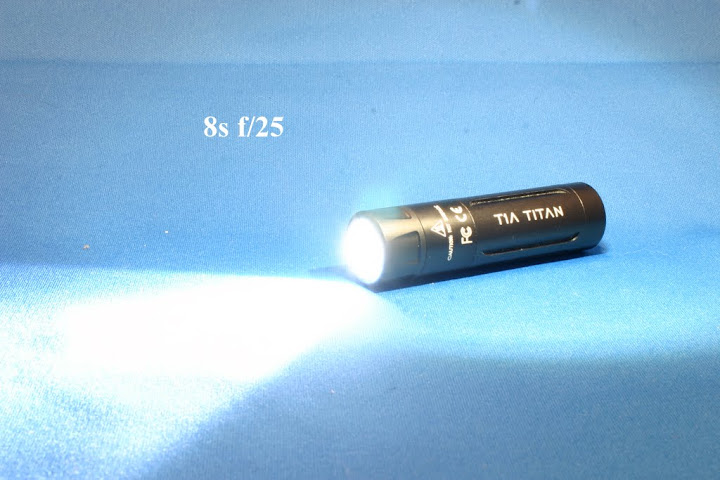
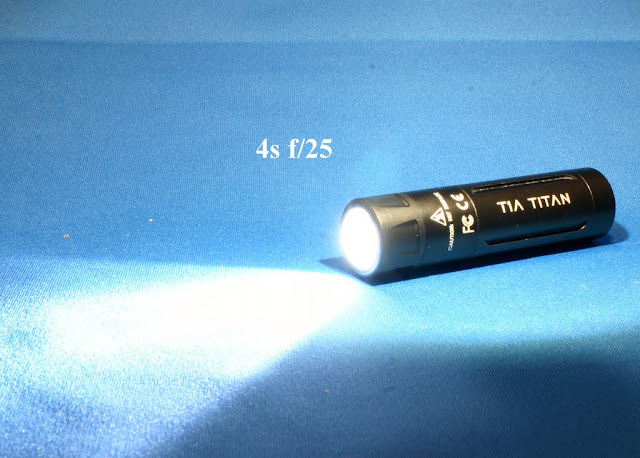
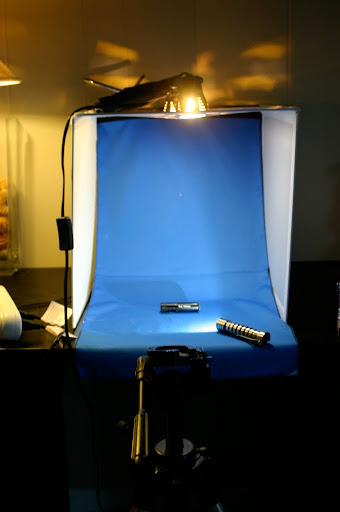
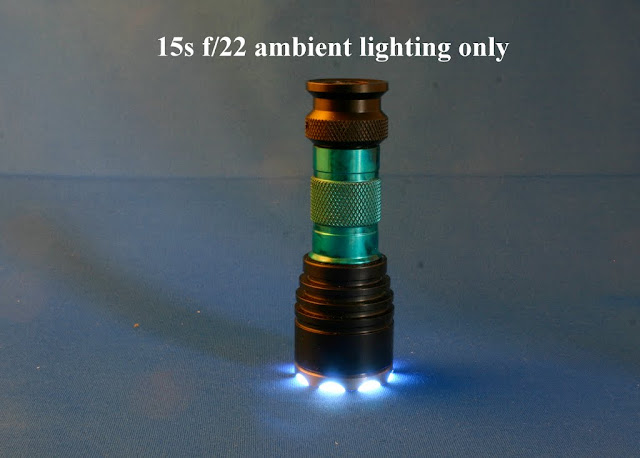
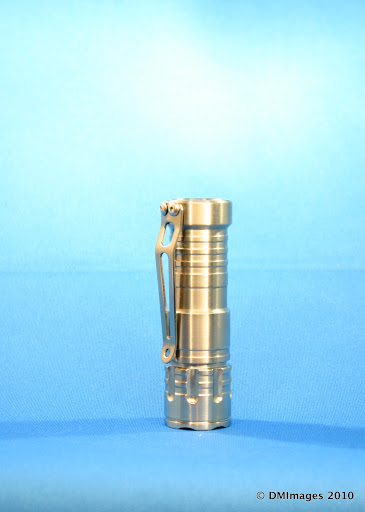
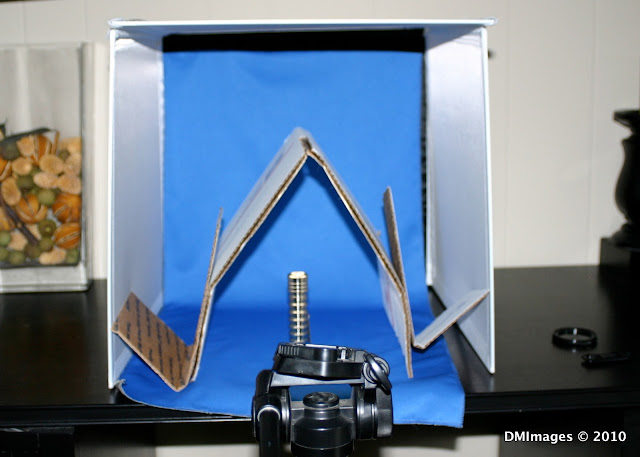
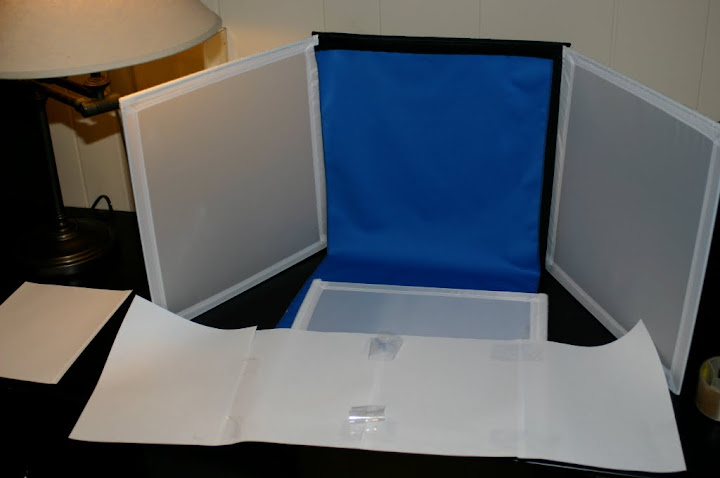
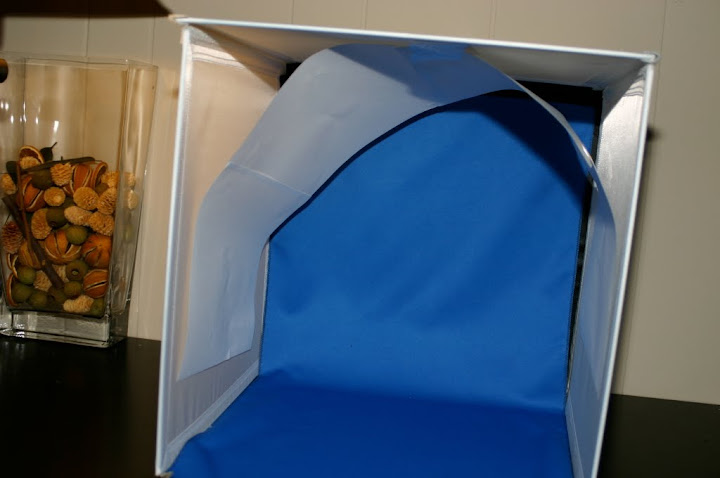
Finally got around to taking some photos with my Sundrop and a 4 or 5 second exposure - ISO100, stopped down to f5.6

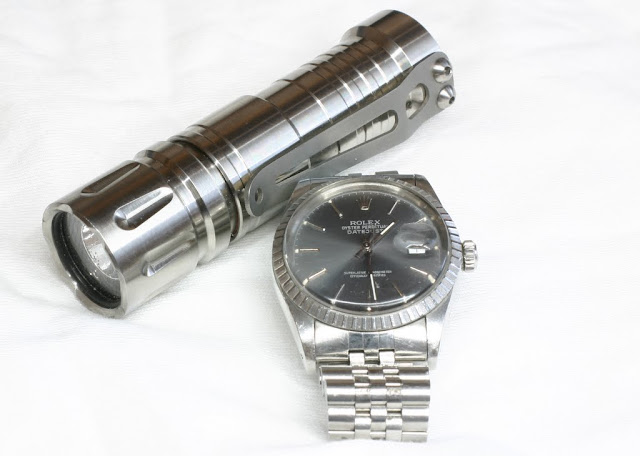
My 23 Year old Rolex Oyster Perpetual Datejust and McGizmo Lunasol 20:
IMG_2236.JPG


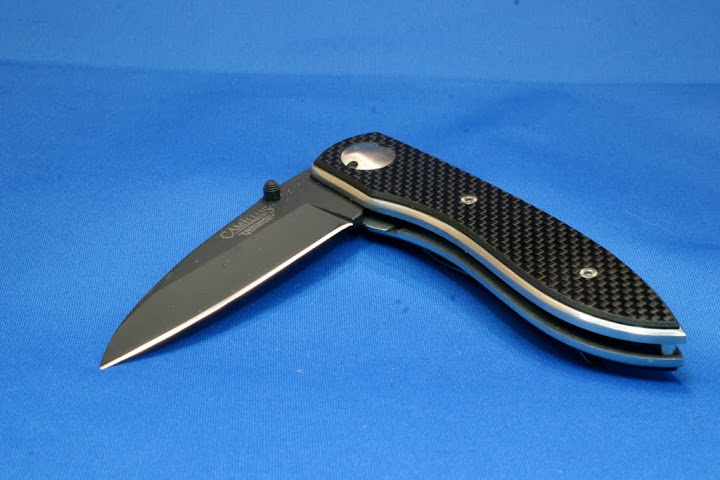
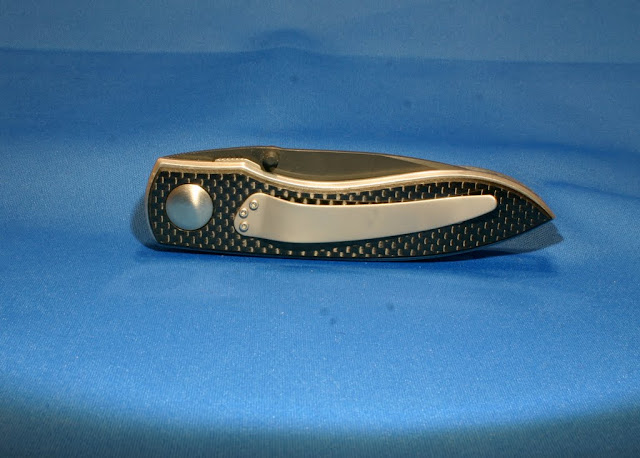
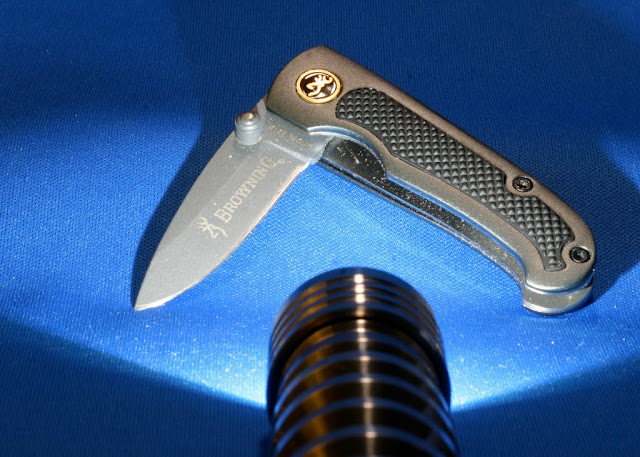
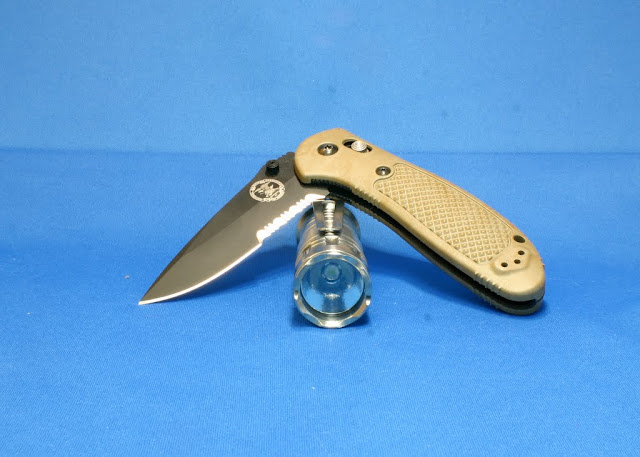
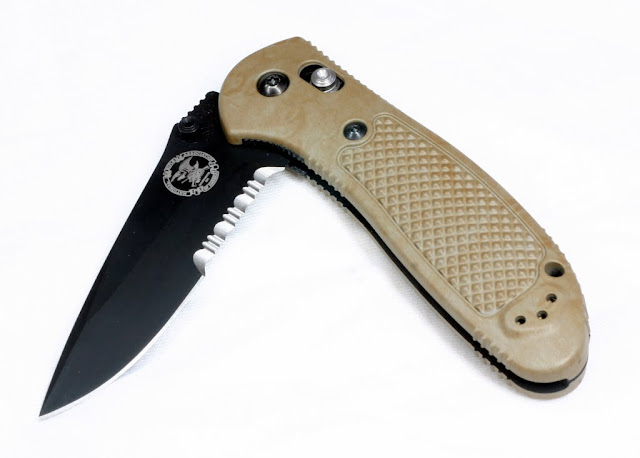
A Limited Edition NRA Badged Benchmade S30V Griptilian
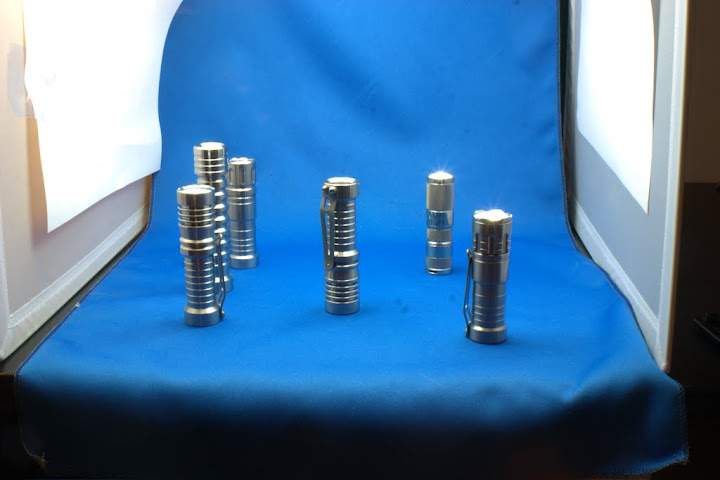
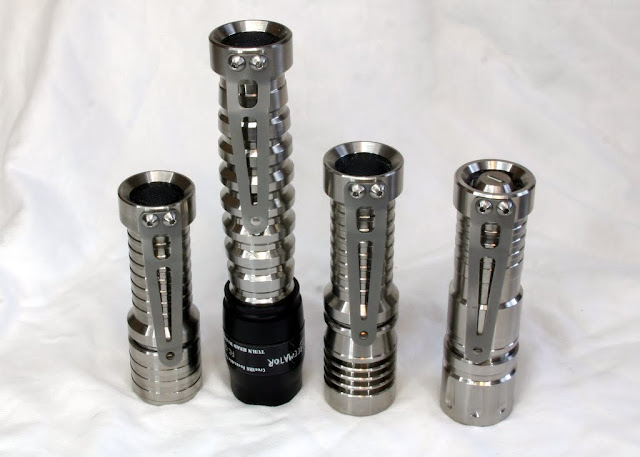
IMG_2232.JPG

"Happy Family" -
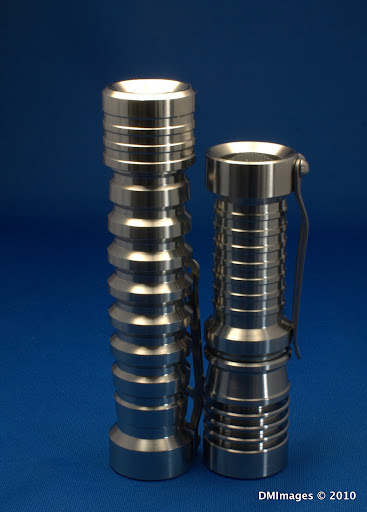
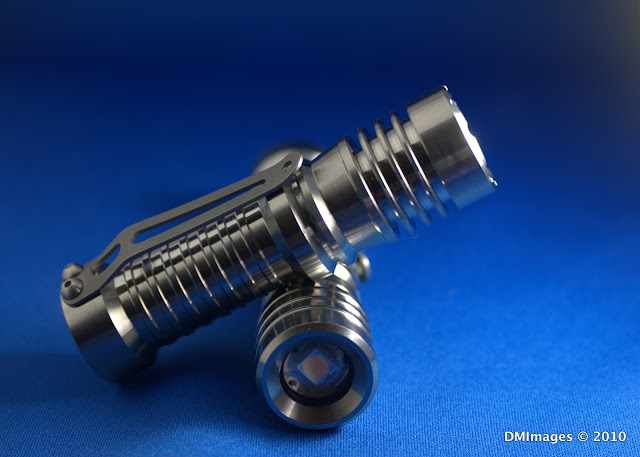
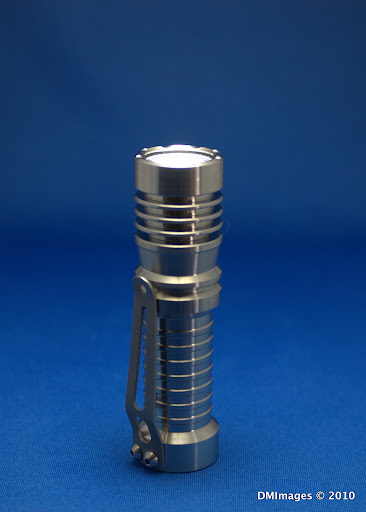
Mirageman Mule hosted by 1x123 McClicky Pak;
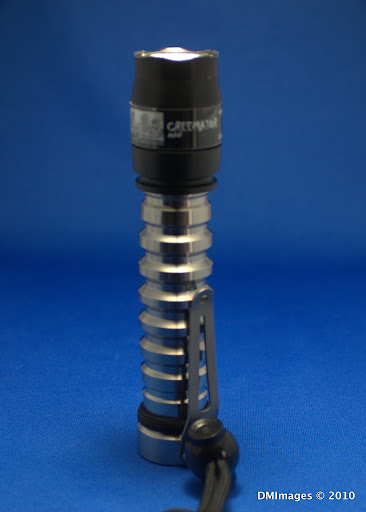
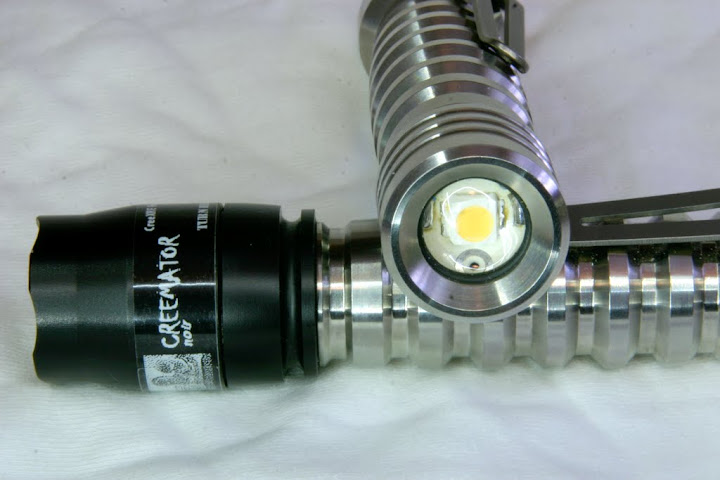
Milkyspit Creemator hosted by 2x123 McClicky Pak;
McGizmo Haiku;
McGizmo Lunasol 20
IMG_2250.JPG


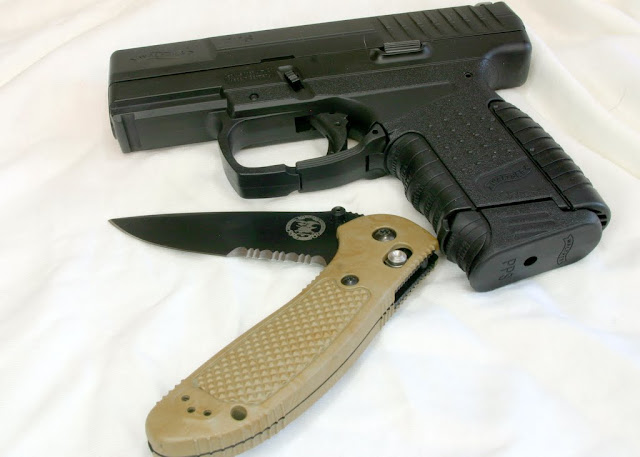
Walther .40 PPS with Benchmade...
IMG_2251.JPG


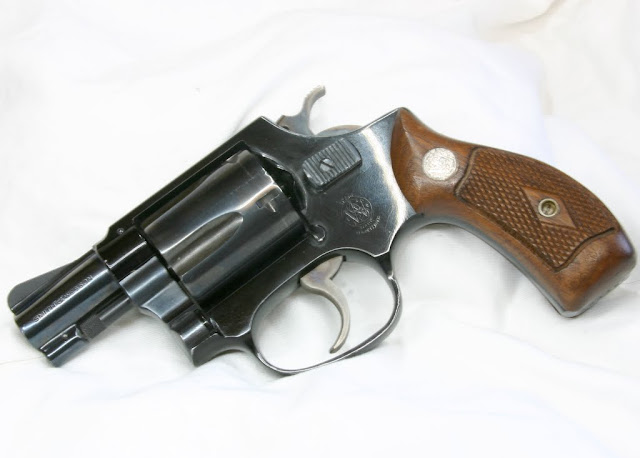
An old friend - a Smith and Wesson Model 36 .38 Special
IMG_2254.JPG


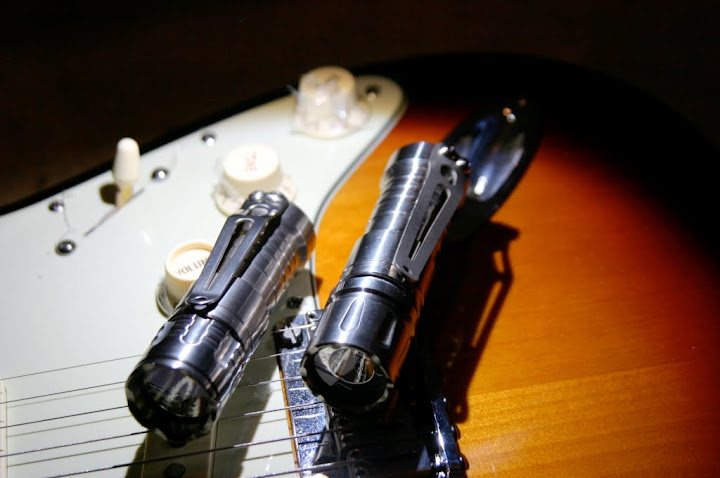
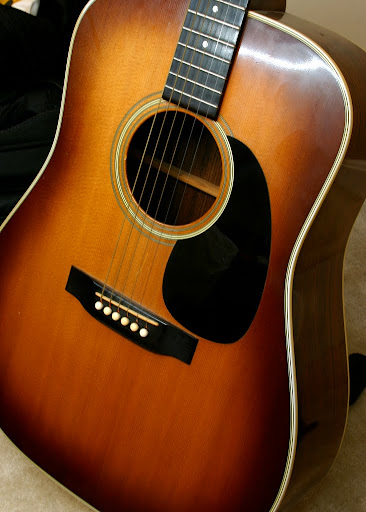
An even older friend - my Martin D28 Sunburst
IMG_2257.JPG


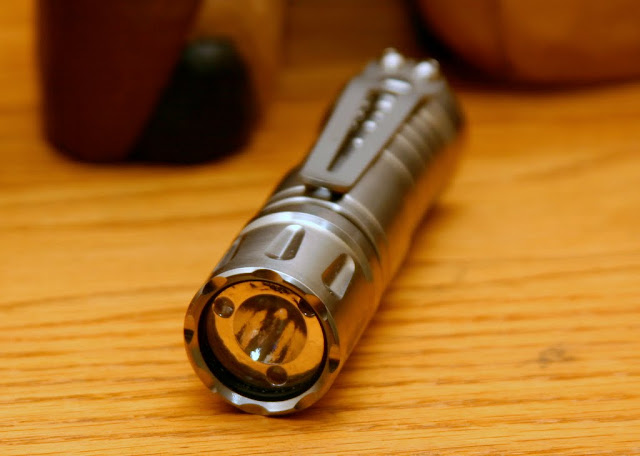
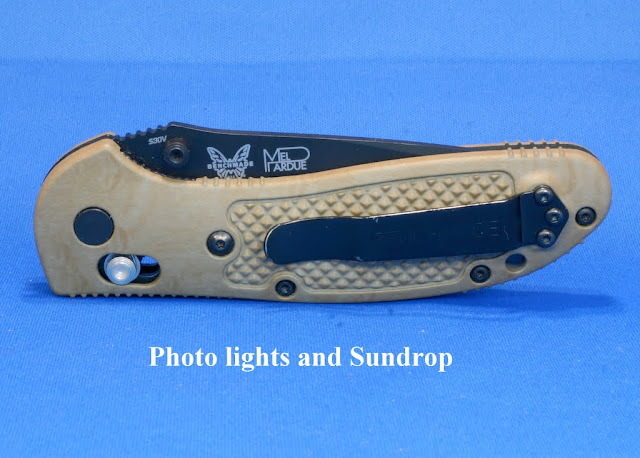
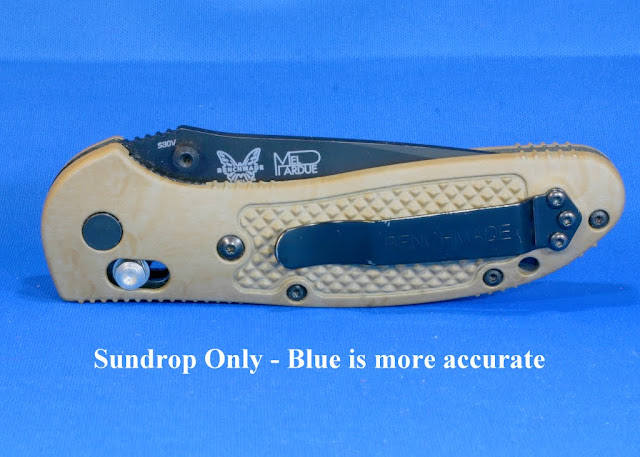
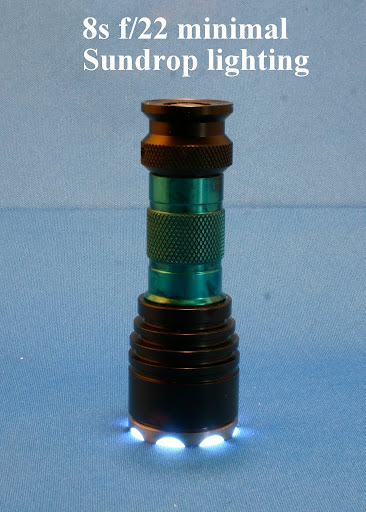
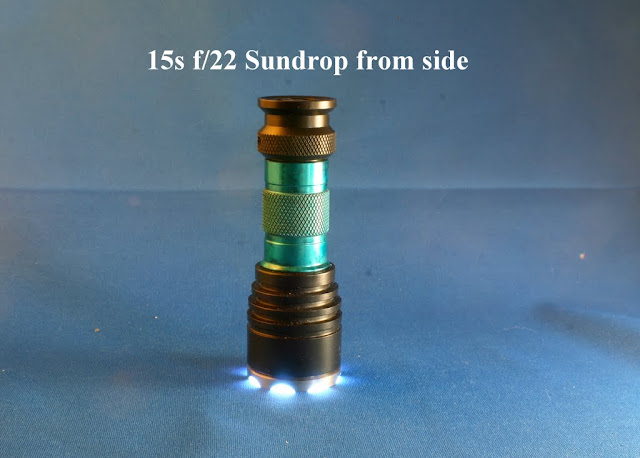
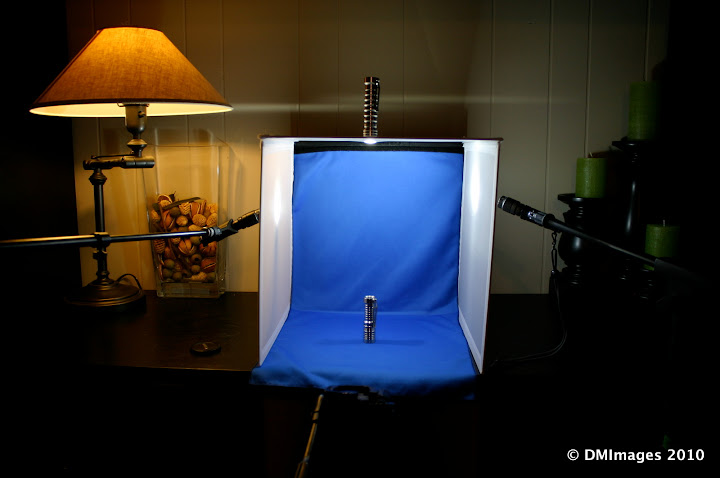
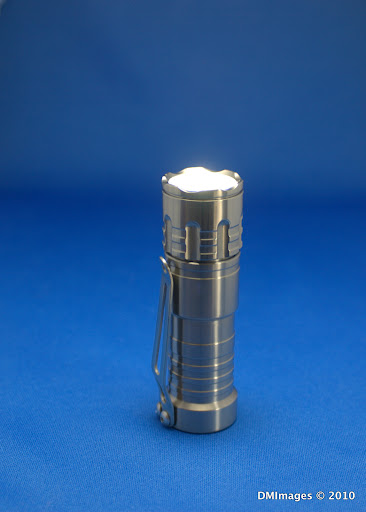
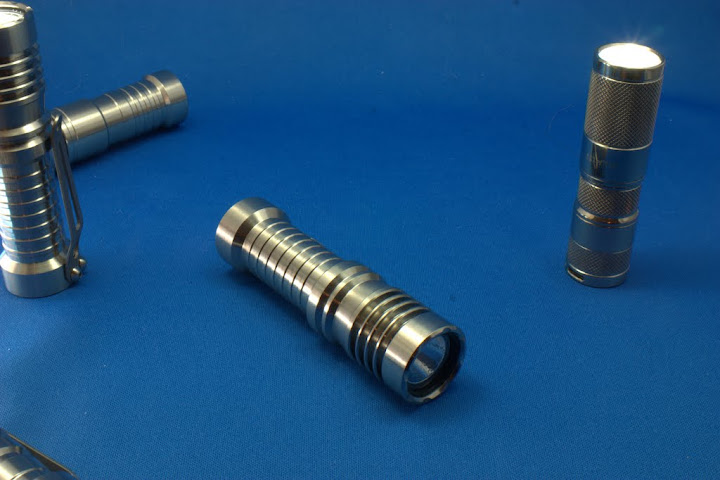
And notice the difference in tint - this is the Sundrop, "light painted" with the Mirageman Mule

IMG_2245.JPG


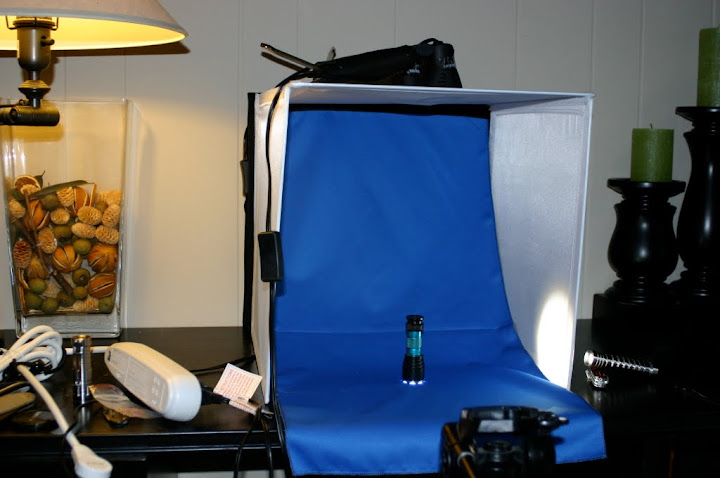
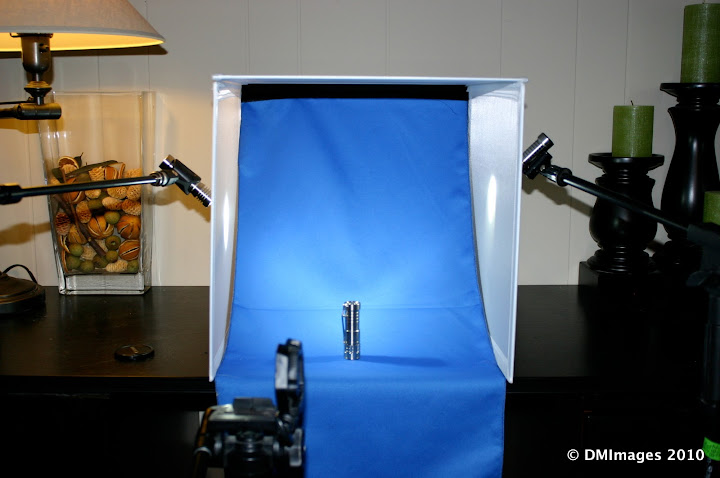
Thanks, John, for introducing me to a new hobby - "lighting my lights with my lights" - :D - I know they are still amateurish at best, but while away from work for the holidays, it's fun to experiment.

:twothumbs
 

jch79

**Do Not Feed The Vegan**,
Joined
May 2, 2006
Messages
3,661
Location
On the asphalt.
Nice!! :twothumbs

It's very easy to see the improvement in quality from the first set of images to these. And some nice lights too! :cool:

My first suggestion would be to try and use more interesting backdrops. White certainly serves a purpose, but IMHO, there are a lot of cool things out there that work well as surfaces. A few examples I can quickly think of are Brian's (Mirage Man) use of trees, Mac's use of that rubber stuff, TB's use of tile, Fred's use of mirrors, and Don's use of underwater). BTW, I find that the more reflective the surface, the harder it is to light (or hide the fact that you're lighting!).

Love the D28 burst! Martin Guitars... be still my heart! I have an old 0-18K ("K" for Koa), which I love. Here's a shot of two lights on it... the 0-18K is the "floor", and my Ukulele is the "background". This was taken with strobes though, using the "Strobist" method (which I started a thread about here some time ago).

20090102251smar2.jpg


Keep 'em coming! And come on, other people! :wave: :poke:

:thumbsup: john
 

run4jc

Flashlight Enthusiast
Joined
Apr 27, 2009
Messages
3,794
Location
Sweet Home Alabama
Thanks, John! I'll look forward to doing some more...and changing up backgrounds. That 'old' Martin - a 1979 D28 - has tons of color..I've got a Les Paul and a Strat that I'll use, too...half the fun is setting up the shot! The Sundrop makes a great lighting tool, but I like using a flash, too...this shot was a simple bounce with the light sitting on a piece of furniture that kind of 'warmed' the photo:

IMG_2114.JPG


This is an 8 flute PD-S sitting on, of all things, a red scrub shirt...
IMG_2273.JPG


I love this shot of the Lunasol - more to come - promise!

IMG_2104.JPG


lovecpf
 

run4jc

Flashlight Enthusiast
Joined
Apr 27, 2009
Messages
3,794
Location
Sweet Home Alabama
Have to keep this thread going - perhaps others, after seeing what a poor photog I am, will pitch in and contribute some really good photos. These were spur of the moment, and they look it, but what the heck...lit by a Sundrop XP:

My American Deluxe Strat hosting two Gizmos...
IMG_2314.JPG


IMG_2318.JPG


And then 'hanging' with my sweet 1994 Mesa Boogie Blue Angel combo tube amp...

IMG_2321.JPG


:grin2:
 

bondr006

Flashlight Enthusiast
Joined
Apr 30, 2007
Messages
2,107
Location
Cary, NC - Land of the CREE
I have a few lights that I like to use for lighting. I have a 4D and a 3D LED that with the bezels off are great for photo lighting. I also have a AAA Dorcy that the head comes off that works well. My SF E2L with the F04 is one of my favorites. I have 2 levels of light with that. I also have a bunch of different color fauxtons that come in handy for special color lighting.

The 2 shots below are done with a combination of all the above.

E3PElementDarkVert.jpg


RRT-1DarkVert.jpg
 

jch79

**Do Not Feed The Vegan**,
Joined
May 2, 2006
Messages
3,661
Location
On the asphalt.
:eek:oo: Nice photos! :twothumbs The quality of light is great - and the red light behind the lights is such a cool accent.

My only criticism is that I wish the bottom one wasn't cropped - it seems a little suffocated.

:thumbsup: john
 

run4jc

Flashlight Enthusiast
Joined
Apr 27, 2009
Messages
3,794
Location
Sweet Home Alabama
Okay, okay - it wasn't totally flashlight lit - I'll confess that up front - used a Sundrop to 'enhance' and create the cool reflection - at least I think it's cool!

Your thoughts?

IMG_2670.JPG


I think the serial number is also cool...."471"...think about it... :wave:
IMG_2671.JPG


This is my rig I am using now for lighting photos of small stuff. Sometimes I put the Sundrop on top like you see in the photo - other times I do a long exposure and 'paint' with the Sundrop. I leave the sidelights on all the time. It was a cheap acquisition from Sportsman's Guide, but it works well and is portable.

IMG_2741.JPG

lovecpf
 

Gazerbeam

Newly Enlightened
Joined
Dec 6, 2009
Messages
170
Location
Virginia
Hello every body, pardon my noob attempt. Lit my RAW SS from top to

bottom with, JET-I PRO 3V Q35A, NOVATAC 120P, RED PHOTON, NDI Q5, and FENIX EO1 at the tail.
IMG_0114.jpg


And I had to take one in laughing rabbit red too.

IMG_0118.jpg
 

jch79

**Do Not Feed The Vegan**,
Joined
May 2, 2006
Messages
3,661
Location
On the asphalt.
:twothumbs I like all of these! Keep 'em coming! :twothumbs

run4jc, thanks for posting the setup shot - that's very helpful for people to get an idea of how they can mimic your results!

:thumbsup: john
 
Last edited:

run4jc

Flashlight Enthusiast
Joined
Apr 27, 2009
Messages
3,794
Location
Sweet Home Alabama
My oh my - a bit of spare time and a new hobby leads to too many photos - but it is quite enjoyable combining flashlight lighting, natural lighting and other lights to go for different effects. Sorry if I'm overdoing it on this thread, but I have to share some of the most recent (without further commentary!)
IMG_2752.JPG

IMG_2756.JPG

IMG_2759.JPG

IMG_2770.JPG


IMG_2771.JPG


IMG_2772.JPG


IMG_2775.JPG


IMG_2778.JPG


IMG_2780.JPG


IMG_2784.JPG


IMG_2789.JPG


IMG_2792.JPG


IMG_2793.JPG


IMG_2795.JPG


IMG_2798.JPG


IMG_2802.JPG

IMG_2803.JPG

IMG_2804.JPG


Final choice - 8s f/25 - dialed back the T1A's output
IMG_2813.JPG


IMG_2805.JPG


The setup to take the previous photos....
IMG_2810.JPG


IMG_2814.JPG


IMG_2816.JPG


IMG_2817.JPG


IMG_2818.JPG


IMG_2821.JPG
 

jch79

**Do Not Feed The Vegan**,
Joined
May 2, 2006
Messages
3,661
Location
On the asphalt.
Wow, cool comparison shots!

One thing I'd suggest is, if you're not moving the light around while shooting (aka "painting" the photo, a shallower depth of field would blur the background, which is a bit distracting in the blue pics (the horizontal line).

Love the Mini Grip - every single person should own one of those! :D

Thanks again for all of your hard work, run4jc... I hope people are learning from all of your experiments. I know I am!

:thumbsup: john
 

run4jc

Flashlight Enthusiast
Joined
Apr 27, 2009
Messages
3,794
Location
Sweet Home Alabama
Good idea - I've struggled with depth of field and these photos had intentional deep depth of field. My thought was to be able to angle the lights to minimize reflections, but the only way to have the entire light in focus was to go to the f/22 and higher settings.

I may fire off a few more next time with the lights 'unangled' and open up wide to try and blur the line (and the background.) One problem with the portable studio is that when you fold it up, that line forms on the blue cloth. OR - I could just take it out and hang it up....:thinking:
 

run4jc

Flashlight Enthusiast
Joined
Apr 27, 2009
Messages
3,794
Location
Sweet Home Alabama
I just had to post these - couple of my favorites. jch mentioned the crease or line in the backdrop - my next step is to take that cloth out and press it! But for now, I tried to wash out the background with shallow depth of field - unfortunately my lens does not have a large enough aperture to totally blur it out at such a short distance. Then I decided to try using ALL flashlights and 'paint' the line away with focused light beams. Here's the setup - I have 2 McGizmos(Haiku and Haiku XP-G) pointed at an angle through the side of the 'studio' at the crease in the cloth, then I used a Sundrop to 'paint' the object from all sides. This is what it looked like:

IMG_2843.JPG


And this is the resulting photo...
IMG_2850.JPG


Almost looks as if the light is in the clouds - wish I could eliminate the 2 shadows, but the lights are so bright that I can't overcome them with the less bright Sundrop. Here are the settings for this shot:
ISO: 100
Exposure: 1.0 sec
Aperture: 5.0
Focal Length: 46mm

Here is another setup using all flashlights, only having the Sundrop overhead and the side lights (Surefire LX2 and E2DL) angled up:
IMG_2826.JPG


And here's the resulting shot - this is one of my favorites, but I still need to eliminate that crease in the background - the line is distracting:

IMG_2830.JPG


jch, I really don't mean to 'hijack' your thread, but I'm so enjoying experimenting that I'm taking WAAAY too much time doing it - but when a good shot comes up I just have to share it.

Thanks for looking!
 
Last edited:

jch79

**Do Not Feed The Vegan**,
Joined
May 2, 2006
Messages
3,661
Location
On the asphalt.
jch, I really don't mean to 'hijack' your thread, but I'm so enjoying experimenting that I'm taking WAAAY too much time doing it - but when a good shot comes up I just have to share it.

LOL - you're not hijacking anything... you're staying exactly on topic, and taking this thread to a whole new level, as far as not just sharing your results, but explaining AND taking pictures of your process. It's been really fun to follow. I don't take that many flashlight-lit photographs anymore, since I have a bunch of lights for work.

You might be able to eliminate those shadows by diffusing the light even more - use anything that's white and translucent - from white tissue paper, to bubble wrap, regular printer paper, or paper towels. You can experiment with how you prop it up, but I'd start with maybe a sheet of 11x17 paper, and make an "arch" out of it, over the flashlight (still inside your light cube setup). This should soften up the shadows and even will help with some reflections in the lights.

That last photo you posted is the best you've done so far, IMHO! Agreed that the crease in the backdrop isn't ideal. FWIW, I prefer taking light photos while standing over the light (maybe at a 45° to the subject). That way, you won't see where the backdrop folds, and the shadows might be more natural looking.

:thumbsup: john
 

run4jc

Flashlight Enthusiast
Joined
Apr 27, 2009
Messages
3,794
Location
Sweet Home Alabama
You might be able to eliminate those shadows by diffusing the light even more - use anything that's white and translucent - from white tissue paper, to bubble wrap, regular printer paper, or paper towels. You can experiment with how you prop it up, but I'd start with maybe a sheet of 11x17 paper, and make an "arch" out of it, over the flashlight (still inside your light cube setup). This should soften up the shadows and even will help with some reflections in the lights.
:thumbsup: john

Great idea. While i have the time - before I go back to school tomorrow and hopefully work next month - thought perhaps I'd try your suggestion. Alas - no 11x17 - but upon looking around I found what is familiar to many CPFers who sell on the marketplace or B/S/T - a USPS One rate box - large in this case. Had to trim it so it would fit in the light box. thought I'd see how it worked and for grins flipped on a light with the beam pointed up, and lo and behold, it was some of the most natural lighting I'd seen yet. So why break out all those lights, etc...stick to the real theme of this thread and literally light the light with the light's own light :crazy:

Here's the setup - and I took your suggestion also about increasing the angle and went approx 30 degrees - too 'short' a window to go much higher:
IMG_2901.JPG


Closer view with flash to see it better...

IMG_2900.JPG


It's interesting to look at the varying tints from each light...

Sundrop XP being a buddy and lighting up a Haiku XP-G
CRW_2886.jpg


Lunasol 20
CRW_2902.jpg


PD-S
CRW_2903.jpg


Haiku XR-E
CRW_2904.jpg


Sundrop XP - setup and resulting photo

CRW_2899.jpg

CRW_2891.jpg


A slightly different 'angle....':whistle:

CRW_2894.jpg


Again...(and this is my favorite from this batch - the colors are so rich)

CRW_2895.jpg


Another really good shot of the Haiku

CRW_2896.jpg


Even the Creemator had to get in the game...
CRW_2897.jpg


Many thanks John, for starting this thread. I have not one ounce of artistic or photographic ability, but it's really fun to try and learn. I live in the business world, and regret to say that I've probably taken for granted the talents of those who put together great product layouts and photos. 'Enlightening' :grin2: to see how much effort and skill it takes!!

:twothumbs
 

jch79

**Do Not Feed The Vegan**,
Joined
May 2, 2006
Messages
3,661
Location
On the asphalt.
Your favorite is mine as well! Interesting that the light in the photo is also the lightING in the photo! :D

And although that turned out really cool results, I'd still try and use something (a few 8 1/2 x 11 pieces of paper taped together to create something that's a little bit stiffer), and allow your lights outside your lighting rig thing to go through the white lighting rig AND the paper. (does that make sense?)

I live in the business world too... but on the less lucrative creative end of it. :laughing:

:thumbsup: john
 

run4jc

Flashlight Enthusiast
Joined
Apr 27, 2009
Messages
3,794
Location
Sweet Home Alabama
I followed John's instructions and came up with the following 'addition' to my light box.

IMG_2908.JPG


It was plain old copier paper and was rather 'limp'...but it worked

IMG_2911.JPG


My problem is that the paper didn't diffuse the light enough to eliminate the shadows - and if I add any further paper to diffuse things my lights aren't strong enough - so I resorted back to my old tricks, only this time experimented with a few more lights. A virtual 'light farm.'

CRW_2940.jpg


That was overkill (but it looked cool - at least to me!) The next photo is a more reasonable setup - you can't see all the lights, but there are 3 - 2 pointing up and one pointed at the side of the box at an angle. Played around with the angle until I got the 'look' I wanted.

CRW_2932.jpg


And here's the photo with the other lights cropped out.

CRW_2932.jpg


All these photos can be found here

I've been shooting them in 'raw' format and uploading them as jpeg files to Picasaweb. It's quite a fun hobby - I fear it could get expensive, so perhaps I'd better stop! Meanwhile, at least I'll have memories of these lights should I ever sell any of them! (Hope not to, though)
:eek:
 

jch79

**Do Not Feed The Vegan**,
Joined
May 2, 2006
Messages
3,661
Location
On the asphalt.
run4jc, you might have better luck diffusing if you leave some space between the paper "arch" and the light cube wall. This means that the "arch" would have to stand up (or be propped up) on its own, as opposed to being taped right to the cube walls. Or, vice-versa, you could tape a piece of paper right over each of your lamps. You'd want to be careful that it wouldn't get too hot and catch fire (not sure how hot your lamps run), but that would probably do nice things as far as diffusing goes.

I like your last photo - nice and simple. Although the table surface backdrop leaves a bit to be desired. Try a leather jacket, or a mirror, or a dirty rag (my bike rag is an awesome backdrop, as it's all dirty and greasy, which makes the shiny light stand out more), or a piece of wood, or stone/tile, or... anything else you have laying around! LOL

Meanwhile, at least I'll have memories of these lights should I ever sell any of them!

Word to that! I try and take a nice picture of special lights before I sell them. I wouldn't have recently sold my LunaSol27 if I hadn't taken a half-ways decent picture of it first:

img0139sm.jpg

(taken in a homemade light tent, with two off-camera flashes - so this photo technically doesn't belong in this thread!)

Thanks for sharing your results again! :twothumbs

:thumbsup: john
 
Top