
This pictorial shows how to open a Fenix P1 flashlight (to mod it with a Seoul P4 LED). Do not attempt this mod if you are not comfortable with your modding skills, or do not have the proper tools. I will not be held responsible for any damages to your light if you choose to do this modification based upon the information contained herein. Proceed at your own risk. ---This will void your warranty---
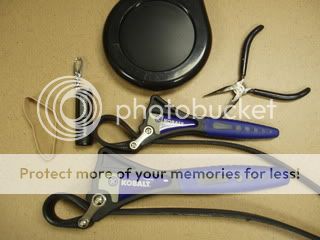
The tools and materials necessary for this mod are:
Strap wrenches (I got these from Lowe's)
Large rubber band, cut into two or three pieces
coffee mug warmer
Fine tipped pliers
Fenix P1 flashlight
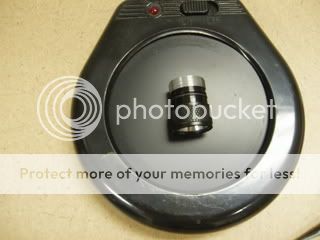
Remove the head, and place on the mug warmer.
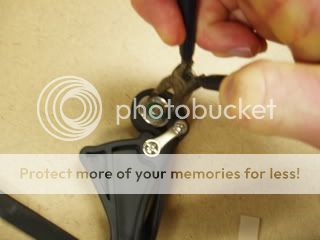
Wrap the rubber band around light in direction you will be turning strap wrenches.
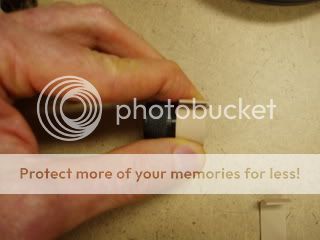
Tighten the strap wrench around the rubber band.
Add the other strap wrench, in the opposite direction and use some muscle. Watch for slipping, and adjust as necessary. If at any time the parts do not yield, put them back on the heater for a few minutes.
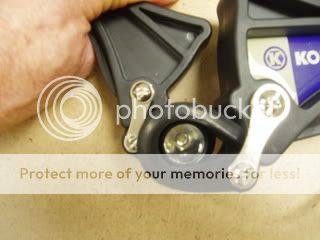
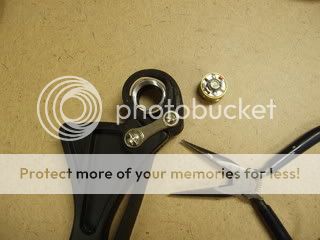
Success...but we're not done yet.

Back to the mug warmer for a few minutes.
Use the rubber band and strap wrench.
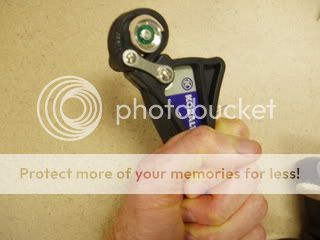
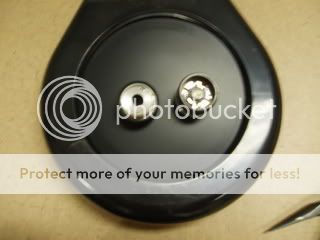
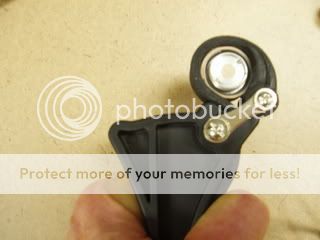
Hold the head against a flat surface, and locate the notches in the light engine. Use the pliers in these notches, and flex your muscles again. If at any time the parts do not yield, put them back on the heater for a few minutes.
Success...but we're not done yet.
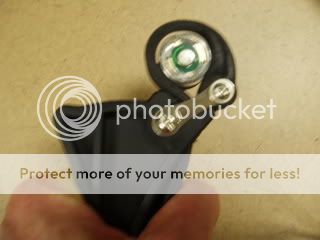
Now onto the reflector that has been warming. Use the rubber band and strap wrench...
Now use the pliers in the holes in the reflector. Press against a hard surface to reduce the chance of slipping. If at any time the parts do not yield, put them back on the heater for a few minutes.
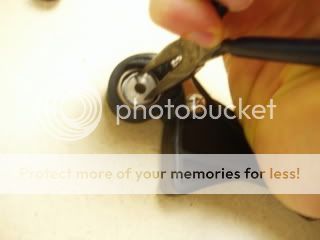
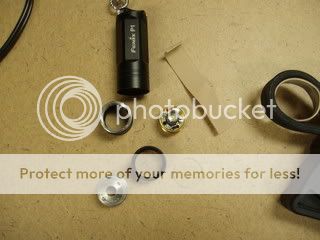
Got it!
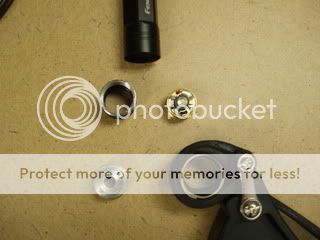
And the reward for your hard work is a pile of parts that are ready for the next step. MODIFICATION!!!
Soon to come: How to Seoul your P1.
Have fun!
datiLED
The tools and materials necessary for this mod are:
Strap wrenches (I got these from Lowe's)
Large rubber band, cut into two or three pieces
coffee mug warmer
Fine tipped pliers
Fenix P1 flashlight
Remove the head, and place on the mug warmer.
Wrap the rubber band around light in direction you will be turning strap wrenches.
Tighten the strap wrench around the rubber band.
Add the other strap wrench, in the opposite direction and use some muscle. Watch for slipping, and adjust as necessary. If at any time the parts do not yield, put them back on the heater for a few minutes.
Success...but we're not done yet.
Back to the mug warmer for a few minutes.
Use the rubber band and strap wrench.
Hold the head against a flat surface, and locate the notches in the light engine. Use the pliers in these notches, and flex your muscles again. If at any time the parts do not yield, put them back on the heater for a few minutes.
Success...but we're not done yet.
Now onto the reflector that has been warming. Use the rubber band and strap wrench...
Now use the pliers in the holes in the reflector. Press against a hard surface to reduce the chance of slipping. If at any time the parts do not yield, put them back on the heater for a few minutes.
Got it!
And the reward for your hard work is a pile of parts that are ready for the next step. MODIFICATION!!!
Soon to come: How to Seoul your P1.
Have fun!
datiLED
