• You must be a Supporting Member to participate in the Candle Power Forums Marketplace.

    You can become a Supporting Member.

Loc-line Block Head

dat2zip

Flashlight Enthusiast
Joined
Jan 5, 2002
Messages
3,420
Location
Bay Area
I have been working on refining this part now for a while and have made a few protos. I'd like to now share this information and make the loc-line block head part available.

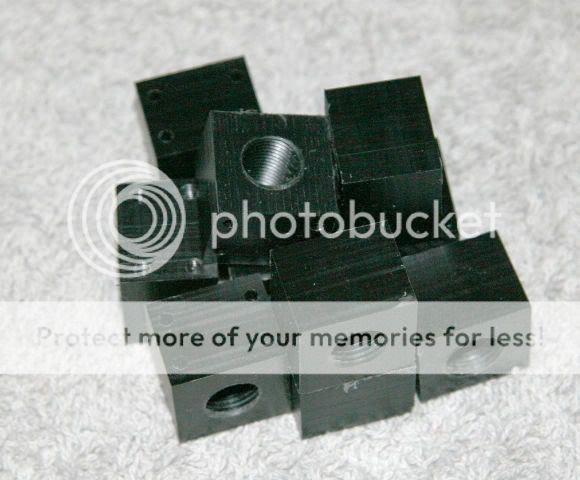
The part originally was drawn up as shown below.
isometric_views_loc_line.jpg


The side port allowed wire to exit the side instead of the top. This additional hole adds a little to the cost and I decided to remove it. you can still drill this hole yourself if you desire this functionality.

The four little holes are for 4-40 threaded mounting or use of a #4 sheet metal screw.

The current version has 4 mounting holes and a threaded hole for 1/8-27 NPS (National Pipe thread straight).

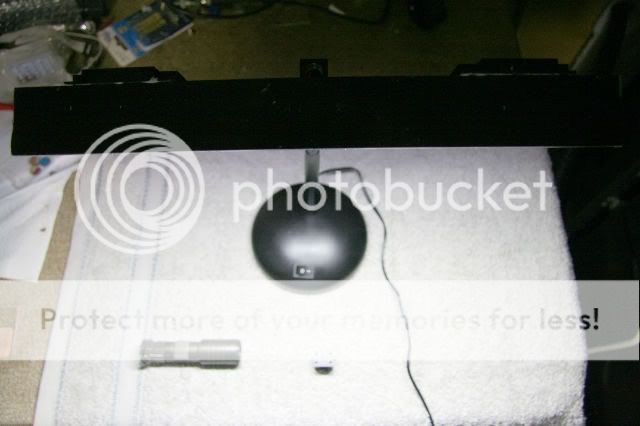
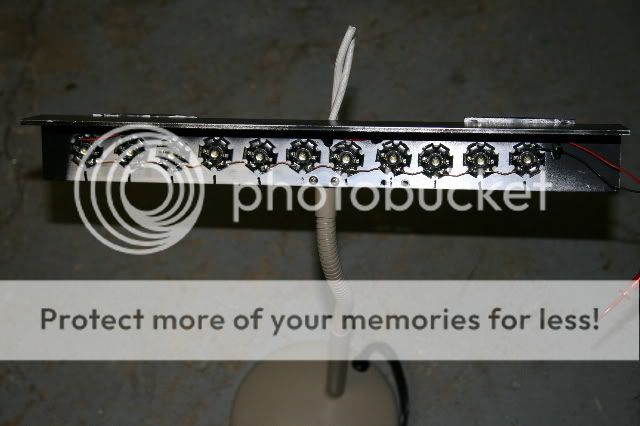
The part allows mounting a light bar like the following to a flex line, loc-line or standard lamp rod. All can be purchased with 1/8-27 threaded ends.
t640_IMG_0096.jpg


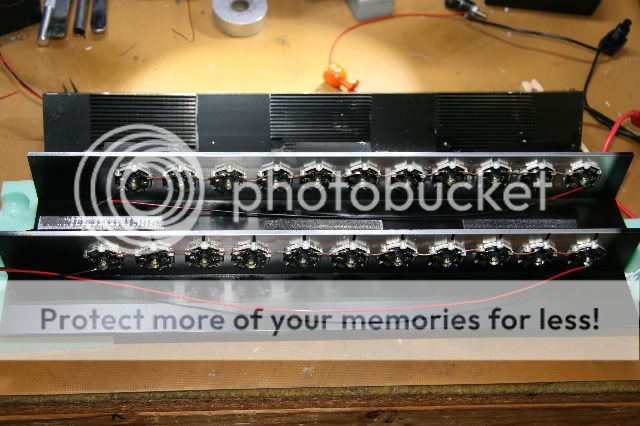
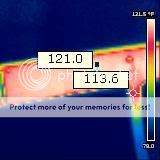
I made the three right angle bracket lights as a test load for the 100W boost converter proto in this thread.

The angle bracket I purchased at the local home depot store. After mounting the Luxeon stars on them I spray painted them black with BBQ flat black which has good thermal characteristics.

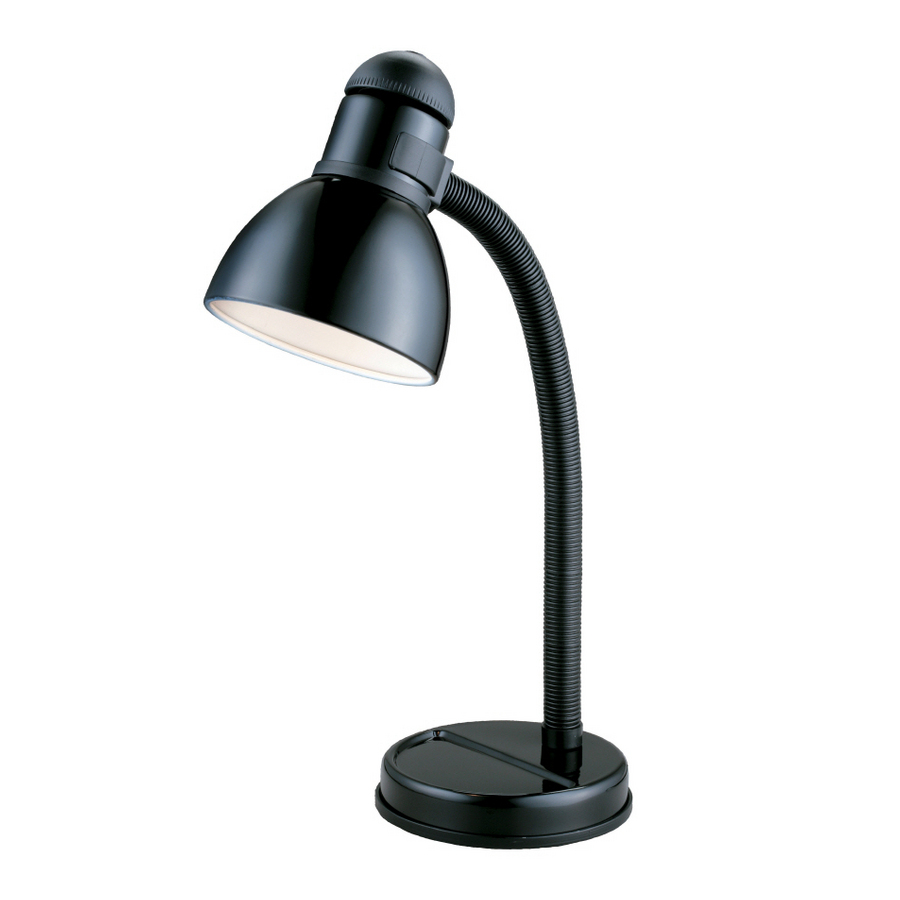
Many desk lamps or lamps in general all use 1/8-27 rod components to assemble the lamp. This goes way back. Even the ceiling lights use this thread size. The cap that holds the lamp shade or the glass on ceiling lights are 1/8-27 plastic nuts.

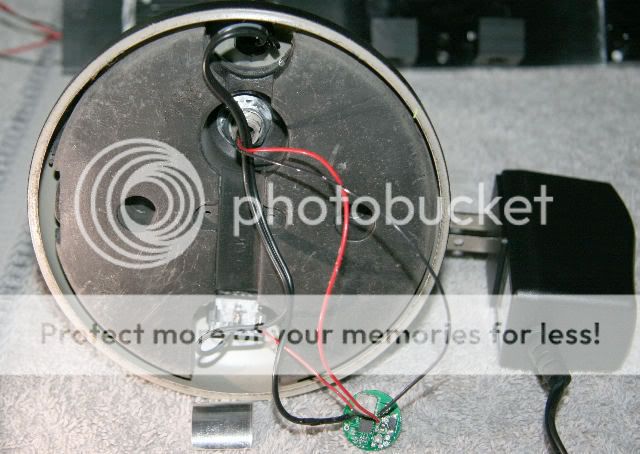
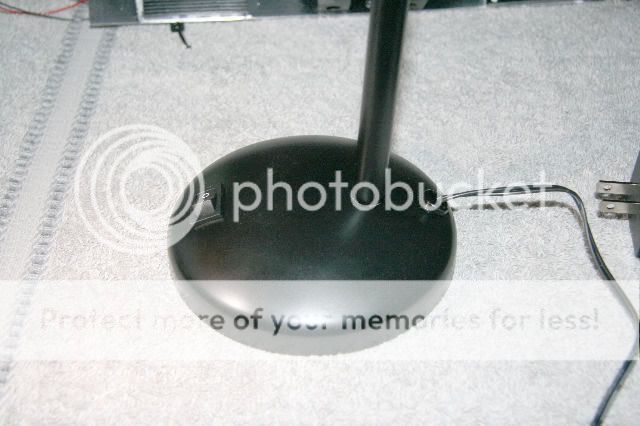
One example of use I found a standard desk lamp that I could see the screw nut inside the lamp housing.
875356004664.jpg


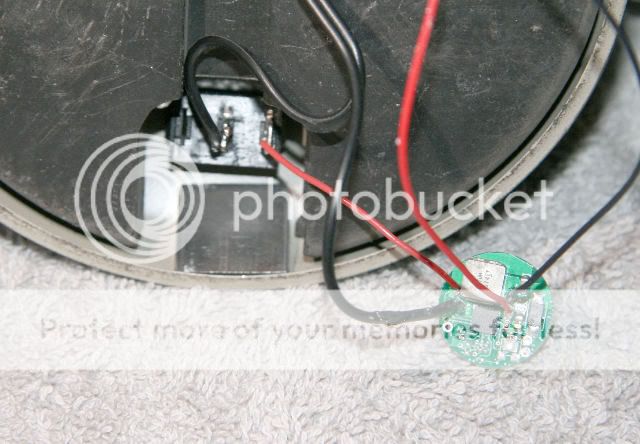
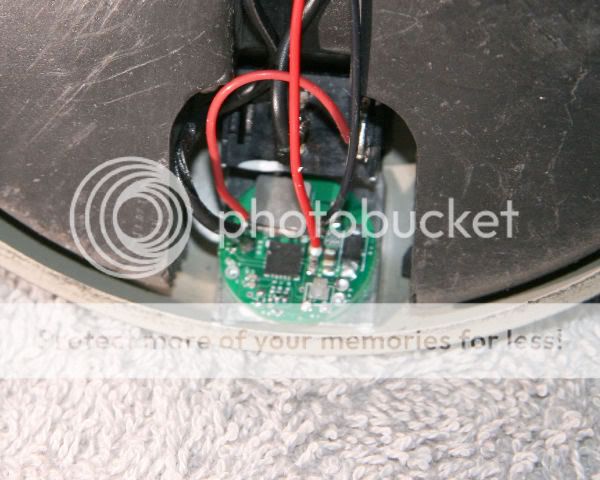
Inside the lamp you can see a nut attachment.
t640_IMG_0165.jpg


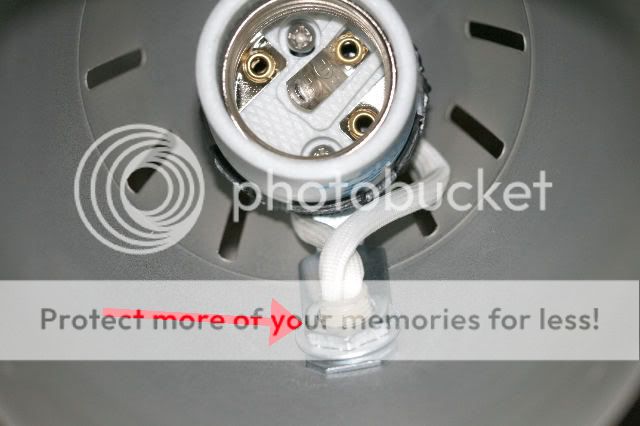
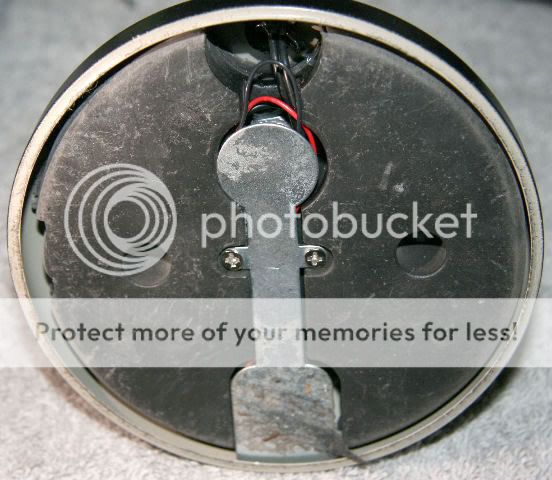
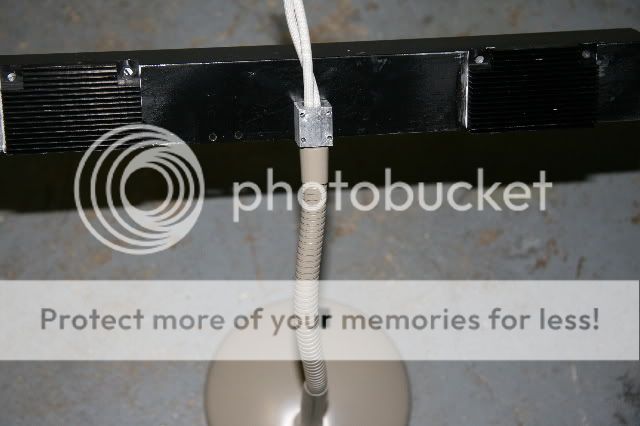
Once the assembly is taken apart you can screw on the llbh (loc-line block head) attached to the L bracket lamp assembly and whoala instant conversion (more or less).

Front view

t640_IMG_0166.jpg


Rear view
t640_IMG_0167.jpg


The llbh part is a small part 3/4" square.
t640_IMG_0158.jpg


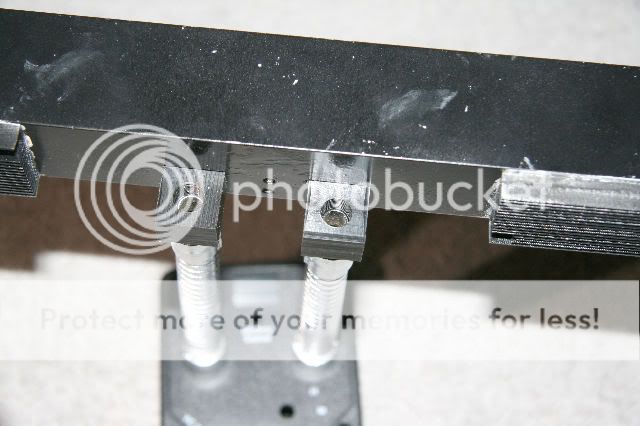
Some attachment options.

llbh to loc-line.
t640_IMG_0159.jpg


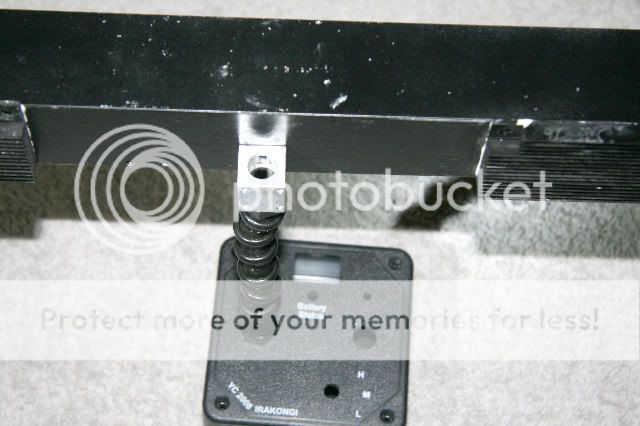
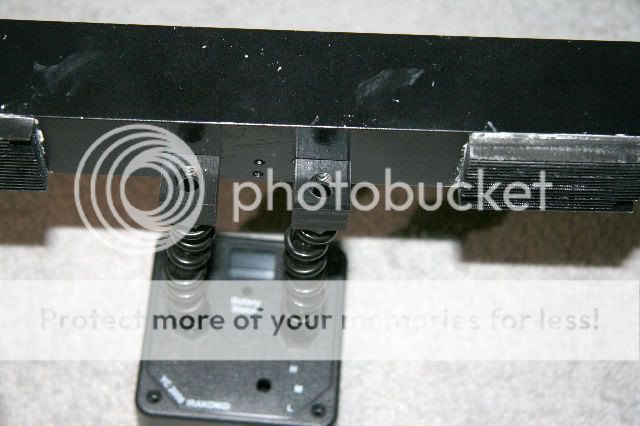
Double llbh to add more stability (loc-line can't hold much weight).
t640_IMG_0160.jpg


llbh to flex line.
t640_IMG_0161.jpg


I'm sure you have more ideas. I would love to see more ideas of this general purpose part.

Beam shots to follow...

If you want to drill and tap your own material for 1/8-27 I can suggest getting the tap at Enco here. Don't get the NPT taps. They are tapered and not what you want.

I will post a link the shoppe page when they go online.

Wayne
 
Last edited:

dat2zip

Flashlight Enthusiast
Joined
Jan 5, 2002
Messages
3,420
Location
Bay Area
The wall power supply came today and I was able to put together the lamp with all the parts.

Components used in the lamp:

Solid state wall transformer. 12V 1.2A (15W)
10 T bit Lux3s
13" 1.5" X 1.5" aluminum angle bar (from Home Depot)
Shark with trim pot removed and sense resistor changed to 0.12 ohms
Shark Sink D (Led Zeppelin heat sink).
Two heat sinks.

The lamp was beige in color. I painted the lamp in black to match the LED angle bar.

The felt base bottom peeled off to expose the underside and a metal strap was screwed down to cover the wiring.

Once the felt and metal plate were removed the power switch and power cord was removed to paint the base and stalk.

After the paint dried the new DC power cord was put in using the existing wire nut holder.

t640_IMG_0175.jpg


The Shark and lamp were wired up and tested as shown in the above photo to verify functionality. The 0.12 gives 0.833A. Each section gets 1/2 of the total current as there are two strings of 5 LEDs in parallel.

The SharkSink sits nicely horizontally making a great mount for the Shark.
t640_IMG_0176.jpg


t640_IMG_0177.jpg


Once the Shark was glued in place it was tested again making sure nothing broke. The next photo shows everything buttoned up minus the felt.

t640_IMG_0178.jpg


Here is a shot of the base.

t640_IMG_0179.jpg


Here is a beamshot from the lamp.
t640_IMG_0180.jpg


The bottom of the base has a plastic filled container with some type of fill which might be lead balls to give it weight. I didn't muck with that. Removing that would have allowed a pot to be added to control brightness or the pot could be mounted in the bar and the wires run back down to the Shark.

I hope this inspires you to go out and look for a lamp that you can upgrade.

The way the angle bar is mounted you need to tilt it down to light up the desk area. Once you tilt it down slightly the top ledge obscures the direct view of the LEDs. You can't see directly into the LEDs from the front. This would be true of the lamp was at the back of the desk facing you. The LEDs won't be blinding you.

Wayne
 

dat2zip

Flashlight Enthusiast
Joined
Jan 5, 2002
Messages
3,420
Location
Bay Area
Here's a thermal image backside shot of the lamp in action.

llbh_15wlamp.jpg


Since the 10 LEDs are about 15W of power and the ambient is 82F. that puts the lamp bar heat characteristics at (121F-82F) / 15W = 2.6F/W (1.44C/W). The numbers in the image is assuming the IR Emissivity is 95% which may or may not be the case and I have not calibrated the readings to ensure accuracy. The numbers in the image could be higher or lower.

It will be worse without the two heatsinks on the back and I don't have a measurement without the heatsinks.

Since there are 10 T bin Luxeons each driven slightly higher than 350mA that means there this light is some 650+ lumens with each LED ~1" spaced from each other.

Wayne
 
Last edited:

griff

Flashlight Enthusiast
Joined
Mar 22, 2007
Messages
1,917
Location
Kansas
Wayne.
Very nice work !
I have been kicking around the same concept light ,only my lack of electronic know how is leading me down the direct drive road. Is your light top heavy?
 

dat2zip

Flashlight Enthusiast
Joined
Jan 5, 2002
Messages
3,420
Location
Bay Area
The base is heavier than the top and if I had to guess it's a 2:1 difference. The lamp seems well supported. I can bend and twist it in any direction and it doesn't have any tendancy to want to tip over.

Wayne
 

griff

Flashlight Enthusiast
Joined
Mar 22, 2007
Messages
1,917
Location
Kansas
I asked Wayne some questions and I got some excellent answers
Thanks for your help wayne


dat2zip


Join Date: Jan 2002
Location: Bay Area
Posts: 3,341

Re: deck lamp
Quote:
Originally Posted by griff
I don't want to ask stupid questions out there for everyone to see>>>>>>>so I"ll ask here

Why did you use the shark?
When are the converter boards used?
Can you make a board to run a 15watt ostar from 9 volts?
is there some place that I could go to learn more about these "Q's "??

there must be a better way. I really want to be able to make things like your desk lamp and even smaller things that require buck or boost
Thaks
Griff
Those are all valid questions for people who don't use converter boards or make/build lights.

There are technical questions when starting a project like this. Let me explain what I did.

I know the Shark can drive 5-7 LEDs in a string and up to 20W of total power if heatsinked correctly.

I also took into account that overdriving LEDs can generate more heat and return less light for the excess amount of overdrive.

Since I have a zillion Lux 3's I choose to use these and set the drive current to appoximately 350mA per LED as a Lux3 behaves well relative to the light output and heat generated.

The angle bracket was constructed for another project and had 11 total LEDs wired in series. I re-wired this to 10 LEDs in two strings of 5 each. That means 5 LEDs in series is approximately 20V and keeps the total Vf below the Sharks maximum output drive of 24-32V depending on which Shark is used. Eleven LEDs is ~44V volts needed to drive all 11 in series.

Shark is happiest if Vin is greater than 1/2 the output and since the output of the 5 when I bench tested was around 16V means any wall wart 8V or greater would work. I bought 12V and 15V models and both were 15W maximum.

To keep the output at 15 or so I changed the Shark sense resistor so that it was not driving 1A and lowered it to 833mA. Since two strings divide the total current each string if they are balanced would get ~415mA each which is slightly over 350mA target.

The 12V wall wart output current max was 1.2A and the Shark draws 1.22A under this condition which is slightly more than the wall wart is rated, but, seems to work just fine.

when you design something and wire LEDs in series your Vf of the total string will determine if you need to boost (step up) your supply voltage or buck (step down).

My output (5 LEDs in series) is 16V and supply voltage is 12V thus this version needs to boost the supply or step up from 12V to 16V. If it is the other way around then you need a buck converter and if output = input you might be able to get away with no converter at all.

You might want to copy and paste all your questions and my answers to the thread so that others that are in you situation can benefit from this as well.

I know this is cursory and not all of this may make sense.

Wayne
__________________
 

LED Zeppelin

Flashlight Enthusiast
Joined
Sep 14, 2005
Messages
1,876
Location
Great Lakes
Nice Wayne, I'd like to build something similar with a pot. I think it will make an ideal bedside reading lamp.

Nice to see the SharkSink has another application.

I see they're listed already here.
 
Top