Hogokansatsukan
Flashlight Enthusiast
EDIT: This post is 11 years old as of this edit and DOES NOT apply to any subsequent HDS lights, specifically the Executive/Rotary models or any other. ONLY the old Basic/Ultimate and may not even apply to ALL of those older models.
So, a thread in here got me thinking about the electrical pathways in the HDS and Novatac, and once I start thinking, well, trouble is bound to follow.
Gunga told me this was gone over before, but for the life of me, I could not find the thread. So, here it is, maybe invented again, but what the heck.
This is how to take your 2Xcr123 battery tube for a HDS (yes you can use 2 cr123 in it) or the same tube that many use a 17670 in the Novatac (NO! You can't use 2 cr123 batteries in your NT without very bad things happening... how bad?... VERY BAD!!! Not that I've done it and my nickname is "Lefty").
This will focus on doing it for the Novatac.
First, you need the tube. Go to Lighthound and order one if you don't have one already. While ordering, pick up a couple rare earth magnets to use as nipples on your 18650 batteries if they don't already have nipples (not sure why some of them don't, but then chicken breasts don't have them either... go figure.)
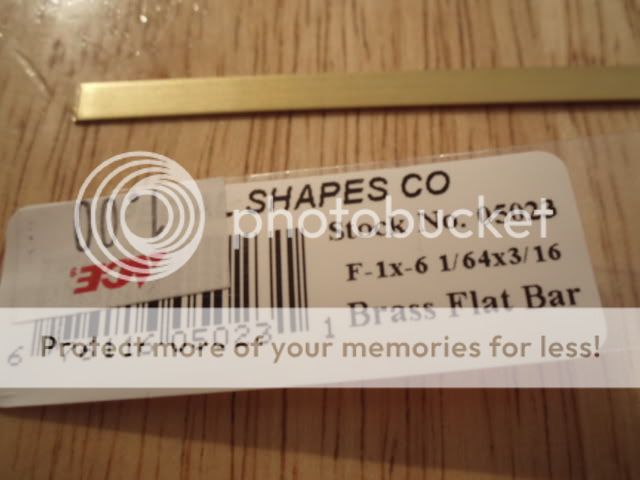
Next, go to Ace Hardware or your local hobby store and buy this:
While your there, go the flashlight section and laugh at the crappo lights.
Go home. Have a beer (don't drink and drive... drink. Beer is cheaper than gas).
Now, take that tube and if you have anything attached to it like a head or tail, take them off, and take the spring out. Should look like this if you have done it correctly. If it doesn't, have another beer and try again.

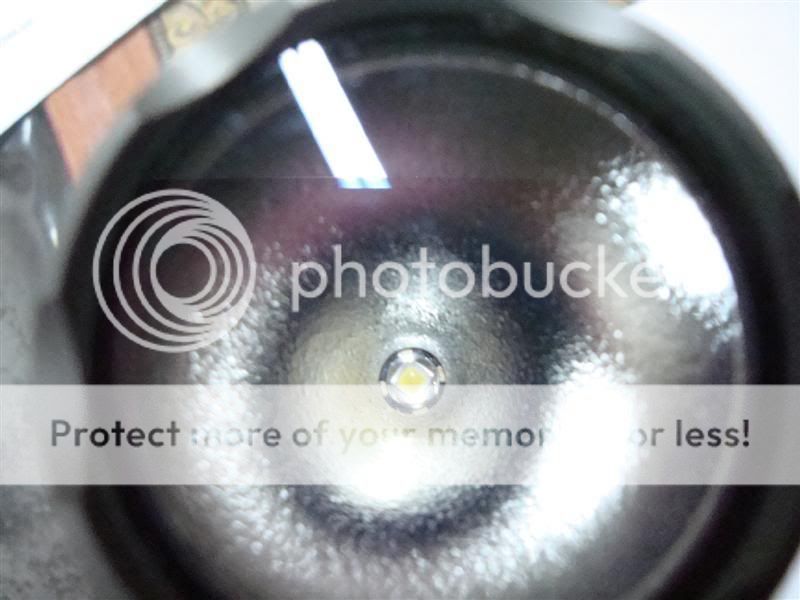
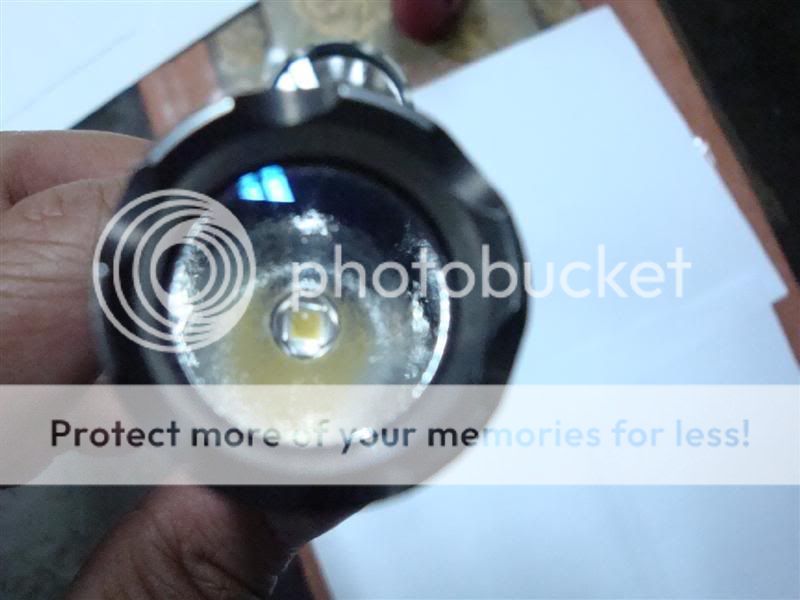
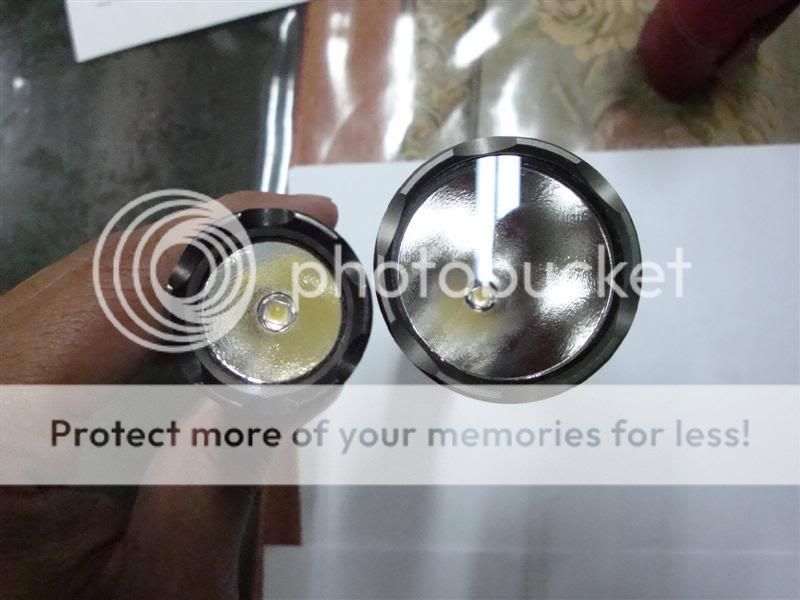
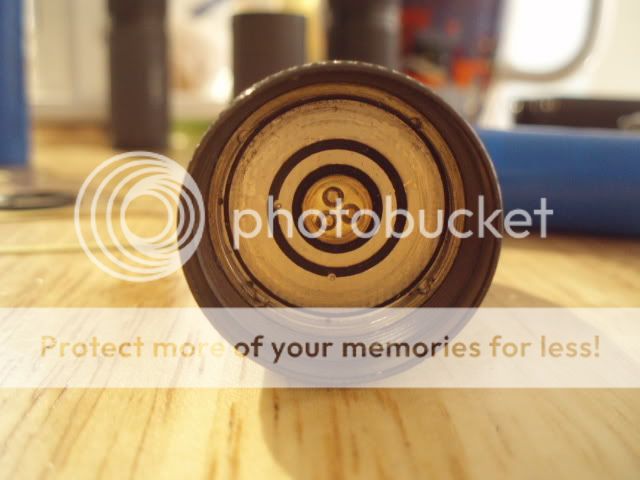
Notice how it's all nice and smooth inside without that spring in there clogging it up? Also notice that the tube has rounded ends and the NT tube has that cool cutaway. This is important. When you put the NT tube on the head or tail, the ledge goes over the retaining ring (that outer most ring that sticks up inside the head and tail).

See that outer ring? It's not just for holding in the pill. This is the main "negative" for the flashlight. See that big flat ring inside that? That is where the spring needs to make contact (HEY STUPID! YOU SAID TAKE THE SPRING OUT!) Yes, I did. Have another beer and just relax.
You see, when you screw that rounded end tube down onto a NT light, the inside edges of the retaining ring are exposed to the spring (if it is in the tube). This is important to know as you don't want our newly made item touching the retaining ring (I'm not responsible for blown off fingers... ok, that won't happen but your switch won't work if it touches.)
Now, have another beer, then carefully bend about 1/2 inch of the flat bar you just spent a days pay on. Bend it just a hair. If you bent it too much, stop drinking, sober up, and try again.
If you insert the battery in the tube (no head or tail on the tube) and push the brass bar into the tube, looking at the bottom, it should look like this:
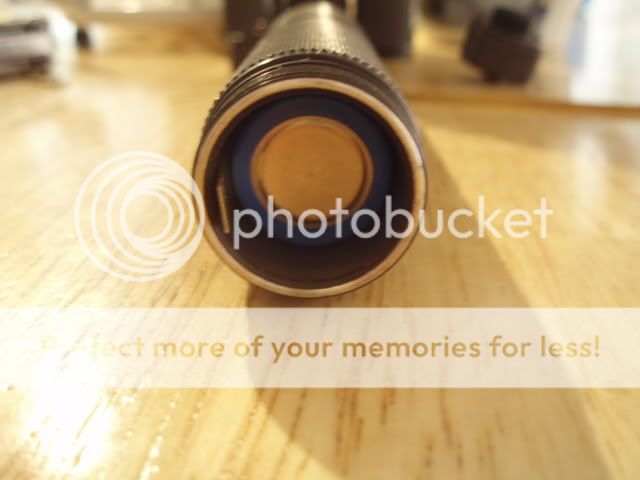

Notice how the end of the brass bar is not flush against the side wall of the tube. Yes, Grasshopper. This is correct.
Take it all out now.
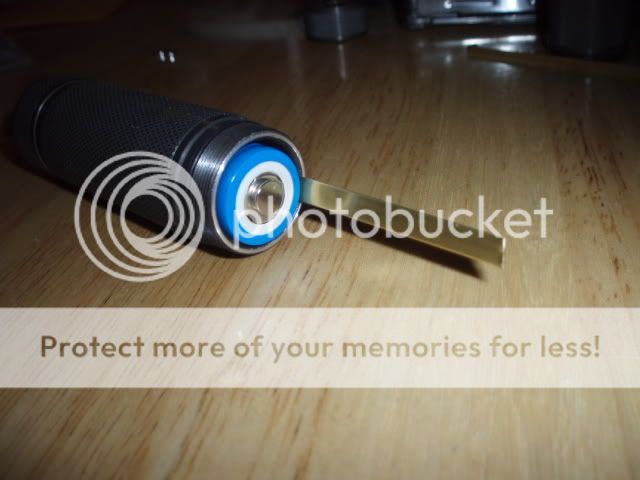
Now, screw the tailcap on the tube and put that 18650 battery in there. Insert the brass bar with the end you bent first and push it down into the battery tube until it makes it past the rubber HELTPP (the gray rubber spacer). If it catches on this, you bent it too much and need to try again. It should be bent just enough so that it will be out of the way of the retaining ring in the tailcap. No more.
If done correctly you should have something that looks like this:
Now, mark your brass bar about 1/8 of an inch from the edge of the tube. Make sure the bar is fully againt the tail cap. Cut it off here. Now take the bar out and bend the top of the bar over so that it looks like this:
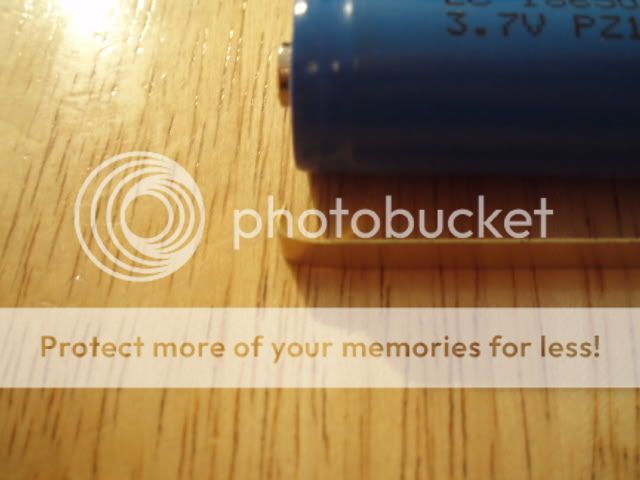
Take out your 18650 and hold the bar right up along side it with the newly bent end on the positive side of the battery. Make sure that the brass bar will not touch the positive contact on the battery. If it does, trim it.
Here is a pic from the top with the battery and bar inserted in the tube.

The nipple on your battery MUST be slightly higher than the brass bar.
Now screw the head on your light. It works!!! Or not.
If not, here is the trouble shooting section:
1. Light fails to come on at all (1 second dim light): YOUR NIPPLE AINT HIGHER THAN THE BRASS BAR. Fix it. (Twisting it in your fingers will not work for this.)
2. Light comes on for 1 second, turns off. Switch does not work: Your brass bar is too short and not touching both the head and tail. Good thing the brass bar is long enough to make two or three of these things. Try again but be easier on the cutting this time. Maybe less beer as well.
3. Light comes on bright and stays on. Your bar is making contact with the retaining ring in the head or tail. Bend the tail section a tad more. Check and make sure that the head section of the brass bar has it's top most point away from retaining ring.
4. Light starts to smoke, vent gasses and explodes in my hand: Brass bar was making contact with the positive terminal on the battery. Call 911 and get medical attention. Buy new NT, brass bar, and battery tube and try again when your hand grows back, and remember, I am not responsible for this. Beer will help the pain.
I've been using mine for about 4 days now and have had zero issues. I'm constantly taking it apart and putting it back together and it works every time.
Happy playing.
So, a thread in here got me thinking about the electrical pathways in the HDS and Novatac, and once I start thinking, well, trouble is bound to follow.
Gunga told me this was gone over before, but for the life of me, I could not find the thread. So, here it is, maybe invented again, but what the heck.
This is how to take your 2Xcr123 battery tube for a HDS (yes you can use 2 cr123 in it) or the same tube that many use a 17670 in the Novatac (NO! You can't use 2 cr123 batteries in your NT without very bad things happening... how bad?... VERY BAD!!! Not that I've done it and my nickname is "Lefty").
This will focus on doing it for the Novatac.
First, you need the tube. Go to Lighthound and order one if you don't have one already. While ordering, pick up a couple rare earth magnets to use as nipples on your 18650 batteries if they don't already have nipples (not sure why some of them don't, but then chicken breasts don't have them either... go figure.)
Next, go to Ace Hardware or your local hobby store and buy this:
While your there, go the flashlight section and laugh at the crappo lights.
Go home. Have a beer (don't drink and drive... drink. Beer is cheaper than gas).
Now, take that tube and if you have anything attached to it like a head or tail, take them off, and take the spring out. Should look like this if you have done it correctly. If it doesn't, have another beer and try again.
Notice how it's all nice and smooth inside without that spring in there clogging it up? Also notice that the tube has rounded ends and the NT tube has that cool cutaway. This is important. When you put the NT tube on the head or tail, the ledge goes over the retaining ring (that outer most ring that sticks up inside the head and tail).
See that outer ring? It's not just for holding in the pill. This is the main "negative" for the flashlight. See that big flat ring inside that? That is where the spring needs to make contact (HEY STUPID! YOU SAID TAKE THE SPRING OUT!) Yes, I did. Have another beer and just relax.
You see, when you screw that rounded end tube down onto a NT light, the inside edges of the retaining ring are exposed to the spring (if it is in the tube). This is important to know as you don't want our newly made item touching the retaining ring (I'm not responsible for blown off fingers... ok, that won't happen but your switch won't work if it touches.)
Now, have another beer, then carefully bend about 1/2 inch of the flat bar you just spent a days pay on. Bend it just a hair. If you bent it too much, stop drinking, sober up, and try again.
If you insert the battery in the tube (no head or tail on the tube) and push the brass bar into the tube, looking at the bottom, it should look like this:
Notice how the end of the brass bar is not flush against the side wall of the tube. Yes, Grasshopper. This is correct.
Take it all out now.
Now, screw the tailcap on the tube and put that 18650 battery in there. Insert the brass bar with the end you bent first and push it down into the battery tube until it makes it past the rubber HELTPP (the gray rubber spacer). If it catches on this, you bent it too much and need to try again. It should be bent just enough so that it will be out of the way of the retaining ring in the tailcap. No more.
If done correctly you should have something that looks like this:
Now, mark your brass bar about 1/8 of an inch from the edge of the tube. Make sure the bar is fully againt the tail cap. Cut it off here. Now take the bar out and bend the top of the bar over so that it looks like this:
Take out your 18650 and hold the bar right up along side it with the newly bent end on the positive side of the battery. Make sure that the brass bar will not touch the positive contact on the battery. If it does, trim it.
Here is a pic from the top with the battery and bar inserted in the tube.
The nipple on your battery MUST be slightly higher than the brass bar.
Now screw the head on your light. It works!!! Or not.
If not, here is the trouble shooting section:
1. Light fails to come on at all (1 second dim light): YOUR NIPPLE AINT HIGHER THAN THE BRASS BAR. Fix it. (Twisting it in your fingers will not work for this.)
2. Light comes on for 1 second, turns off. Switch does not work: Your brass bar is too short and not touching both the head and tail. Good thing the brass bar is long enough to make two or three of these things. Try again but be easier on the cutting this time. Maybe less beer as well.
3. Light comes on bright and stays on. Your bar is making contact with the retaining ring in the head or tail. Bend the tail section a tad more. Check and make sure that the head section of the brass bar has it's top most point away from retaining ring.
4. Light starts to smoke, vent gasses and explodes in my hand: Brass bar was making contact with the positive terminal on the battery. Call 911 and get medical attention. Buy new NT, brass bar, and battery tube and try again when your hand grows back, and remember, I am not responsible for this. Beer will help the pain.
I've been using mine for about 4 days now and have had zero issues. I'm constantly taking it apart and putting it back together and it works every time.
Happy playing.
Last edited:

")