Richie086
Enlightened
....when the HID bulb is new and while in use, it emits a steady stream of smoke, or something on the bulb is burning off. After cleaning my lens after upgrading the bulb to 4300k, I actually was able to see this happening. It actually makes sense why some members report the interior of the lens continues to fog up in time.
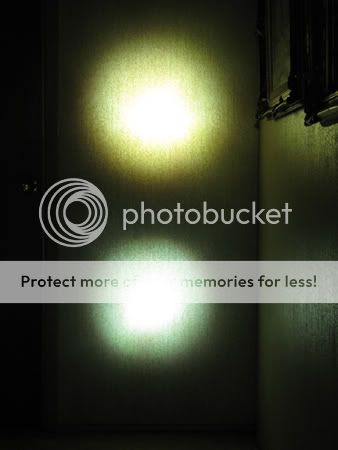
Anyway, I just replaced my stock 35W bulb with the new 35W 4300k and the difference is like night and day (no pun intended). I tested the modification against my other fully stock POB and it's amazing side by side just how cool or blue a 6000k bulb is compared to 4300k.
Lastly, I purchased several of these bulbs from that vendor on Ebay. The auction was for the 50W bulbs but they are marked 35W 4300k. No big deal for me since the stock POB ballast max's out at around 43 watts anyway. I do like these better since they have a metal base rather than the plastic. Since they are metal based, I didn't use the metal retaining ring from the stock bulb. Does anyone know if this was okay for me to leave it off?
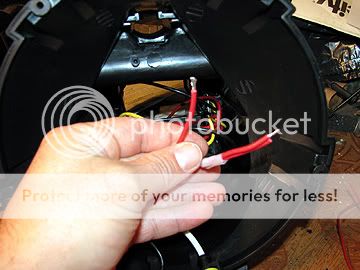
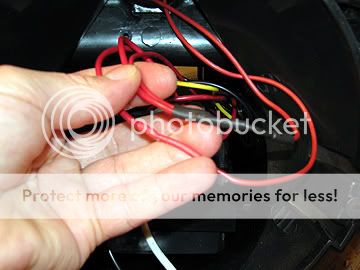
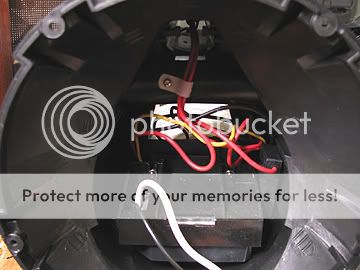
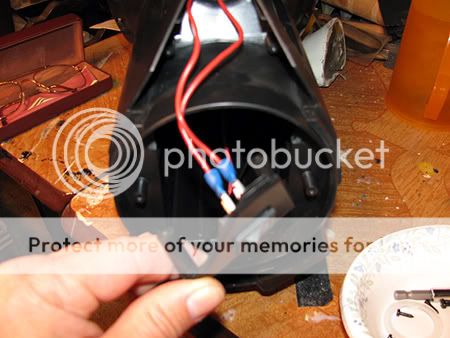
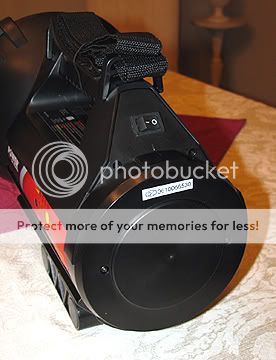
Well, I have to get back to modding my Power On Board spotlight. I'm relocating the switch because I've gotten tired of every time I pick up the spotlight I accidentally turn the darn thing on. I'm also adding a volt gauge and a much better SLA battery better designed for high amperage devices and about 12 watt hours more power (108 total watt hours of power). I chose this route because I wanted to be able to use the stock battery charger and circuitry since it smart charges.
Anyway, I just replaced my stock 35W bulb with the new 35W 4300k and the difference is like night and day (no pun intended). I tested the modification against my other fully stock POB and it's amazing side by side just how cool or blue a 6000k bulb is compared to 4300k.
Lastly, I purchased several of these bulbs from that vendor on Ebay. The auction was for the 50W bulbs but they are marked 35W 4300k. No big deal for me since the stock POB ballast max's out at around 43 watts anyway. I do like these better since they have a metal base rather than the plastic. Since they are metal based, I didn't use the metal retaining ring from the stock bulb. Does anyone know if this was okay for me to leave it off?
Well, I have to get back to modding my Power On Board spotlight. I'm relocating the switch because I've gotten tired of every time I pick up the spotlight I accidentally turn the darn thing on. I'm also adding a volt gauge and a much better SLA battery better designed for high amperage devices and about 12 watt hours more power (108 total watt hours of power). I chose this route because I wanted to be able to use the stock battery charger and circuitry since it smart charges.
Last edited: