My third ground-up build.

chelboed

Newly Enlightened
Joined
Jan 24, 2010
Messages
169
My third ground up build:

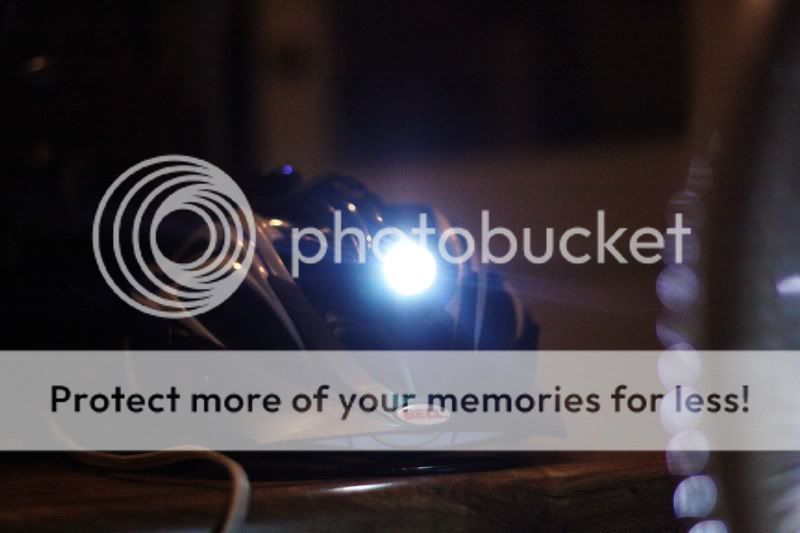
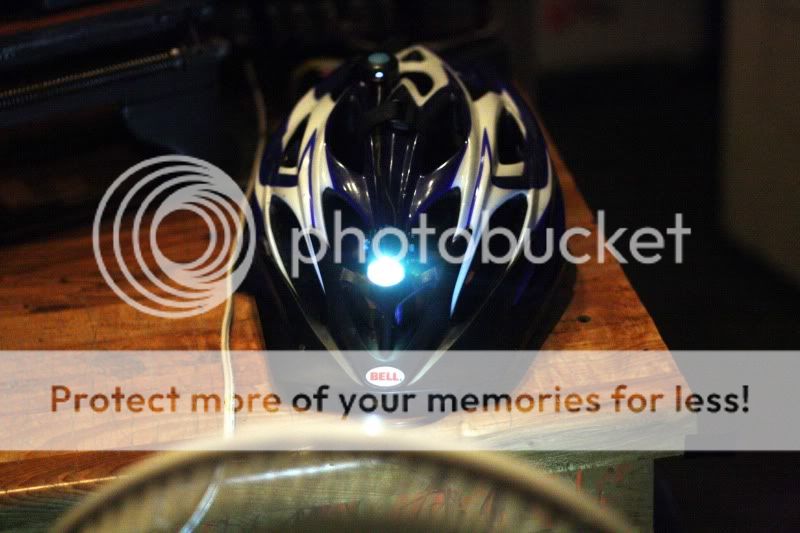
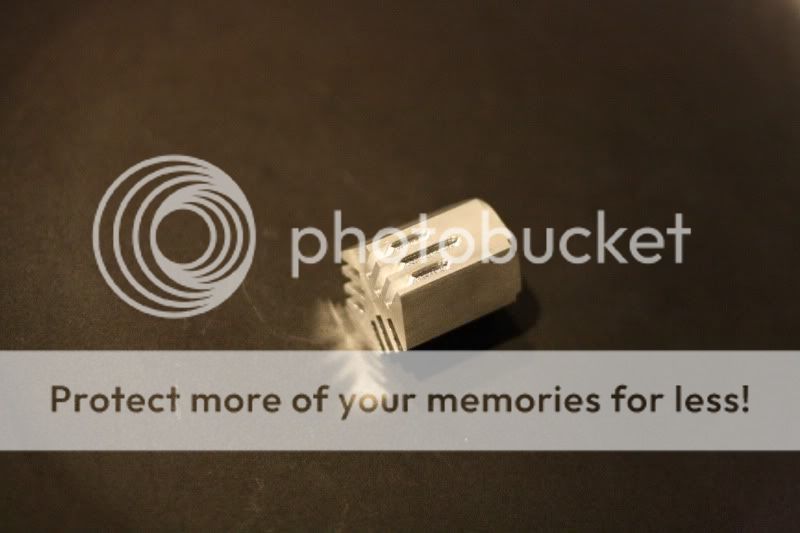
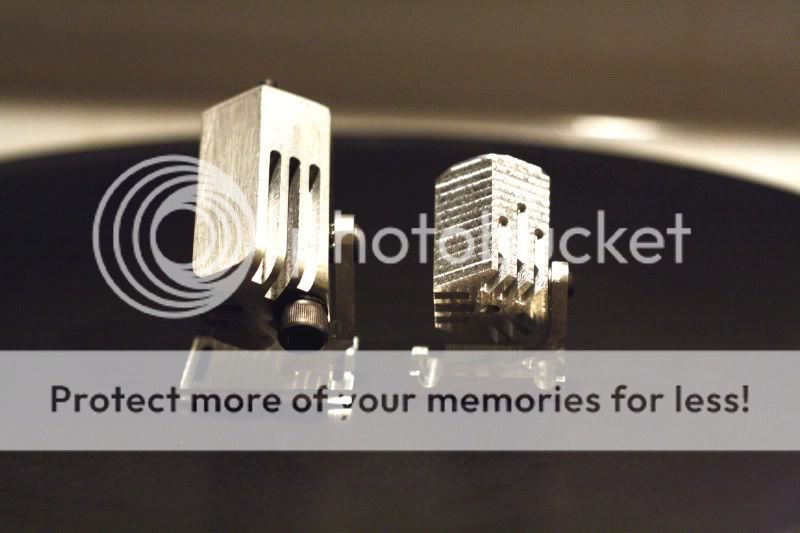
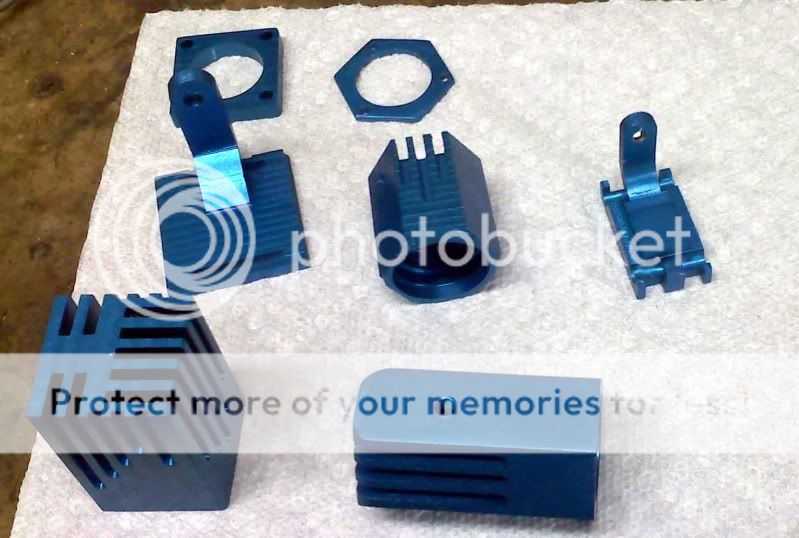
Finished the host for the single XP-G unit. Both my triple and single have shipped, so I guess I'd better get on the stick and get some anodizing done.
IMG_2982.jpg


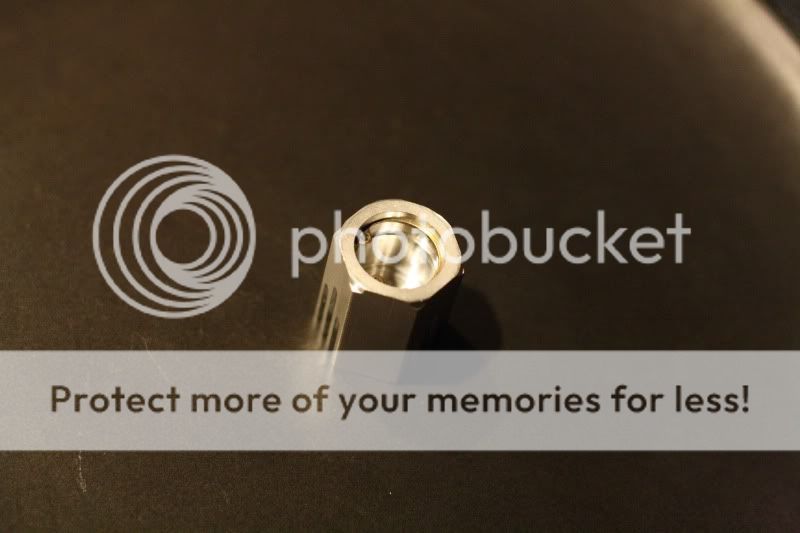
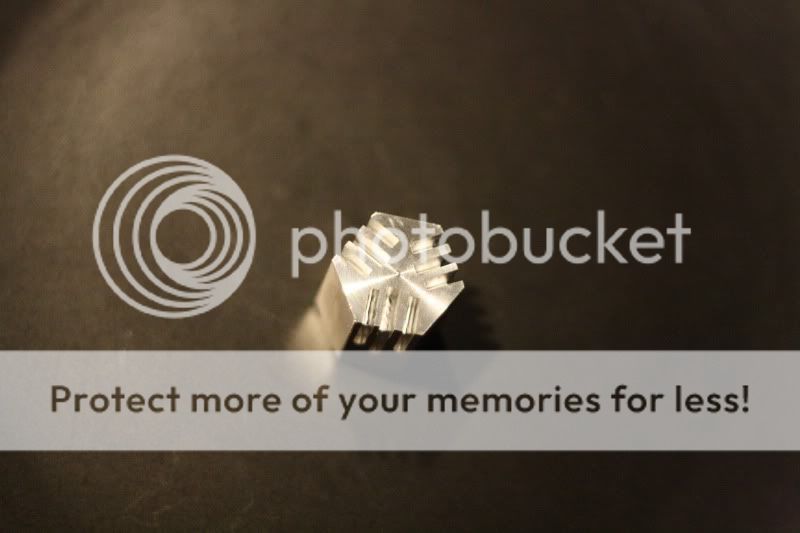
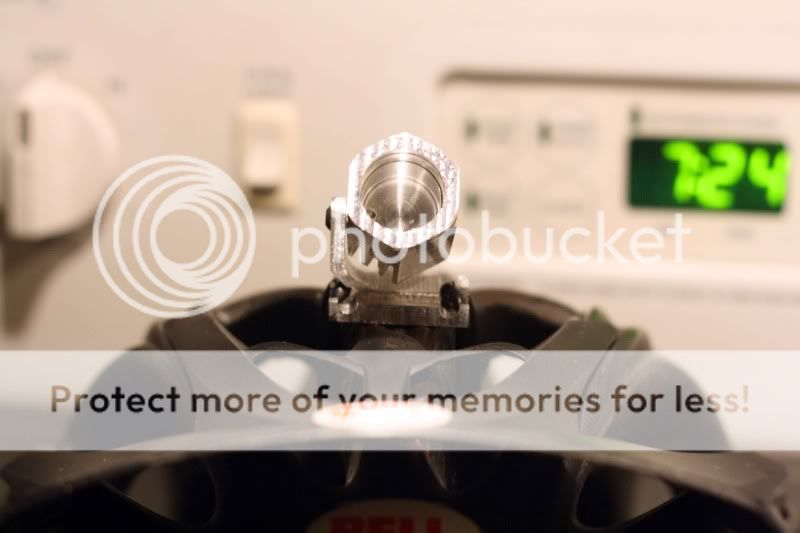
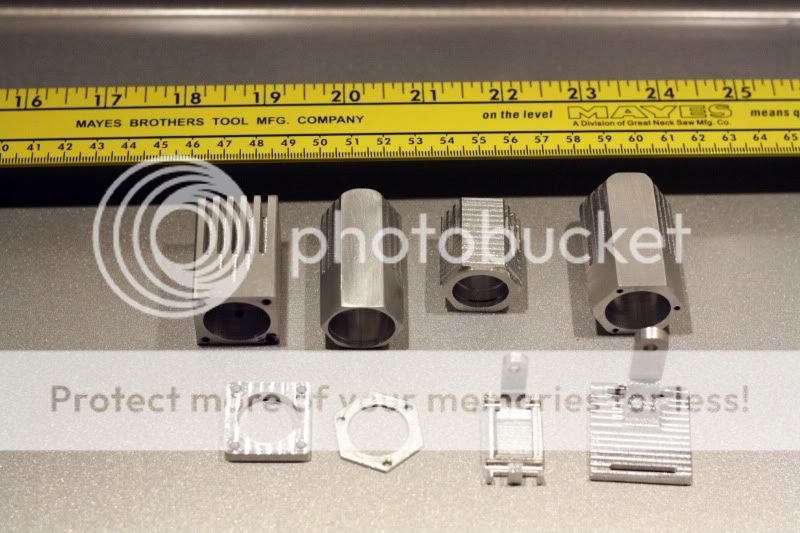
It has a double stepped flat bottom hole b/c the MCPCB is 14.6mm, Tina optics are 16.1, and the Lens and O-Ring are 17mm. Snap ring is 19mm.

This one uses a snap ring to retain the guts. I'm going to get a less obtrusive ring...but this was all I had available at the moment.
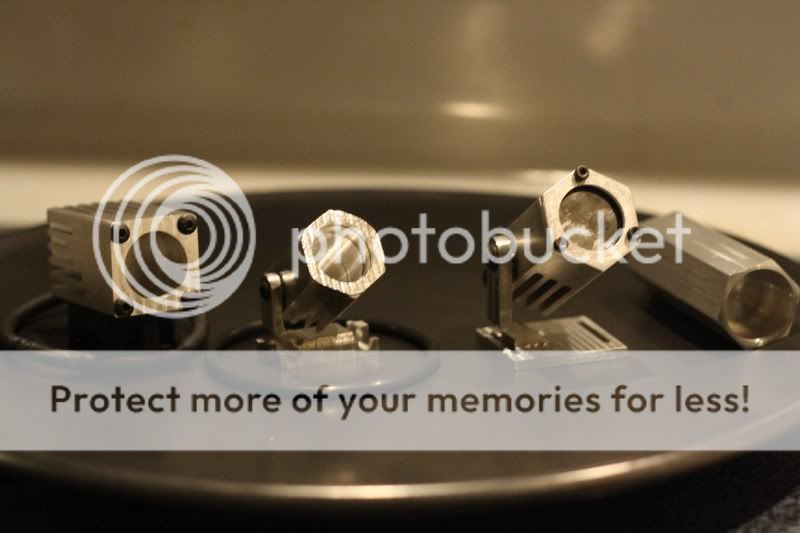
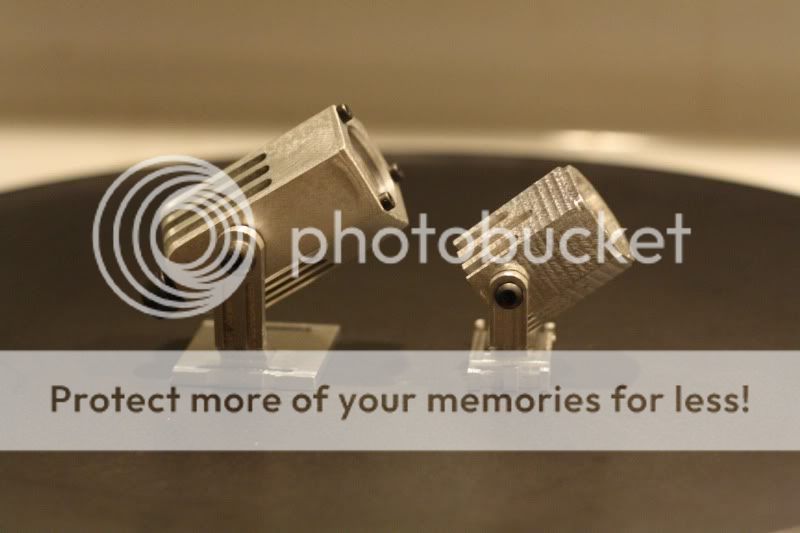
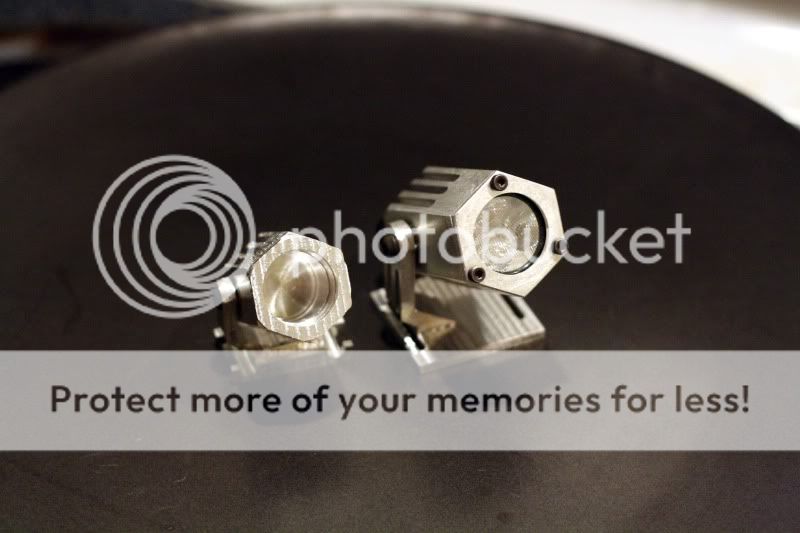
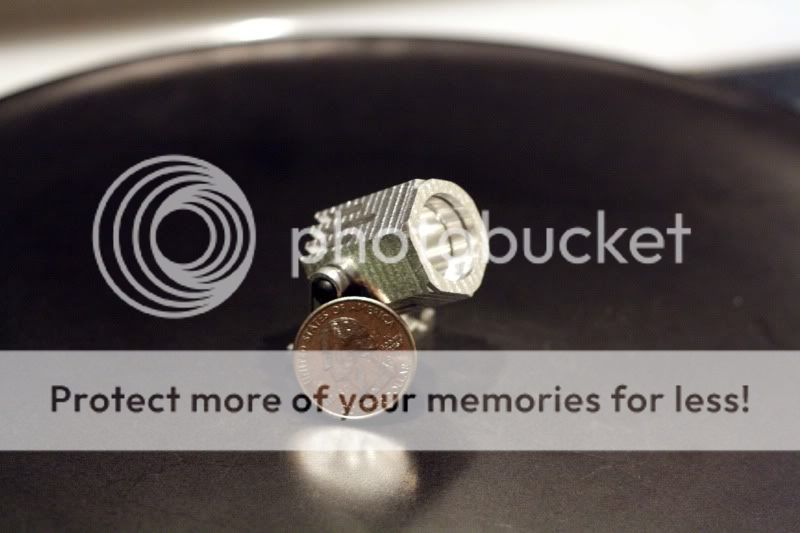
IMG_3059.jpg

IMG_3060.jpg

IMG_3061.jpg


Size:
IMG_3062.jpg


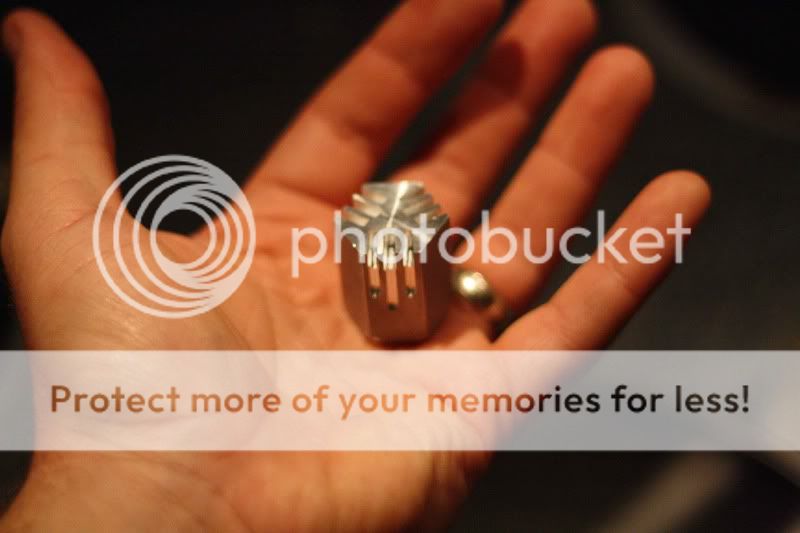
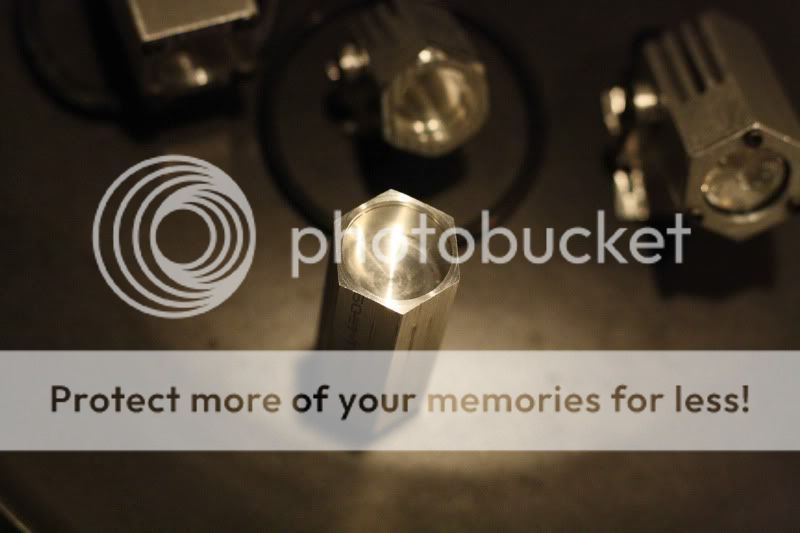
And compared to the MS:
IMG_3058.jpg


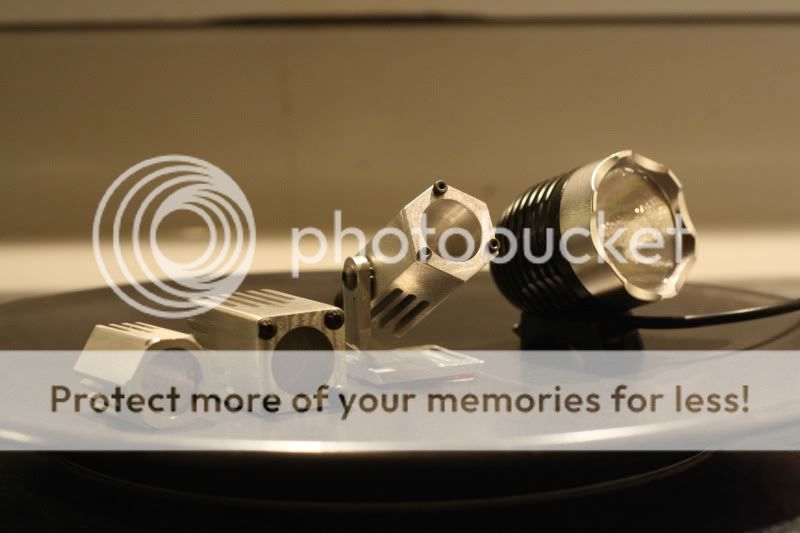
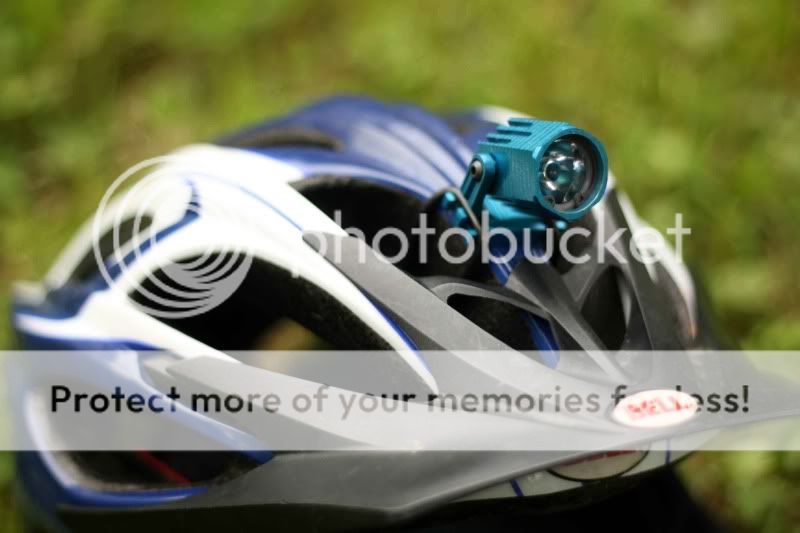
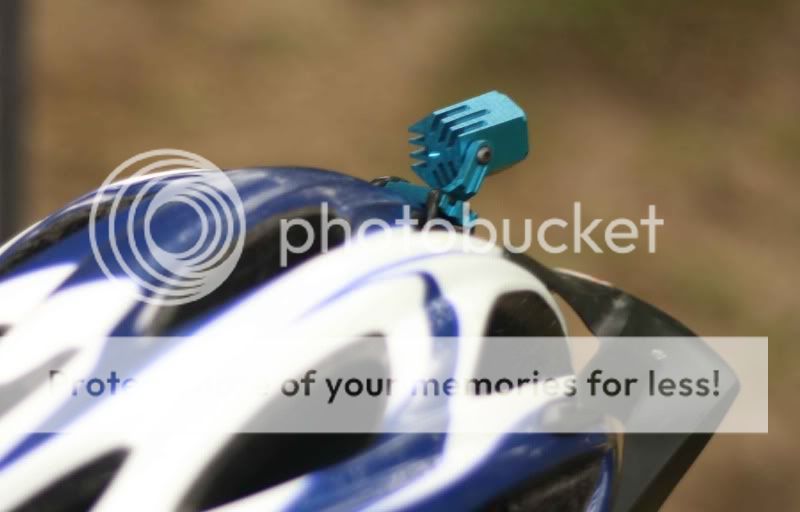
Now I gotta build a mount for the single.
 

ibbleobble

Newly Enlightened
Joined
Mar 3, 2010
Messages
17
Man, those are beautiful. You're an artist. I wish I cold do that. Do You sell your work?
 

rayman

Flashlight Enthusiast
Joined
May 6, 2008
Messages
1,219
Location
Germany
It's getting better and better :twothumbs. All your wokr looks great.

rayman
 

chelboed

Newly Enlightened
Joined
Jan 24, 2010
Messages
169
Man, those are beautiful. You're an artist. I wish I cold do that. Do You sell your work?

Probably will. When I get it all ano'd and the guts installed...I'll throw out a line and see if I get any bites.
 

chelboed

Newly Enlightened
Joined
Jan 24, 2010
Messages
169
I'm done with the single and working on another small triple with a snap ring retainer instead of the facecap:
IMG_3070.jpg

IMG_3071.jpg

IMG_3076.jpg

IMG_3075.jpg

IMG_3072.jpg

IMG_3074.jpg

IMG_3078.jpg


The 22.2mm triple (walls are 1mm thick and the snap ring section is only 0.5mm (yikes!)
IMG_3077.jpg
 
Last edited:

JB01245

Newly Enlightened
Joined
Oct 5, 2006
Messages
82
The blue looks nice! Noticed that you/they didn't plug the threaded hole(s). You will probably have to retap them and remove the anodize from the threads to get your fasteners to work.

Did you account for the anodize build up on your tight tolerance inner diameter features?
 

chelboed

Newly Enlightened
Joined
Jan 24, 2010
Messages
169
I wasn't sure how thick it would be...I gave a little extra, but if I have to sand it off the inside...so be it. Won't hurt anything to get rid of the ano on the inside. There won't be anything electrical contacting the alu.

Retapping the holes will be a snap.
 

chelboed

Newly Enlightened
Joined
Jan 24, 2010
Messages
169
Obviously compared to a P7 like the MagicShine, this light doesn't put out quite as much...but when you consider that it's about the size of a quarter:lol:

IMG_3078.jpg


F4
ISO 100
Daylight
6"
Just for a reference...here's my old MagicShine Beamshot:
ms.jpg


Here's the L31 single XP-G with a 20mm Carclo optic:
IMG_3486.jpg

IMG_3467.jpg

IMG_3468.jpg

IMG_3474.jpg

IMG_3473.jpg


When I let it go for about 20min, it went from 34 ambient to around 61C. I turned on my fan on the lowest setting to mimic a leisurely pace through the woods and it quickly dropped down to 44C and stayed there. The normal operating temperature for this LED and board is somewhere between 60-80C...therefore, I have RAWK'd a housing that's small enough to lose when you're 3 sheets to the wind...but still big enough to keep it far below any critical heat. It's funny...when you feel it at 60C (140' F)...it "feels hot"...but the LED is rated up to 150C (302 F) and the board has a "smart shut-off" at 120C.

No chance of this one getting too hot.:thumb:
IMG_3475.jpg


GITD:
IMG_3487.jpg


Can't wait to get the triple under way!
 

chelboed

Newly Enlightened
Joined
Jan 24, 2010
Messages
169
Thanks man...I'll try to get a triple done this weekend. I used a 2s RCR's for the battery pack which should give about 1-1.5hrs...it's so dang small though....funny! I'm still on the fence about whether or not to do the square or Hex next. We'll see.
 
Last edited:

BrianMc

Enlightened
Joined
Nov 4, 2009
Messages
940
Nice. Good temp.

I'd say you are close to about as small an interface per watt as you should go and keep the LED in the 80-90%+ of max efficacy range.

Beam looks good. Proof is in the riding.
 

brad72

Newly Enlightened
Joined
May 25, 2009
Messages
80
Location
Queensland, Australia
I'd say you are close to about as small an interface per watt as you should go and keep the LED in the 80-90%+ of max efficacy range.

From memory the ideal amount of cooling is 1 square inch (6.45cm) of cooling per watt of led output. Does this sound correct?


So Chelboed, when is the maiden run out on the trails?
 

BrianMc

Enlightened
Joined
Nov 4, 2009
Messages
940
From memory the ideal amount of cooling is 1 square inch (6.45cm) of cooling per watt of led output. Does this sound correct?

That's more a rule of thumb and derived before the higher heat transfer rates of the XP-G. I have 10 watts of XP-Gs (3 x 1 A) with 7 sq inches of air contact and NO FINS. EL34 runs over 11 watts of P7 with about the same area. About 0.7 sq inch per watt consumed. 44-45 C in dead calm 22-23 C air. Luke warm on rides at full power at 30-35 C ambient. However, at 1 amp almost 2 watts that the 3 XPG R5s use become light, so there is about 1.1 square inch per watt of heat output.

So, yeah it's a guideline, based on a lot of work with older LEDs like Luxeons. YMMV.
 

chelboed

Newly Enlightened
Joined
Jan 24, 2010
Messages
169
Hopefully I can get out to the trails soon.

Check out the "My Second Ground Up Build" thread for pic's / beam shots of the triple L332 board. That one's done too.

It def. warms up quicker than the little one, but I think it will stay cool. I hadn't really charged my battery pack prior to the build, so I couldn't do a good "heat test". Soon.
 
Top