MartinDWhite
Enlightened
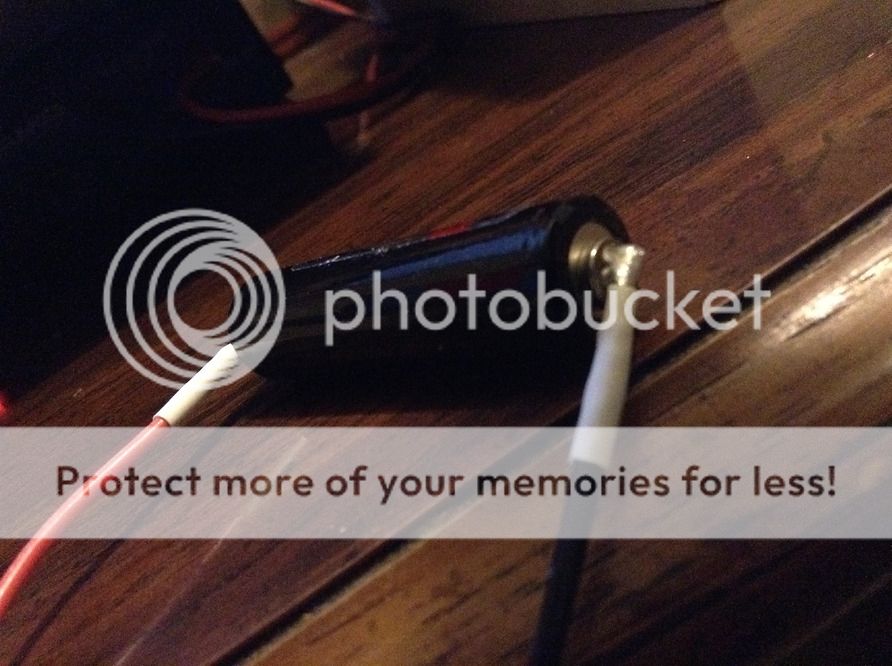
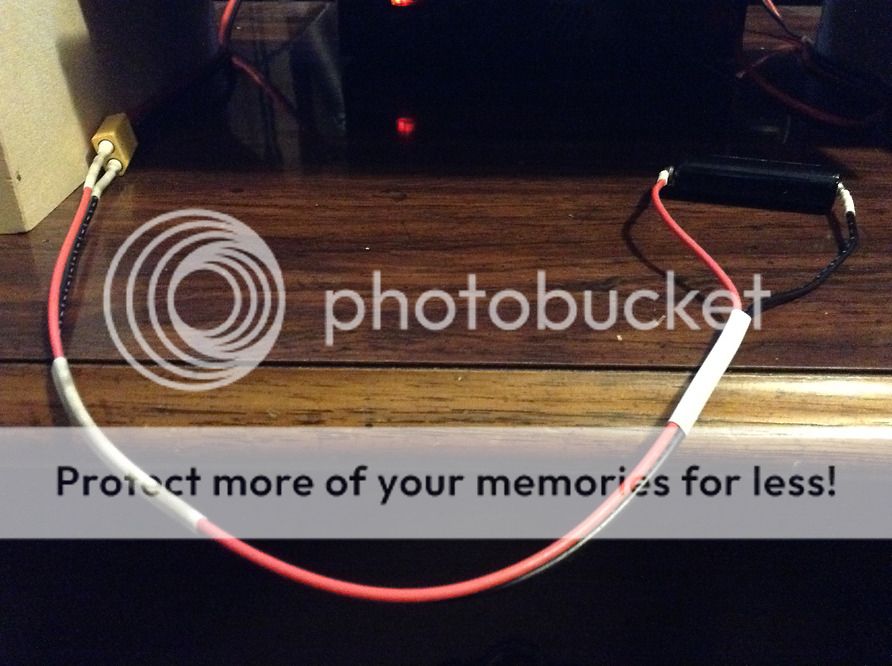
Someone asked about how I am able to solder wires to the magnets (MagWires as some call them) for the battery charing adapters (shameless plug coming) which I sell http://www.cpfmarketplace.com/mp/sho...-IBC-or-other)
I have done probably 75 magnets and wires this way and they have all been magnetized afterward. In comarison to an untouched magnet I can't tell a difference.
To solder to the magnets (without lossing the magnetism) requires a little prep, flux, and a quick soldering hand.
FIRST: A little precaution with flux. It is an ACID and will burn your hands if you are not careful. Only try this if you know what you are doing. Being sloppy with a hot iron can burn down your house and kill you. Breathing the fumes of solder and flux can kill you. Something in life WILL kill you, try to not let it be this.
SAFETY out of the way....to the instructions
- strip the end of the wire (about 1/2 inch for a 1/4 magnet)
- dip the stripped end of the wire in paste flux
- smear the end of the magnet that you are going to solder the wire onto with paste flux
- put the magnet on a metal post so the flus side is pointing up
- spool out some solder so you don't have to hold it (I have about 2 inches sticking out in the air)
- get the sodlering iron hot!
- melt some solder directly on the iron (hold the iron so the solder bubble is hanging down
- touch the wire (still covered in flux) to the molten solder bubble. It should fizz and suck up the solder (keep the wire in your hand you will need it very shortly)
- melt some more solder directly on the iron (hold the iron so the solder bubble is hanging down
- touch the top of the magnet where the flux is just long enough to fizz the flux and transfer the solder to the magnet
- QUICKLY put the wire on top of the magnet solder bubble
- QUICKLY put the iron on top of the wire
- QUICKLY the whole stack (solder on magnet, wire with solder, and solder still on iron) should form a single solder bubble
- as soon as it is a single bubble remove the iron and hold the wire very still
- 3 to 6 seconds later the whole thing should solidify
- after it cools I trim the excess wire off so the wire ends flush with the magnet end.
Next time I do some I will take pictures and update this thread.
If you don't feel like doing this yourself, you can always just buy the MagWires from me....(yet another shameless plug)...
Last edited:


