I often end up with a few minutes in between mod steps, and have been slowly working on getting a Pentagon Molle apart for modding. I did not photograph the steps in getting the light apart, because it was done slowly over a week's time.
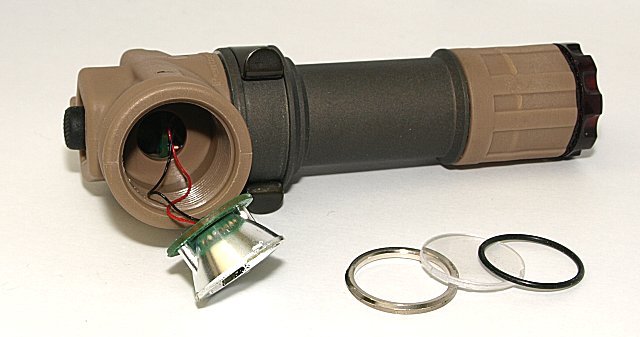
To get the retaining ring out, I epoxied an aluminum slug onto the ring. It screwed out easily, allowing me to remove the plastic window and o-ring. The reflector and LED board are held in with a rubbery glue, and had to be worked out slowly. I used a dental tool to work around the perimeter of the reflector, loosening the glue. When it finally came loose, the reflector came out with a little prying around the edges. Two thin wires were soldered onto the backside of the board, and were plenty long to remove easily. The LED board and reflector are held together by two posts on the reflector fit into holes in the LED board.
Note: The LED mod can be completed without any further disassembly of the light. I continued to take the light apart to satisfy my own curiosity.
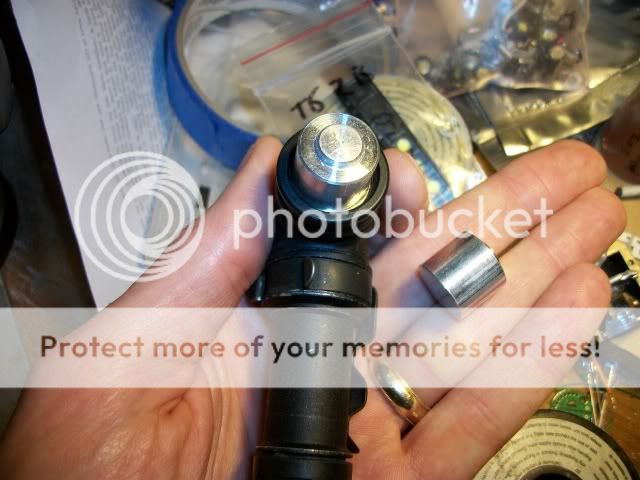
To get the metal body apart from the plastic head, I heated the assembly on a mug warmer. The two unscrewed easily with a strap wrench. Getting the head off allowed the driver board/switch assembly to be removed. The ground contact in the plastic head is made with a metal ring that is pressed in the head. It removed easily with a little prying around the edges
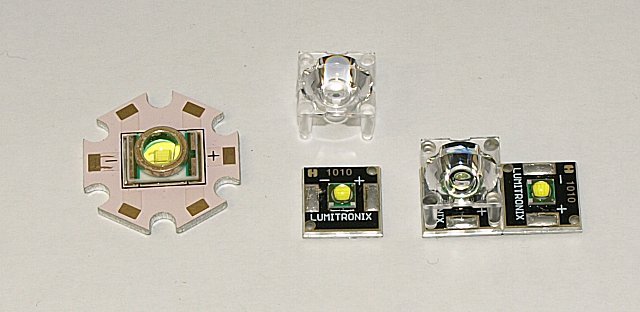
The LED that was in the Molle was underpowered and had a blue tint that was terribly annoying. An XP-G with a nice white tint has found it's way onto the board. The existing LED only had two pads on which it was soldered. To get the XP-G to fit onto the existing board, I had to scrape a small portion of one copper area away to avoid a short circuit. This still left plenty of contact for heatsinking. After soldering the LED in place, a quick continuity check confirmed that my LED was sitting on the board well.
This is as far as I have progressed, and I will not be able to complete the mod any time soon. In the mean time, here are a few pictures of the light in pieces.
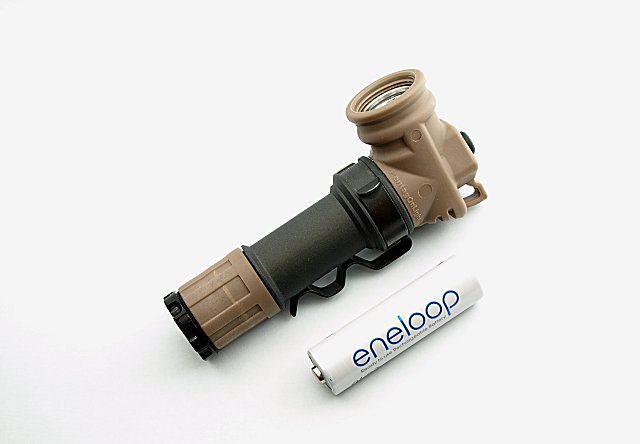
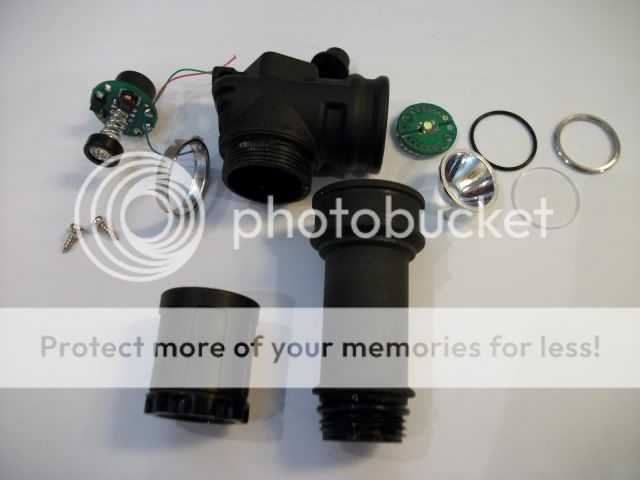
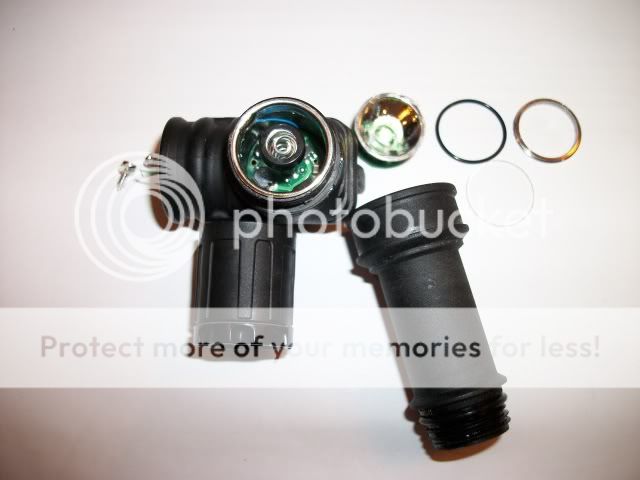
Disassembled Pentagon Molle.
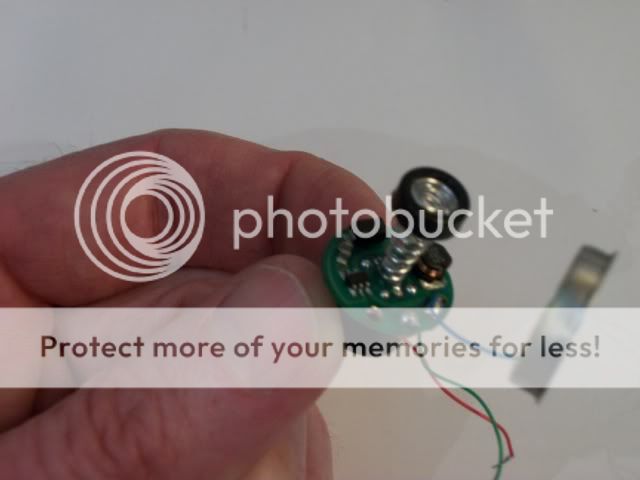
Circuit board and switch.
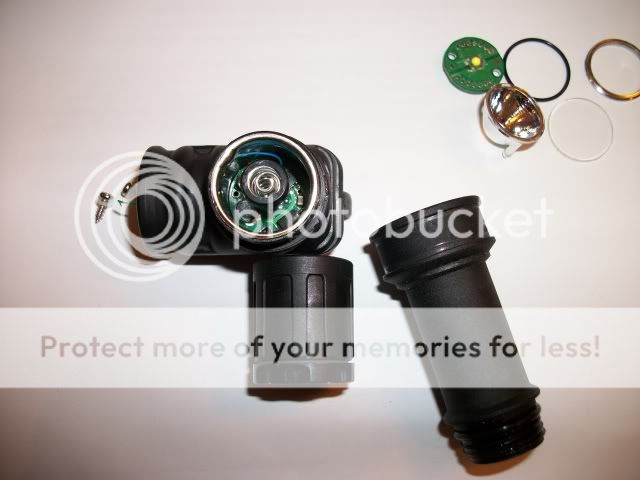
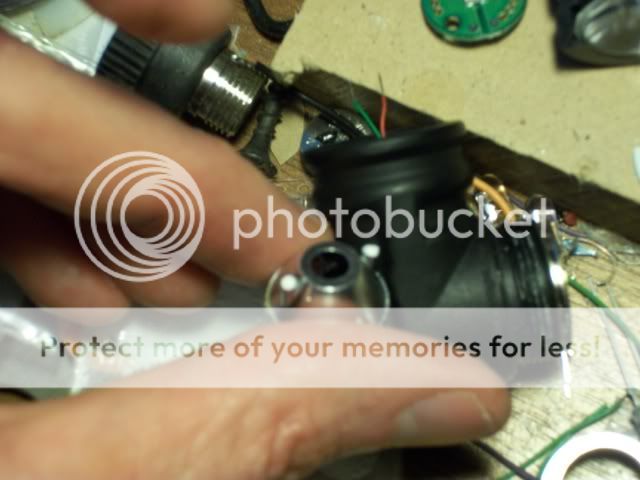
Switch and circuit board in head of light.
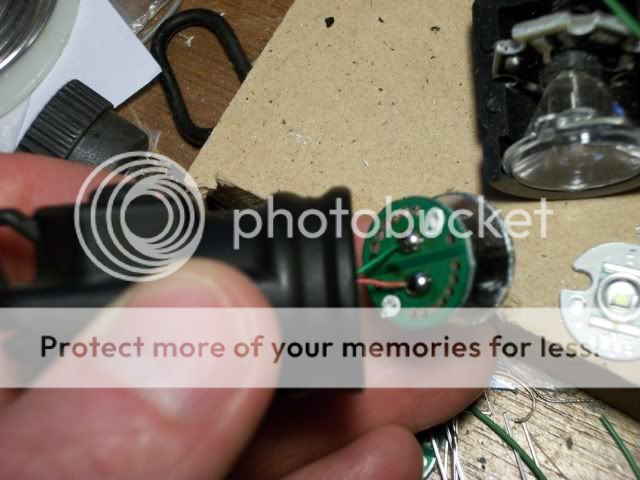
Another view with reflector on LED board.
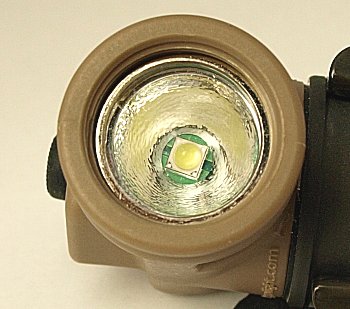
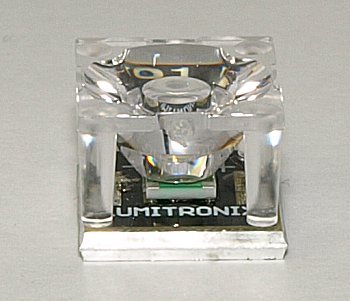
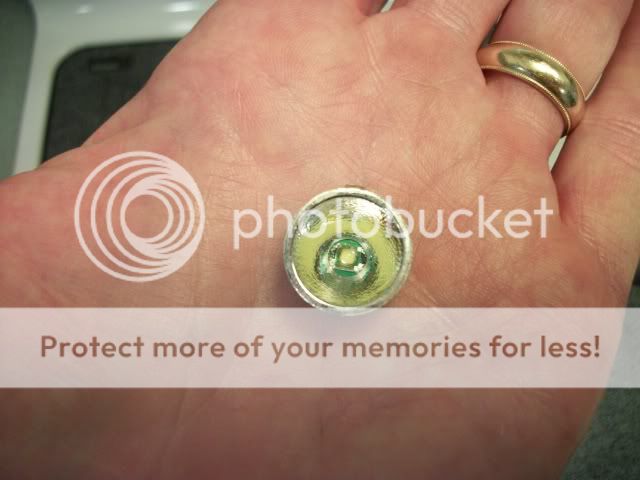
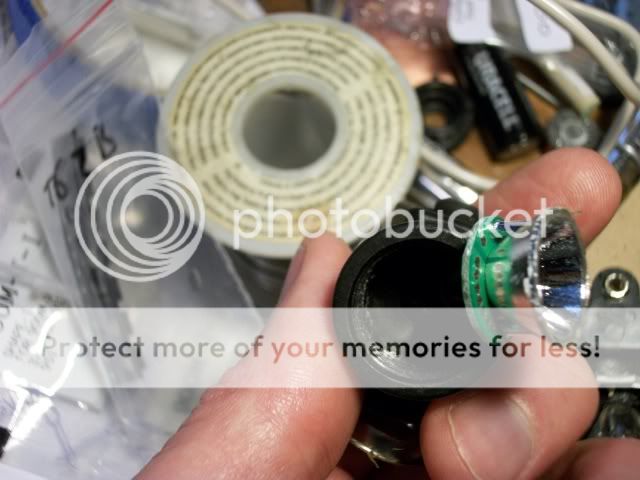
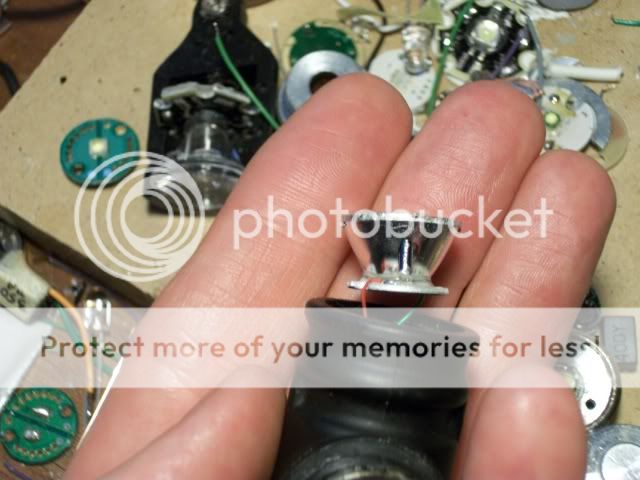
Closeup of reflector and LED.
And in case you were wondering how it is done, here is how to get into a Molle. Excuse the mess on the edge of my work bench. This is the edge of the bench that seems to catch all of the things that I set down.
Now, onto the Molle mod...
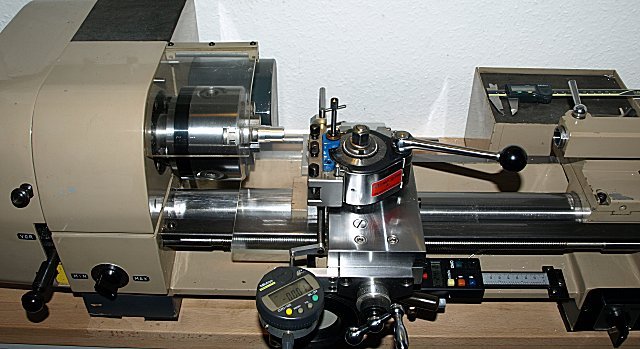
I epoxied an aluminum spacer from a battery charger to the ring holding the window in place. Don't use too much epoxy, or you will get the window, too.
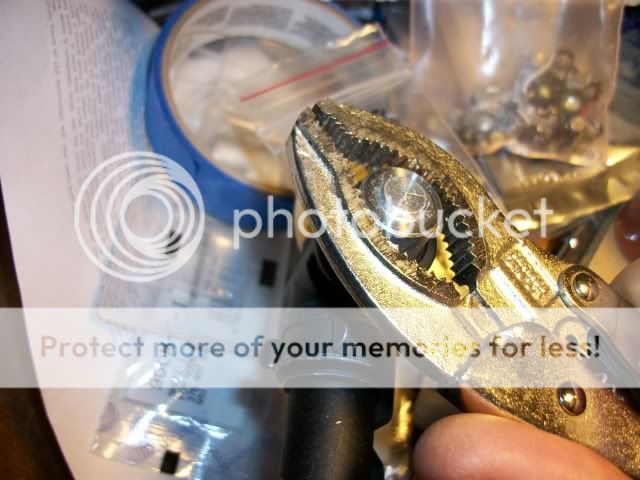
Vise grips make turning the slug easy, and the ring comes out without much effort.
And it is out. Wasn't that easy? Well, waiting for the epoxy to dry was a pain.
Remove the o-ring.
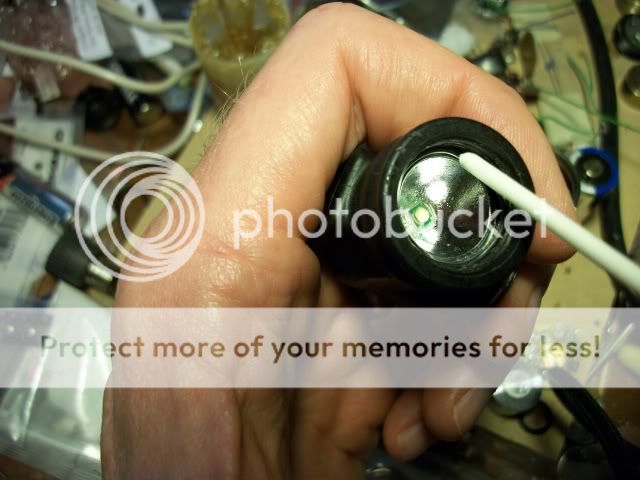
Use a thin tool to break the adhesive holding the reflector in place.
Work the reflector out of the head.
Out. Now you can see the PCB with the LED and reflector. The reflector has pins that fit into holes in the PCB.
Unsolder the two wires for the LED, and set the reflector aside.
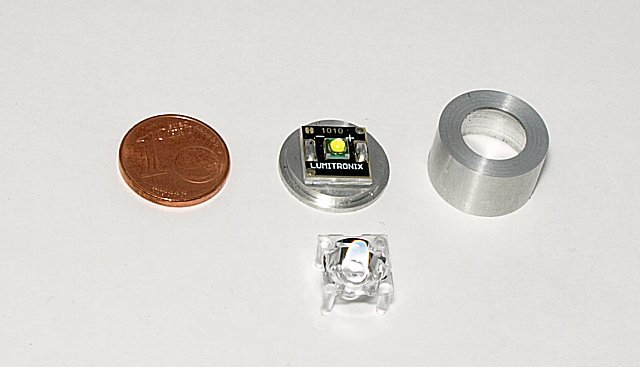
The LED is out, and I have used a razor to remove the reflector.
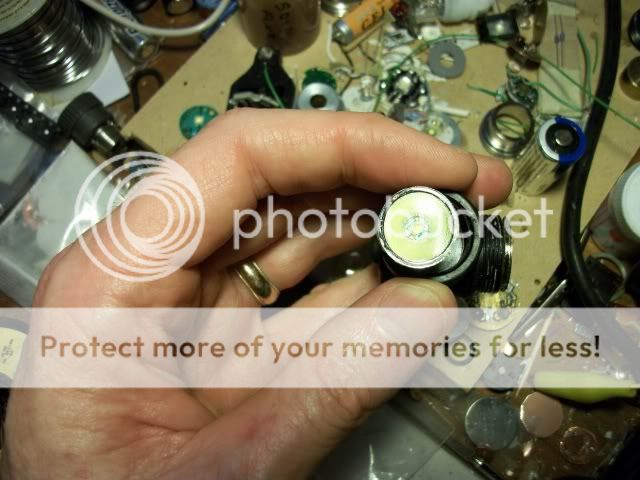
The CREE XP-G on 16mm board, soldered in place.

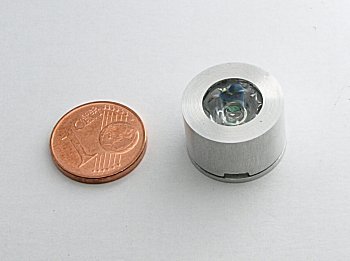
Here I have used epoxy to adhere the reflector to the LED board.
Watch that the LED is oriented square with the board, and make adjustments as the epoxy cures.
When the epoxy is fully cured, put the LED and o-ring back in place. I don't have any more pictures at this point, but the only thing left to do is install the window and retaining ring. A pair of pliers with open jaws does a pretty good job of this, but I would like to find a tool to help with this step.
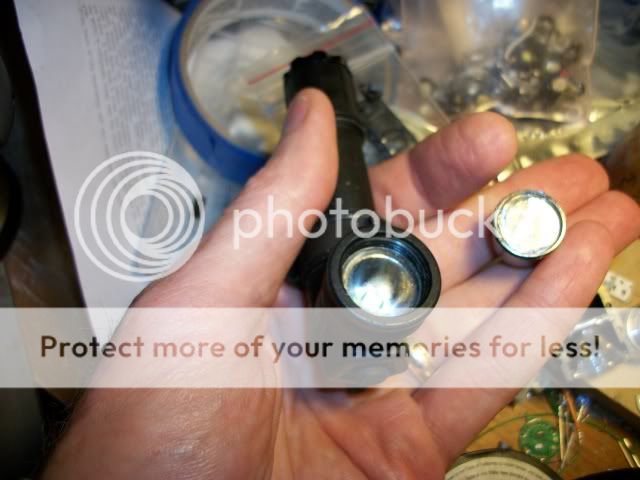
The results are clear below when compared to the stock Molle on the left. The tint of the R5 XP-G LED looks warm in comparison to the stock LED. When used by itself, it is basically white. (For reference, the garage door is pure white.)

OK, you've seen it done, now go open up your own Molle and replace that sickly LED with something more state of the art. Most of all, have fun!
To get the retaining ring out, I epoxied an aluminum slug onto the ring. It screwed out easily, allowing me to remove the plastic window and o-ring. The reflector and LED board are held in with a rubbery glue, and had to be worked out slowly. I used a dental tool to work around the perimeter of the reflector, loosening the glue. When it finally came loose, the reflector came out with a little prying around the edges. Two thin wires were soldered onto the backside of the board, and were plenty long to remove easily. The LED board and reflector are held together by two posts on the reflector fit into holes in the LED board.
Note: The LED mod can be completed without any further disassembly of the light. I continued to take the light apart to satisfy my own curiosity.
To get the metal body apart from the plastic head, I heated the assembly on a mug warmer. The two unscrewed easily with a strap wrench. Getting the head off allowed the driver board/switch assembly to be removed. The ground contact in the plastic head is made with a metal ring that is pressed in the head. It removed easily with a little prying around the edges
The LED that was in the Molle was underpowered and had a blue tint that was terribly annoying. An XP-G with a nice white tint has found it's way onto the board. The existing LED only had two pads on which it was soldered. To get the XP-G to fit onto the existing board, I had to scrape a small portion of one copper area away to avoid a short circuit. This still left plenty of contact for heatsinking. After soldering the LED in place, a quick continuity check confirmed that my LED was sitting on the board well.
This is as far as I have progressed, and I will not be able to complete the mod any time soon. In the mean time, here are a few pictures of the light in pieces.
Disassembled Pentagon Molle.
Circuit board and switch.
Switch and circuit board in head of light.
Another view with reflector on LED board.
Closeup of reflector and LED.
And in case you were wondering how it is done, here is how to get into a Molle. Excuse the mess on the edge of my work bench. This is the edge of the bench that seems to catch all of the things that I set down.
Now, onto the Molle mod...
I epoxied an aluminum spacer from a battery charger to the ring holding the window in place. Don't use too much epoxy, or you will get the window, too.
Vise grips make turning the slug easy, and the ring comes out without much effort.
And it is out. Wasn't that easy? Well, waiting for the epoxy to dry was a pain.
Remove the o-ring.
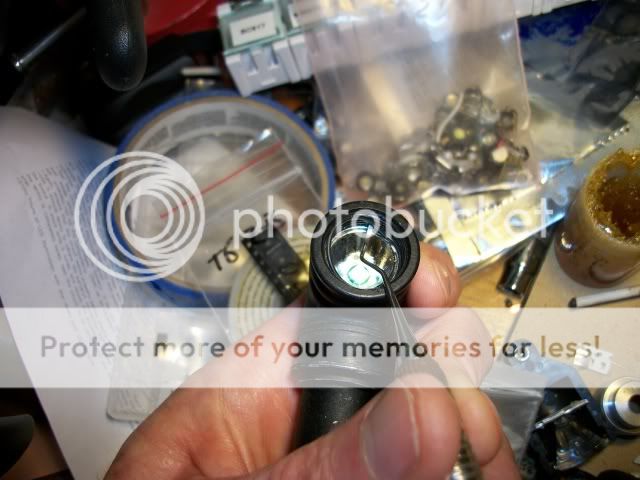
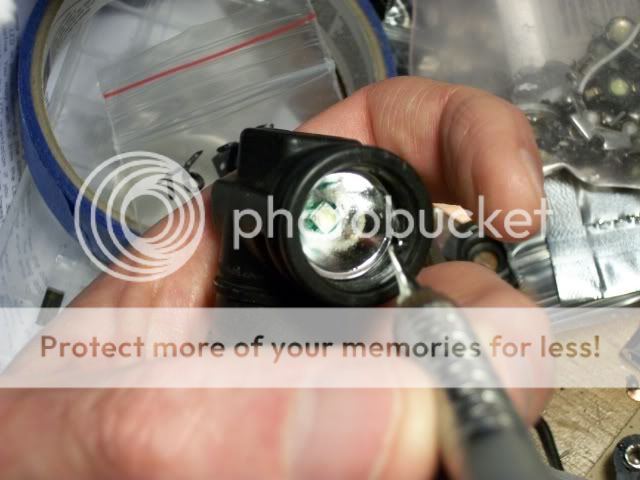
Use a thin tool to break the adhesive holding the reflector in place.
Work the reflector out of the head.
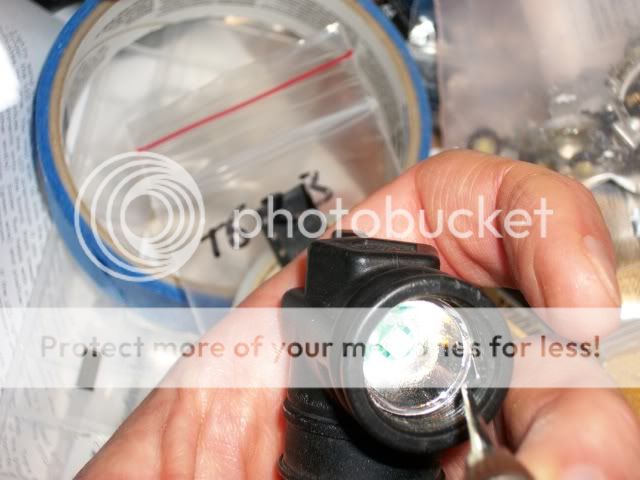
Out. Now you can see the PCB with the LED and reflector. The reflector has pins that fit into holes in the PCB.
Unsolder the two wires for the LED, and set the reflector aside.
The LED is out, and I have used a razor to remove the reflector.
The CREE XP-G on 16mm board, soldered in place.
Here I have used epoxy to adhere the reflector to the LED board.
Watch that the LED is oriented square with the board, and make adjustments as the epoxy cures.
When the epoxy is fully cured, put the LED and o-ring back in place. I don't have any more pictures at this point, but the only thing left to do is install the window and retaining ring. A pair of pliers with open jaws does a pretty good job of this, but I would like to find a tool to help with this step.
The results are clear below when compared to the stock Molle on the left. The tint of the R5 XP-G LED looks warm in comparison to the stock LED. When used by itself, it is basically white. (For reference, the garage door is pure white.)
OK, you've seen it done, now go open up your own Molle and replace that sickly LED with something more state of the art. Most of all, have fun!
Last edited:
")