
Echo63
Flashlight Enthusiast
I finally got my Maxabeam !
Since i saw Jurassic Park when it came out in the cinemas, and since i joined here and found out what the light was called (in 2004), i have always wanted a Maxabeam.
I snagged one about a month ago from the Marketplace, with Ushio UXL-75XE and Adapters, USPS managed to lose it, and finally it arrived at my doorstep yesterday.
I took it to work last night, shone it around the industrial area i work, and cant find a range longer than 800 metres to test it (and 800m isnt really working it hard either)
A few quick pics
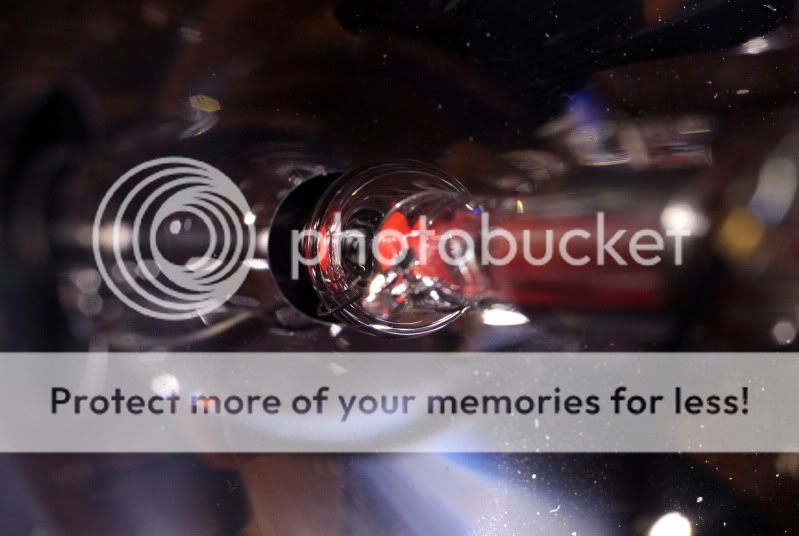
Bulb cooling down
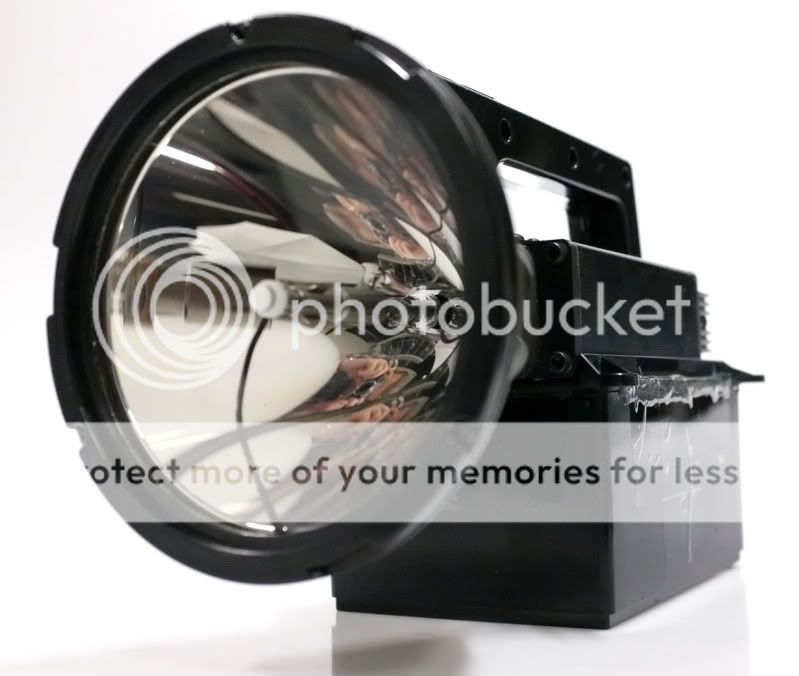
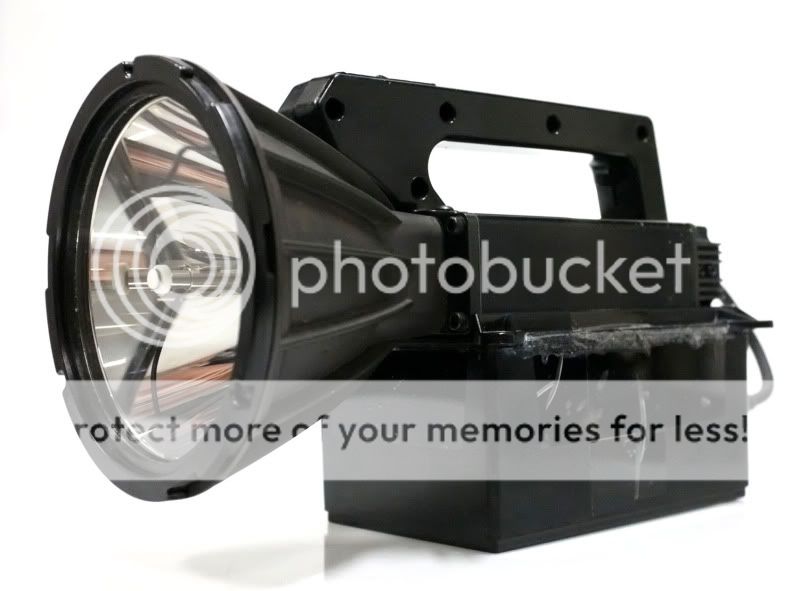
Tape in the next two is holding the battery box together, the previous owner cracked the box open, replaced the dead pack with a 9ah SLA and superglued it back shut, it cracked open in transit and i have reglued and taped it (also had to adjust the bulb position screws to get a nice tight hotspot too)
Im loving this light, when i find a nice long range to do some beamshots i will post them for everyones viewing pleasure
Since i saw Jurassic Park when it came out in the cinemas, and since i joined here and found out what the light was called (in 2004), i have always wanted a Maxabeam.
I snagged one about a month ago from the Marketplace, with Ushio UXL-75XE and Adapters, USPS managed to lose it, and finally it arrived at my doorstep yesterday.
I took it to work last night, shone it around the industrial area i work, and cant find a range longer than 800 metres to test it (and 800m isnt really working it hard either)
A few quick pics
Bulb cooling down
Tape in the next two is holding the battery box together, the previous owner cracked the box open, replaced the dead pack with a 9ah SLA and superglued it back shut, it cracked open in transit and i have reglued and taped it (also had to adjust the bulb position screws to get a nice tight hotspot too)
Im loving this light, when i find a nice long range to do some beamshots i will post them for everyones viewing pleasure