Surefire 6R with B65 - dirty inside - how to clean? Tips appreciated [Pic heavy]

Xacto

Enlightened
Joined
May 22, 2010
Messages
569
Location
Heidelberg Area, Germany
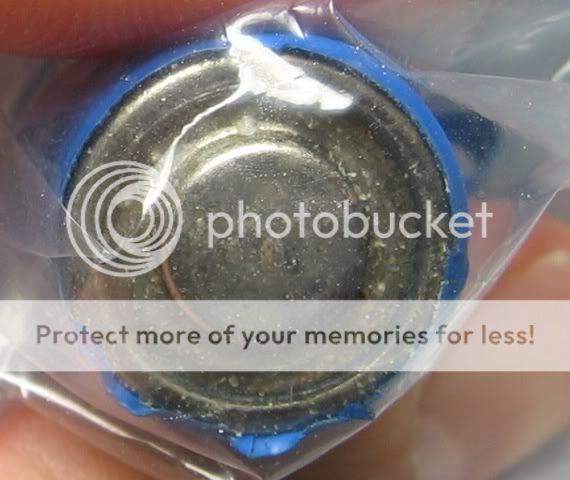
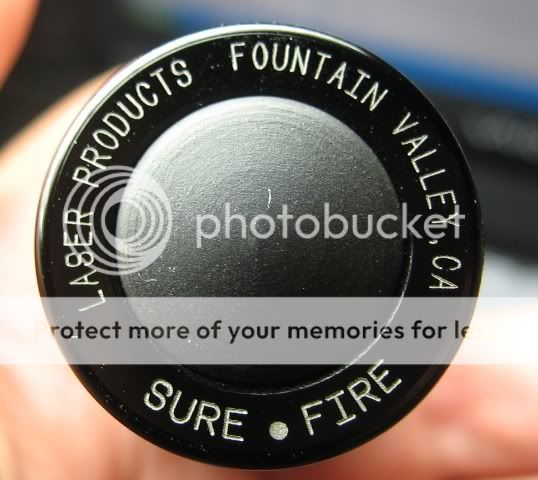
The other day I got a used Surefire 6R together with an original B65 cell.

6r_og1.jpg


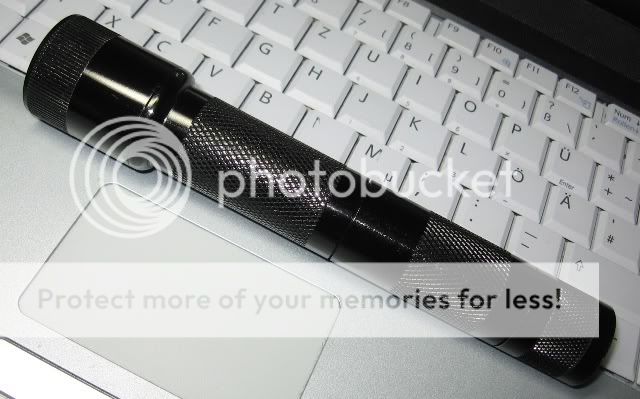
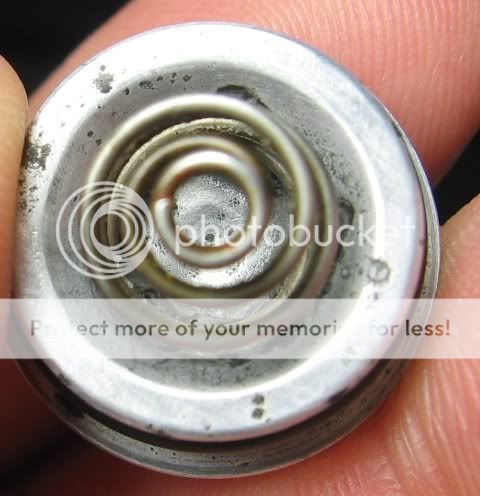
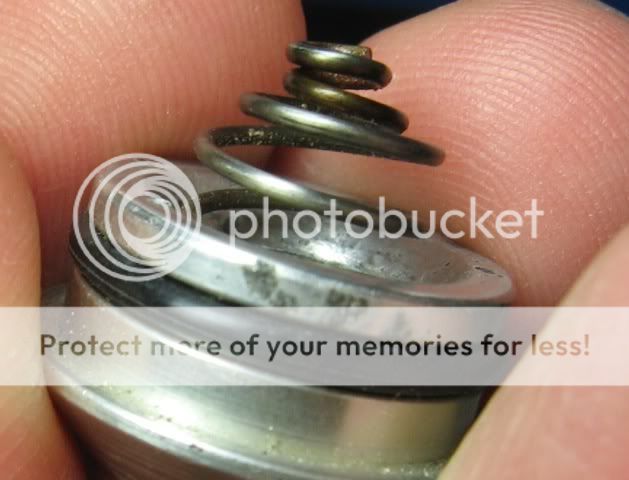
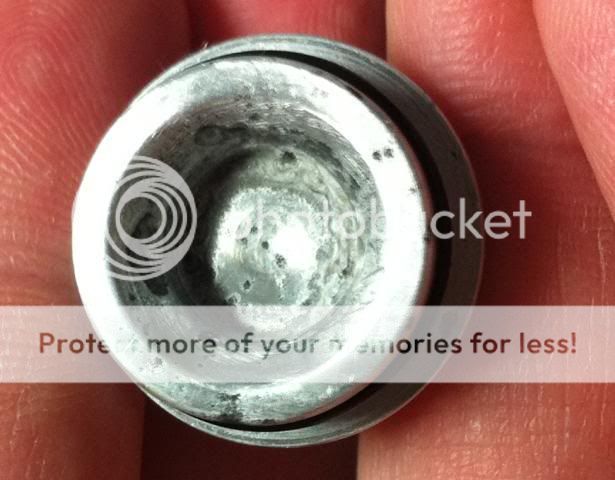
The light looks nearly new on the outside, but on the inside there are a few dark spots and it smells not that great. The B65 cell still works, but there is some sort of dirt on the contacts and the wrapping is torn in one place.
6r_og4.jpg

6r_og5.jpg

6r_og6.jpg


6r_og8.jpg


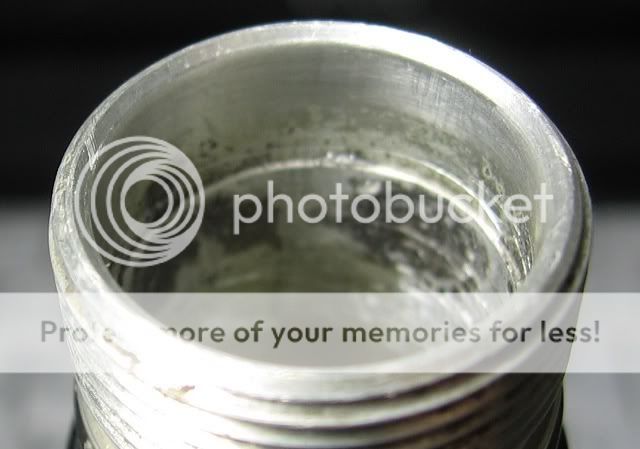
Now, before I start to simply scrub the interior, I want to check with you (especially the ones that used that type of light/cell), if the dirt could be some sort of residue from the B65 cell. I intend to clean the inside of the battery tube using Isopropyl alcohol.

Could there be any problem just in case the dark spots on the inside come from the B65 cell (Nickel-Cadmium)?
What would you recommend as an cleaning agent?
Any health hazard possible?
If so, I would need to use the weekend and clean the light on the balcony. Since there is a second, near identical light still in sale with the same type of tailcap, I would like to bring mine soon to running order before the auction ends so that I can check if I do like the feel of the older (smooth) tailcap button vs. the older but sort of kurled tailcap button (both times the old ones with the bigger diameter and the loose switch parts).

6r_og2.jpg


Thanks for your time and tips, hints, etc.

Cheers
Thorsten
 
Last edited:

lightfooted

Flashlight Enthusiast
Joined
May 6, 2010
Messages
1,017
A few things first: I used to own that kit and used it with my original 6P until loss of the battery caused me to go back to lithiums. That battery is leaking and it likely will no longer hold a charge long enough to be of any use, replace it. You could try it and see anyway but you risk having it leak even more either during charging or while in use in the flashlight. I would suggest not using alcohol if the battery was leaking while inside the tube. Rather flush all of the residue out of the tube with warm water....use some soap to remove what might flake off if it hasn't pitted. If there is pitting then I would use a file or sandpaper to remove as much as is sensible to maintain electrical contact and make the light work, otherwise the damage is mostly cosmetic. If the battery did leak while in the tube then most of what that black stuff is, essentially, is a weak form of anodizing.

As for tips...I recommend finding something to replace the old tail switch with, anything else really...even an L2-S7 or L2-S10 from Solarforce would be better. Seriously the old style switch was really difficult to get set to use properly. I often either found my light glowing while in it's holster due to the pressure from the top cover or could not get it to light up momentarily without twisting the cap on some. Due to the design of the rubber button I also found it difficult to maintain the momentary light for more than a second or two, mostly this was due to the bad ergonomics of the set up.
 
Last edited:

Cypher_Aod

Enlightened
Joined
Apr 5, 2010
Messages
265
Location
London, United Kingdom
i cleaned a light just recently that had a NiCd cell that had leaked.

I was told that warm slightly soapy water would work, and it worked brilliantly. A small brush with nylon bristles got the internals of the light clean and shiny with very little effort. :)
 

bwcaw

Enlightened
Joined
Mar 22, 2002
Messages
862
Location
South Dakota
Before you get too excited with a file or sandpaper I would look around and see what an old 6p is going for in that condition. A collector of surefire lights may be interested in a trade of some sort to have an original 6p like that, even in its condition.
 

Xacto

Enlightened
Joined
May 22, 2010
Messages
569
Location
Heidelberg Area, Germany
@lightfooted and Cypher_Aod

Thanks for your cleaning tips, the parts are already soaking in soapy water

@lightfooted
Thanks for confirming what I already assumed regarding the ergonomics of that particular type of tailcap/rubber boot

@bwcaw
Thanks, but I actually got that version of the 6P because I like the feel and it is a nice addition to my 10+(?) 6P lights I already have. ;-)

I'll keep you posted on the progress..

Cheers
Thorsten

BTW - although the B65 was delivered, it was not part of the auction and I actually do not have a charger, so the light will only see CR123s.
 
Last edited:

chmsam

Flashlight Enthusiast
Joined
Apr 26, 2004
Messages
2,241
Location
3rd Stone
I seem to recall that the B65 has been recently discontinued by SureFire anyway if you did want one. Still available though but for how long?

Try gently to take it apart as much as possible for a start. By the way while this light is pretty basic any project heads right into the parts bin if you aren't sure of what to do. You're almost never to far away from an answer here but ask before you get in over your head on any project.

I'd start with contact cleaner. Read on the package about how to use it and let it set for a long while to let it work. Let it realy dry well when you're done.

If that isn't good enough next I'd go to a small amount of dish washing soap (don't use soap for the dish washer) and distilled water. Some tap water can just add to your problems because it might have a lot of minerals in it (could cause corrosion or oxidation). Use cotton swabs for cleaning and dry with a clean, lint free, cotton cloth.

Still too much gunk? Use a baby/infant's tooth brush since they are way more gentle than regular ones.

Last thing I'd try is a extra fine emery board normally used for manicures. Good ones are flexible and cheap. They are very useful for a lot of things.

Best advice is to decide when enough is enough and to put it aside if you start to get too frustrated. Better to have the job take longer than to get it messed up.

Have fun. Enjoy your light.
 

angelofwar

Flashlight Enthusiast
Joined
Nov 17, 2007
Messages
3,336
Location
South Carolina
Xacto...I have two old Laser Products B65 chargers (one old, one really old...different models) that fit the era of that light. Shoot me a PM if interested. Also can get ya 1 or two B65's.
 

chmsam

Flashlight Enthusiast
Joined
Apr 26, 2004
Messages
2,241
Location
3rd Stone
Duplicate post. Weird stuff happening with the forum (on my end at least).
 
Last edited:

Xacto

Enlightened
Joined
May 22, 2010
Messages
569
Location
Heidelberg Area, Germany
@chmsam
My main goal is/was to return the light to a clean interior without the smell. Because of the mint/near mint exterior and the less then ideal tailcap button, it surely will be a pure collection piece to document the evolution of the 6P.

So far, it seems that I could reduce the cause of the smell, yet the head still emits the smell slightly even though I washed it with soap and even a cotton swap with iso. A baby tooth brush is already part of my flashlight cleaning kit and came in handy for the task so far. The dark spots are still there, mostly in the battery tube extension, the main part is pretty clean.

Unfortunately, the interior of the switch got quite dirty underneath the spring.
6r_og9.jpg


So there is still some work to do, even though the light works (as it did before).

@angelofwar
your offer is much appreciated.

Cheers
Thorsten
 

Cypher_Aod

Enlightened
Joined
Apr 5, 2010
Messages
265
Location
London, United Kingdom
it looks like a fair amount of the electrolyte from the battery has reacted with the aluminium, Potassium Hydroxide reacts with aluminium very readily and energetically. The smell is from the electrolyte. If you have a dishwasher, it might be worthwhile removing the lens, switchboot and orings and putting the whole light in the dishwasher :)

other than that, you could soak the light in hot water for a couple of hours which should dissolve all of the KOH, but the agitation from the dishwasher would be beneficial :)
 
Last edited:

chmsam

Flashlight Enthusiast
Joined
Apr 26, 2004
Messages
2,241
Location
3rd Stone
A thorough cleaning ought to help the stink but if it doesn't try wraping the parts in a single layer of thin cloth (cheesecloth or bits of an old t-shirt would be ideal) and put the parts in an old plastic maragrine tub or something like that. Bury the parts in baking soda and wait a day or so. The cloth is there to keep the baking soda from working its way into every nook and cranny of the light. Unless you want to avoid spending a day or two cleaning the powder out of everything since the powder could be mildly corrosive and abrasive :ohgeez: the cloth is a real good idea. Wrap the parts carefully but no too tightly -- you want to let the parts "breathe." Just use a rubber band or a twist tie to secure the cloth.

When you dig the parts out they ought to be good to go but if there's any residue from the baking soda be sure to clean all of that off.

Big tip: be sure to use a fresh box of baking soda. Get a new box since it costs less than a buck.

Not necessary to put a lid on the container or to put the container any place special just as long as it's a place that's dry. If the odor lingers just bury it a day or so more.

The best part about this fix is it's super low cost and that it's easy to do with stuff you probably have already.

I've had luck doing stuff like this before. Hope it works for you.
 
Last edited:

Cypher_Aod

Enlightened
Joined
Apr 5, 2010
Messages
265
Location
London, United Kingdom
A thorough cleaning ought to help the stink but if it doesn't try wraping the parts in a single layer of thin cloth (cheesecloth or bits of an old t-shirt would be ideal) and put the parts in an old plastic maragrine tub or something like that. Bury the parts in baking soda and wait a day or so. The cloth is there to keep the baking soda from working its way into every nook and cranny of the light. Unless you want to avoid spending a day or two cleaning the powder out of everything since the powder could be mildly corrosive and abrasive :ohgeez: the cloth is a real good idea. Wrap the parts carefully but no too tightly -- you want to let the parts "breathe." Just use a rubber band or a twist tie to secure the cloth.

When you dig the parts out they ought to be good to go but if there's any residue from the baking soda be sure to clean all of that off.

Big tip: be sure to use a fresh box of baking soda. Get a new box since it costs less than a buck.

Not necessary to put a lid on the container or to put the container any place special just as long as it's a place that's dry. If the odor lingers just bury it a day or so more.

The best part about this fix is it's super low cost and that it's easy to do with stuff you probably have already.

I've had luck doing stuff like this before. Hope it works for you.

I'm not sure that's a great idea, his light is already quite severely corroded by the Potassium Hydroxide from the leaked battery, I don't think that getting it in contact with sodium bicarbonate, another chemical which attacks and dissolves aluminium (though only if it's hot...) is advisable.
 
Last edited:

chmsam

Flashlight Enthusiast
Joined
Apr 26, 2004
Messages
2,241
Location
3rd Stone
I mentioned that in the thread already but yeah, it's not something I'd ordinarily do. However, the light is already slightly corroded and if it's in the cloth the potential for more damage should be pretty low.

Alternatively -- and I admit there still would be a slight albeit lesser chance of additional corrosion, you could use two plastic containers. Use the first one for the light parts and the second (much larger) one to hold the first container and the baking soda which would then be placed evenly around the outside of the smaller container. That should work well.

This is a pretty mild approach and also not for a super long term exposure especially if the containers are left uncovered.

Again, this is no longer a pristine light but yes, I'm still trying to figure out ways to minimize any further damage and I'm assuming using lavender sachet bags or potpourri aren't a first choice.
 

Xacto

Enlightened
Joined
May 22, 2010
Messages
569
Location
Heidelberg Area, Germany
[...]I'm assuming using lavender sachet bags or potpourri aren't a first choice.


Lol, not really. Thanks for your tips, when reading about the baking soda I wondered if oven cleaner (the hot stuff that is not supposed to be used on painted surfaces - except you want to strip a scale model of its paint) could be a solution for the switch part at least.

Since the anno is in near perfect shape on the outside, anything slightly hot is no option, since it should keep that look (it managed to stay that way for the last.... what? ten, fifteen years?).

Cheers
Thorsten
 

Xacto

Enlightened
Joined
May 22, 2010
Messages
569
Location
Heidelberg Area, Germany
most oven cleaners are very very strong alkaline agents and will dissolve aluminium quite rapidly.

Ah, thanks for the warning. Seems that I either have to spend a few minutes on the balcony (weather permitting) with my Proxxon mini-drill or try something else. Currently my main goal would be to get the tailcap part in a better shape.

Cheers
Thorsten
 
Top