LED Shop Lamp using the Nichia 219 ...

wquiles

Flashaholic
Joined
Jan 10, 2005
Messages
8,459
Location
Texas, USA, Earth
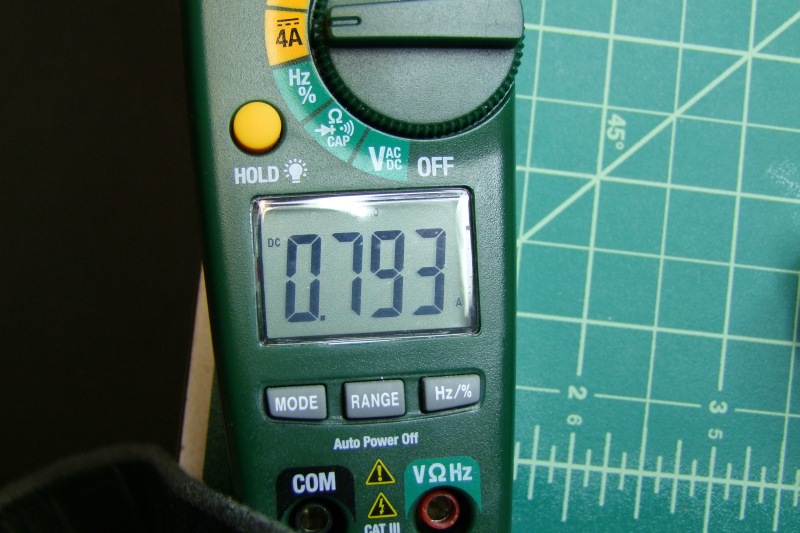
Several years ago I modded this WoodRiver LED Dual Power Shop Light (Item #149727, available from Woodcraft for $33) by using a severely under-driven P7 LED (200mA). But that light has not been "enough", and I knew that with a plastic head I was limited to how much current I could feed the LED.

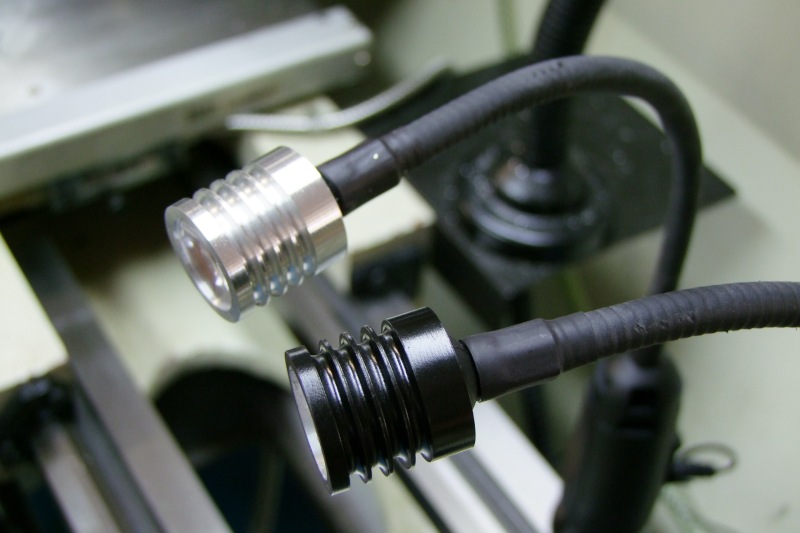
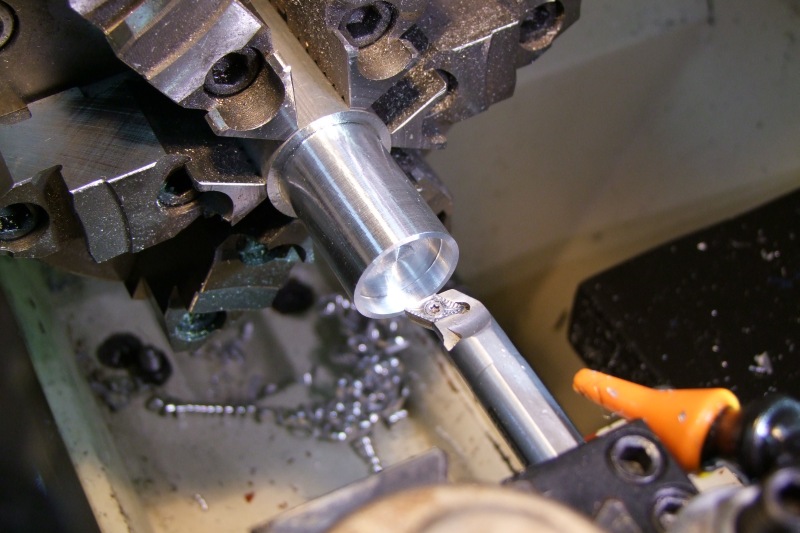
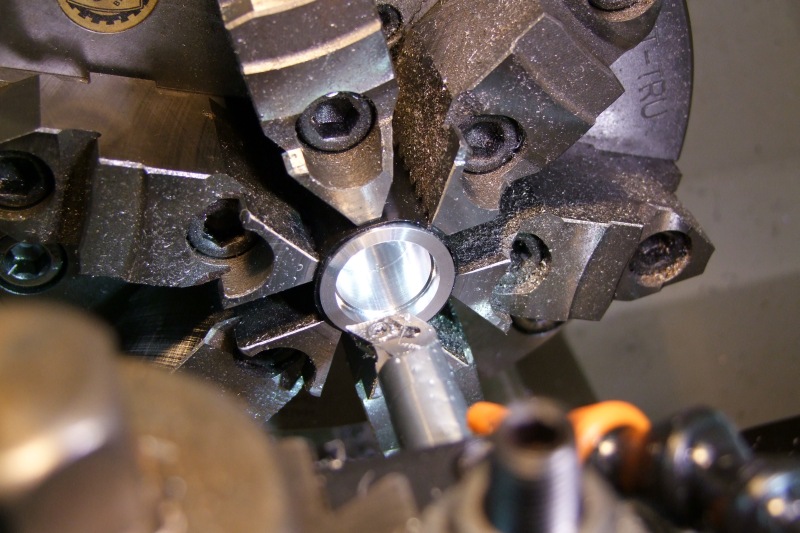
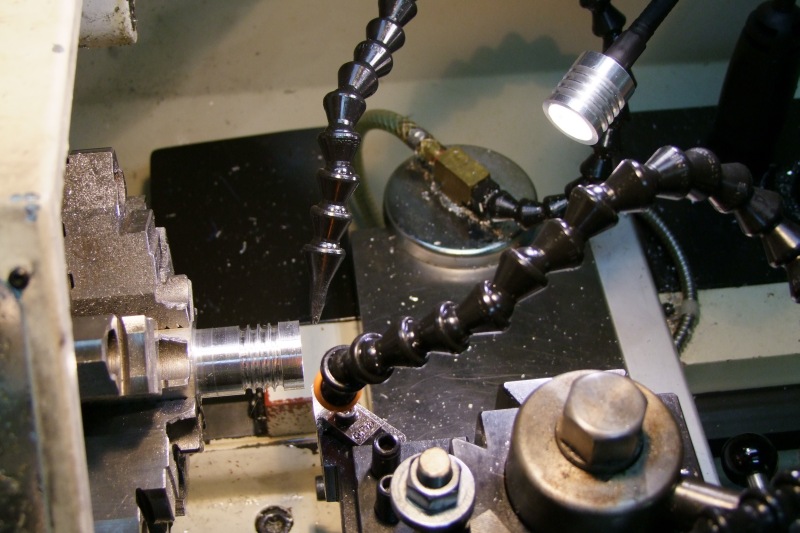
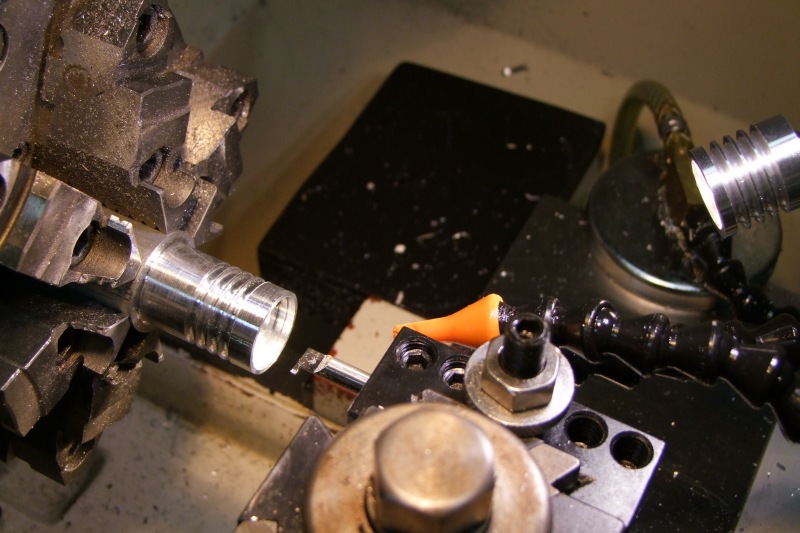
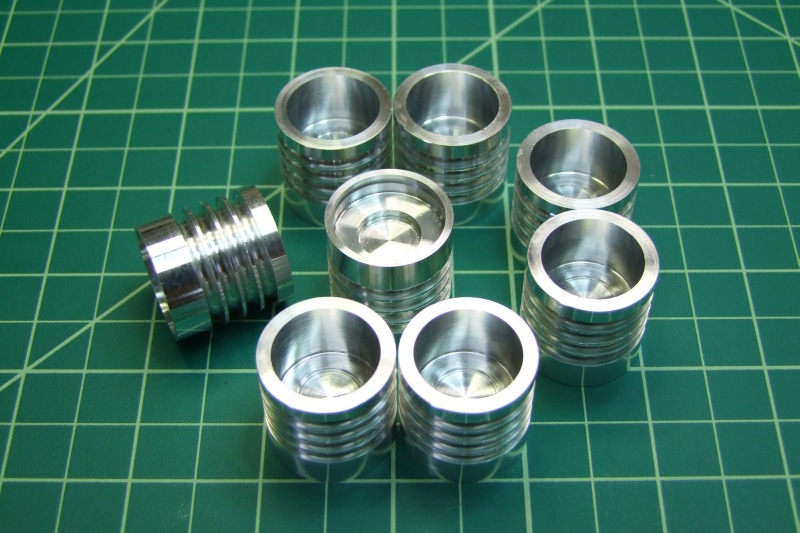
So I decided to make my own metal head for these lamps so that I can get more use of them. I started from a solid piece of Al:
DSCF8690.JPG


DSCF8691.JPG


DSCF8694.JPG


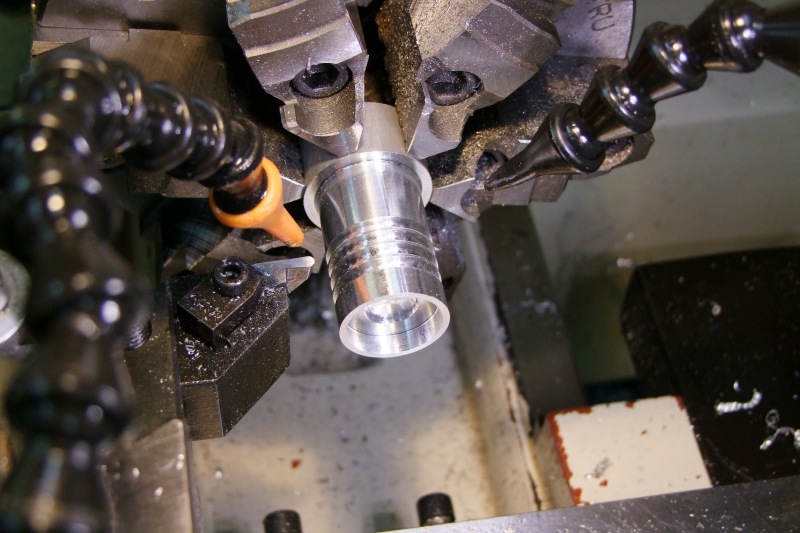
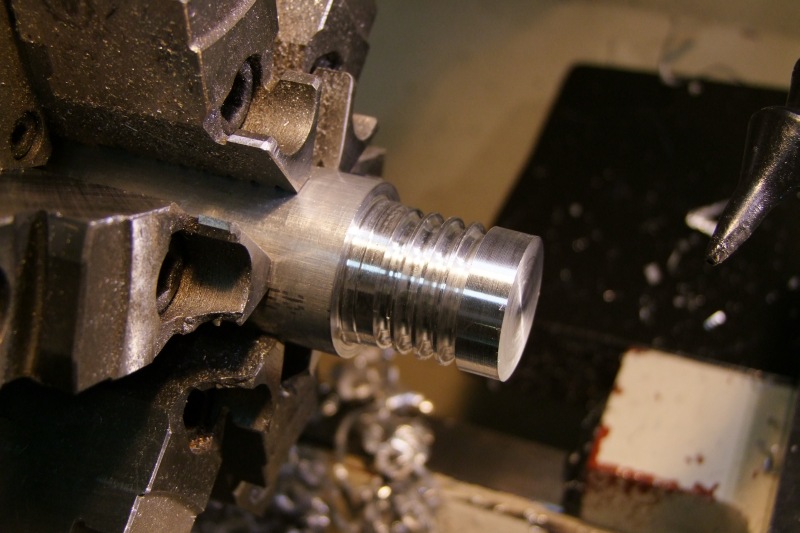
I added some cooling grooves:
DSCF8698.JPG


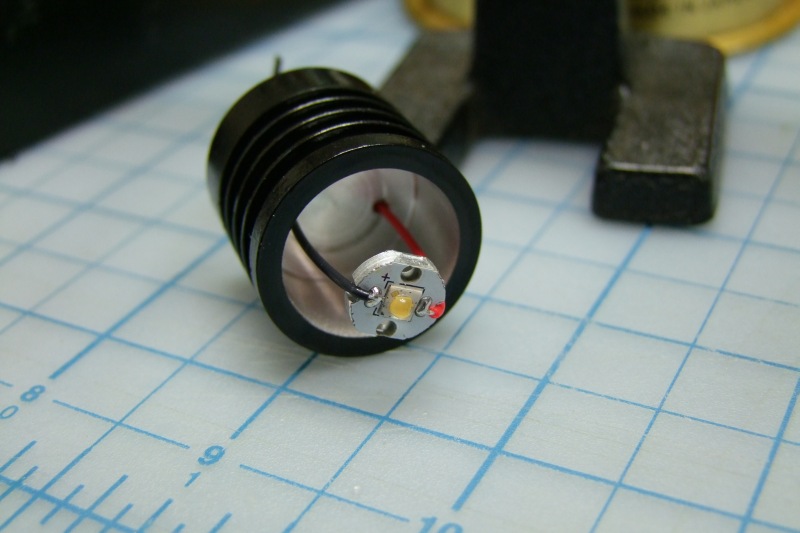
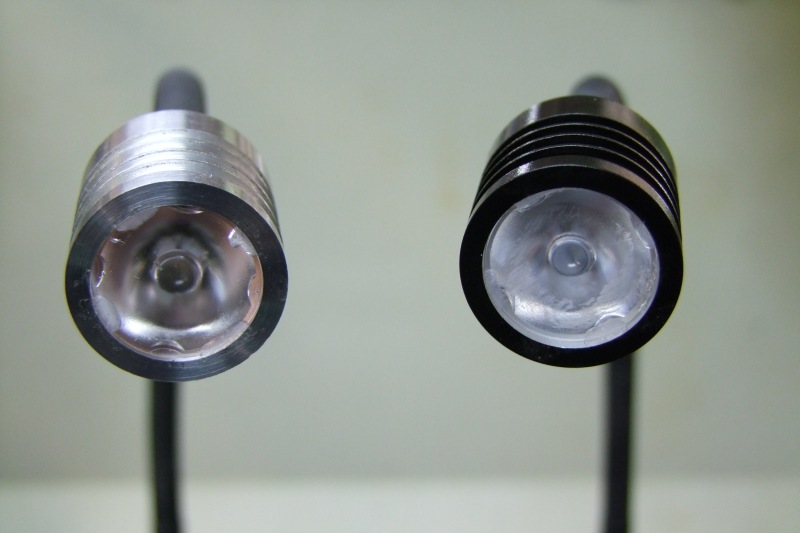
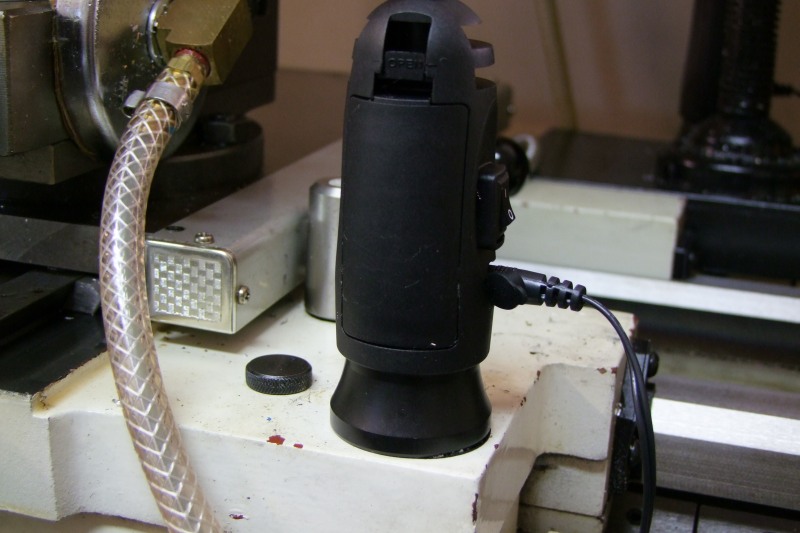
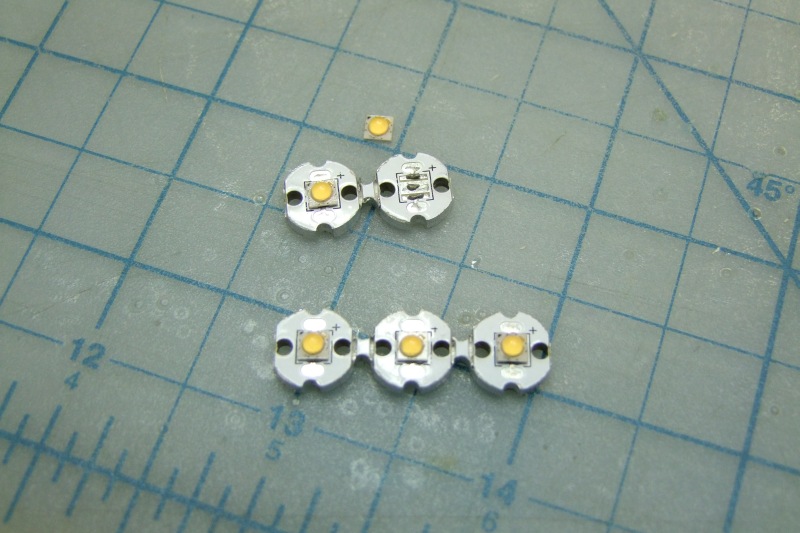
And using the Nichia 219's I made two prototypes:
DSCF8695.JPG


DSCF8699.JPG


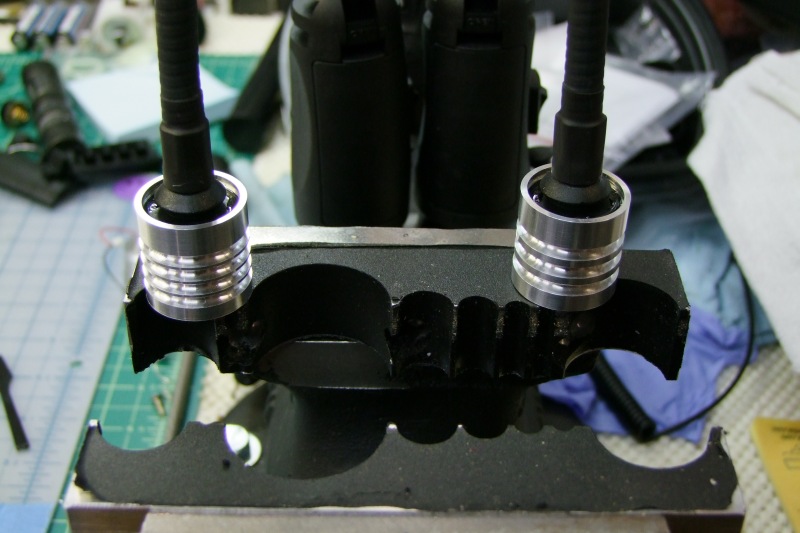
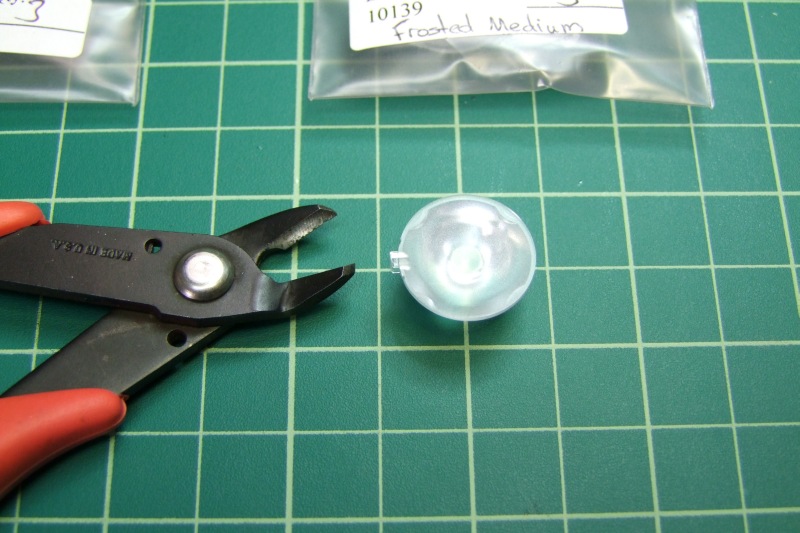
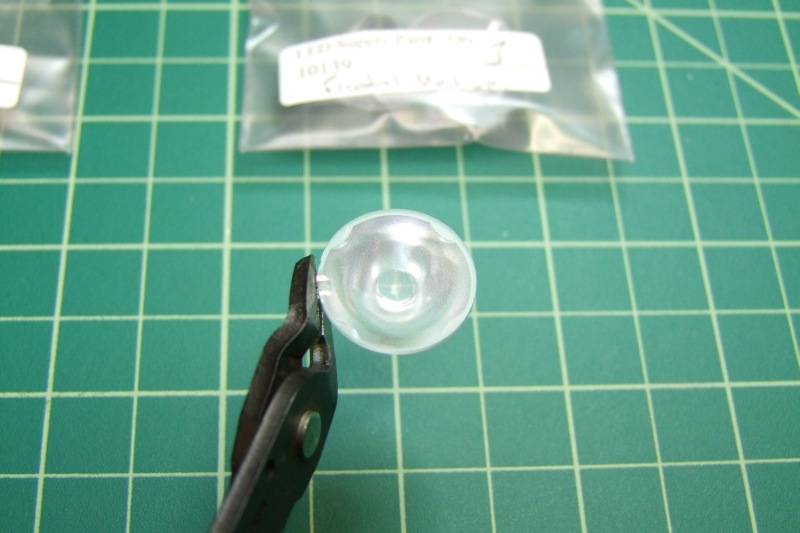
I am using a frosted narrow and a frosted wide 20mm lens - how do they work?
DSCF8708.JPG


DSCF8709.JPG


DSCF8710.JPG


DSCF8711.JPG


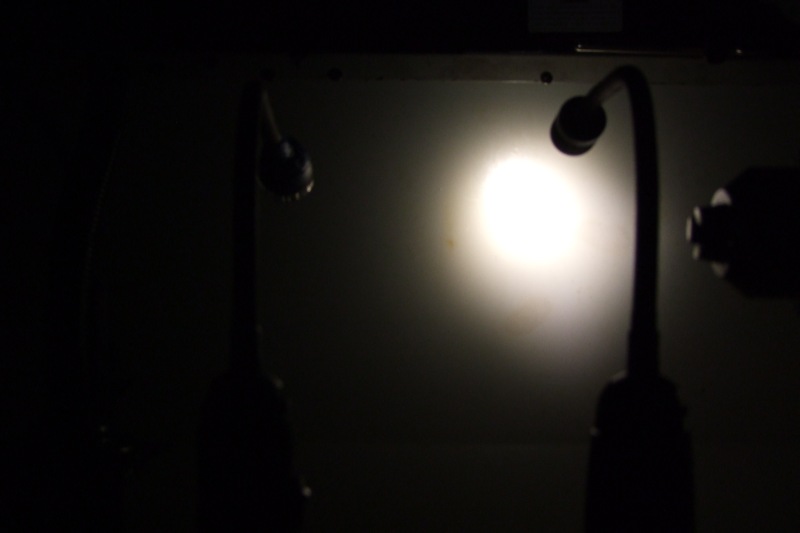
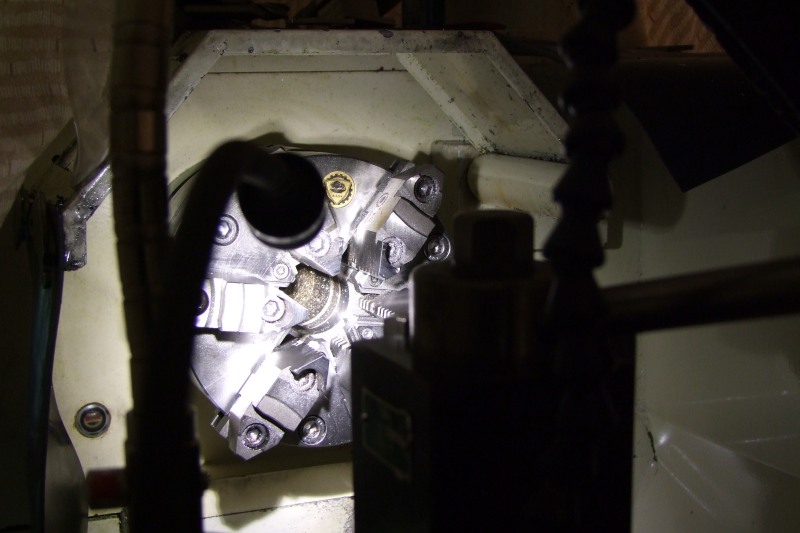
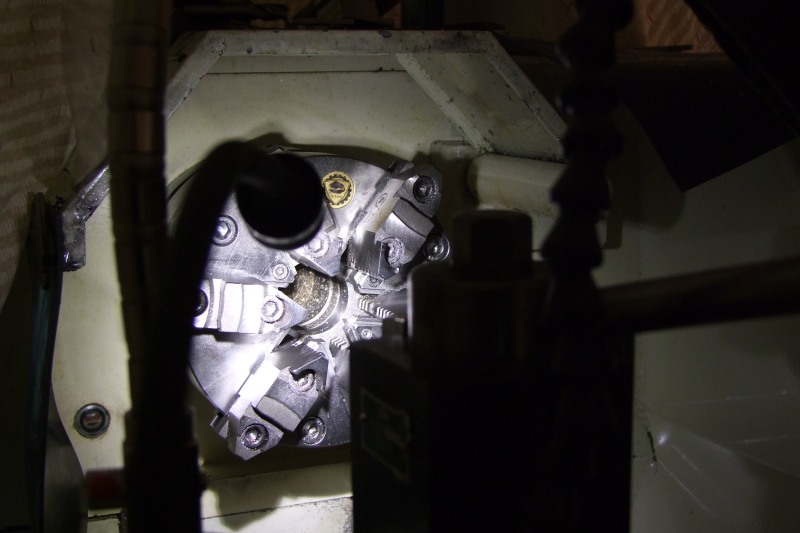
With their flexible neck I can get the light where I need it, but this time I get plenty, beautiful, 4500K 92CRI light:
DSCF8724.JPG


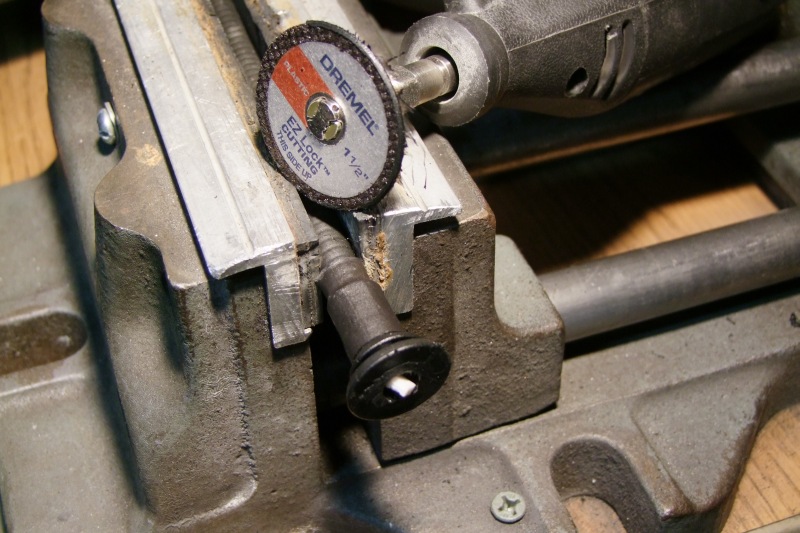
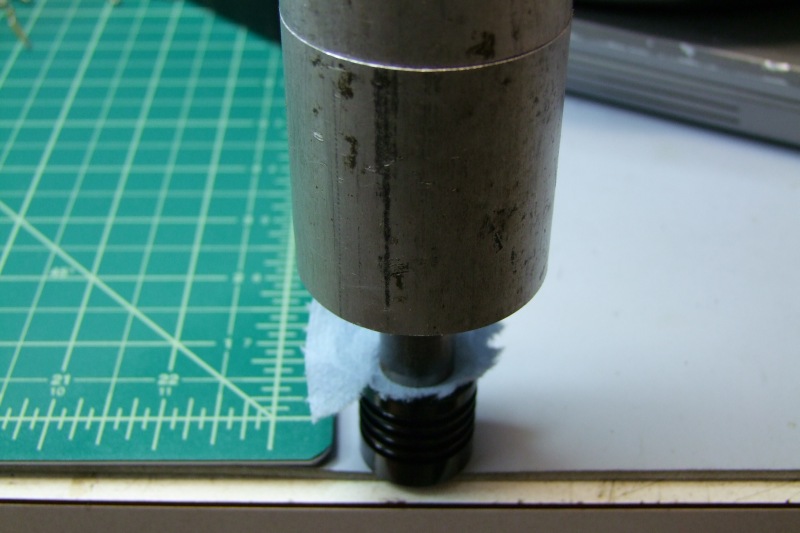
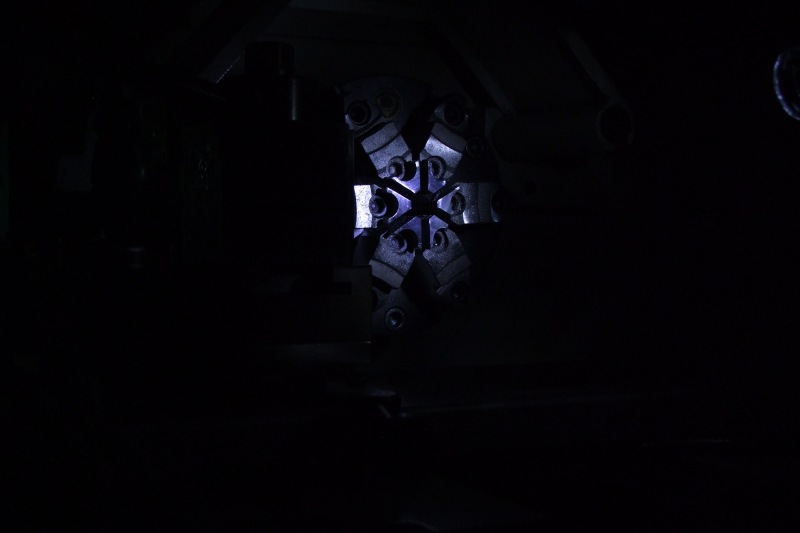
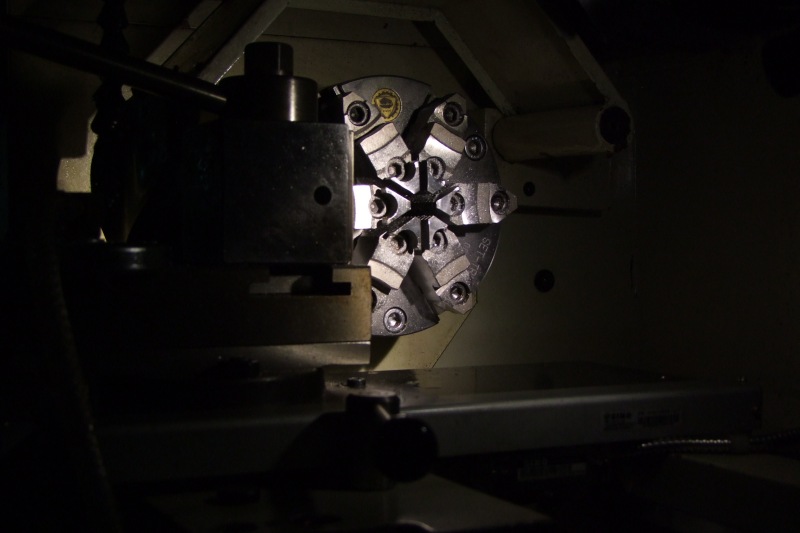
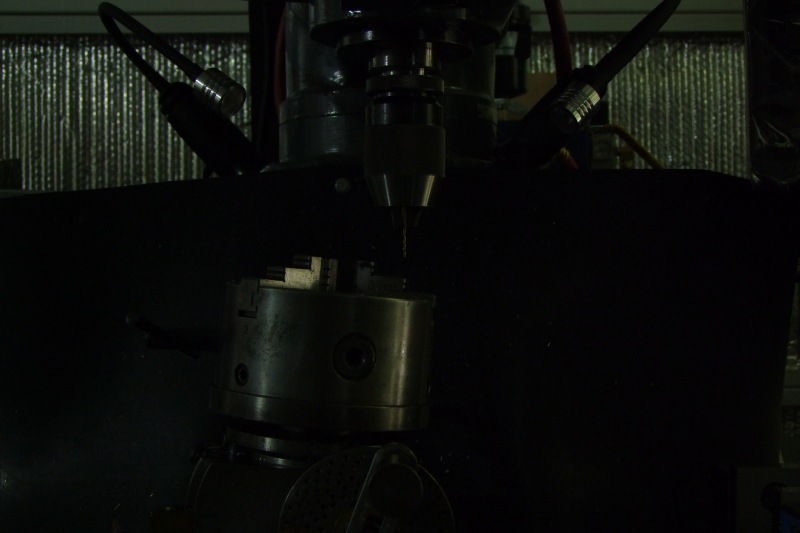
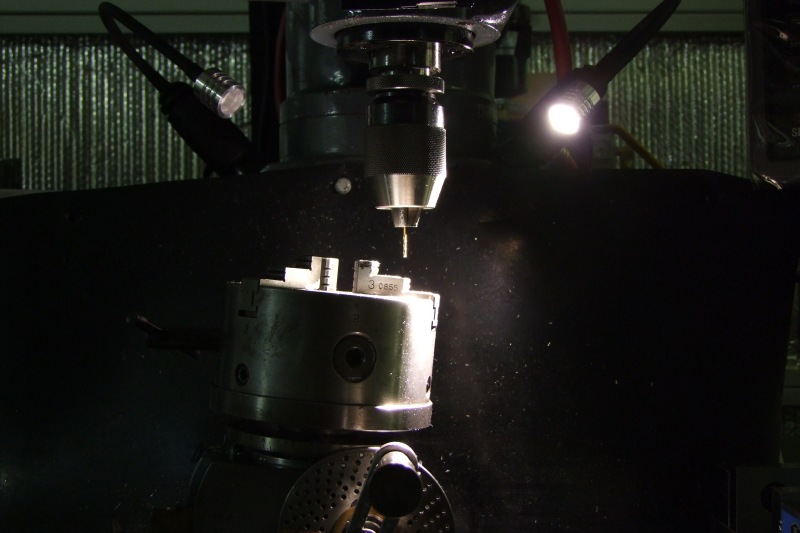
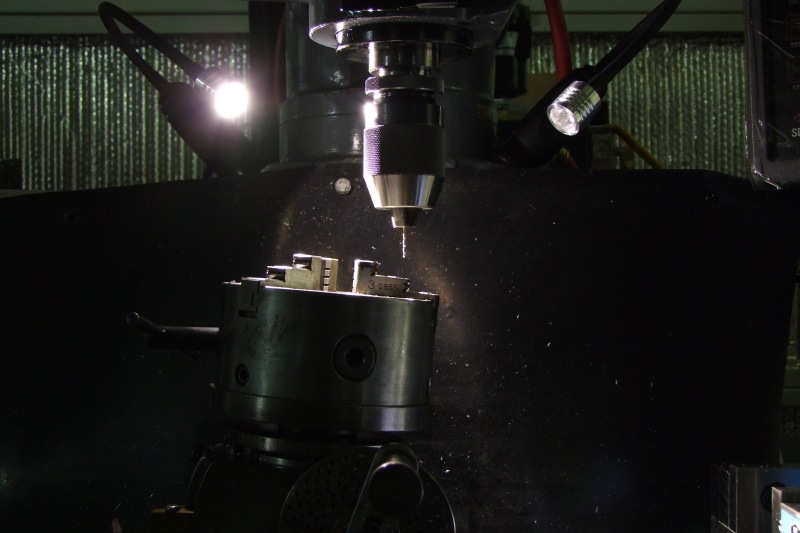
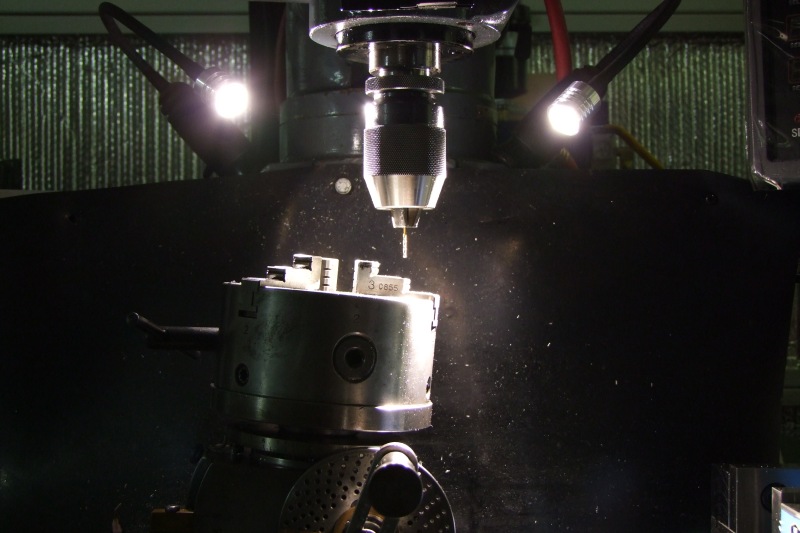
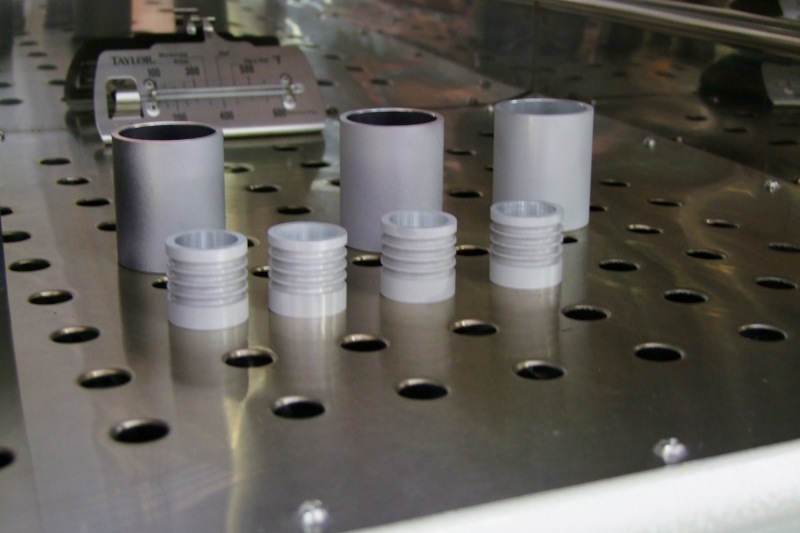
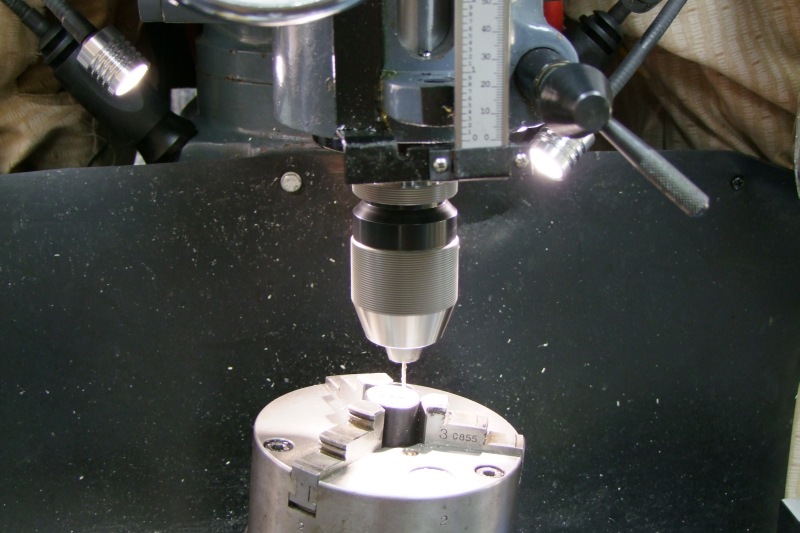
Here I am using one of them to cut more of the heads:
DSCF8726.JPG


DSCF8727.JPG


DSCF8729.JPG


Since these work so well, I made some more for me, and a few more just in case:
DSCF8738.JPG


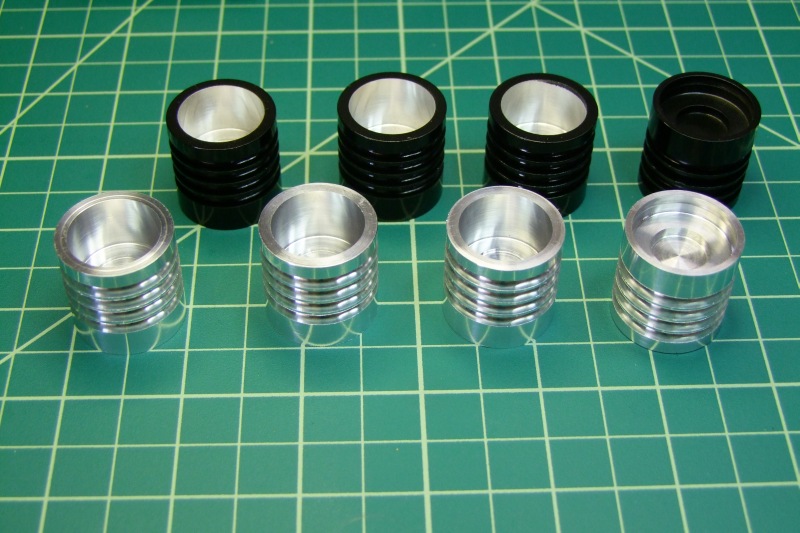
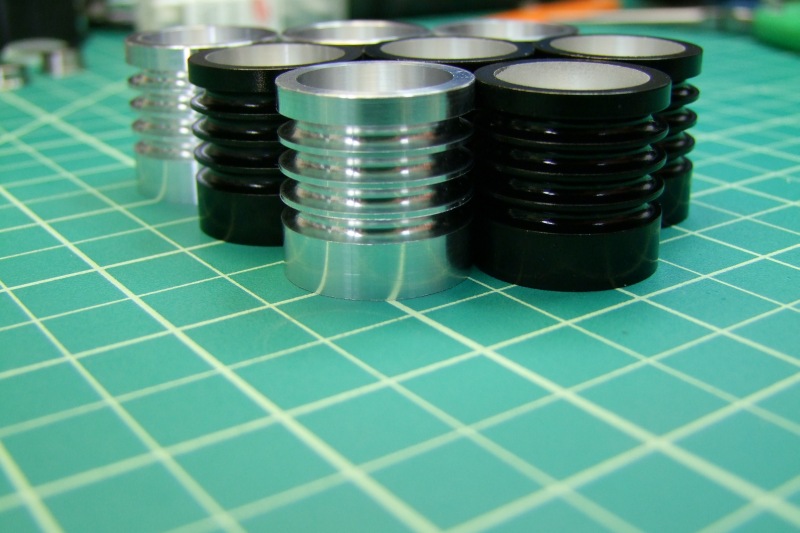
I took 4x of them, sand blasted them, and then coated them with Moly Resin semi-gloss back:
DSCF8741.JPG


DSCF8753.JPG


DSCF8754.JPG


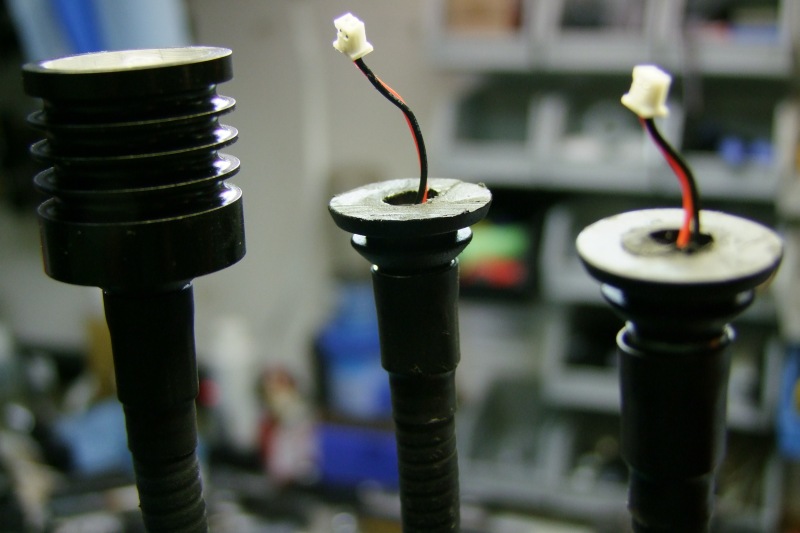
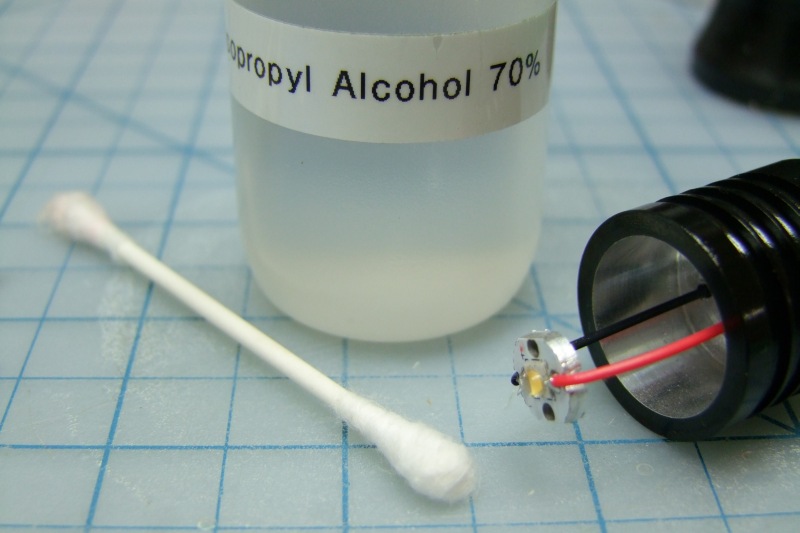
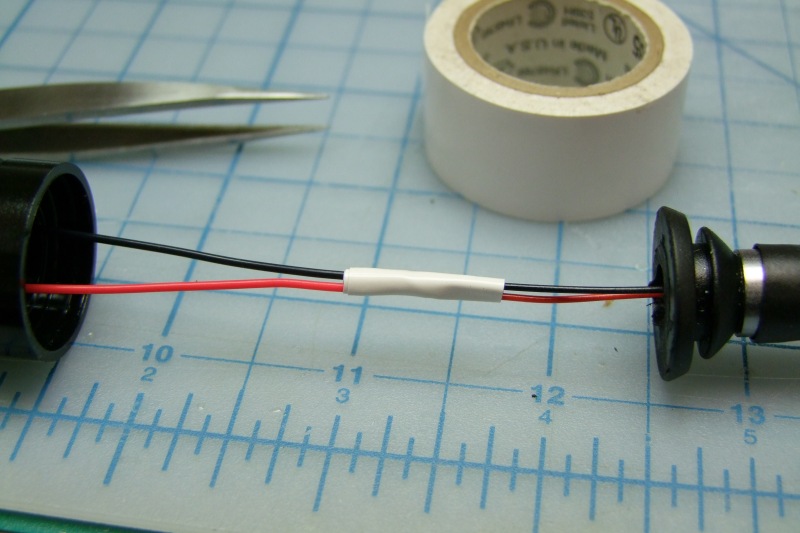
Drill holes for LED wires:
DSCF8756.JPG


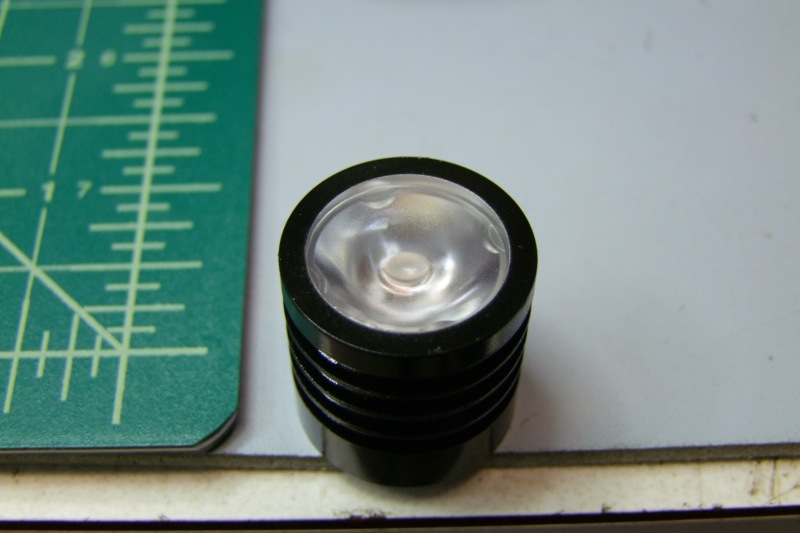
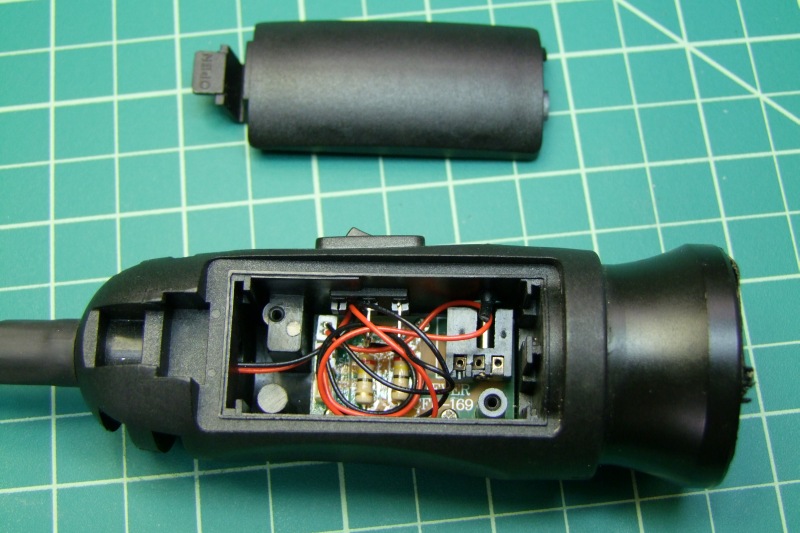
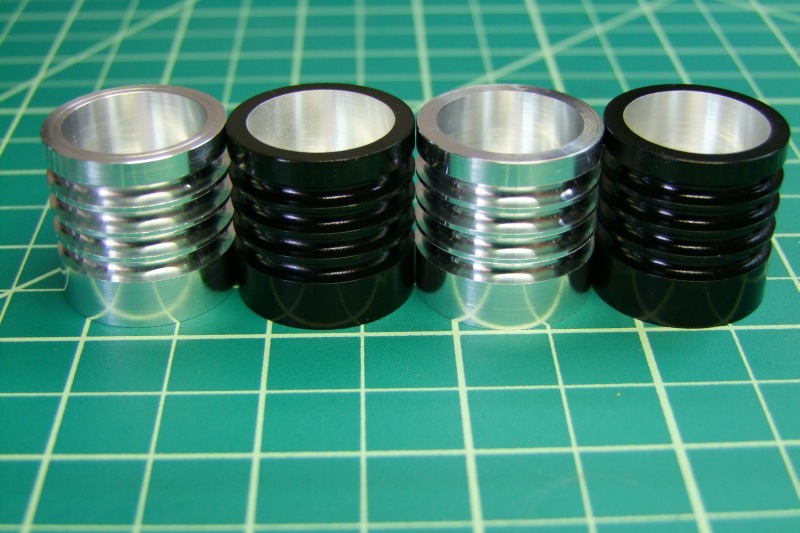
And they are all done, ready for assembly:
DSCF8758.JPG


I have been using these for the last two days, and they are working great. The surface temp (via IR temp measurement) hovers between 100-110F, with an ambient temp of about 80F. So they are definitely warm to the touch, but not hot enough to burn you when re-adjusting their aim. As a point of comparison, my Electrix 50 watt incandescent gets to about 135F with the same ambient temp - you can't keep your hand on that one for long!


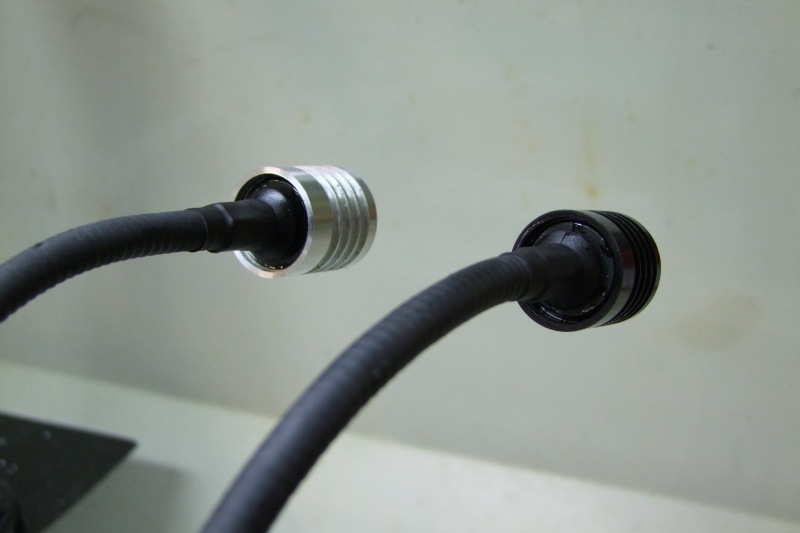
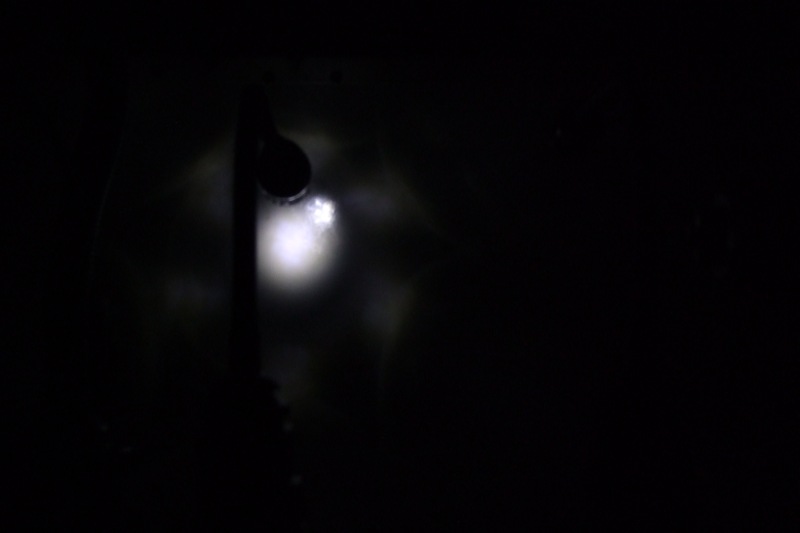
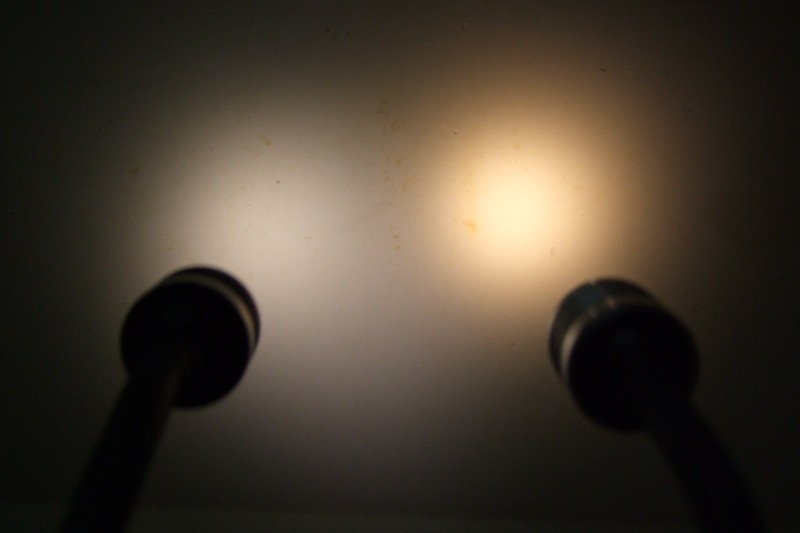
By the way, although I used the Nichia 219's here, I did build one LED Shop Lamp using the Cree XP-G Warm White (the Cree has a more throwy beam although both have the same narrow frosted optics). The exposure is stepped down (these are fairly bright!). Here you can see them side-by-side: the one that looks "white" is the Nichia:
DSCF8839.JPG


If there is enough interest I can start a sales thread for the extra pieces I made, which would make this into a neat and useful DIY project (steps in post #2), no lathe/mill required :D

Will
 
Last edited:

wquiles

Flashaholic
Joined
Jan 10, 2005
Messages
8,459
Location
Texas, USA, Earth
To put these together, you cut-off the head:
DSCF8793.JPG


DSCF8794.JPG


You need to cut the stub on the 20mm lens:
DSCF8844.JPG


DSCF8845.JPG


Buy the LED's on 10mm boards if possible. If you have bare LED's, reflow the LED's (it would help if I had reflowed them with the proper/correct polarity!) and solder wires to each end (the wire colors are correct in this picture):
DSCF8811.JPG


Clean the surfaces, and apply thermal epoxy to the back of the LED:
DSCF8814.JPG


DSCF8813.JPG


Then use the 20mm optic to center the LED as best as possible (not possible to do a 100% perfect alignment since the dome of the Nichia/XP-G is not a 100% match to the hole in the TIR optic, but it is still really good):
DSCF8816.JPG


Then put some weight to ensure a very thin layer of thermal epoxy:
DSCF8817.JPG


The "electronics" are very easy. Basically remove the wires for the battery (not used) and short either one of the two resistors, so that the DC voltage is fed directly to the LED. Since it is voltage/current limited, you get about 800-820mA to the LED, which is about perfect for an LED that will be ON for hours at a time:
DSCF8818.JPG


DSCF8798.JPG


Then cut the wires on the flexible neck, solder and tape:
DSCF8841.JPG


DSCF8842.JPG


Then you epoxy the head to the lamp's flexible arm. The groove that I cut on the back provides mechanical strength to the bond:
DSCF8782.JPG


DSCF8700.JPG


Then put the base on a metal base (like a vise), aim the arm and head completely vertical, and apply 4 small drops of glue to keep the lens in place:
DSCF8791.JPG


Finished:
DSCF8820.JPG


DSCF8821.JPG


DSCF8823.JPG


Will
 
Last edited:

ICUDoc

Enlightened
Joined
Aug 20, 2004
Messages
907
Location
Sydney, Australia
Beautiful. The main problem in this country is getting the "host" lights, as decent goosenecks are hard to find cheaply.
Thanks for posting
Edit: The other thing about shop lights is that I can't see so clearly when the light acts as a point source- I've found a bunch of six (last-year's BEST bins ie now old and cheap!) LEDs stuck on a salvaged heatsink spaced about 3 cms apart in a 3*2 array makes for softer shadows and better seeing. Your two sources are better than one, of course.
 
Last edited:

wquiles

Flashaholic
Joined
Jan 10, 2005
Messages
8,459
Location
Texas, USA, Earth
Thank you guys :eek:


Beautiful. The main problem in this country is getting the "host" lights, as decent goosenecks are hard to find cheaply.
Even here in the USA it is hard to find a good/decent gooseneck. To pay nearly $40 (including shipping) for the donor lamp for this project is hard to swallow - it makes the whole project a little bit on the expensive side. I would love to find the basic lamp/goose neck for $15-20 :D


Edit: The other thing about shop lights is that I can't see so clearly when the light acts as a point source- I've found a bunch of six (last-year's BEST bins ie now old and cheap!) LEDs stuck on a salvaged heatsink spaced about 3 cms apart in a 3*2 array makes for softer shadows and better seeing
I agree, and that is why I selected the frosted 20mm optics for this application (both the narrow and wide). Anything more "focused" would have been a detriment in use since the light would not be even enough on the target - you basically do not want too much throw here, but a total "mule" with no optics would have spread the light too much to be useful and it would need to be positioned too close to the work to be safe (plus I already have a 4x LED flood light in the lathe so I don't need more flood).

In fact I like these Nichia 219's so much that I am very likely to upgrade my 4x LED flood light (post #505 and #515) with 4x Nichia 219's as well :D

Will
 
Last edited:

bobjane

Enlightened
Joined
Jan 17, 2007
Messages
202
Location
Sydney, Australia
I like that.

Have you considered using a USB powered gooseneck light such Dealextreme SKU 120895 or 125622? It's cheaper and more readily available. Plus anyone around the world can plug it into a computer or USB charger (for mobile phones etc). I don't know about the quality of those goosenecks though.

In fact you've inspired me to purchase a 120895 to see if it can be disassembled for an emitter swap.
 

wquiles

Flashaholic
Joined
Jan 10, 2005
Messages
8,459
Location
Texas, USA, Earth
Awesome build!
Thanks :eek:


Have you considered using a USB powered gooseneck light such Dealextreme SKU 120895 or 125622? It's cheaper and more readily available. Plus anyone around the world can plug it into a computer or USB charger (for mobile phones etc). I don't know about the quality of those goosenecks though.
I have not looked into those yet. Besides the price, the Woodriver is a terrific lamp donor:
- strong magnetic base: can keep the lamp sideways, upright, upside-down, etc.. The magnetic base is awesome, and a great match (I would say a "must have") for a machining shop since you can attach it to most/all metal surfaces.
- the AC-DC charger is absolutely perfect for a direct drive of a single 3watt LED like the XP-G, Nichia 219, etc., or an under-driven MC-E
- the gooseneck is extremely durable. My old P7-based versions (my original upgrade) have been in use for almost two years, and they are "still" strong, and still stay where you put/aim them. I don't know if you can say the same about the cheaper/simple USB-based lights, as this one was in fact designed as a shop light.

Will
 

wquiles

Flashaholic
Joined
Jan 10, 2005
Messages
8,459
Location
Texas, USA, Earth
One thing I neglected to do was to post "before and after" pictures so that folks can see the dramatic improvements.

Stock light on the left, upgraded light on the right - stepped down exposure so that you can see the beam, but camera on manual exposure so that you can compare the relative brightness. First the stock lamp - the beam is horrible and uneven:
DSCF8854.JPG


Then the upgraded lamp - much, much better beam profile, plus much brighter as well:
DSCF8855.JPG


Now the lights are aimed at the chuck on my lathe. Again, camera on manual exposure. First the stock lamp:
DSCF8860.JPG


Then the upgraded lamp - again, much better coverage and much brighter:
DSCF8859.JPG


Will
 

georges80

Flashlight Enthusiast
Joined
Oct 23, 2002
Messages
1,262
Location
Sunnyvale, CA
From many many years ago:

flexikit.jpg


flexiwire.jpg


Locline is a relatively cheap way to get gooseneck type material and you can customise the length a link at at time...

cheers,
george.
 

ICUDoc

Enlightened
Joined
Aug 20, 2004
Messages
907
Location
Sydney, Australia
Last edited:

dbleznak

Enlightened
Joined
Jun 3, 2011
Messages
477
Location
Philly
I would live to get a nichia 219 desk lamp and nichia 219 led household bulbs, any suggestions? Great work withe the optic as well. Barry is like the Yoda of machining,... He has taught you well. Where are you located? Thanks
Dan
 

wquiles

Flashaholic
Joined
Jan 10, 2005
Messages
8,459
Location
Texas, USA, Earth
Thank you :eek:

And yes, Barry is the man!

I am located in the Dallas, TX area.

As to a desk/house lamp with the 219, it would have to be custom made, like these shop lamps.

Will
 

wquiles

Flashaholic
Joined
Jan 10, 2005
Messages
8,459
Location
Texas, USA, Earth
I have now been using these lights for almost two months, and I have found that in a few cases the 700-800mA of direct drive is a tad too bright. To give me more versatility, I decided to use my just-finished LED drivers:
DSCF9023.JPG


Since the voltage from the wall-wart sags quite a bit and I don't need anything fancy, I am using the board with 2x 7135 chips on it, and using a dip switch for selecting the output level (via PWM at about 1000Hz):
DSCF9031.JPG


Initial testing was excellent:
DSCF9254.JPG


Since the power on the DC side of the wall-wart is rather noisy with AC, I used a zener diode and a rather large cap to clean it up so that the tiny85 would have decent, clean power:
DSCF9271.JPG


I was able to fit everything inside of the factory battery compartment, giving me 8-levels
DSCF9274.JPG


When the lamps are in use, the cover protects the electronics:
DSCF9265.JPG


After playing with various levels, I found that about 500mA was enough, instead of the max/hi of about 700mA. Here is the photo with no light (reference point) - camera on manual exposure):
DSCF9261.JPG


Here at about 700mA
DSCF9262.JPG


Here at about 500mA:
DSCF9263.JPG


Now I can fine-tune each of my 4x shop lights (2x in the lathe and 2x in the milling machine) to the job :D

Will
 
Top