johnohuk
Newly Enlightened
Hi All,
this site has inspired me to build a dive light.... i've absolutely no engineering skills or equipment so its very rough round the edges and everything has been sourced to make my life as straightforward as possible, but is the outcome flawed?
So, any good ideas for improvement i'd be very grateful... Its not flooded yet but its early days...")
I've written a blog to capture it all... at http://johnohuk.blogspot.co.uk/
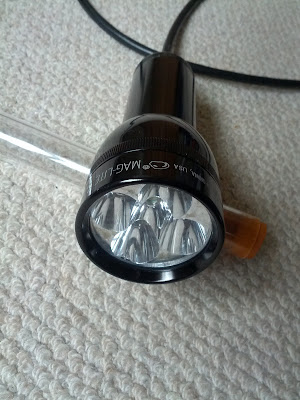
The head unit... cut down 3d maglite with 5 *CRE from DX
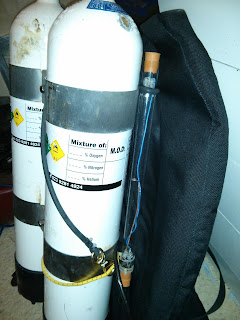
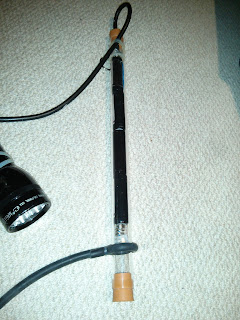
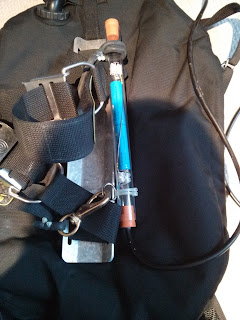
Canister ( or rather test tube.. you can laugh at this point but it has been to 30m no probs (110ft)
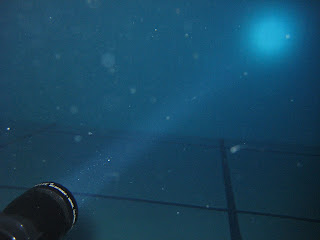
A beam shot from my local diving pool ( not nice particulates)... The wall is about 5-6m away...at a depth of 4m, in the dark.
this site has inspired me to build a dive light.... i've absolutely no engineering skills or equipment so its very rough round the edges and everything has been sourced to make my life as straightforward as possible, but is the outcome flawed?
So, any good ideas for improvement i'd be very grateful... Its not flooded yet but its early days...
I've written a blog to capture it all... at http://johnohuk.blogspot.co.uk/
The head unit... cut down 3d maglite with 5 *CRE from DX
Canister ( or rather test tube.. you can laugh at this point but it has been to 30m no probs (110ft)
A beam shot from my local diving pool ( not nice particulates)... The wall is about 5-6m away...at a depth of 4m, in the dark.