

'SHOT SHOW Specials' are a series of reviews inspired by, or as a consequence of, my visit to the SHOT SHOW 2015.
These may contain photos taken while travelling, and may be of a slightly different format.
---------------------------------------------------------------------------------------------------------------------
Author's Statement for Transparency and Disclosure
The test sample/s featured in this article have been provided for technical testing and review by the manufacturer. Test samples are retained by the reviewer following publication of the completed review for the purposes of long term testing and product comparisons.
All output figures and test results published in this review are the sole work of the reviewer, and are carried out independently and without bias. Test results are reported as found, with no embellishments or alteration. Though best endeavours are made to maintain the accuracy of test equipment, the accuracy of these results is not guaranteed and is subject to the test equipment functioning correctly.
----------------------------------------------------------------------------------------------------------------------
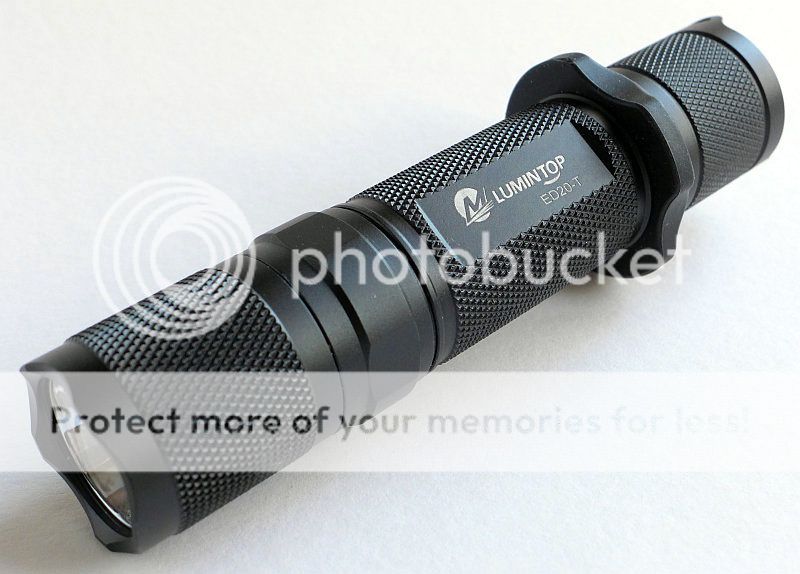
LUMINTOP's latest update to the ED20 is the ED20-T. It has been given a dual-switch tailcap with instant access to maximum output at all times, and is intended to be a compact EDC-able 'Emergency Defence Flashlight'.
Taking a more detailed look:
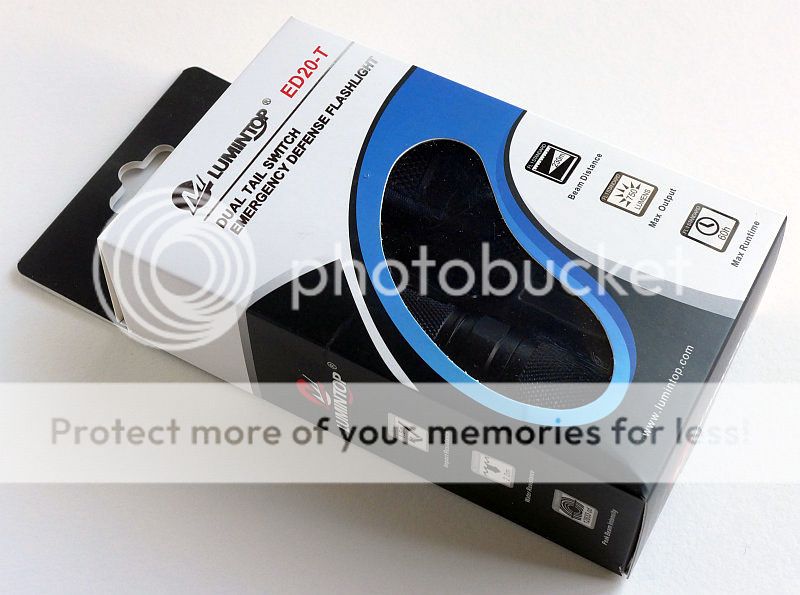
The ED20-T's retail packaging
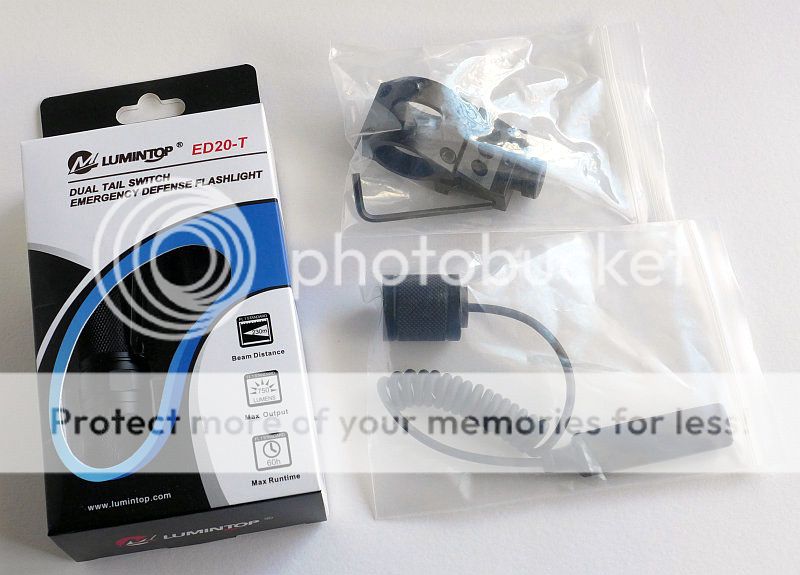
Lumintop supplied me with the gun mount kit as well which includes the Picatinny rail mount and remote switch tailcap.
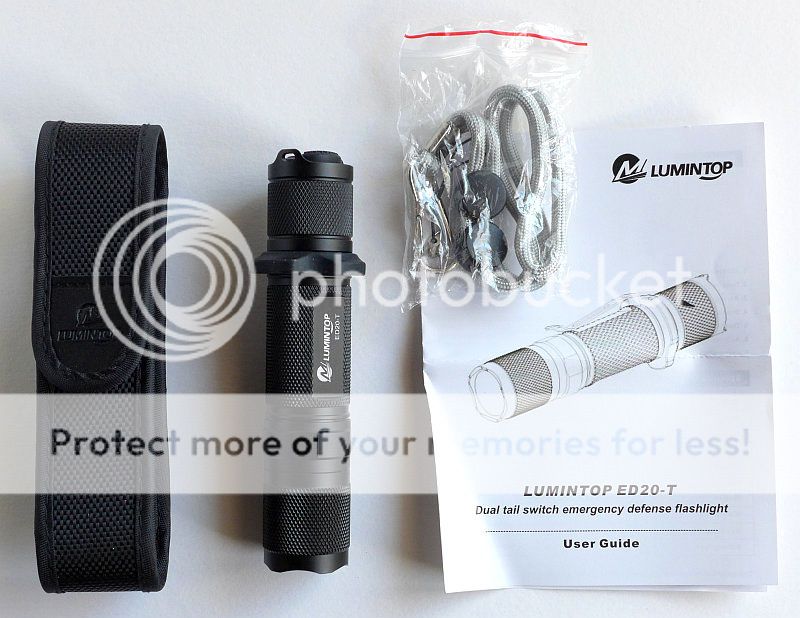
The ED20-T comes with a holster, spare o-rings (here they are inside the holster) lanyard and instruction manual.
The head unscrews as well as the tailcap (despite Lumintop's description of the ED20-T being "All aluminum "unibody" construction for excellent cooling performance".
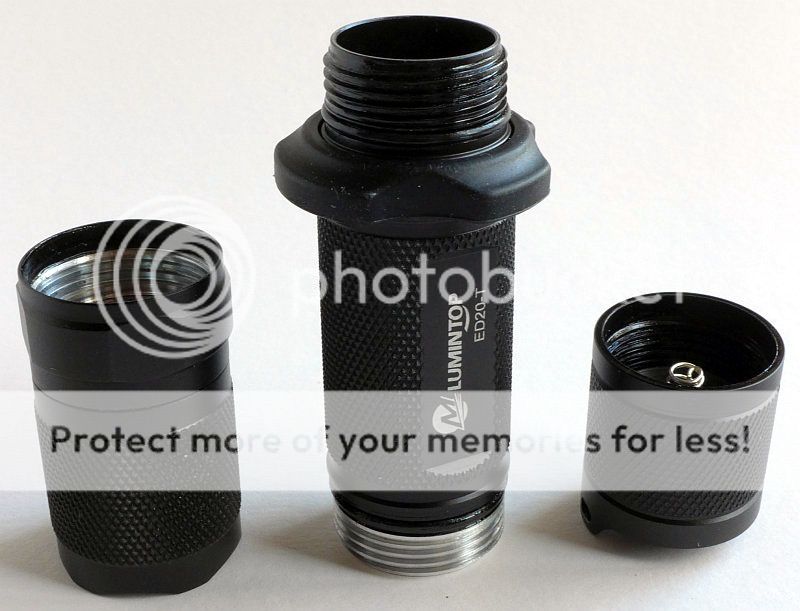
In the head the positive contact has a metal pad, and the battery tube touches a contact ring. In the tailcap the negative contact is a spring.
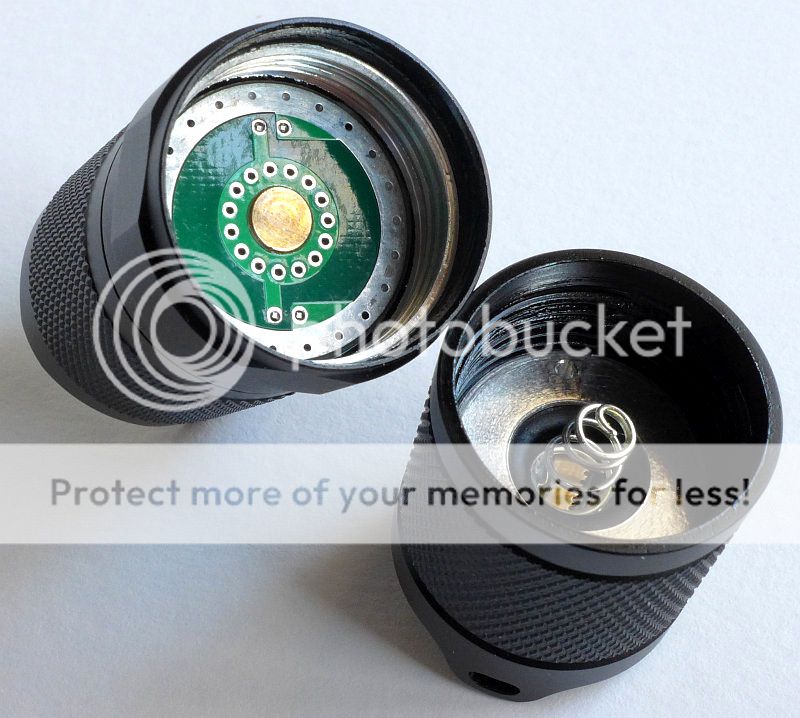
The tailcap threads are well formed, but seem relatively thin.

At the head end of the battery tube the contacts are much thicker and square cut.

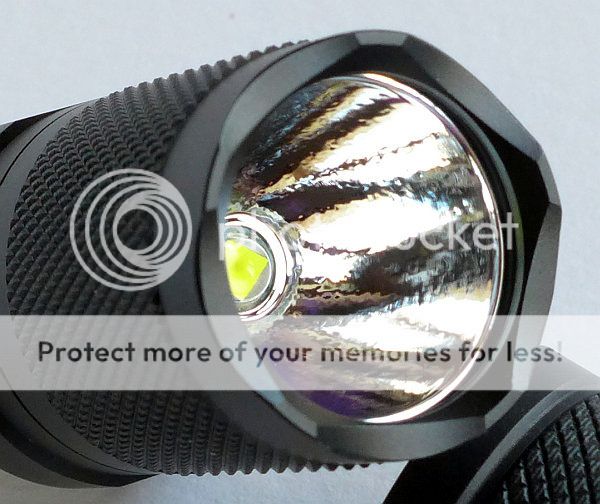
Looking straight onto the XM-L2 led in the textured reflector.

An angled shot to show the depth of the reflector and coated glass lens. The ED20-T has a mildly crenulated bezel.
Of the two tailcap switches, the momentary 'tactical' full output switch (and mode selection switch) is the raised one, with the latching power switch slightly lower profile.

Even with the generous rubber grip ring fitted, the ED20-T fits neatly into the holster.

The belt loop on the rear of the holster is Velcro closed and has a D-loop.

As supplied the ED20-T has a pocket clip. For gun mounting you really need to remove this (though if you were determined you could probably push it over the mount).
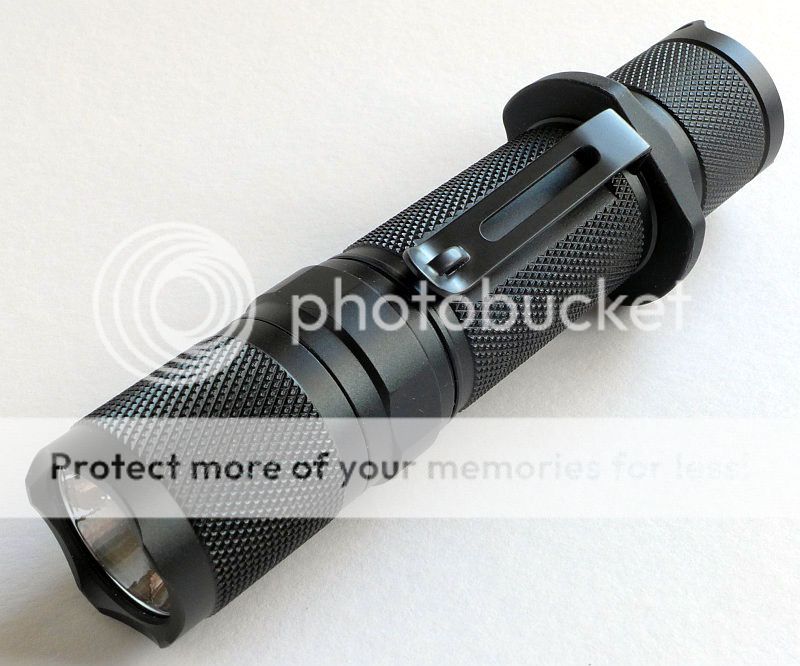
To remove the clip, take the tailcap off, slide the rubber grip ring up (and take it off completely if you want), then pull the clip off.

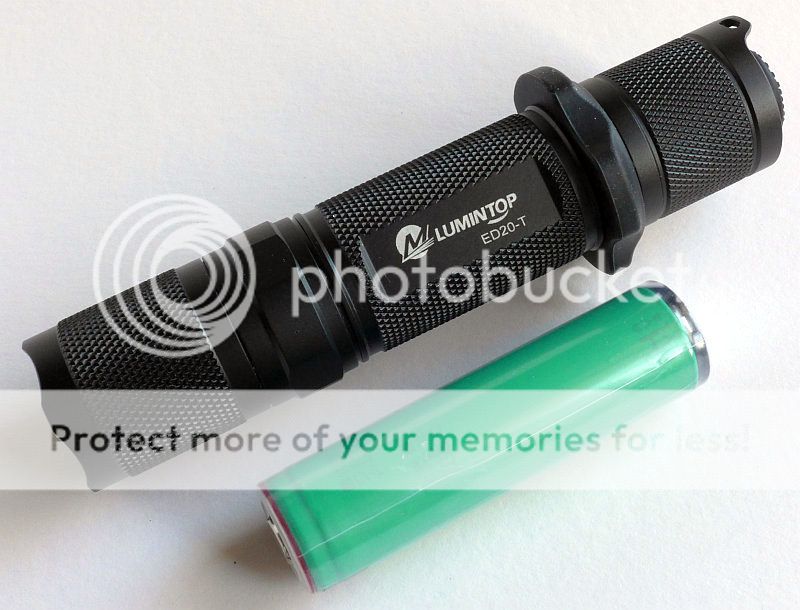
With an 18650 next to the ED20-T you can see its size.
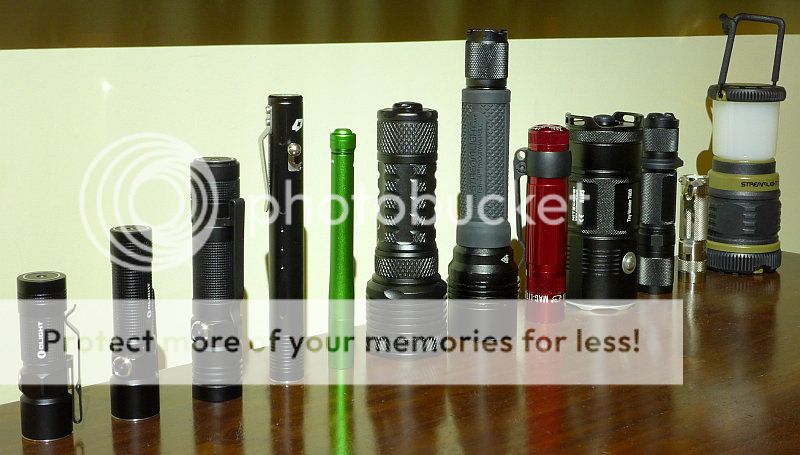
For a further idea of size, here is the ED20-T amongst a batch of lights on test.
From left to right these are: Olight S10R, Olight S15R, Olight S30R, FOURSEVENS Bolt-Action, FOURSEVENS Preon P2, FOURSEVENS MMU-X3R, Streamlight ProTac HL3, MAG-LITE XL200, NITECORE TM06, Lumintop ED20-T, V54 DC25Cvn and the Streamlight Siege AA.
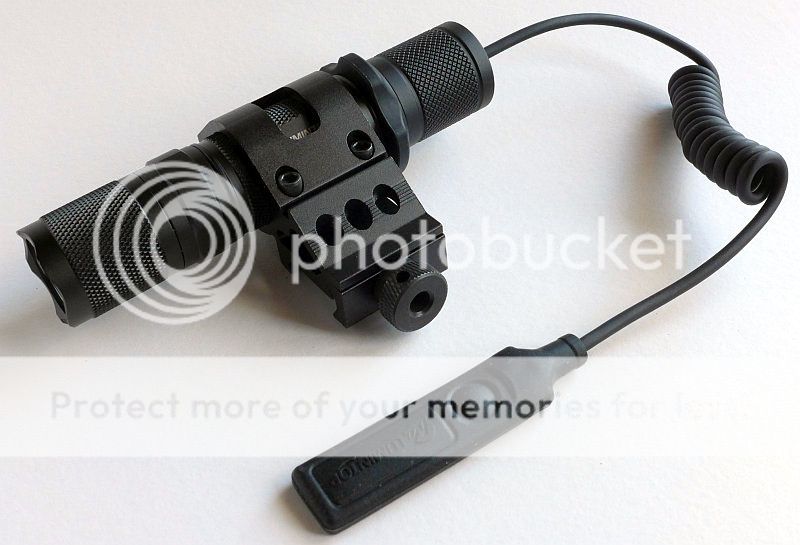
The gun mount kit main parts are laid out.
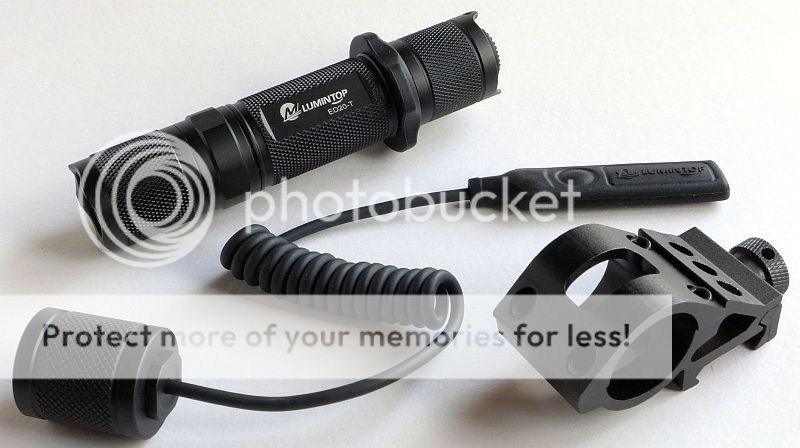
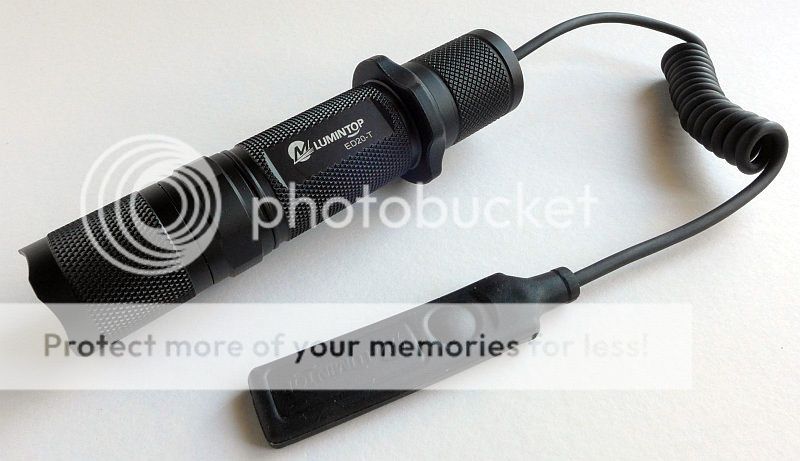
The tailcap can be substituted for the remote switch. Oddly the remote tailcap has only two threads. This makes it quicker to remove as there is less unscrewing, so this may be intentional to make gun-mounted battery changes faster.
The remote switch has two switches in it. The small button is the same as the power switch and it latches the maximum output on. The larger pad is a momentary only, it does not change mode. With the remote switch you have only maximum output.

Fitted into the offset mount, the ED20-T is a very compact gun light option.
The beam
A broad soft edged hotspot with bright spill makes this a good general purpose beam.
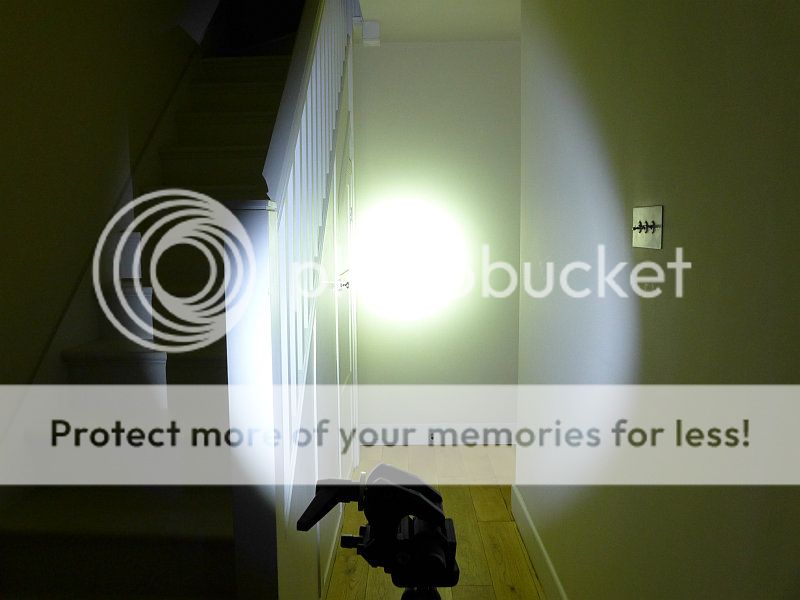
Please be careful not to judge tint based on images you see on a computer screen. Unless properly calibrated, the screen itself will change the perceived tint.
The indoor beamshot is intended to give an idea of the beam shape/quality rather than tint. All beamshots are taken using daylight white balance. The woodwork (stairs and skirting) are painted Farrow & Ball "Off-White", and the walls are a light sandy colour called 'String' again by Farrow & Ball. I don't actually have a 'white wall' in the house to use for this, and the wife won't have one!
Even outdoors is has good reach. As a weapon mounted light it is most suited to closer range use, so is not going to suit hunters with scoped rifles.

Modes and User Interface:
Depending on the tailcap (standard or remote) the available mode changes.
Using the standard tailcap:
From OFF press the mode switch for instant momentary access to maximum output. Release to switch OFF.
From OFF press and hold the power switch for 1s to enter strobe. Tap the mode switch to change to between strobe and SOS. Either press the power switch to turn OFF or press and hold the mode switch to return to constant output.
From OFF press the power switch to turn ON the constant modes.
From ON (after pressing the power switch), press the mode switch to cycle High – Low – Medium – High etc.
From ON (after pressing the power switch), press and hold the mode switch to enter strobe. Tap the mode switch to change to between strobe and SOS. Either press the power switch to turn OFF or press and hold the mode switch to return to constant output.
Using the remote switch:
From OFF press the long pressure pad for instant momentary access to maximum output. Release to switch OFF.
From OFF press and hold the smaller button for 1s to enter strobe. Press the button again to turn OFF.
From OFF press the power switch to turn ON maximum output. (Apart from strobe there are no other modes available with the remote switch.
From ON (after pressing the button), press and hold the button to enter strobe. Press the button again to turn OFF (it is not possible to change from strobe to constant without turning off first).
Batteries and output:
The ED20-T uses either 2x CR123/A primary cells or a single 18650 cell.
To measure actual output, I built an integrating sphere. See here for more detail. The sensor registers visible light only (so Infra-Red and Ultra-Violet will not be measured).
Please note, all quoted lumen figures are from a DIY integrating sphere, and according to ANSI standards. Although every effort is made to give as accurate a result as possible, they should be taken as an estimate only. The results can be used to compare outputs in this review and others I have published.
| LUMINTOP ED20-T using Panasonic 3100mAh 18650 | I.S. measured ANSI output Lumens | PWM frequency or Strobe frequency (Hz) |
|---|---|---|
| High | 635 | 1170 |
| Medium | 151 | 1170 |
| Low | 12 | 1170 |
| Strobe | 428 | 12.1 |
| SOS | 664 | N/A |
The dual switch tailcap introduces parasitic drain, but this is a low 63uA meaning a single 18650 would take 5.61 years to become depleted.
Peak beam intensity measured at 6600 lux giving a beam range of 162m.
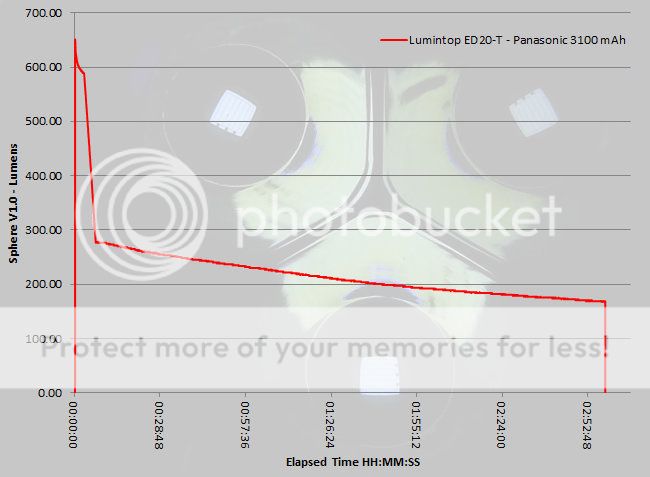
It was found during the runtime tests that the ED20-T shuts down all output once the input voltage drops to 3.50V. There is built in protection which means on 18650 you will not be able to use a proportion of most high capacity (3100mAh and over) cells.
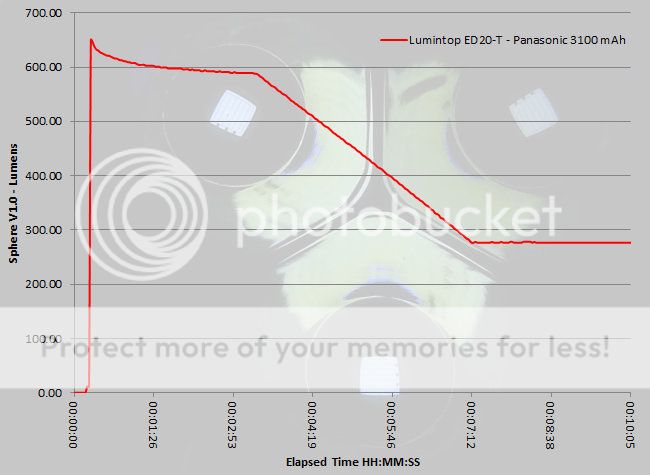
After the first 3 minutes of runtime the ED20-T starts a controlled reduction in output from just under 600lm down to 280lm. This then slowly declines over the next 2h30mins to 170lm at which point the output suddenly shuts down.
A closer look at the first part of the output.
The ED20-T in use
The combination of its size and the flexible rubber grip ring make the ED20-T very comfortable to grip tightly and seems an ideal size should you need to use the strike bezel. If used in a stressful situation, the dual button layout may not be ideal. In these types of situation you may well 'mash' both buttons at once. Having tried this several times I got different outcomes. These include maximum output, strobe and low. So really getting low 1/3 of the time is not ideal.
Of the two buttons the mode/momentary button stands higher than the power switch. In theory this gives you easy access to maximum output. With the right grip, this is what happens, but if grabbed in a hurry you can end up pressing both buttons at once as described above.
With built in protection and a cut-off voltage of 3.5V you can safely use unprotected 18650 cells, but risk a sudden switch off of output before the cell is depleted.
The PWM used in the ED20-T is not visible in any mode making any of the very well spaced output levels easy to live with.
Adding the remote tail switch into the mix here, what works so well is that the dual switch of this operates the ED20-T differently giving only modes suitable to the configuration gives different control.
When exposed to shock loads sufficient to make the cells temporarily jump, the output does not waver whatever mode is set. Some lights can suffer from mode changes or drop in output, but the ED20-T has shrugged these off during the testing I carried out (not very scientifically banging the tailcap on a table) with no issues at all.
The remote switch functions very well with tactile feedback in the switch operation of both the power button and the pressure pad.
Though sold separately the ED20-T, remote tail switch and mount make a versatile kit. With the different operation when used with the remote switch the ED20-T acts like two lights in one.
Review Summary
| Things I like | What doesn't work so well |
|---|---|
| Well spaced output levels | Dual tailcap switch may not suit stressful situations |
| Different mode-set when using the remote switch | 3.5V cut-off means CR123 might be a better choice |
| Comfortable rubber grip ring | |
| PWM not visible on any mode |
If you enjoyed the review, please remember to 'Like' me on Facebook
