
idleprocess
Flashaholic
After seeing mds82's work, I was inspired to do something similar - albeit on a more modest scale. My goal was to produce something better than the lame little Ikea LED lamp on the nightstand for occasional reading in bed and late night visits to the water closet. Having some previous experience with a ceiling-bounce light in the same room (out of commission because I decided that "PSU in a wall" was a bad plan and haven't gotten around to the centralized 12V DC bus I have in mind for another long-longering project), I know that it produces a nice, diffuse light.
I had in mind some bare aluminum channel running across the back of the bedroom some 6" below where the wall breaks at the vaulted ceiling. This would give some room to spread out the light that hits the ceiling and would also allow some light to bounce off of the wall paint to help warm it somewhat.
So off to Home Depot it was to discover some reasonably straight channel - 8' L x 1/2" T x 3/4" W. While they had some in stock that was reasonably straight and had few divots, it was also covered in mill and handling marks. Oh well - I've got sandpaper and steel wool. Think the Al channel was $11 a stick. Bought some wiremold and a flushmount switch for another $20 or so.
Next stop was a preferred local supplier - LED City USA. They stock a far wider variety of LED tape than their website suggests, including my favorite CCT (that's actually sold, that is) - 4000K. A 10' reel was $15 and I was only going to need about 7 feet.
Last stop was the local surplus electronics store - Tanner electronics - where I bought a 12V DC power supply and a 2.1mm jack for about $10.
I used some other consumable sundries I had about - 16 GA red/black hookup wire, a butt splice for the ground connection, some solder, electrical tape, and some wall anchors. Figure bill of materials amounted to $60. Tools and indirect materials needed were a soldering iron, 150 and 220 grit sandpaper, fine steel wool, a drill, various drill and driver bits, an icepick, paper towels for various cleanup, some rubbing alcohol, and porn star nitrile gloves.
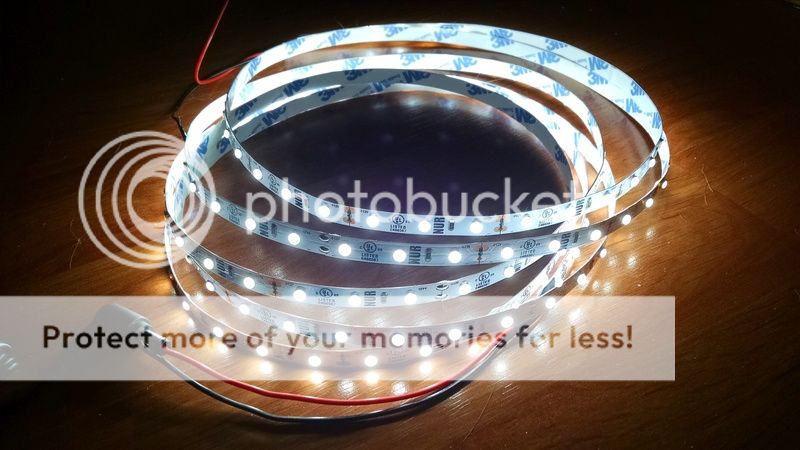
Obligatory "coil of LED's" shot. I opted for "double density" 3528's, positioned between "standard density" (50% as many LED's per meter) and "high density" (200% as many LED's per meter)
First and most time-consuming step was finishing the aluminum. Aluminum barstock and channel from metal suppliers comes in rather unsightly condition. It has a fairly smooth surface that highlights random scratches, mill grime, handling marks, and anything that so much as gave it a hard glance. Since I have brushed-nickel fixtures in my house, I knew that giving the aluminum a distinct grain along its length would clean it up and make it blend with the other fixtures nicely. I probably spent 30 minutes working it with the 150 grit sandpaper to remove the major blemishes and smooth out the divots followed by 15 minutes working it with the 220 and then another 15 minutes with steel wool to complete the finish. The difference was night and day. While I didn't eradicate all imperfections, I did manage to make it look like a brushed nickel finish.
Of course, at this point I realized that I needed to drill some holes on once face to hang it on the wall. No problem - just offset from one edge by 6" then drill a hole every 12". Good thing I have a drill press otherwise they would have been a mess. Then I deburr the holes out of habit. Of course at this point the finish has taken some abuse so I work the l finish again with 220-grit and steel wool.
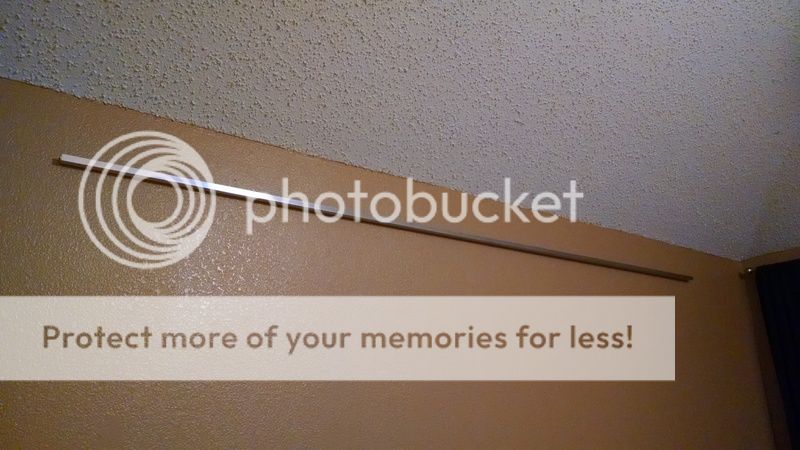
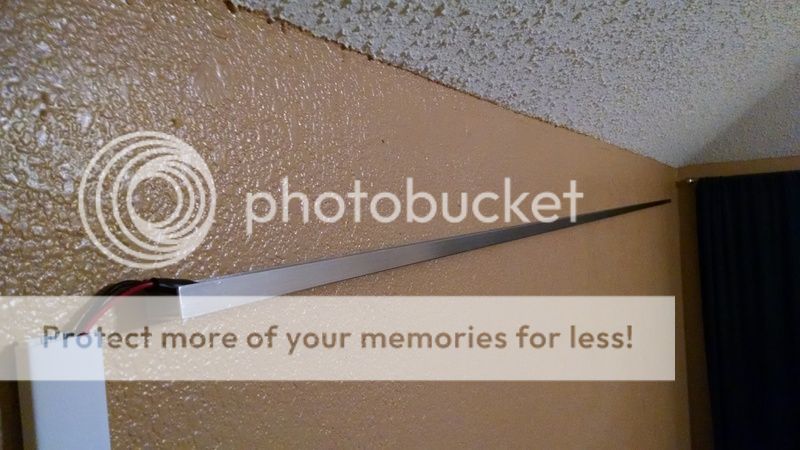
"So that's what the bar looks like hung up on the wall"
Getting to this point was ... interesting. I knew I needed to mark holes in the sheetrock and the preferable way is to use the piece I just cut so I can try to reasonably center them. I tried to stick the thing to the wall with liberal quantities of poster putty ... which failed since the overhanging mass liked to lever it away from the wall. So I took my chances and just marked my center line on the wall every 12". Naturally, some screws didn't align so well ... good thing I drilled more than I would need and it's pretty lightweight anyway.
The LED strip fabrication process was simple - cut to length, solder ~6' of wire to the end, wrap the solder joints with electrical tape.
At his point it was time to wrap up the work on the bar so I broke out the porn star nitrile gloves and scrubbed down the exterior aluminum to remove all the fingerprints and oil. I then swabbed the inside with alcohol and carefully applied the tape along the non-hole edge, centered up. Fastened it to the wall.
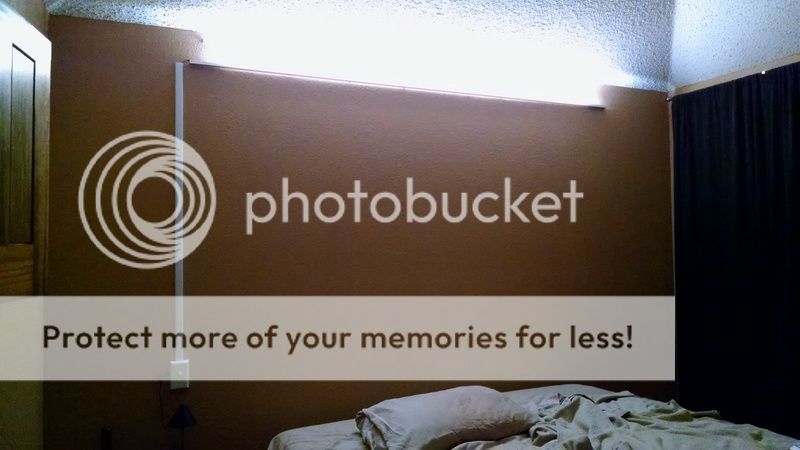
Testing prior to trimming out the wire
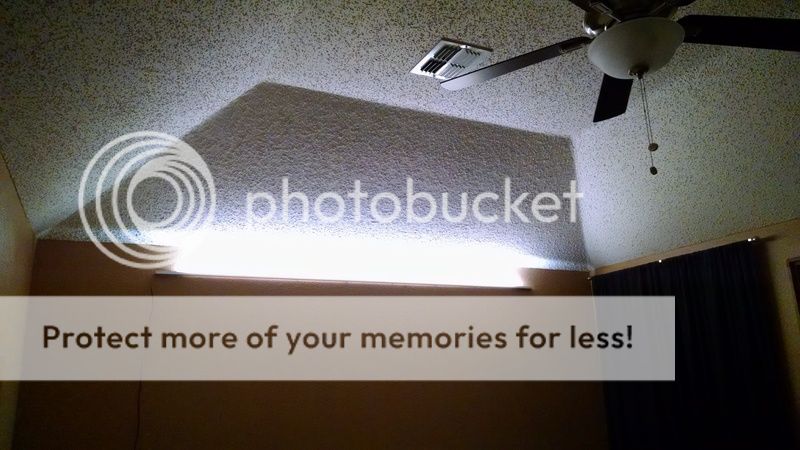
Lighting looks really good at this point. Just bright enough to read by directly under it. I like the effect of the clean ceiling bounce combined with the reflection off the brown wall paint.
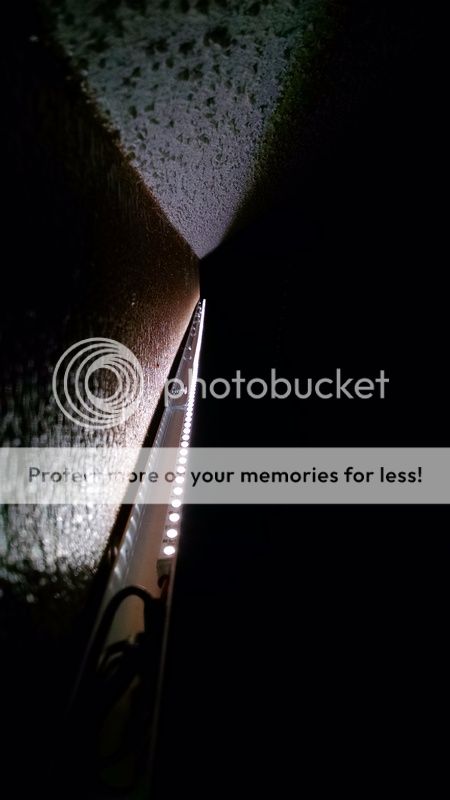
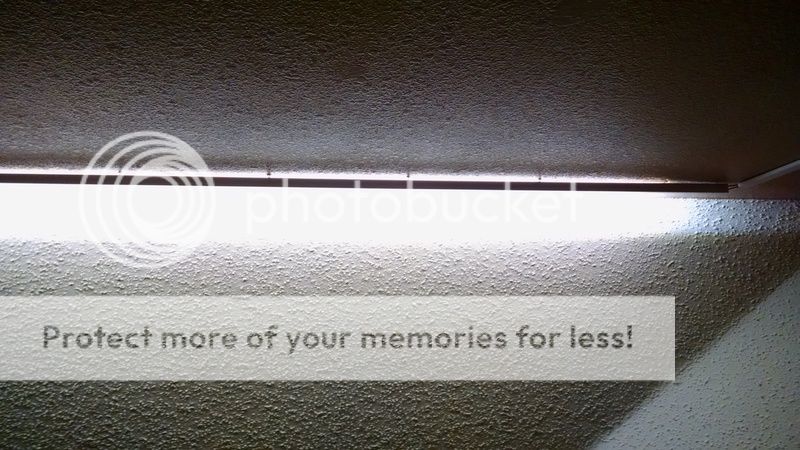
End-on shot
Metal and wiremold detail
Should have trimmed the factory leads a bit ... and used less electrical tape.
The finished product
Not easy to make out, but the 2.1mm socket on the wall switch is inline (for use on a cable) rather than being panel-mount ... and has a cold solder joint (sigh). Perhaps that will be replaced someday - works fine so long as I don't bump it.
The view from below

The view from in bed
Camera really doesn't do the colors and perceived brightness quite right, but that's the nature of photographing light.
I'm satisfied with it.
I had in mind some bare aluminum channel running across the back of the bedroom some 6" below where the wall breaks at the vaulted ceiling. This would give some room to spread out the light that hits the ceiling and would also allow some light to bounce off of the wall paint to help warm it somewhat.
So off to Home Depot it was to discover some reasonably straight channel - 8' L x 1/2" T x 3/4" W. While they had some in stock that was reasonably straight and had few divots, it was also covered in mill and handling marks. Oh well - I've got sandpaper and steel wool. Think the Al channel was $11 a stick. Bought some wiremold and a flushmount switch for another $20 or so.
Next stop was a preferred local supplier - LED City USA. They stock a far wider variety of LED tape than their website suggests, including my favorite CCT (that's actually sold, that is) - 4000K. A 10' reel was $15 and I was only going to need about 7 feet.
Last stop was the local surplus electronics store - Tanner electronics - where I bought a 12V DC power supply and a 2.1mm jack for about $10.
I used some other consumable sundries I had about - 16 GA red/black hookup wire, a butt splice for the ground connection, some solder, electrical tape, and some wall anchors. Figure bill of materials amounted to $60. Tools and indirect materials needed were a soldering iron, 150 and 220 grit sandpaper, fine steel wool, a drill, various drill and driver bits, an icepick, paper towels for various cleanup, some rubbing alcohol, and porn star nitrile gloves.
Obligatory "coil of LED's" shot. I opted for "double density" 3528's, positioned between "standard density" (50% as many LED's per meter) and "high density" (200% as many LED's per meter)
First and most time-consuming step was finishing the aluminum. Aluminum barstock and channel from metal suppliers comes in rather unsightly condition. It has a fairly smooth surface that highlights random scratches, mill grime, handling marks, and anything that so much as gave it a hard glance. Since I have brushed-nickel fixtures in my house, I knew that giving the aluminum a distinct grain along its length would clean it up and make it blend with the other fixtures nicely. I probably spent 30 minutes working it with the 150 grit sandpaper to remove the major blemishes and smooth out the divots followed by 15 minutes working it with the 220 and then another 15 minutes with steel wool to complete the finish. The difference was night and day. While I didn't eradicate all imperfections, I did manage to make it look like a brushed nickel finish.
Of course, at this point I realized that I needed to drill some holes on once face to hang it on the wall. No problem - just offset from one edge by 6" then drill a hole every 12". Good thing I have a drill press otherwise they would have been a mess. Then I deburr the holes out of habit. Of course at this point the finish has taken some abuse so I work the l finish again with 220-grit and steel wool.
"So that's what the bar looks like hung up on the wall"
Getting to this point was ... interesting. I knew I needed to mark holes in the sheetrock and the preferable way is to use the piece I just cut so I can try to reasonably center them. I tried to stick the thing to the wall with liberal quantities of poster putty ... which failed since the overhanging mass liked to lever it away from the wall. So I took my chances and just marked my center line on the wall every 12". Naturally, some screws didn't align so well ... good thing I drilled more than I would need and it's pretty lightweight anyway.
The LED strip fabrication process was simple - cut to length, solder ~6' of wire to the end, wrap the solder joints with electrical tape.
At his point it was time to wrap up the work on the bar so I broke out the porn star nitrile gloves and scrubbed down the exterior aluminum to remove all the fingerprints and oil. I then swabbed the inside with alcohol and carefully applied the tape along the non-hole edge, centered up. Fastened it to the wall.
Testing prior to trimming out the wire
Lighting looks really good at this point. Just bright enough to read by directly under it. I like the effect of the clean ceiling bounce combined with the reflection off the brown wall paint.
End-on shot
Metal and wiremold detail
Should have trimmed the factory leads a bit ... and used less electrical tape.
The finished product
Not easy to make out, but the 2.1mm socket on the wall switch is inline (for use on a cable) rather than being panel-mount ... and has a cold solder joint (sigh). Perhaps that will be replaced someday - works fine so long as I don't bump it.
The view from below
The view from in bed
Camera really doesn't do the colors and perceived brightness quite right, but that's the nature of photographing light.
I'm satisfied with it.
 That's some odd architecture...