Hudson456
Newly Enlightened
- Joined
- Jan 23, 2016
- Messages
- 150
Can anyone detail how to replace the McClicky on a Malkoff MD2 should the need arise? What works as a good tool for unscrewing the switch given those two holes are awfully small?
Trying to make a long-term international backpacking MD2 kit, with necessary replacement parts and (airplane-friendly) tools. Some countries and airport security might find needle nose pliers unacceptable on aircraft. Can I rotate the switch with 2 paper clips?
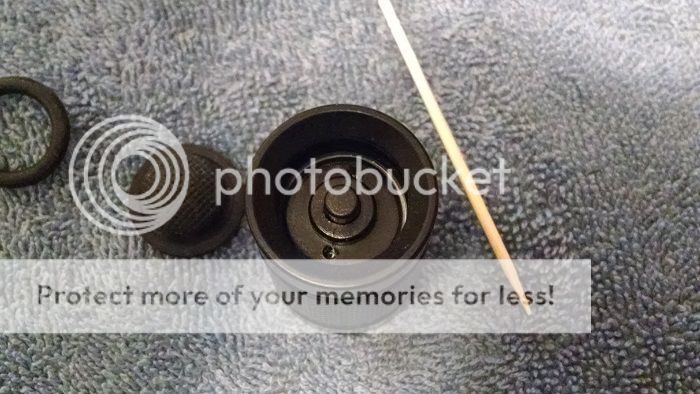
How do you get the boot and O-ring back in after installation? All I could find was what's on Malkoff's site:
MDX: Pinch the boot btween your thumb and forefinger. Pull it straight out. Then remove the O-Ring with a toothpick. A small set of needle nosed pliers can then be fit into the two small holes in the back of the switch to screw it out counter clockwise.
Trying to make a long-term international backpacking MD2 kit, with necessary replacement parts and (airplane-friendly) tools. Some countries and airport security might find needle nose pliers unacceptable on aircraft. Can I rotate the switch with 2 paper clips?
How do you get the boot and O-ring back in after installation? All I could find was what's on Malkoff's site:
MDX: Pinch the boot btween your thumb and forefinger. Pull it straight out. Then remove the O-Ring with a toothpick. A small set of needle nosed pliers can then be fit into the two small holes in the back of the switch to screw it out counter clockwise.