
---------------------------------------------------------------------------------------------------------------------
Author's Statement for Transparency and Disclosure
The test sample/s featured in this article have been provided for technical testing and review by the manufacturer. Test samples are retained by the reviewer following publication of the completed review for the purposes of long term testing and product comparisons.
All output figures and test results published in this review are the sole work of the reviewer, and are carried out independently and without bias. Test results are reported as found, with no embellishments or alteration. Though best endeavours are made to maintain the accuracy of test equipment, the accuracy of these results is not guaranteed and is subject to the test equipment functioning correctly.
----------------------------------------------------------------------------------------------------------------------
First-Light make highly functional, ergonomic lights which are enhanced by a selection of mounts. Incredibly versatile and unusual in design and interface, it has been great getting to know the TORQ (and T-Max in another review) and its set of mounts.
The TORQ brings an AA powered light into the First-Light stable where previously it was CR123 only, and have maintained their distinctive style and function.
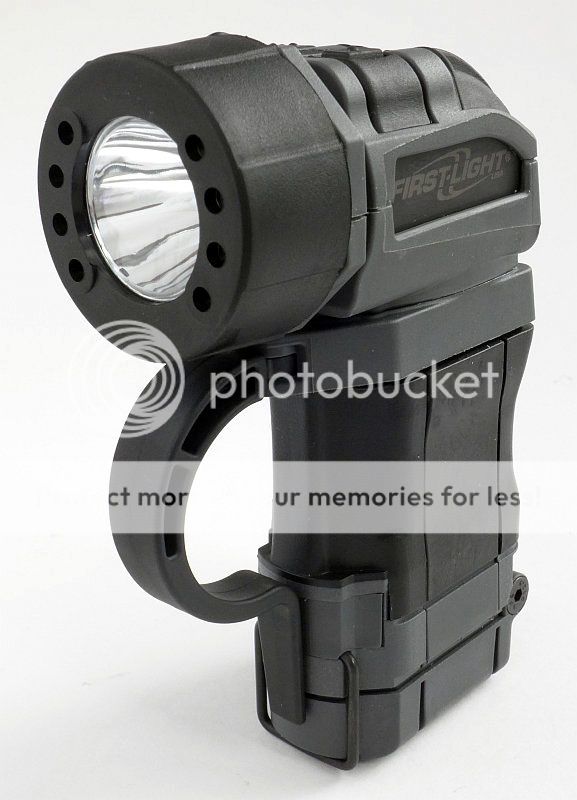
Taking a more detailed look at the TORQ:
In this review I'll be looking at the TORQ and the First-Light mounting system. As there is a lot to see, the mounts will be covered in the next section.
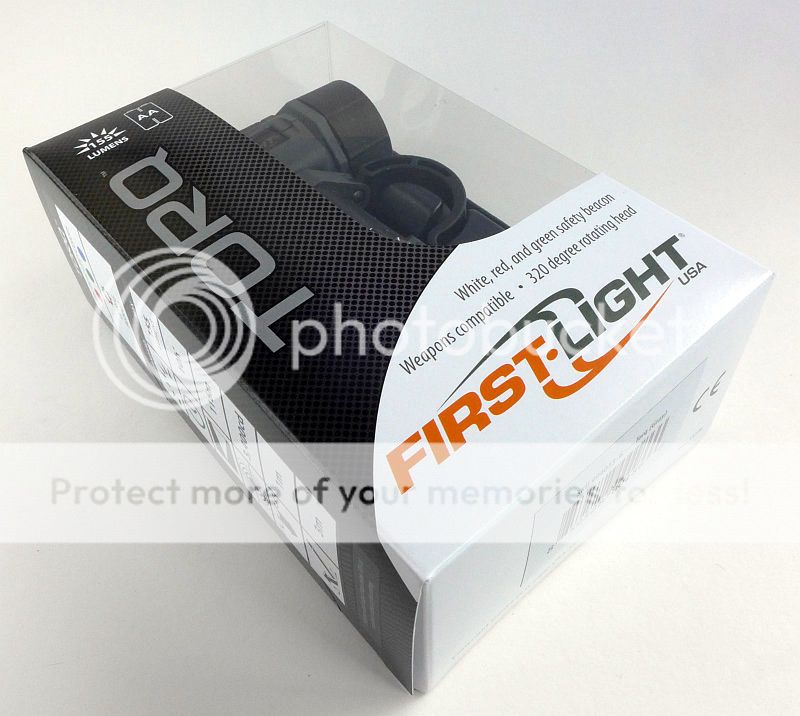
The TORQ's box with window that clearly shows off the TORQ (if you are looking from the other side).
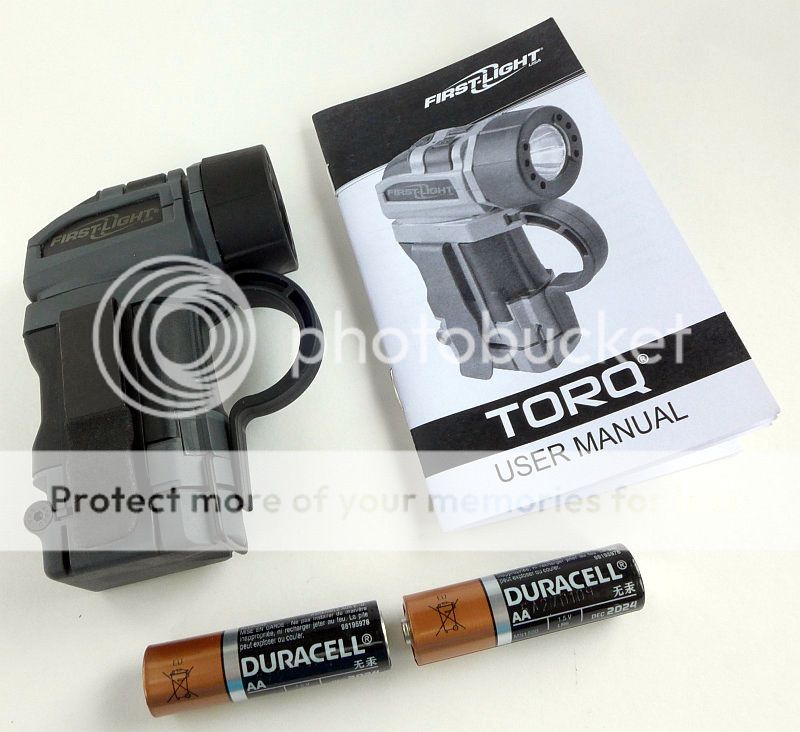
A simple set of contents, the TORQ, a set of Alkaline AAs to get you going and the instruction book.
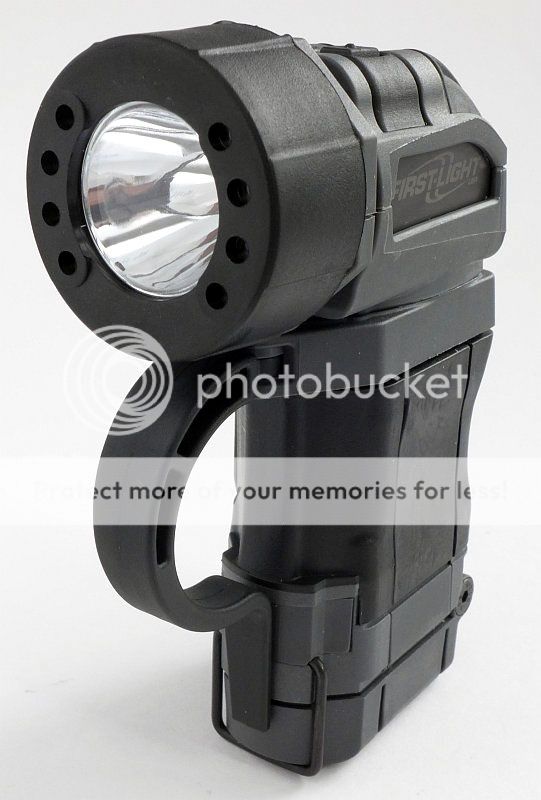
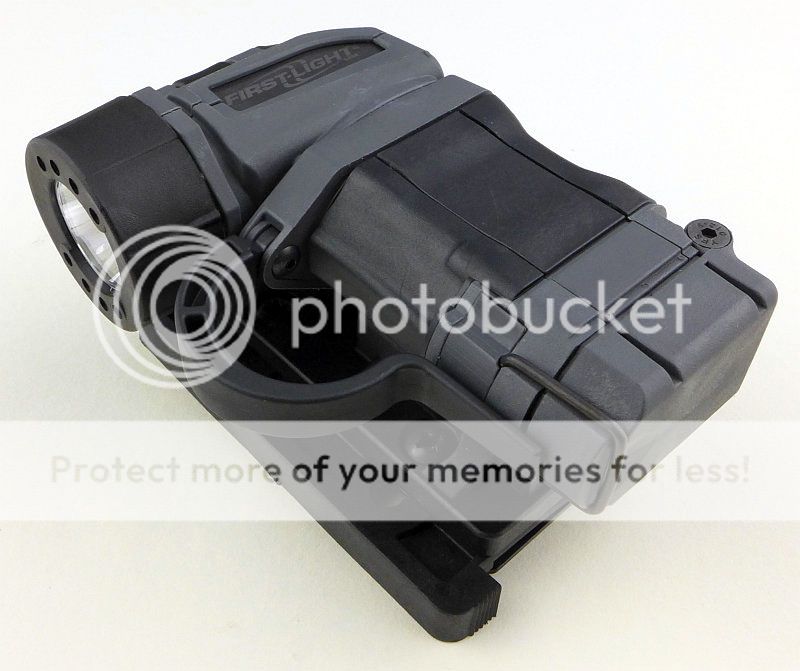
Immediately it must be noted that the head on the TORQ is articulated and swings from side to side.
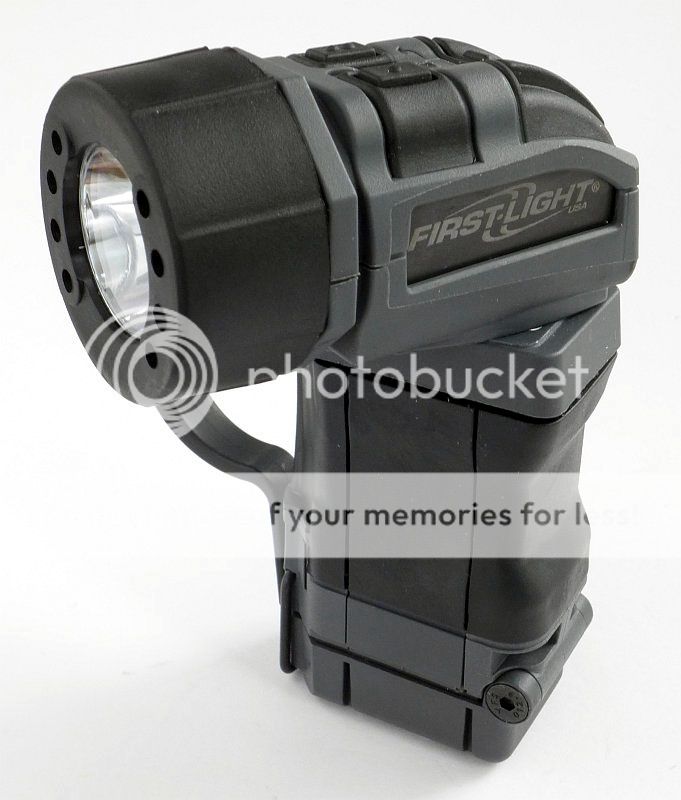
Here the head is only rotated about 1/3 of the total movement possible in that direction. The head actually rotates 320 degrees in all.
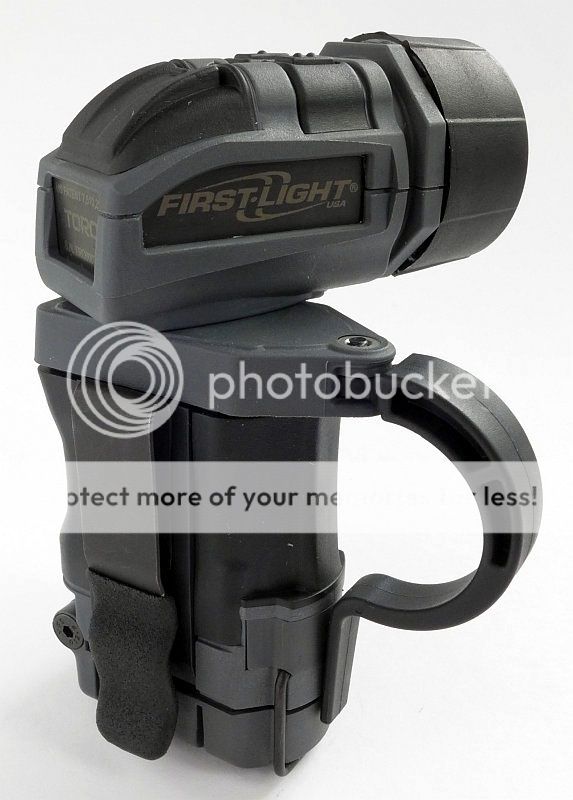
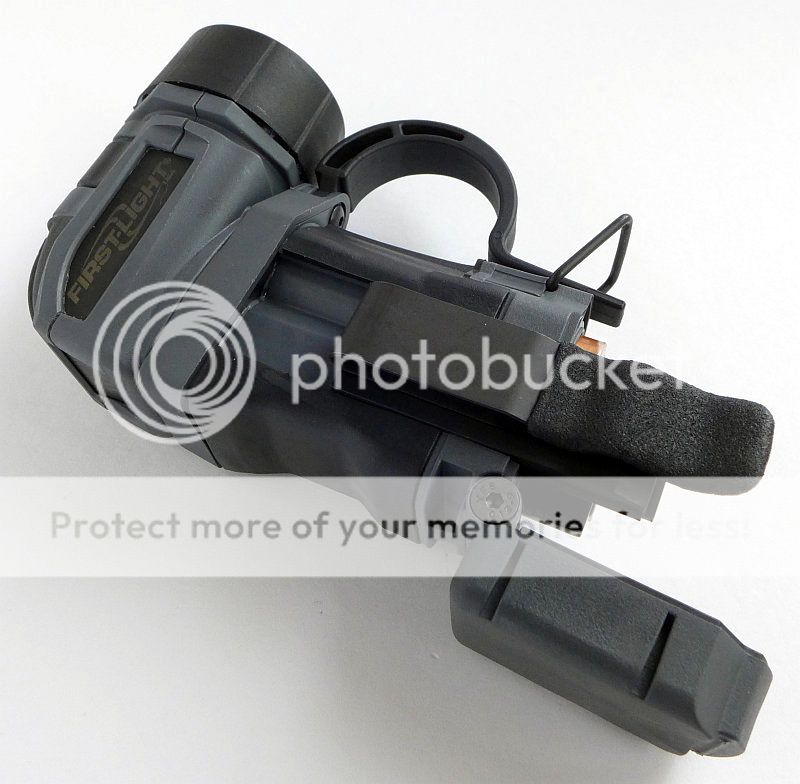
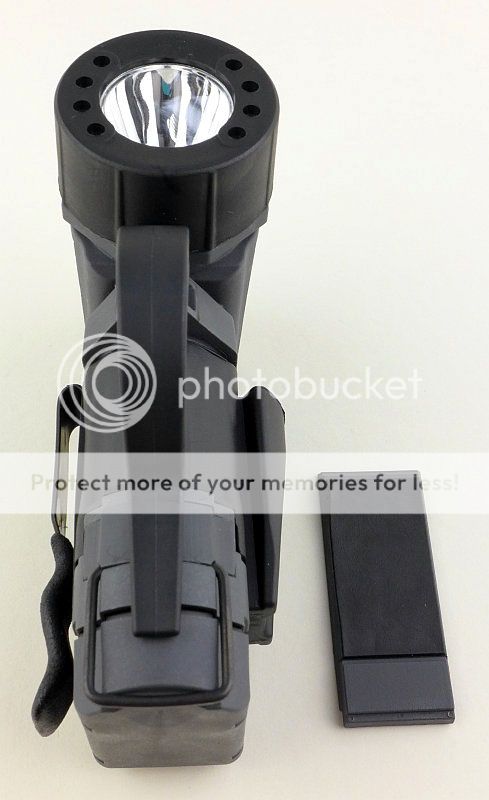
Another distinctive First-Light feature is the finger loop to give the user a more secure grip and help locate the light in the hand.
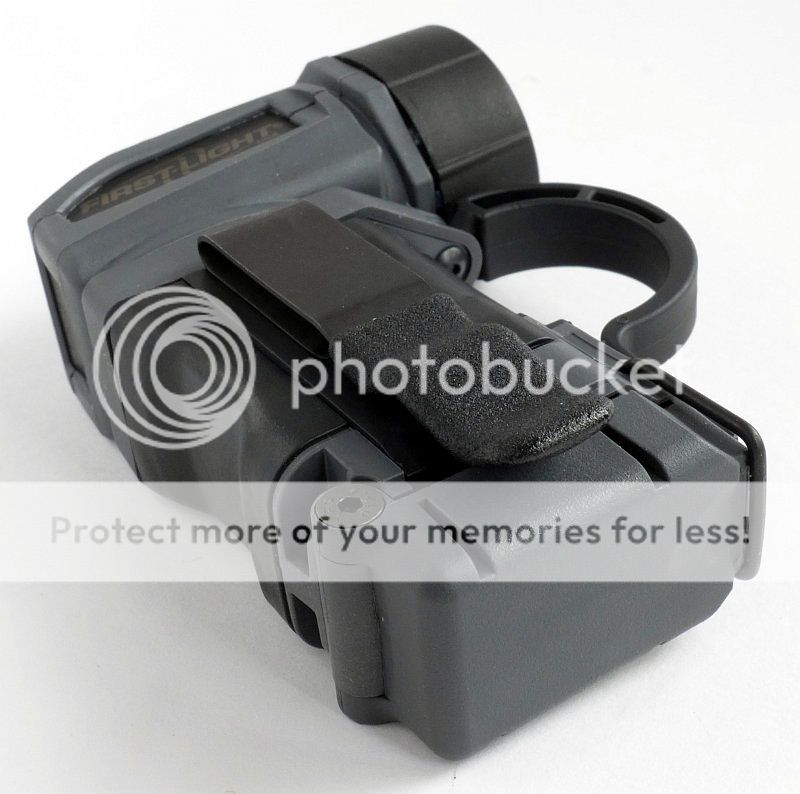
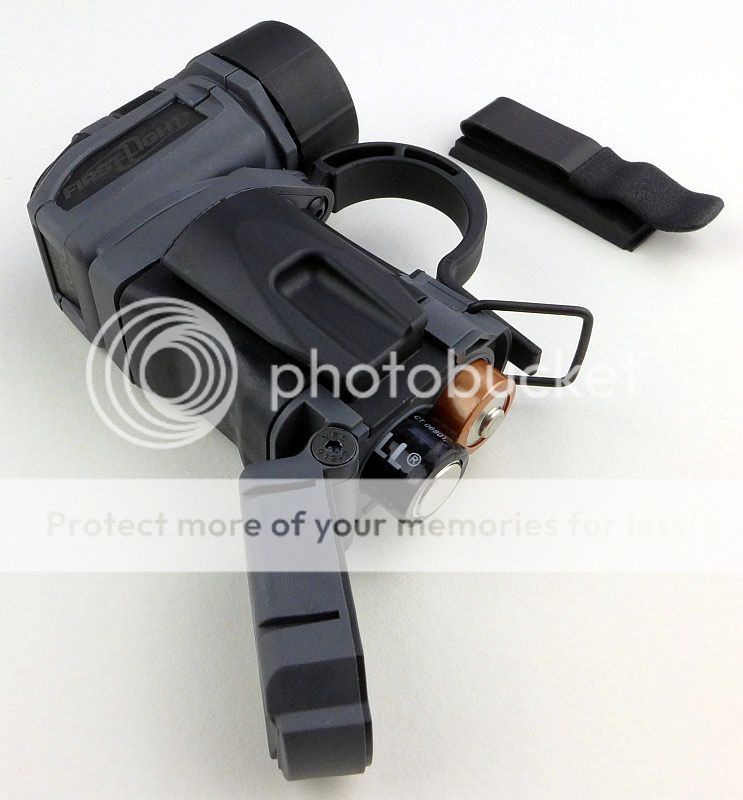
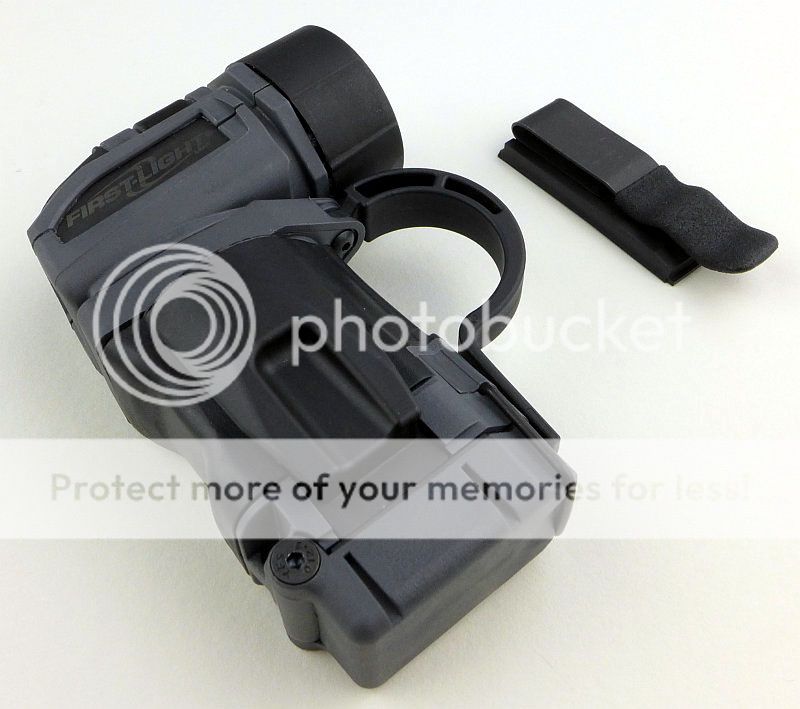
Out of the box, the TORQ has a steel spring clip. The clip is removable and reversible (see later in the mounting system section).
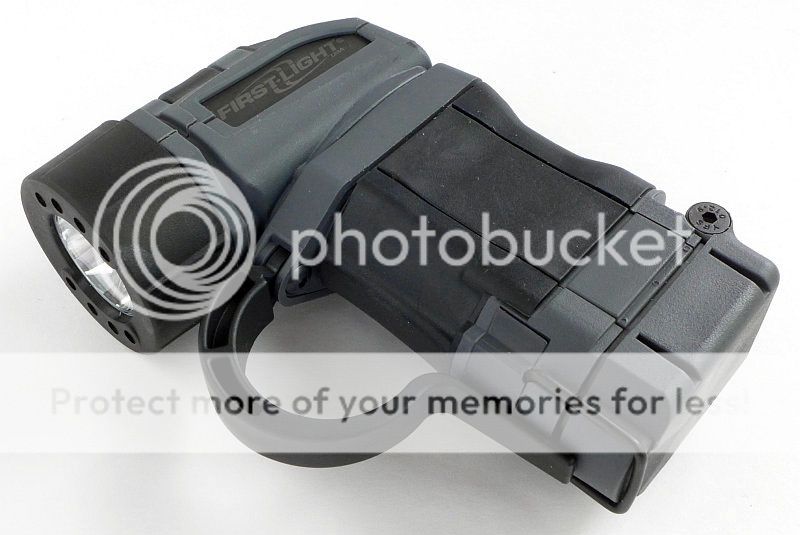
The TORQ will comfortably tailstand.
As well as the head being articulated, so is the finger loop. This can be moved to either side to suit the user and their preferred grip.

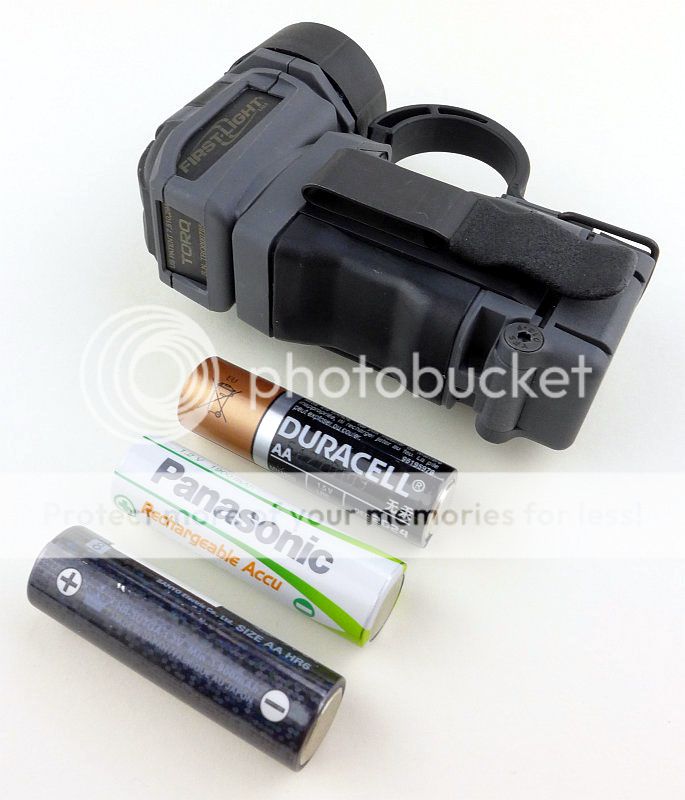
The main body of the TORQ is rectangular (with rounded corners) which is a function of the body holding 2xAA cells side by side.

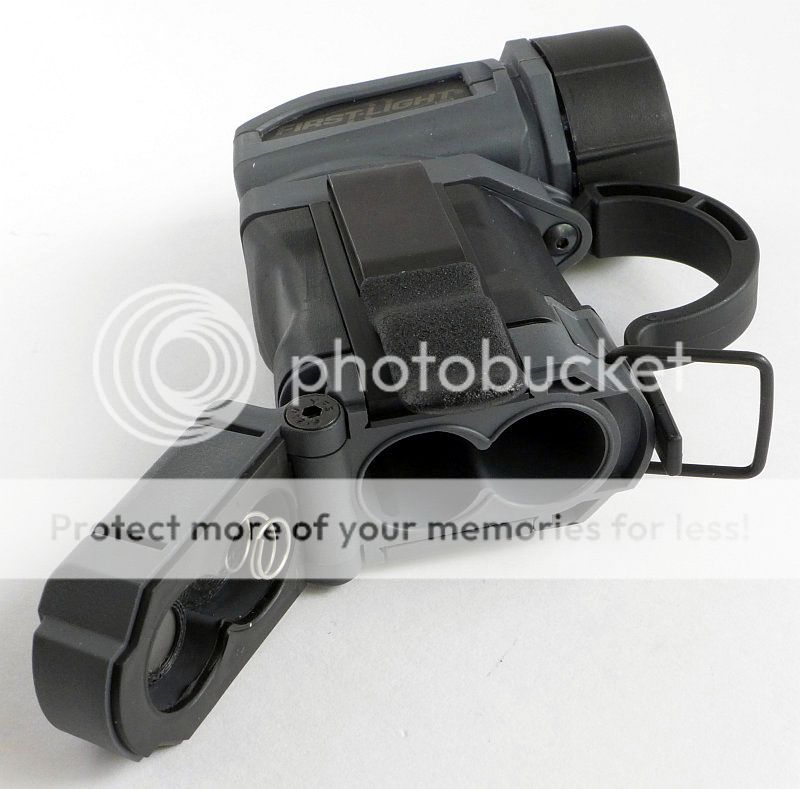
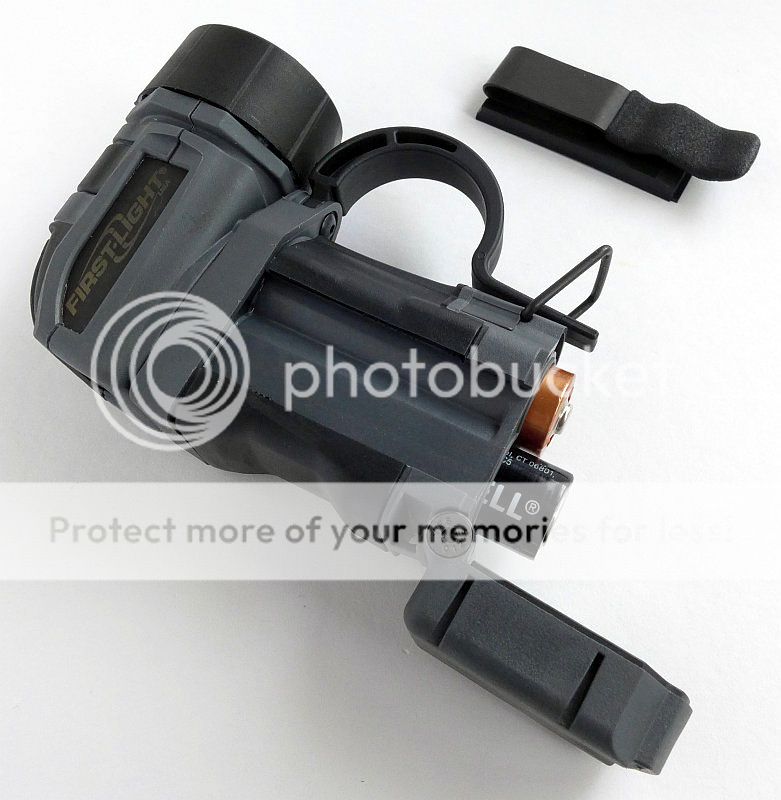
After releasing the battery door retainer (the steel wire loop) the door swings open towards the rear. You can see the negative contact spring protruding.
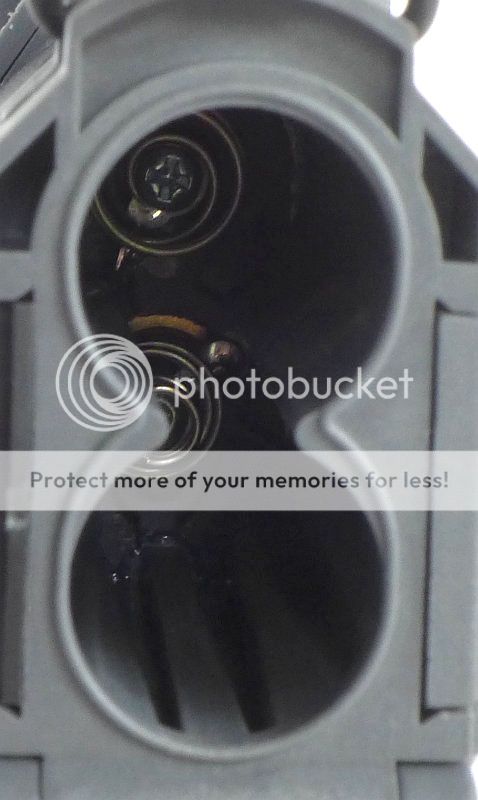
Looking inside both the positive and negative terminals are springs.
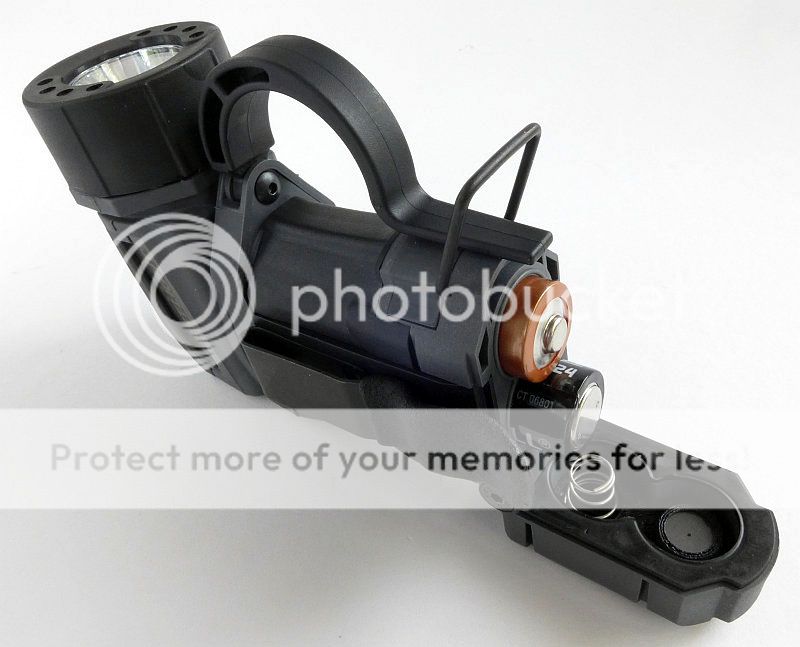
Loaded with two alkaline cells. The fit is snug with alkaline and even more so with NIMh (more on that later).
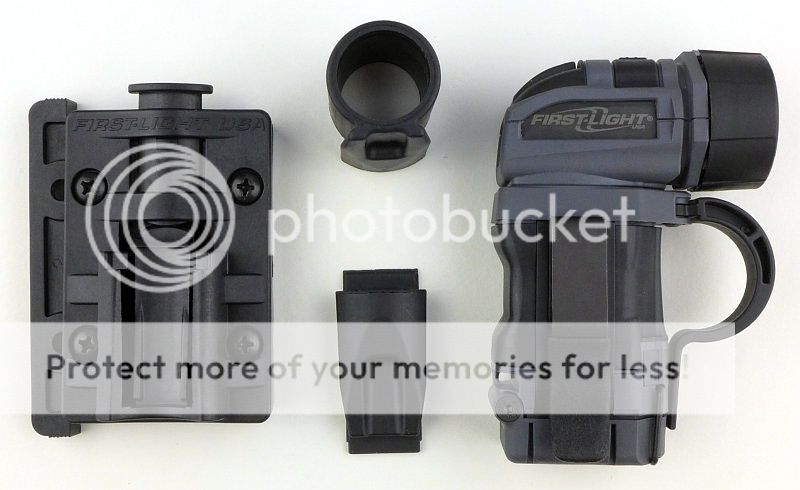
While we have the battery door open, you can see how the clip slides out (in a dovetailed groove).
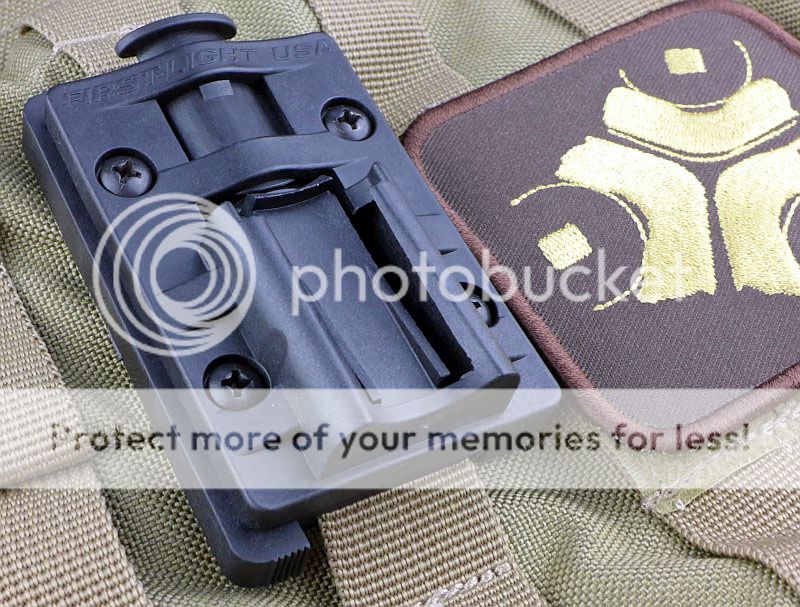
The clip can be removed and left off, reversed, fitted to the other side (which has a blanking plate in the dovetail groove) and/or substituted for the mounting adapter.
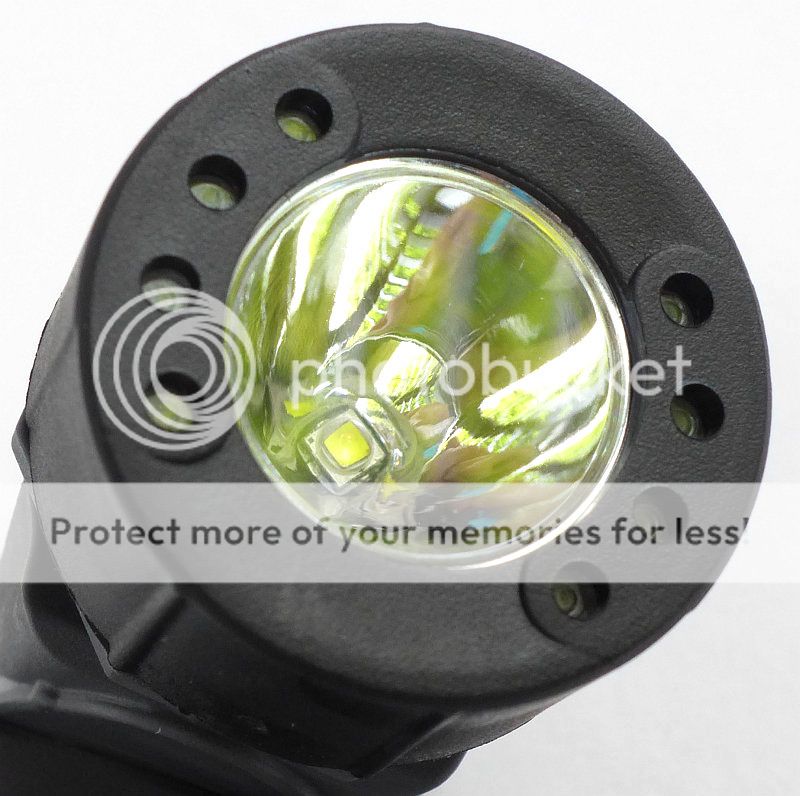
Looking straight into the reflector, there is an XP-G2 LED in a smooth reflector.

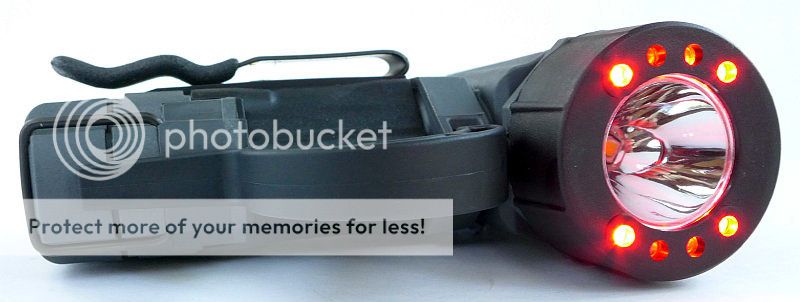
Either side of the main white LED are a set of four Red LEDS, and two Blue and two Green LEDs all from SunLED.
The four Red LEDs lit.
The TORQ next to the different types of cell used in testing (Eneloop, Evolta, and Alkaline)
Cycling through the beams, Red, Green, Blue and White
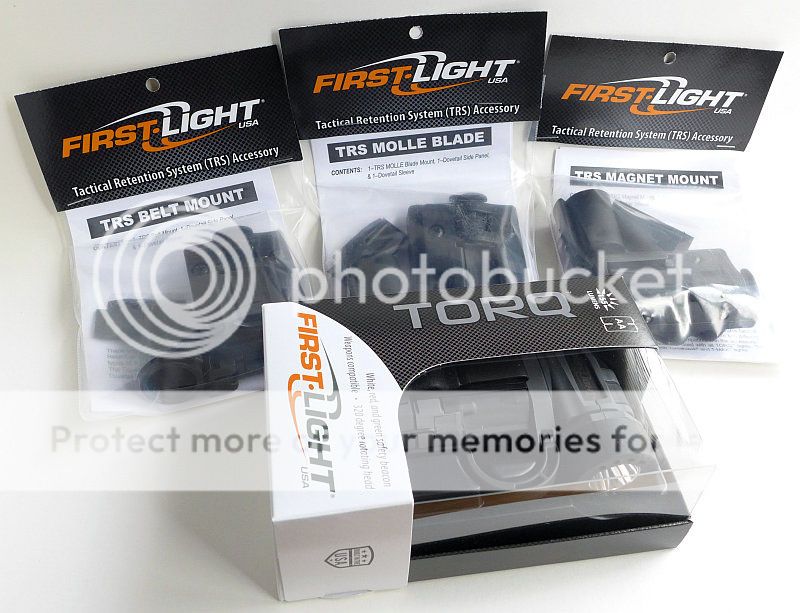
Taking a more detailed look at the Mounts:
A lot of the functionality of the First-Light products comes from the excellent mounting system. The TORQ has the choice of MOLLE Blade, Belt mount, and/or Magnetic mount
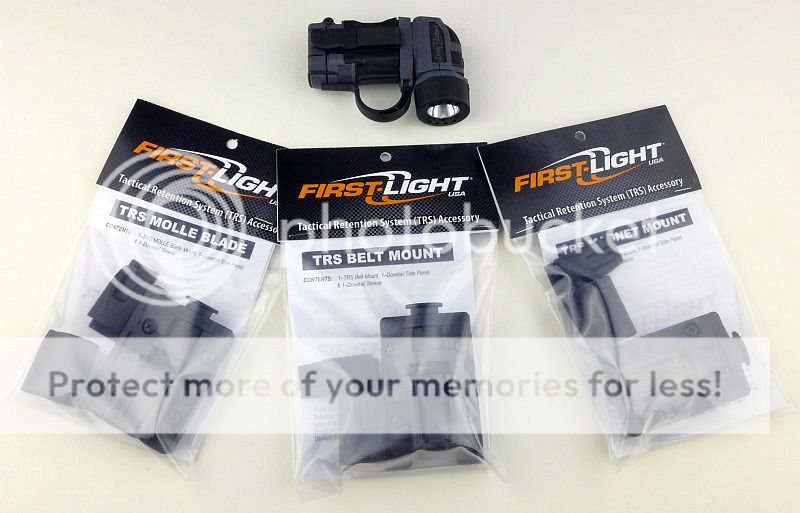
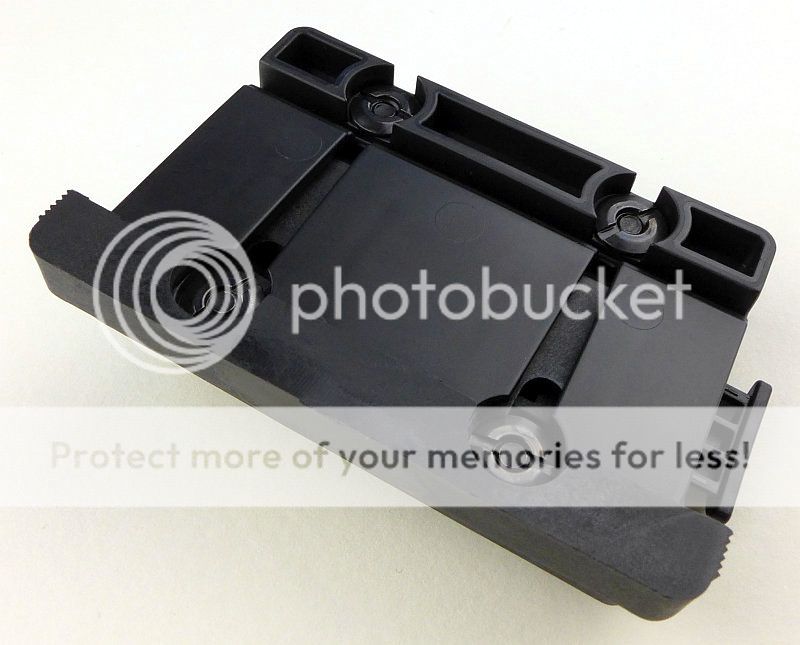
Starting with the MOLLE Blade, the mount comes with the main mount and the adaptors for the TORQ and Tomahawk/T-Max.
The next sequence shows how the dovetail adaptor fits into the mount.
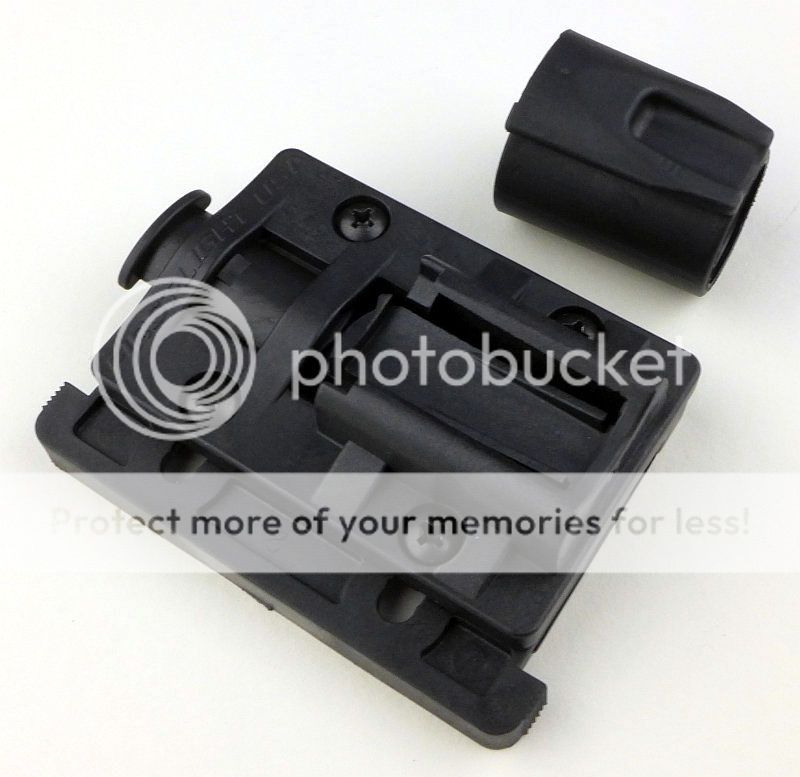
Starting to slide in.
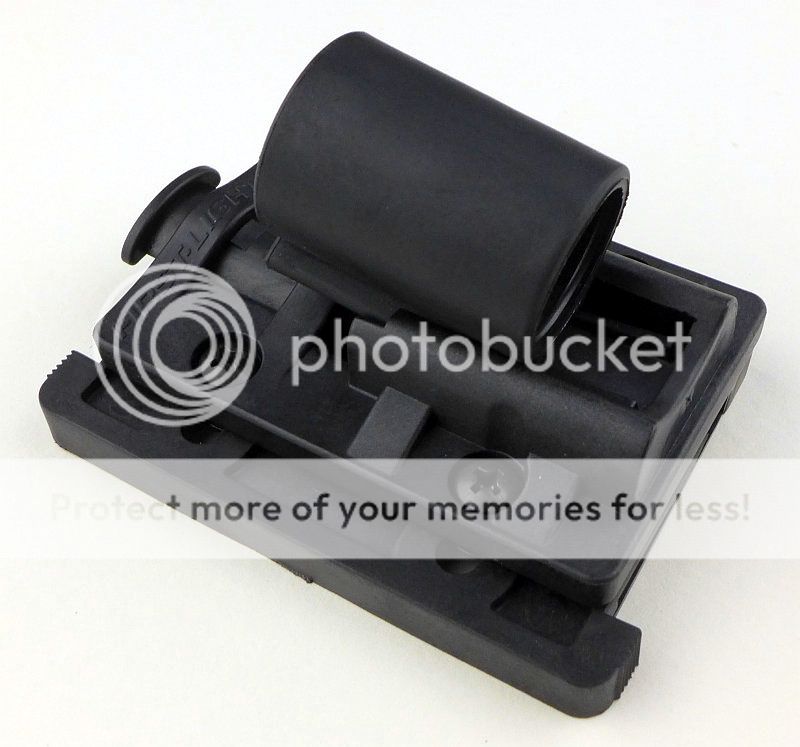
Fully clipped in.
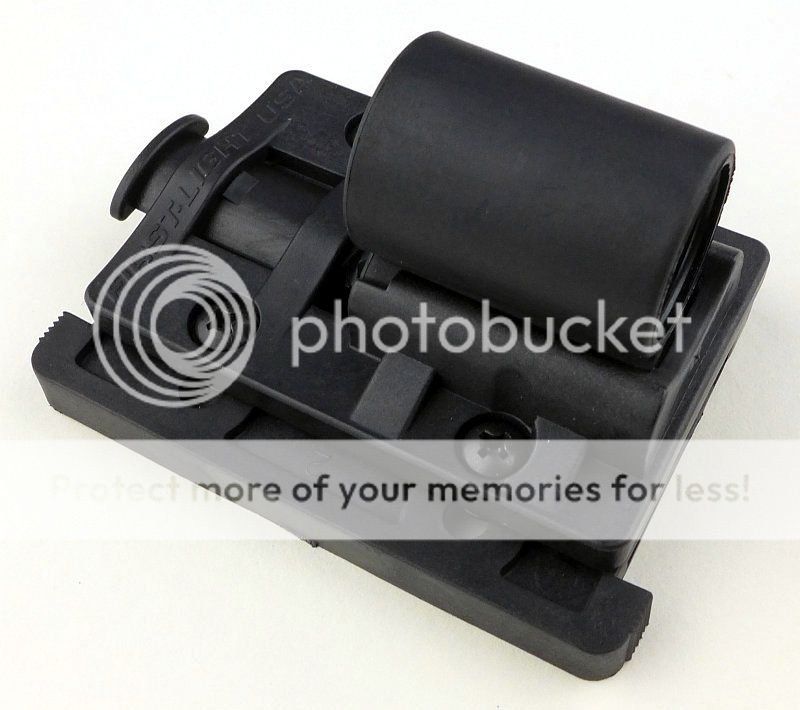
The release button sits proud above the mount.
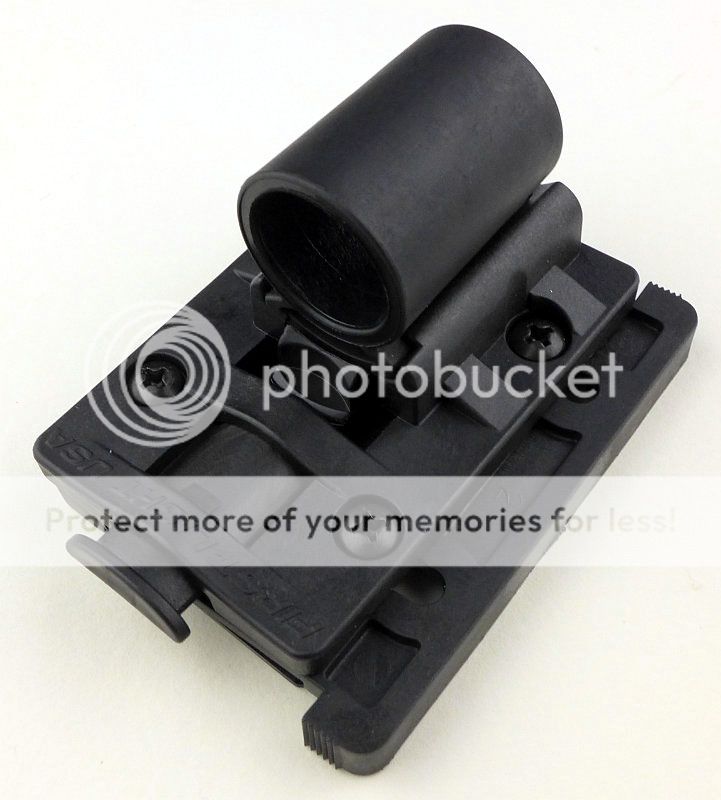
The retaining clip is pushed out of the way when the button is pressed (see next photo)
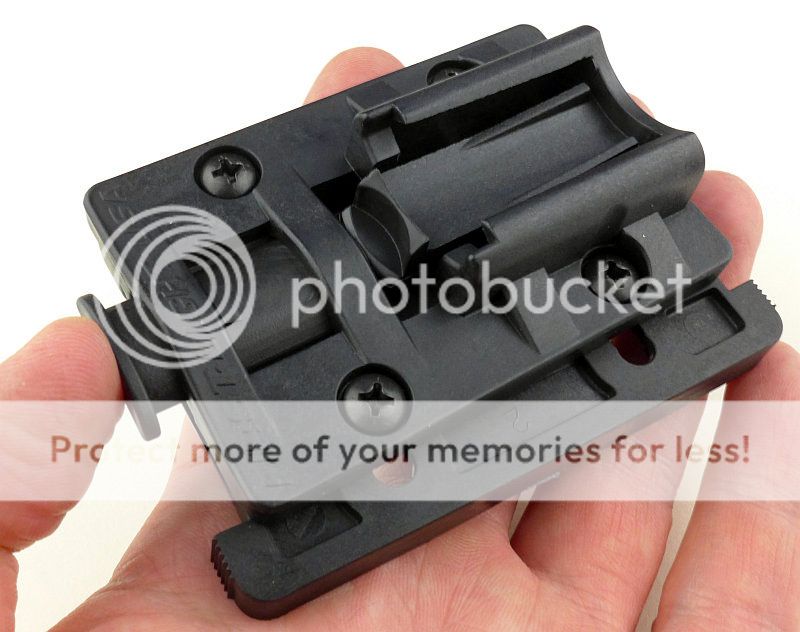
It requires a firm press to release the light. It is not going to pop off unintentionally.
In this sequence the steel clip is replaced by the mount's dovetail adaptor. First open the battery door.
Slide out the steel clip.
And slide the adaptor in its place.
Close the battery door to secure the adaptor.
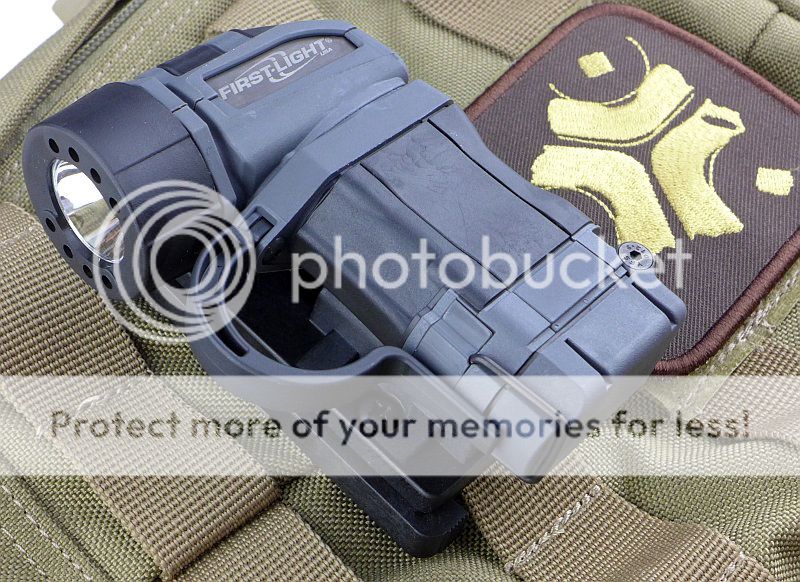
The TORQ ready to get mounted.

When on the mount, the TORQ's profile is neat and low.
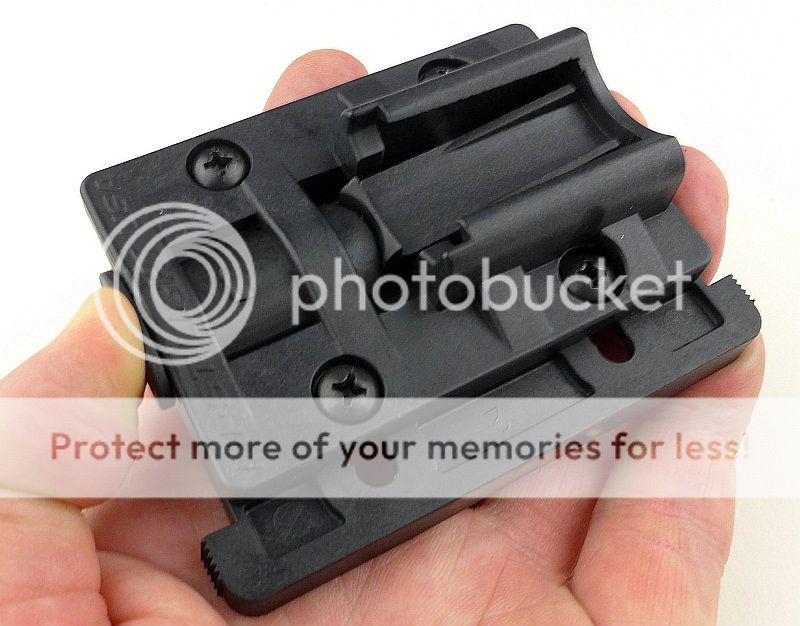
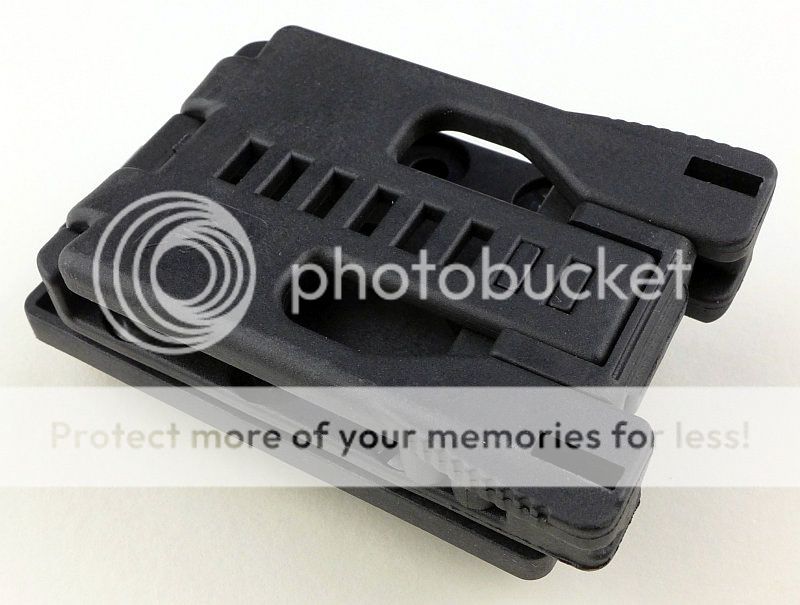
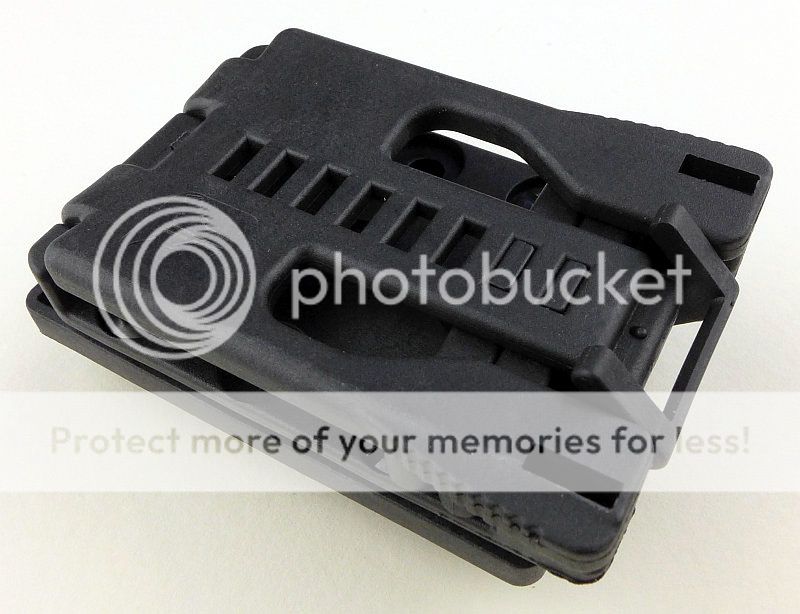
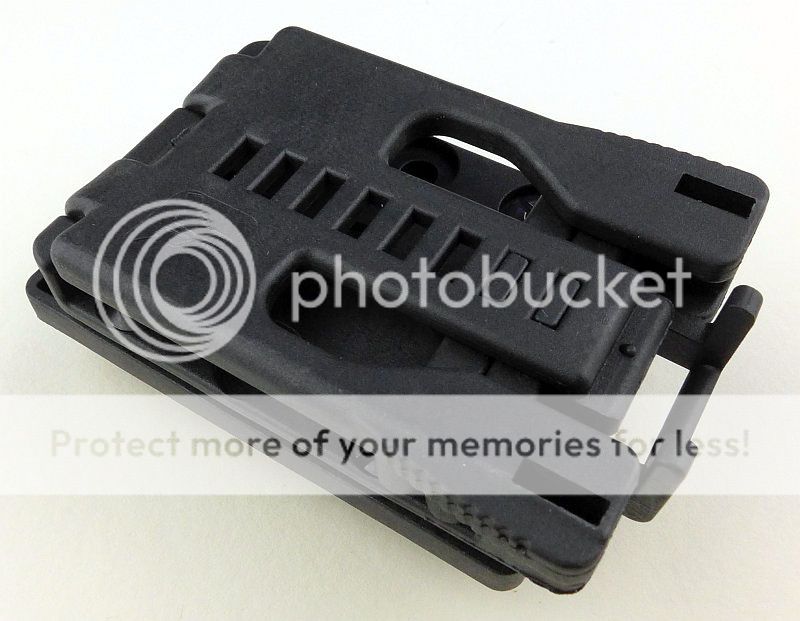
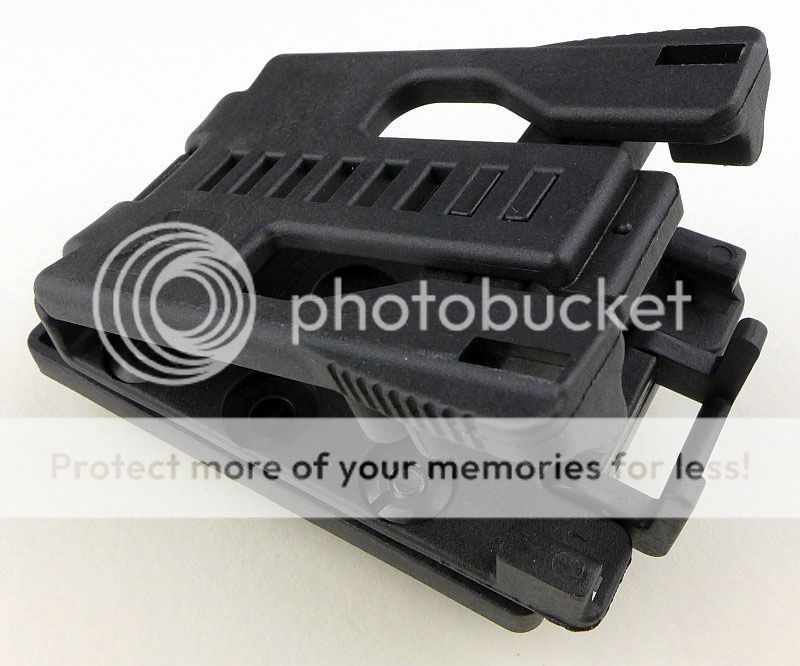
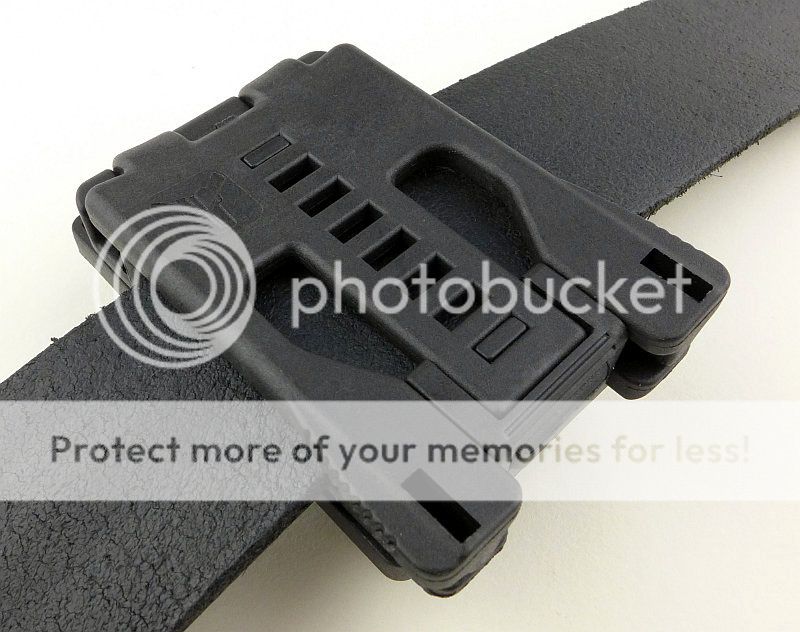
This first mount is the MOLLE blade. Let's have a look at how it fits onto webbing. On the underside of the mount is the blade itself. This consists of three plastic flaps, one central wider one with smaller flaps either side. The two gaps are for the webbing stitching to go into.
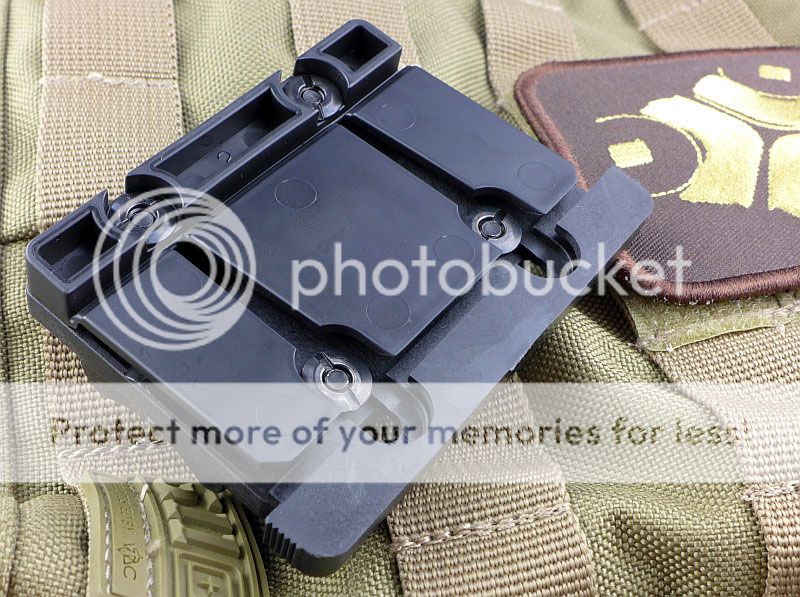
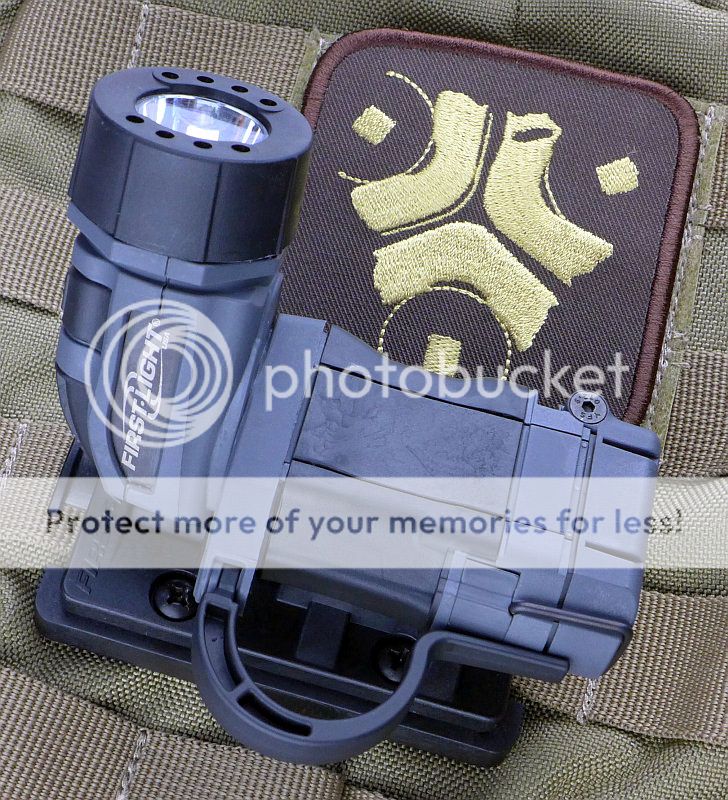
The flaps slide into the webbing and then are secured by a bar on the side which locks into place.
Quick, easy and secure mounting on PALS webbing.
Once mounted the head can be rotated freely to give you light where you need it.
Looking again at the 'blade' with the locking bar open.
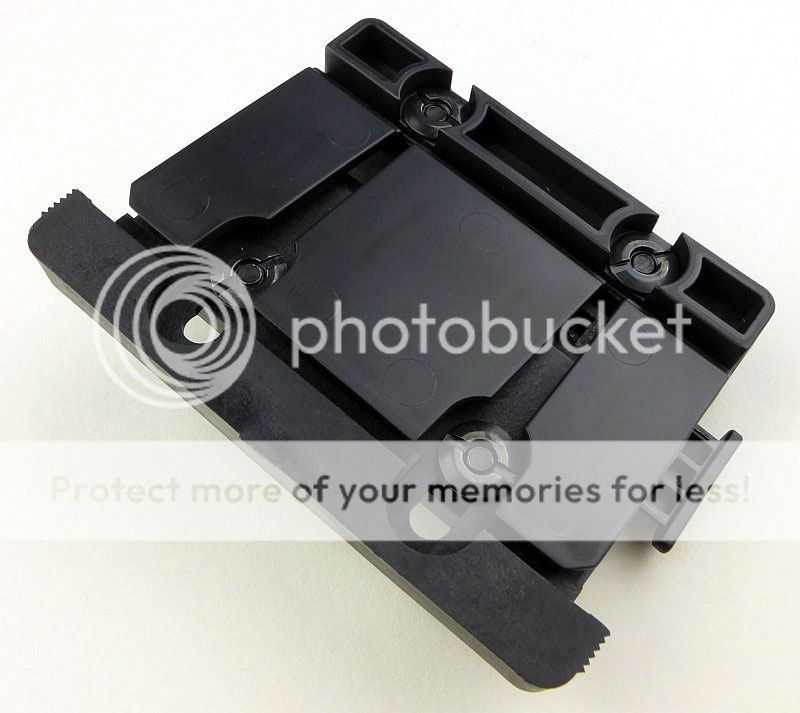
And here with the locking bar closed over the 'blade' fingers.
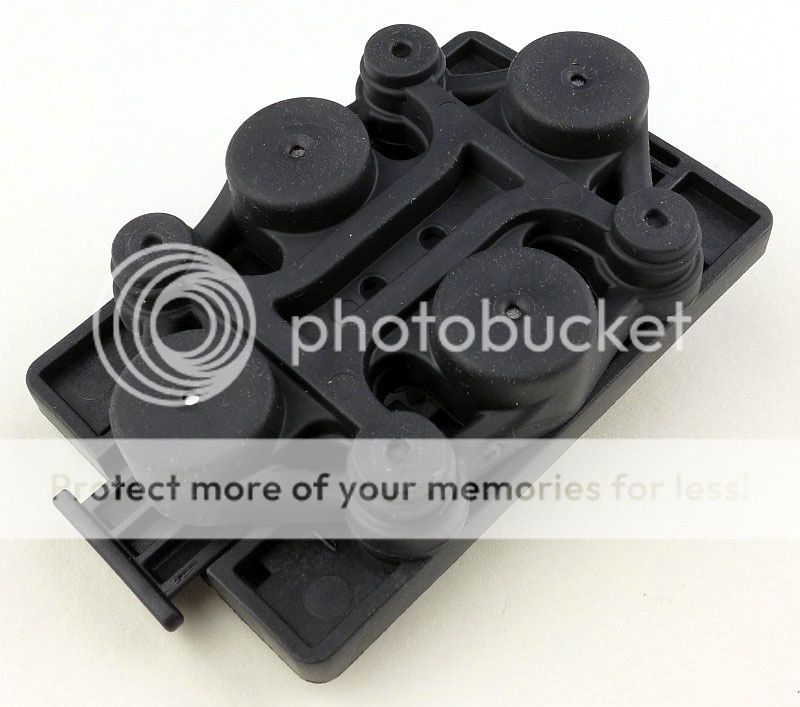
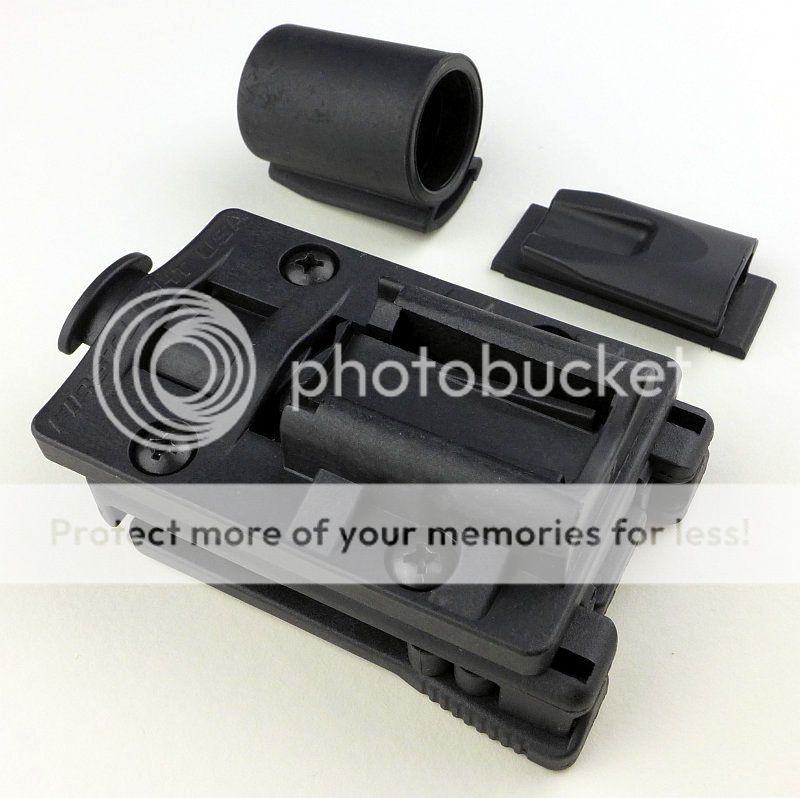
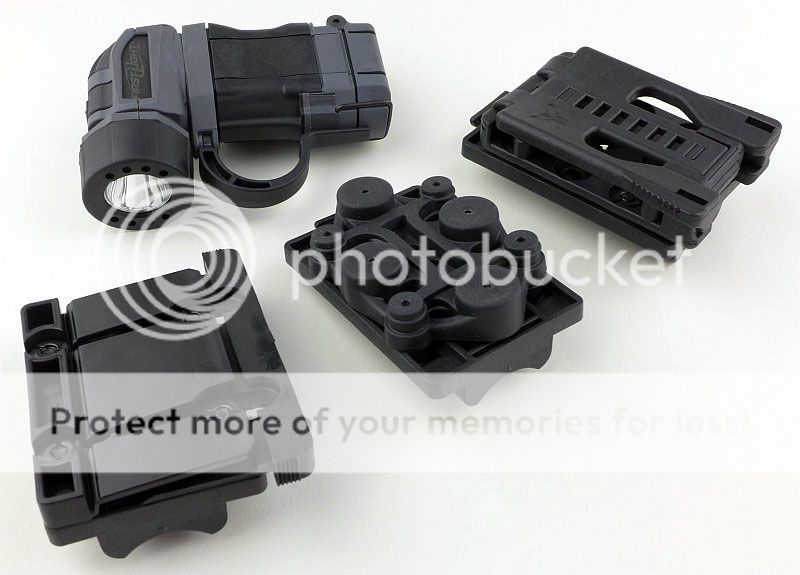
Onto the Magnetic mount. Again supplied with both TORQ and Tomahawk/T-Max adaptors.
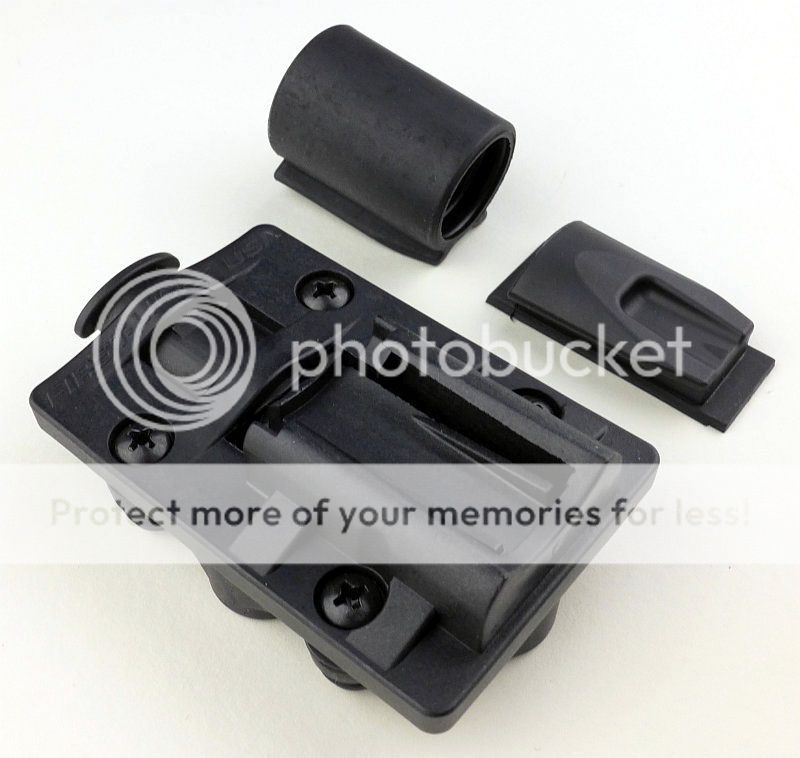
This mount has four powerful magnets encased in a soft rubber cover. It means you can freely attach this to any surface without worrying about scratches. Also consider that even if you don't care about the surface, the rubber also makes attaching and removing very quiet.
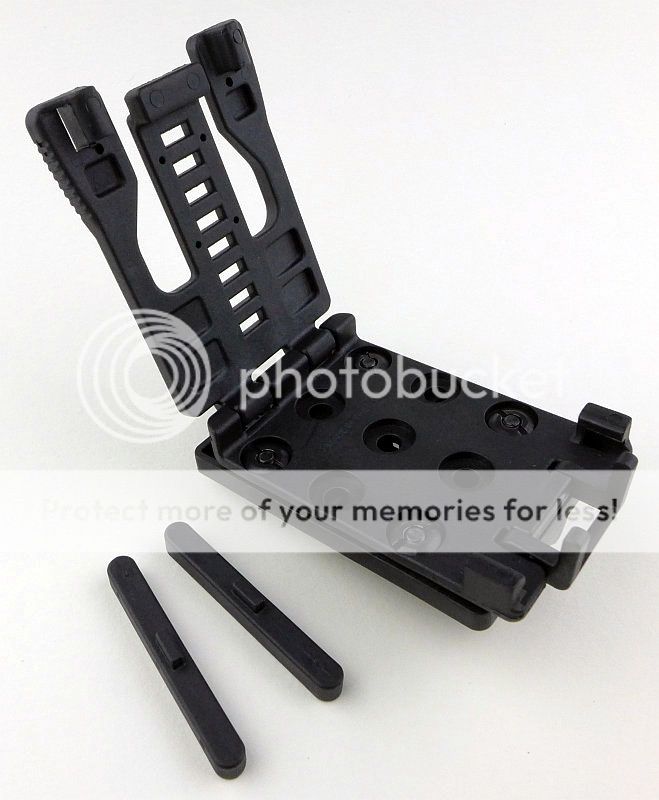
The belt mount again with both adaptors.
The back of the belt mount shows all the thought that goes into every detail in First-Light products. The main release levers are locked in place preventing accidental opening of the mount.
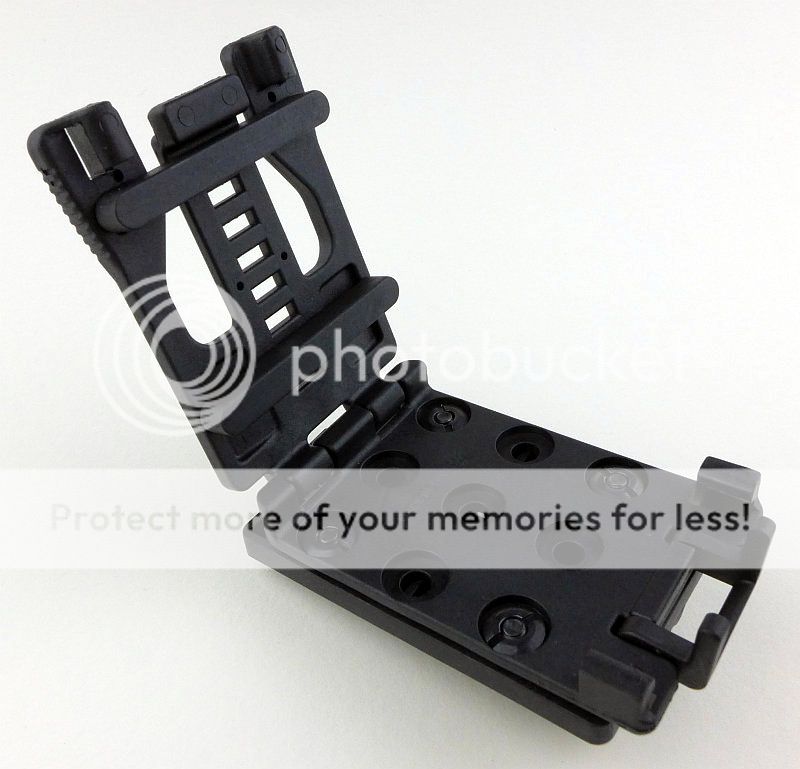
To open the belt mount, first flip over the lock.
Once the lock is fully pushed over, you will be able to squeeze the main release levers in to open the loop.
Now released, the belt loop can be opened up.
Fully open, you can access the belt width adjusters.

The belt width adjusters can be removed entirely or positioned within the mount to make the fit to the belt snug.
The belt width adjusters have been positioned to fit my belt.
The fit is now nice and secure.
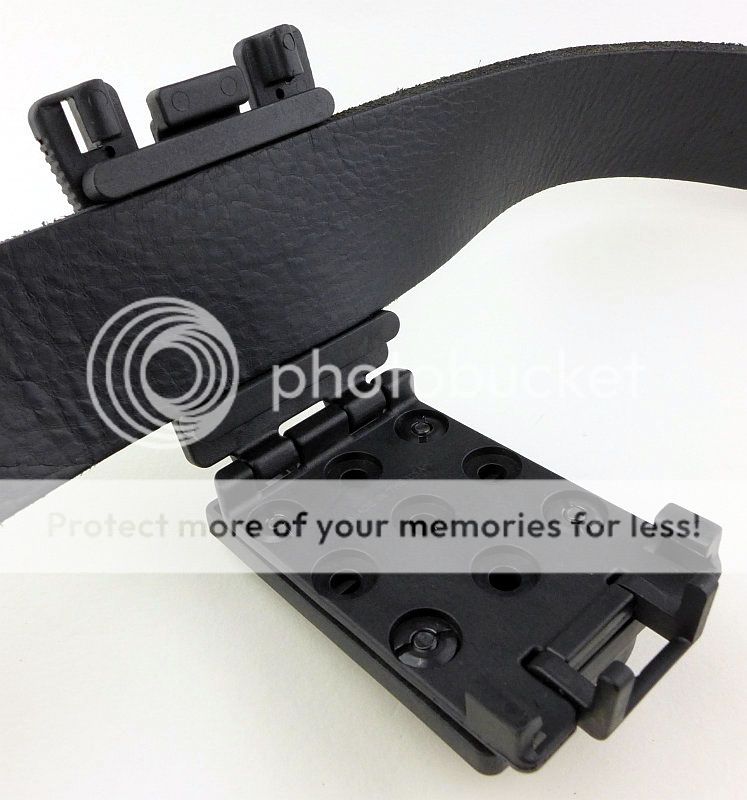
The belt mount is now locked down and fitted to the belt width.
The mounts provide excellent additional functionality and ease of use for owners.
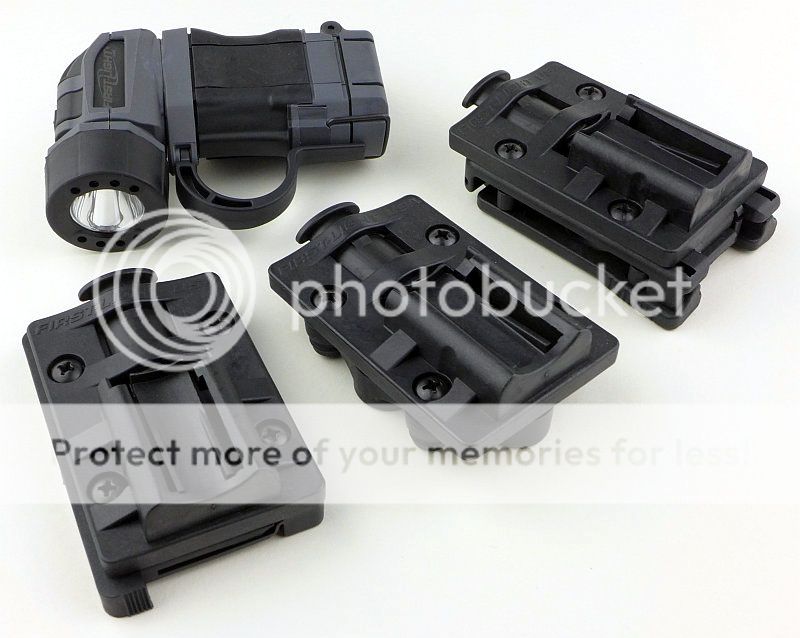
MOLLE Blade, Magnetic mount and Belt mount
With both sides of the TORQ being removable, it allows the user to choose the combination that suits their needs and handedness.

I've chosen to keep the steel clip on the opposite side to the mount adaptor 'just in case'.
The beam
Please be careful not to judge tint based on images you see on a computer screen. Unless properly calibrated, the screen itself will change the perceived tint.
The indoor beamshot is intended to give an idea of the beam shape/quality rather than tint. All beamshots are taken using daylight white balance. The woodwork (stairs and skirting) are painted Farrow & Ball "Off-White", and the walls are a light sandy colour called 'String' again by Farrow & Ball. I don't actually have a 'white wall' in the house to use for this, and the wife won't have one!
Starting indoors, and here we have the white beam, then the colour beams in sequence. There is some additional light shone onto the TORQ itself to aid identification, so ignore the white light on the right for the blue beamshot. The colour beams are relatively dim compared to the white and are excellent for use in very dark areas.
Though only 169lm, the main beam is perfectly useful thanks to the focussed hotspot has reasonable reach.
Where the limitation of the 169lm output starts to become clear is when moving to larger ranges. The weak spill largely fades away and the view at longer distances becomes limited to the hotspot.

Modes and User Interface:
In common with its other siblings, the TORQ uses First-Light's three button interface.
This has the Momentary button (M), Primary Control Button (P) and Secondary Control Button (S).
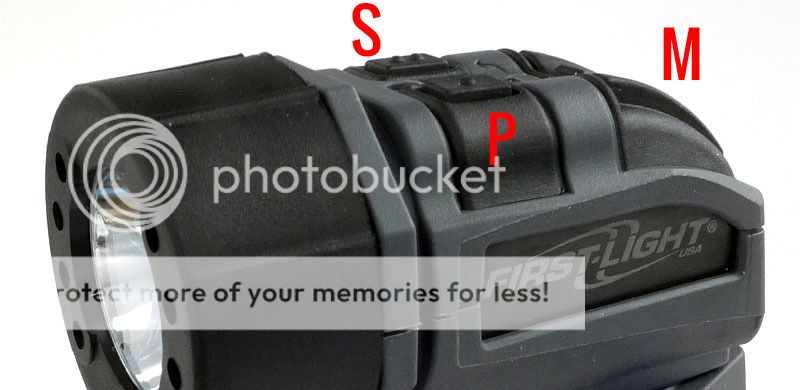
This interface controls momentary output, constant white light output using the Primary button, and constant Red, Green and Blue using the Secondary button.
For Momentary Maximum output, press and hold the momentary button. This is momentary only and maximum output only. You can use this at any time whatever mode the TORQ is using (as long as it is not in lockout), and when releasing the button, it returns to the mode that was being used.
The primary control button controls white light output.
From OFF press the button once to turn ON to the last used output level.
When ON press and hold the button to cycle through the output levels High -> Medium -> Low -> Medium -> High etc
The Primary control button also gives access to the signal strobe. From OFF, press and hold the button for approx. 2s to enter beacon. To exit beacon press the button again.
The Secondary Control button gives access to the coloured output.
From OFF press once to turn ON to the last use colour and brightness level.
When ON press and hold the button to cycle through the output levels for that colour High -> Medium -> Low -> Medium -> High etc
When OFF press and hold to cycle through the colours Red -> Green -> Blue -> Red etc
For the Secondary output, whatever output level was chosen for a particular colour is remembered. When you select that colour it will come onto the previously set level. You can set each colour to a different output level.
The TORQ has a lockout function, but one with a slight difference.
To engage the lock, press and hold both the Primary and Secondary control buttons at the same time until the indicator light between them flashes Red. Like this no button will turn the TORQ on.
However, the twist is that in lockout mode, if you double click the Secondary Control button it will switch on the current coloured output in its lowest setting.
Even if the Low coloured output was engaged during lockout accidentally (very unlikely) the power draw is so low as to be of no concern.
This feature is also very useful if you need to ensure you won't ruin you dark adapted vision, as when in lockout the ONLY mode you can access is the lowest coloured output.
To disengage lockout, press both buttons together and the indicator light will go green. Normal operation is restored.
Batteries and output:
The runs on 2x AA (NiMh or Alkaline).
To measure actual output, I built an integrating sphere. See here for more detail. The sensor registers visible light only (so Infra-Red and Ultra-Violet will not be measured).
Please note, all quoted lumen figures are from a DIY integrating sphere, and according to ANSI standards. Although every effort is made to give as accurate a result as possible, they should be taken as an estimate only. The results can be used to compare outputs in this review and others I have published.
| ___________________________________________ | ________________________________ | ________________________________ |
| using | I.S. measured ANSI output Lumens | PWM frequency or Strobe frequency (Hz) |
| ___________________________________________ | ________________________________ | ________________________________ |
| Momentary - Alkaline | 176 | 0 |
| High - Alkaline | 132 | 0 |
| Medium - Alkaline | 24 | 0 |
| Low - Alkaline | 3 | |
| Momentary - NiMh | 169 | 0 |
| High | 128 | 0 |
| Medium | 24 | 0 |
| Low | 3 | |
| Colours | All Colours below threshold |
* Beacon and Strobe output measurements are only estimates as the brief flashes make it difficult to capture the actual output value.
Peak Beam intensity measured 2200lx @1m giving a beam range of 94m.
There is parasitic drain at 0.3uA meaning it would take over 722 years to drain the cells. I think we can safely say this is nothing to worry about!
In the runtime trace, there are three versions included. One where the Momentary button was clamped and held for the entire run using NiMh, and then for both NiMh and Alkaline the TORQ was turned onto High with the Primary control.
The first most obvious trait is that when running on NiMh you get much more run at maximum output, with just under three hours at this level. If using Alkaline the output drops to Medium in less than one hour, but then continues on at Medium for an overall runtime of 10 hours.
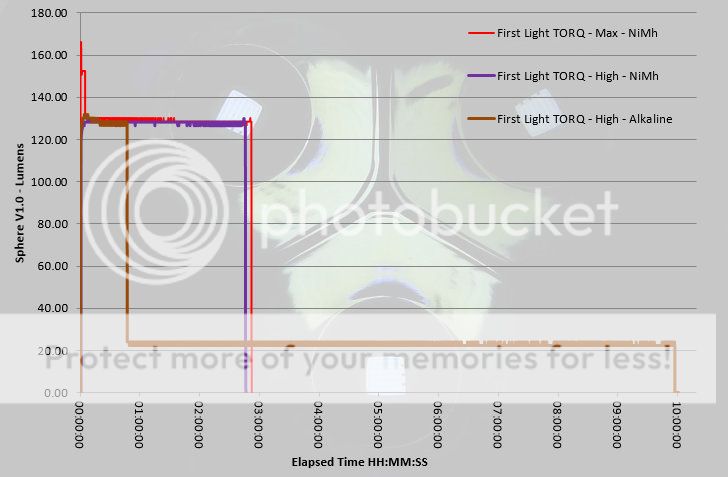
To see what happens when the momentary button is held down, here is just the first fifty minutes of the trace. You can see that after five minutes, the Momentary output has dropped to the same as the High output level and then remains at the output.
This detail also shows where the Alkaline output drops to Medium.

Troubleshooting
This is a new section I am adding to mention any minor niggles I came across during testing, in case the information helps anyone else.
No issues were encountered during testing.
As per the description of this section, this information is provided in case anyone else finds a similar 'issue' that might be fixed in the same way.
The TORQ in use
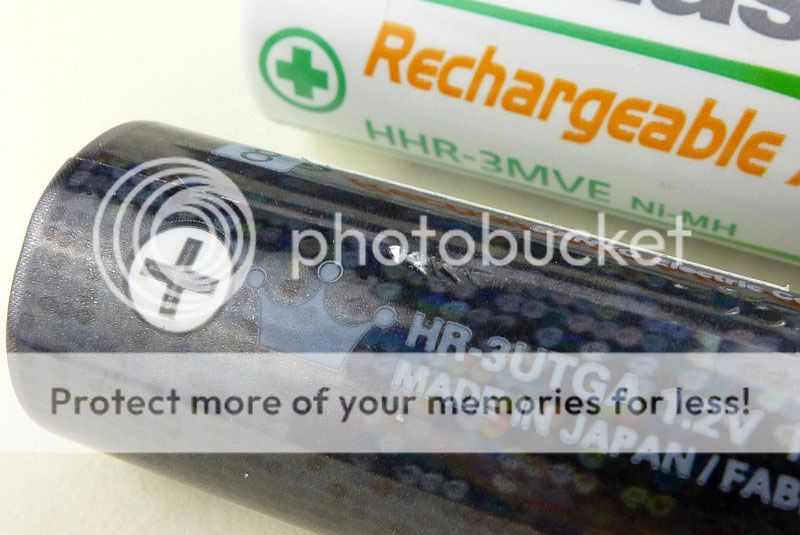
Before moving onto the main aspects of the TORQ, I must just mention something about the use of NiMh cells. This is in regard to fitting them into the TORQ, not once fitted.
NiMh tend to be slightly larger than Alakline cells, and the TORQ's cell holder has been designed for a perfect fit for Alkalines. This means NiMh cells are tight.
Here I slightly damaged the wrap on an Eneloop. It is possible to align the join in the wrap with the gap between the two cell tubes, and like this it is much better, but just beware and be careful if using NiMh not to damage the wrap.
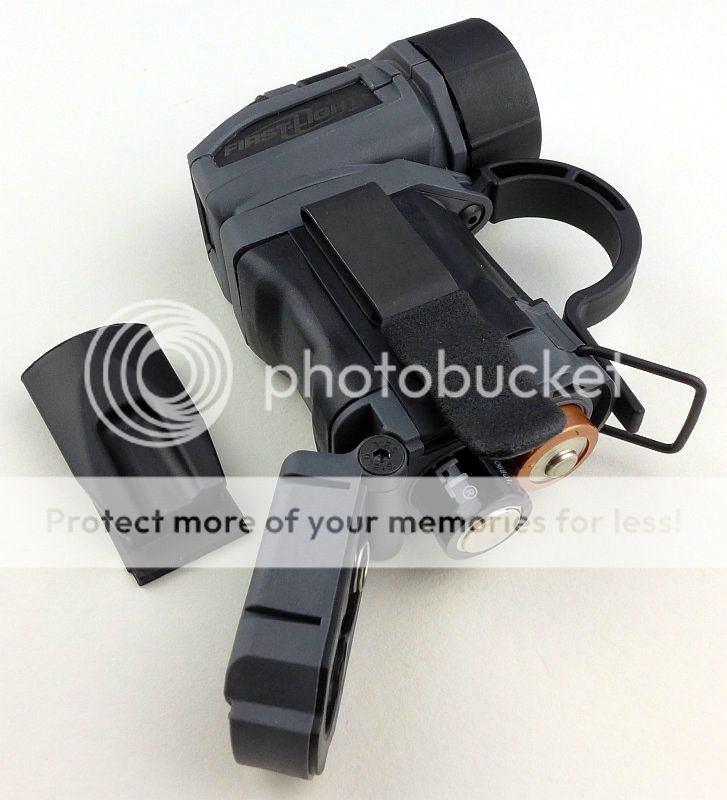
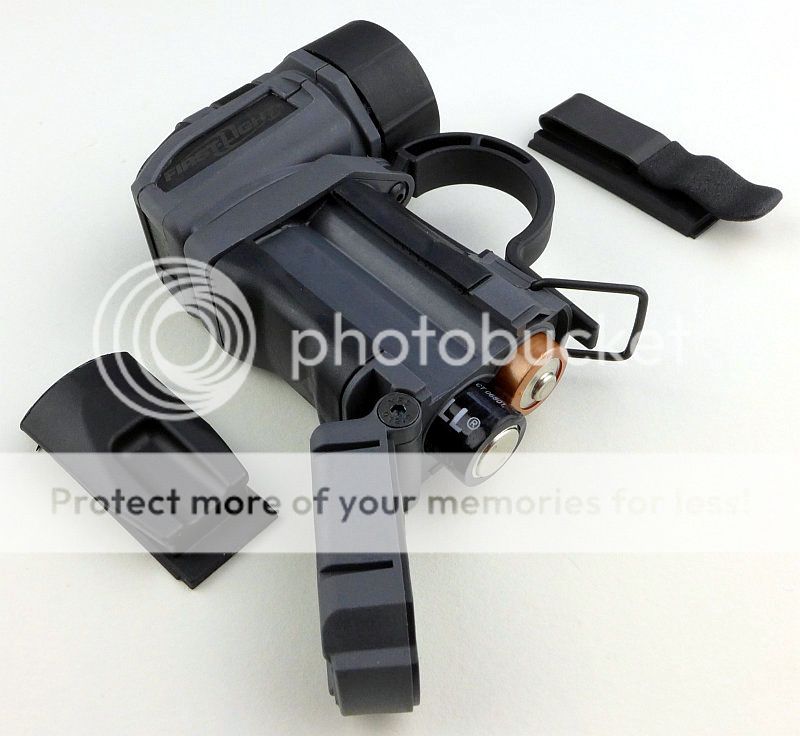
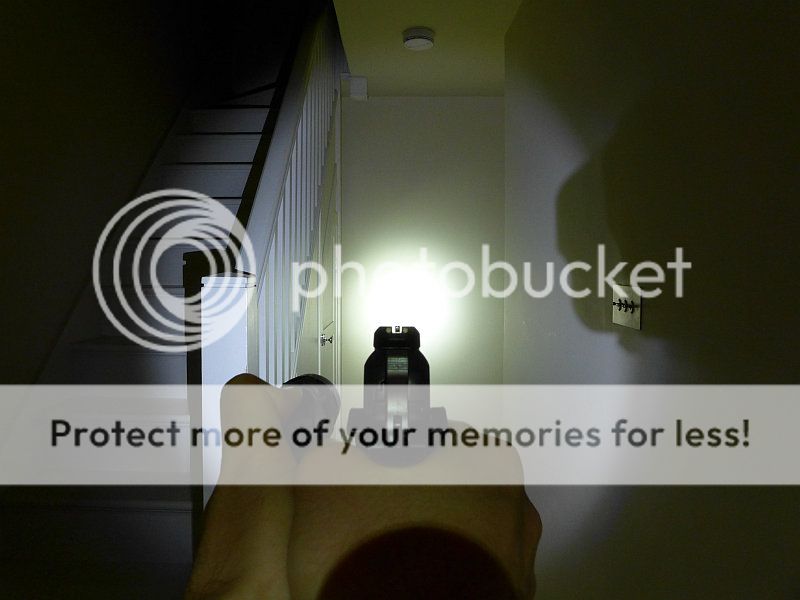
Uses for the TORQ are many and varied, but the finger loop and design of the controls lends itself for use with a pistol. Here you can see the clear sight picture given by the TORQ and how it naturally sits next to the gun hand and 'points' at the target.
With the selection of mounts, you have so many options for how to use the TORQ, and with the articulated head you can easily put light just where you want it. This is something I'll look at in more detail in the forthcoming T-Max review (where I won't show the use with a pistol).
The TORQ is lightweight and so easy to carry. The three button interface quickly becomes second nature, though I do often blast the maximum output by mistake.
Separate operation of the coloured outputs is very useful and when the Low White output is too bright, you can use a low coloured output instead.
Resting the TORQ on its side and adjusting the head angle allows precise aiming of the beam for use hands free (assuming you are not using a mount), or you can tail stand it.
The included steel clip is strong, so most of the time I've needed to open it a bit by hand to get it started on the belt/pocket etc. It is not going to easily fall off.
Its rectangular body, thanks to the two AA cells, is really comfortable to grip. On this basis I prefer it to its more powerful brother the T-Max, but it loses out in overall output to the T-Max.
The mounts for the TORQ (and T-Max) are very high quality and very robust. I'm quite happy to say that so far, they are the best mounts I've ever used.
The battery door clamp is a simple wire loop which clicks over a ridge on the battery door to hold it in place. The first few times you open this it is very difficult, and I had to use some other object to push it open. I'm wondering how well this will stand up over time and it becomes looser. However it is not likely to fail as even once the ridge has worn somewhat it will not be as tight and so won't wear much more.
Though the finger loop can be rotated, I've not felt any need to do so. Having the loop in the central position makes it work in either hand just as well and still seems right to me.
Overall I find this a highly functional and versatile light and useful in so many different situations. Yes it looks a bit different and feels a bit different to use, but if you forget all the traditional rules it just works really well.
Review Summary
| _______________________________________________ | _______________________________________________ |
| Things I like | What doesn't work so well for me |
| _______________________________________________ | _______________________________________________ |
| Super Versatile | Stiff battery door clamp |
| Excellent quality mounting system | Can damage NiMh cell wrappers |
| Choice of Red, White, Blue and Green outputs | Modest output at 169lm |
| Distinctive switch layout and ergonomics | |
| Lockout mode | |
| Runs on easy to find AAs |
If you enjoyed my reviews, please remember to 'Like' me on Facebook and follow me on Twitter @Subwoofer_CPF
to get all the latest updates and news.
You can also find exclusive insights on Instagram and Pinterest


to get all the latest updates and news.
You can also find exclusive insights on Instagram and Pinterest
")