PhotonFanatic
Flashlight Enthusiast
I while back, Alex contacted me about having a stainless steel AA flashlight made. And then he also started a thread about his dream AA light.
While I hadn't worked in SS before, I like the idea of doing one-off lights, so I agreed to consider Alex's request. He had some pretty strong convictions as to his needs:
That resulted in quite a few revisions, but this is what he finally approved:
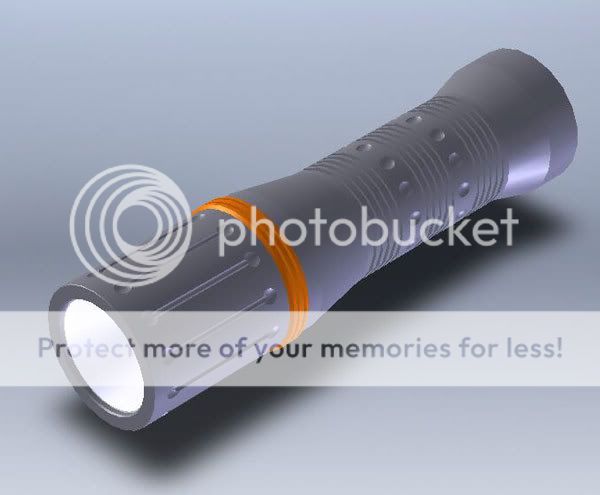
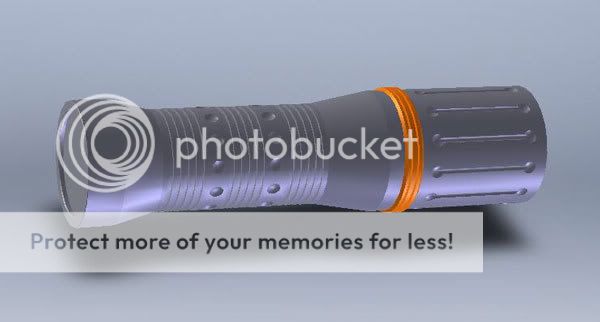
As you can see, it is a twisty, will have a Seoul P4 emitter, 20mm Khatod reflector, and run on primary AAs. The converter module will be copper. It certainly isn't the smallest AA light out there, but it is what Alex wants.
I thought it might be fun to post the work that I do on this, just so people can see how someone goes about making a light.
Certainly for me, the design and drafting in Solidworks is the first step. That points out a lot of potential fit problems, which are easier to deal with in electronic form than in metal.
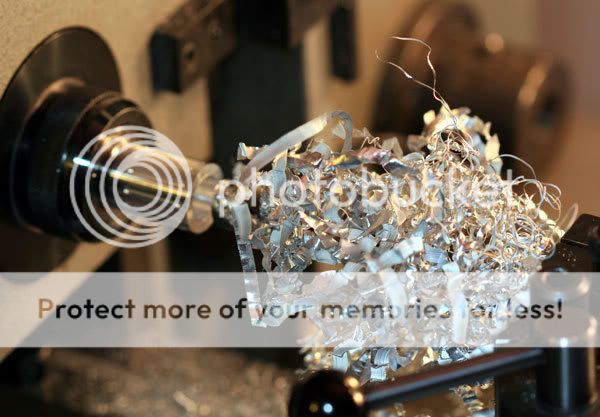
Next, I was trying a couple new lathe techniques (new to me, that is), so I like to try things out first in aluminum. The tapers were of concern to me as I needed to learn how to do them, and hopefully get them in the right positions, too.
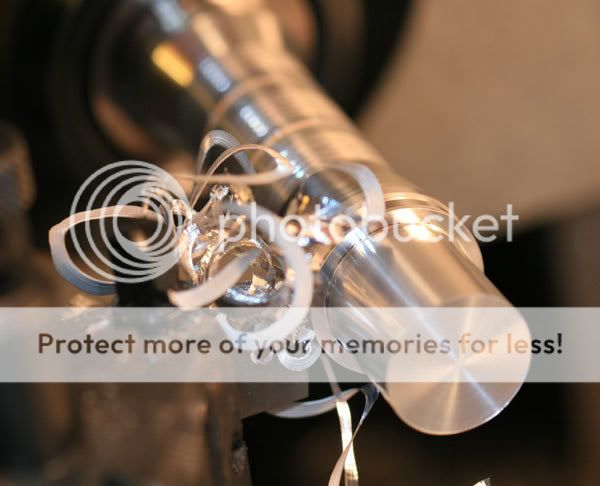
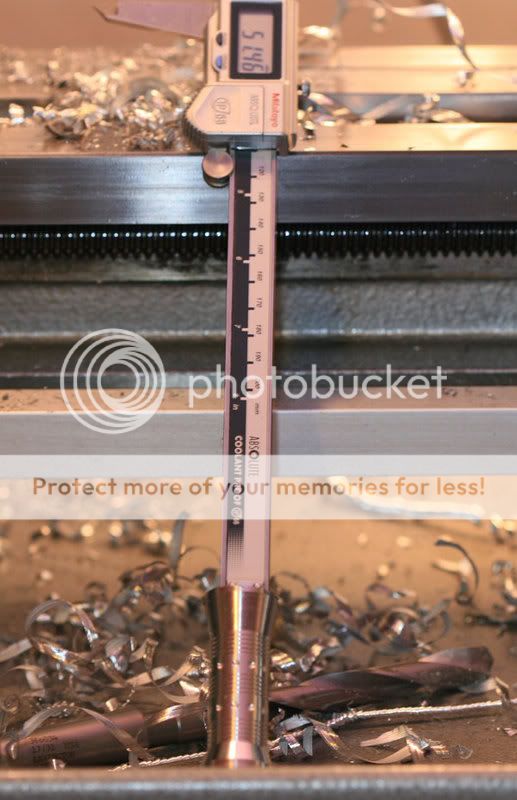
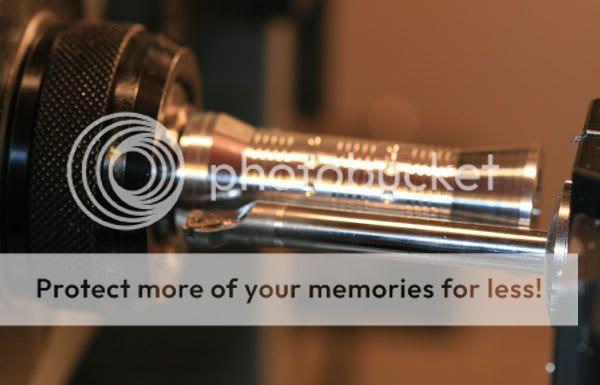
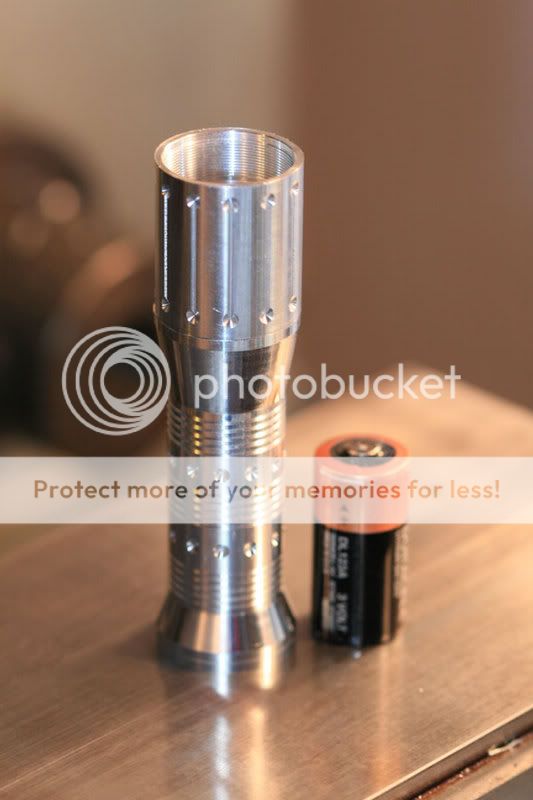
Here is the trial battery tube piece:
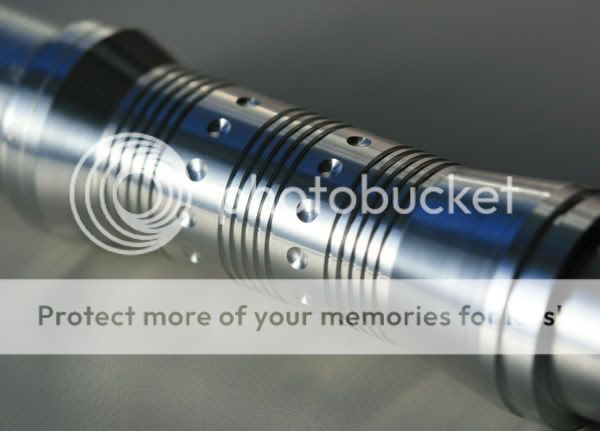
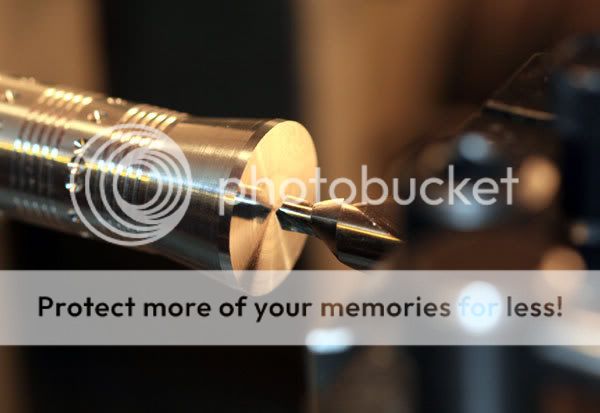
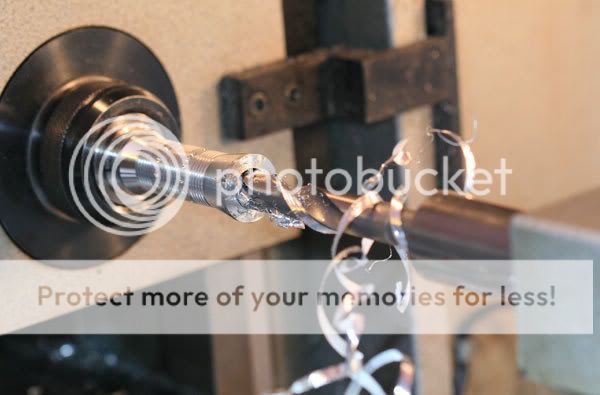
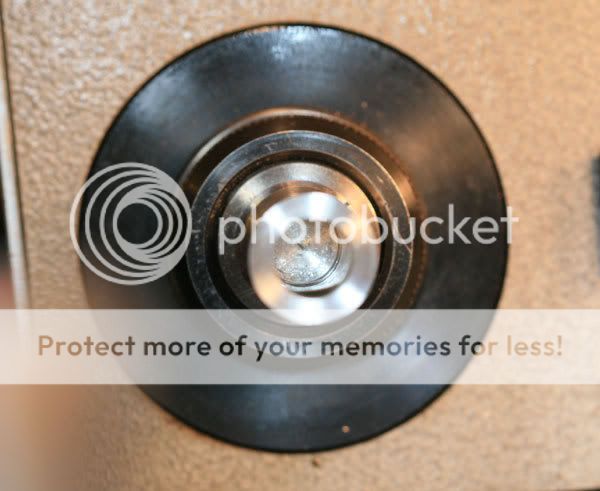
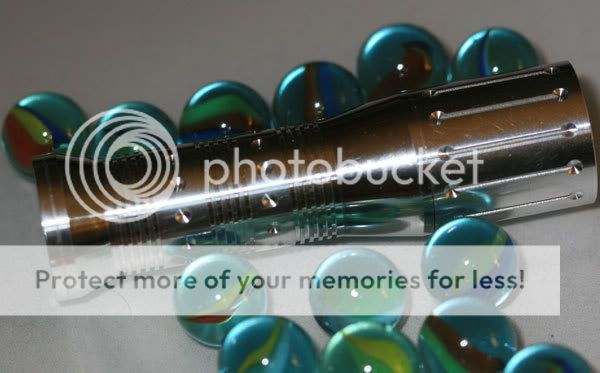
Originally, Alex wanted both tapers to be the same, but while making the test piece, I goofed and ended up having to make one of the tapers short and steeper. Turns out that we both liked it better, so it is now part of the design. If you look at the ends of the test piece, you will see two stubs--these are what get inserted into my collets while lathing. I have stubs at each end because I need to flip the piece to cut the two tapers.
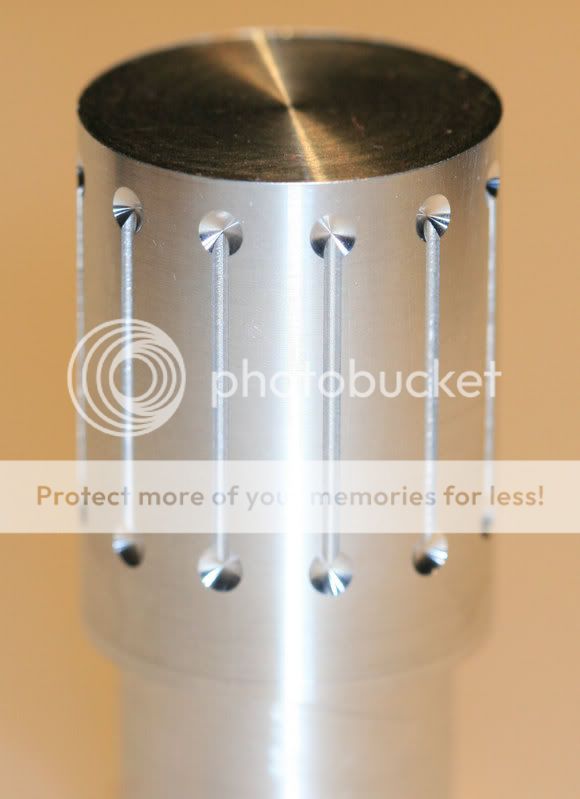
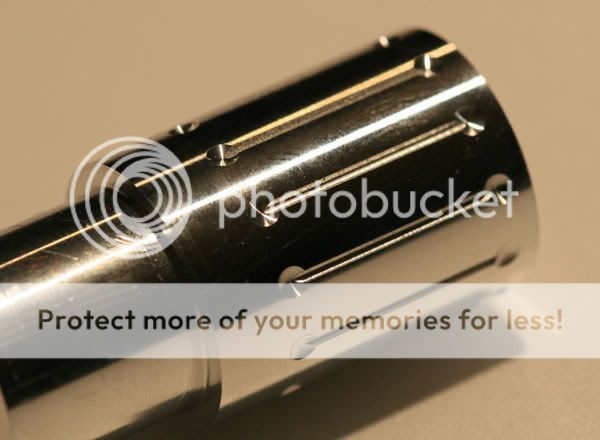
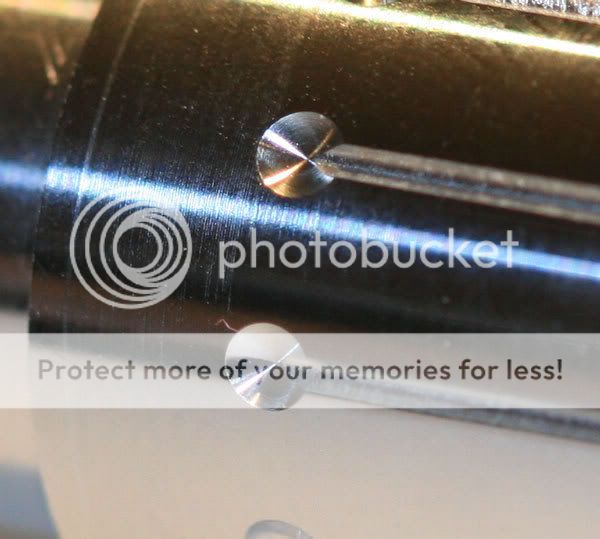
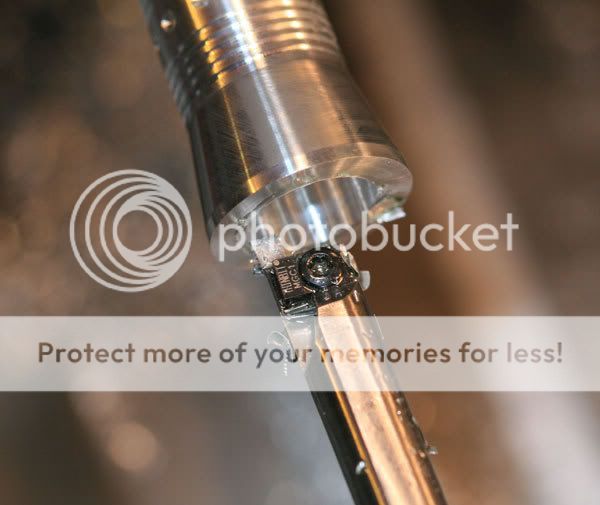
The thin grooves provide great grip along the axis of the light, while the dimples provide some purchase while twisting the head. Interestingly, the grooves give the optical illusion that the dimples section are raised, when in fact they are on the same plane.
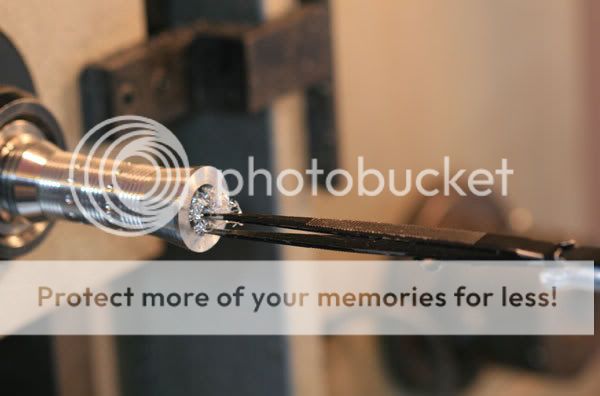
I will post some pics of the prototype head piece later.
While I hadn't worked in SS before, I like the idea of doing one-off lights, so I agreed to consider Alex's request. He had some pretty strong convictions as to his needs:
After a little hesitation once he got my price, Alex decided to go ahead with the project and send me a deposit, so I started working up a design. Damn if Alex isn't into CAD stuff, so my designs got double checked with an ultra fine tooth comb. :devil:stainless steel
1aa format
80+ torch lumens
flawless smooth threads
minimum wall thickness in any area 1mm (even in valley of threads or in o-ring groove - this part is very important!
ideally 2mm or more wall thickness in many areas
max weight without batteries 170g
min weight without batteries 100g
minimum overall diameter in fattest part of body 20mm
minimum overall diameter in thinnest part of body 17.5mm
max overall diameter (can be less than this) 25mm
ok the rest would be in the hands of the artist
design
finish
twisty / clicky
driver
reflector / optic
etc
That resulted in quite a few revisions, but this is what he finally approved:


As you can see, it is a twisty, will have a Seoul P4 emitter, 20mm Khatod reflector, and run on primary AAs. The converter module will be copper. It certainly isn't the smallest AA light out there, but it is what Alex wants.
I thought it might be fun to post the work that I do on this, just so people can see how someone goes about making a light.
Certainly for me, the design and drafting in Solidworks is the first step. That points out a lot of potential fit problems, which are easier to deal with in electronic form than in metal.
Next, I was trying a couple new lathe techniques (new to me, that is), so I like to try things out first in aluminum. The tapers were of concern to me as I needed to learn how to do them, and hopefully get them in the right positions, too.
Here is the trial battery tube piece:

Originally, Alex wanted both tapers to be the same, but while making the test piece, I goofed and ended up having to make one of the tapers short and steeper. Turns out that we both liked it better, so it is now part of the design. If you look at the ends of the test piece, you will see two stubs--these are what get inserted into my collets while lathing. I have stubs at each end because I need to flip the piece to cut the two tapers.
The thin grooves provide great grip along the axis of the light, while the dimples provide some purchase while twisting the head. Interestingly, the grooves give the optical illusion that the dimples section are raised, when in fact they are on the same plane.
I will post some pics of the prototype head piece later.
Last edited:


