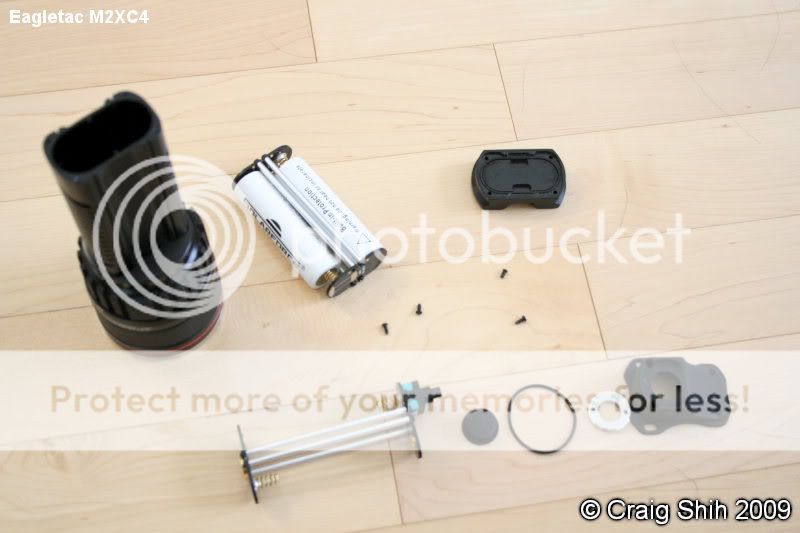
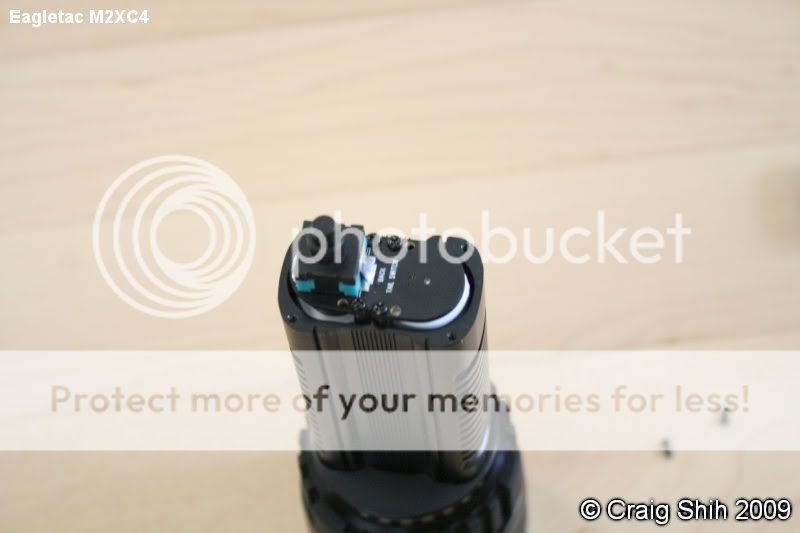
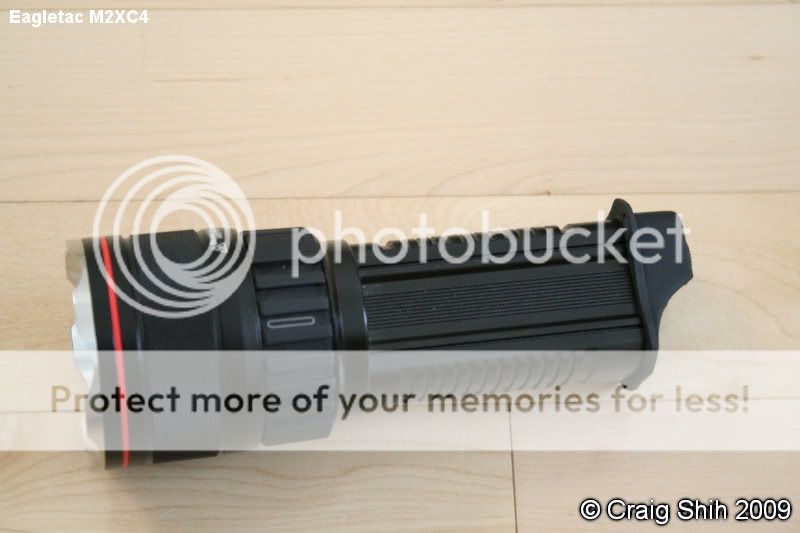
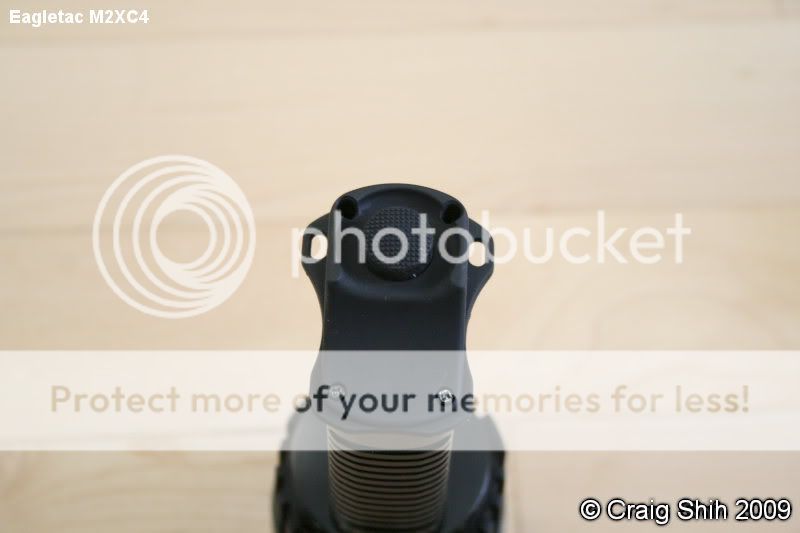
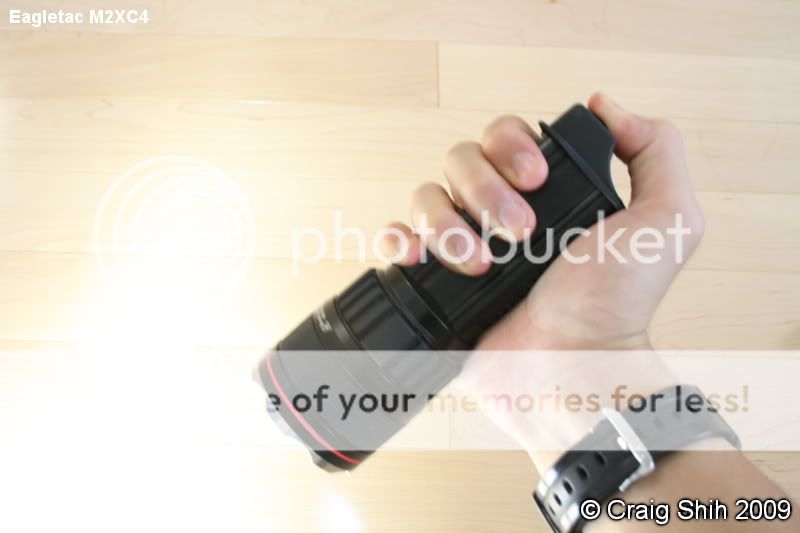
Anyone take apart the Eagletac M2C4?

I was about to say "I did!" but you beat me to it. It was a huge pain but I think the P7 might be easier. Good Luck
-Bobby
 
I was about to say "I did!" but you beat me to it. It was a huge pain but I think the P7 might be easier. Good Luck
-Bobby

What made it so difficult? I'm curious because I'm thinking of a SST90 or SST50 equipped M2. The driver seems easy enough to get to. I'm sure with a bit of analysis the sense resistor can be swapped to get 3.2A out of it.
 
Unscrewing the head was the hardest part, I had one Rubber strap around the part that's under the control ring, and another on the upper part of the head. It took forever to break the glue or whatever they use. I had trouble gripping the lower part because i could not get the lube off of the selector ring area, I had to clean and clean to get it off.

Once it budged, it turned smooth and came apart easily, but getting it back on was impossible. I think with your single emitter reflector, You would be able to reassemble the light without issue.

I cant believe i am the only one who has opened up one of the M2 Lights:shrug:

-Bobby

I see you got the reflector out. Can you access the emitters by removing the SS bezel and dropping everything out that way?
 
I see you got the reflector out. Can you access the emitters by removing the SS bezel and dropping everything out that way?

The Reflector doesn't come out that way, the head is sealed besides the Bezel Ring. You can unscrew it, it wont do anything.
 
Unscrewing the head was the hardest part, I had one Rubber strap around the part that's under the control ring, and another on the upper part of the head. It took forever to break the glue or whatever they use. I had trouble gripping the lower part because i could not get the lube off of the selector ring area, I had to clean and clean to get it off.

Once it budged, it turned smooth and came apart easily, but getting it back on was impossible. I think with your single emitter reflector, You would be able to reassemble the light without issue.

I cant believe i am the only one who has opened up one of the M2 Lights:shrug:

-Bobby

Did you happen to notice what kind of glue/thread lock is used to seal the head? Did you have to boil it?
 
Last edited:
Did you happen to notice what kind of glue/thread lock is used to seal the head? Did you have to boil it?

There was some kind of thread lock but it was not that much. No boiling just pure muscle :ironic::nana:
I tried it for a few hours at night, and gave up. Woke up and tried again and It finally budged. There is an O-Ring that really makes it hard to turn. I Used 2 rubber strap wrenches from Lowes, it was a PAIN.

-Bobby
 
Hmm I guess I'll just have to reclean the area because the wrench keeps slipping. I might give it a quick freeze'n'boil to help break up the seal.
 
I finally got apart my M2C4. There was a locking compound on the threads. It's a type of red epoxy or red RTV.

The light seems like a good candidate for a SST50 or SST90 upgrade. I will try to get the circuit out of the head and upload pictures soon.
 
Current measurements at the LED

0.08A Low
0.43A Med
1.24A Hi
2.78A Turbo

My meter has a -/+ 5% Margin of error.

The P7 Heatsink area is unannodized (Unfortunately).

There's a trim pot on the driver board it seems to only adjust all levels other than Turbo.
 
Last edited:


Further observation on the driver board shows a 0.033ohm resistor in series that I assume is a sense resistor. If that's the case then I should need a 0.025ohm 1% 1 watt resistor to increase current to 3.2A.

And using the adjustment pot I should be able to keep the lower levels the same or close to it.

You're going to have to excuse the quality of my pictures I was using my N95 as I didn't have my SLR set up and ready to go.
 
I mentioned it because they talked about it in the Ads. And I am quite interested in the structure. I have not seen the pics too.
here ya go.

IMG_9432_processed.jpg


IMG_9433_processed.jpg


IMG_9434_processed.jpg


IMG_9435_processed.jpg


IMG_9437_processed.jpg
 
Top