Building a Q4559X

plasmaman

Enlightened
Joined
Feb 25, 2006
Messages
383
Location
The boat house in Hereford, UK
Can anyone tell me what the optimum input voltage is for this lamp? Obviously not less than 28v.
I have the lamp installed in a host and am waiting on some A123 3.3v cells from a Dewalt 36v pack.
Would the lamp take all 10 cells or is that a recipe for :poof:?
 
I use 24 ea. Elite 4500 Nimh cells. Fresh off the charger - unloaded, pack voltage is about 35.5 and quickly falls to about 33.5 - 34 Volts in about an hour to two. I light mine off at a max of 34 unloaded Volts. Upon flicking the switch, Voltage immediately falls to 31.5. The light runs great at these voltages and I've not flashed one yet. I might be a tiny bit more conservative with the A123 cells. They evidently sag very little. Maybe limit yourself to 32 Volts, unloaded and creep up a quarter volt at a time to a max of 34.
 
Last edited:
Whoohoo!
Nailed it all together today - and yowzaa!!
I will do some pics, maybe tomorrow, but spec is:
-Horrible plastic 5,000,000 candle power host
-Q4559X lamp - secondhand (I bought 6!)
-10 x A123 cells from new Dewalt pack, built as a 6S and 4S so I can charge and balance. (Not added the balance leads yet)
-Maestro JimmyM SST board - so standard switch is OK - but added ally heatsink to top of FET
-12awg silicone leads, 30A fuse
How bright is it? I need to find a way to measure this, but the beam is quite a nice shape and throws forever. Its a bit murky here tonight and difficult to tell, but I'm guessing at least 1000 yards.......It makes a nice boing (or is it Boeing) sound when fired up as the power nails the filament!
Total cost less than $200 of which batteries were $160.
 
HOLY CRAP! I thought it might be close. I wasn't really sure. I told plasmaman to go for it. Half expecting it to pack up in a cloud of smoke. Of course I would have replaced it for free. But WOW. I knew these things were tough, but sheesh!
So I guess I don't need to build a L14K specific version now.

Plasmaman,
In the batch 2 boards, I've changed one of the component values in the design to reduce switching losses even further.
Would you mind posting in the JM-SST sales thread that you've tested the board with the L14K and it survived.
 
Good news about the JM-SST and it's power handling capabilities. I guess I will have to install mine in my LarryK14 now. I would still like an SST for my 42V HyperBlitz though. An external pot for brightness would be really nice too. It would be fun to turn it down a little and show it off and then turn it up and blow everybody away. High power incans are so fun.

Regards,
Mark
How many amps does that Blitz pull?
 
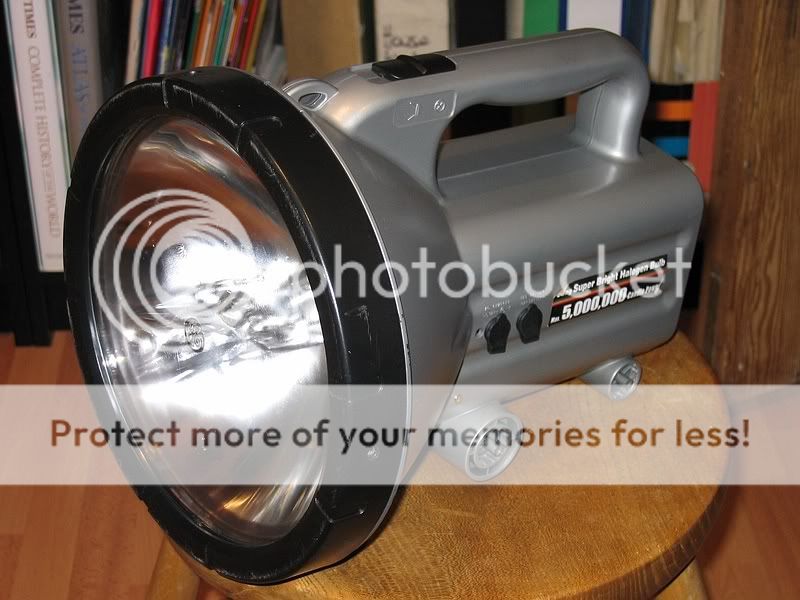
Here she is!
The par64 Q4559X fits perfectly. A bit of dremelling to remove a few tabs and other obstructions, but the lamp now sits tightly in the host

IMG_2202.jpg


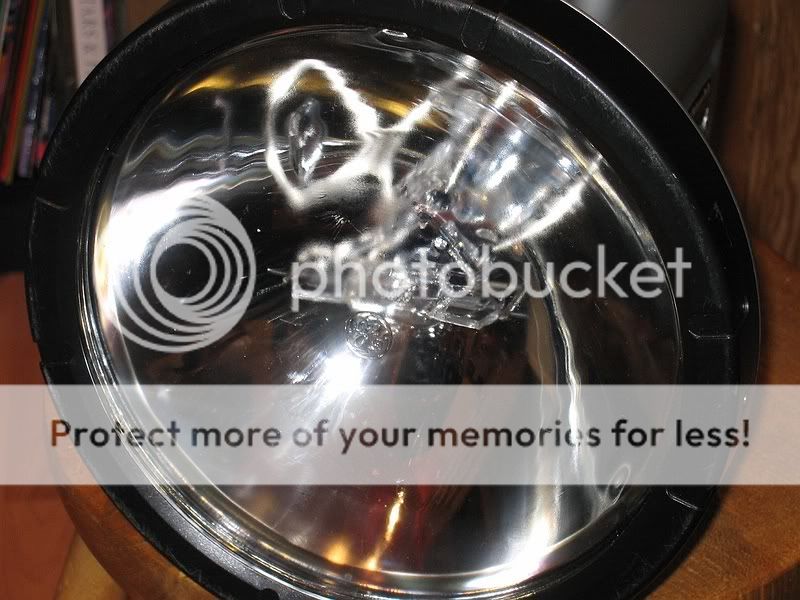
The business end - the glass is a bit etched, presumably bird strike, lightning bolts, etc etc
IMG_2203.jpg


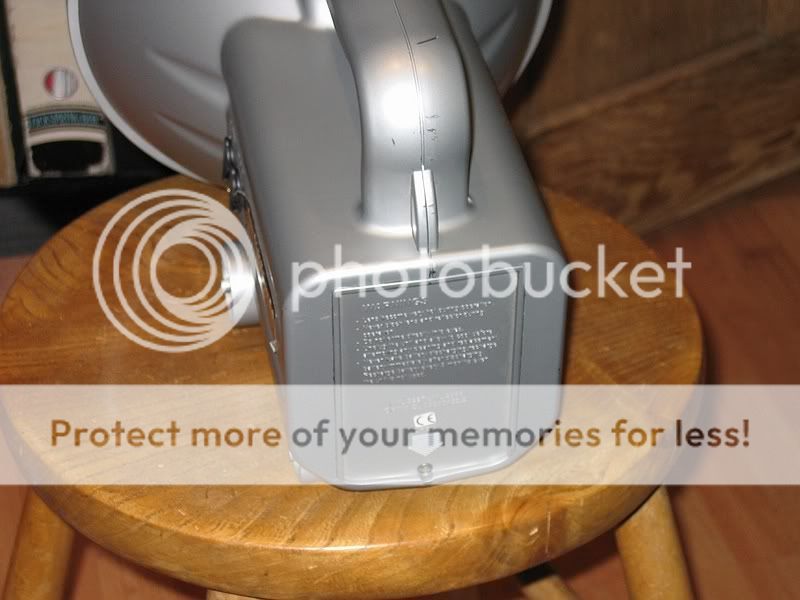
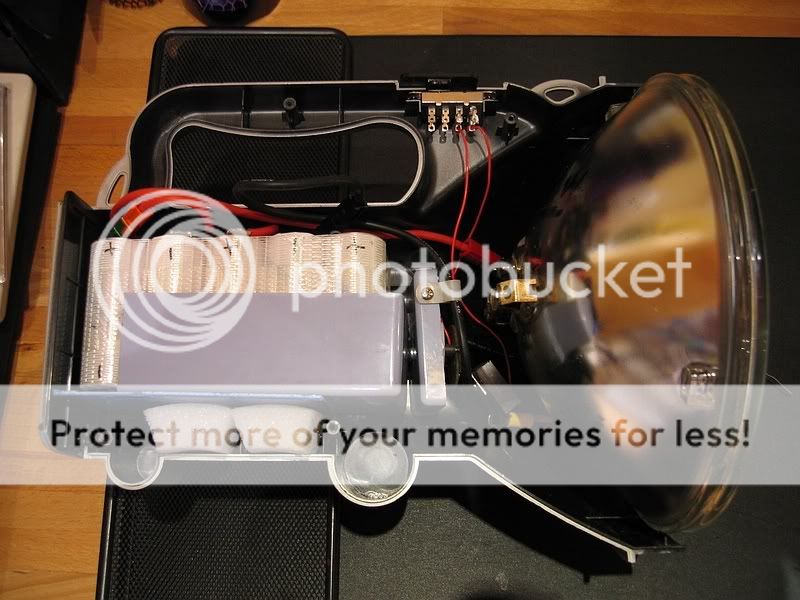
Battery compartment - this slides down and the batteries slide on on the tray I made
IMG_2205.jpg


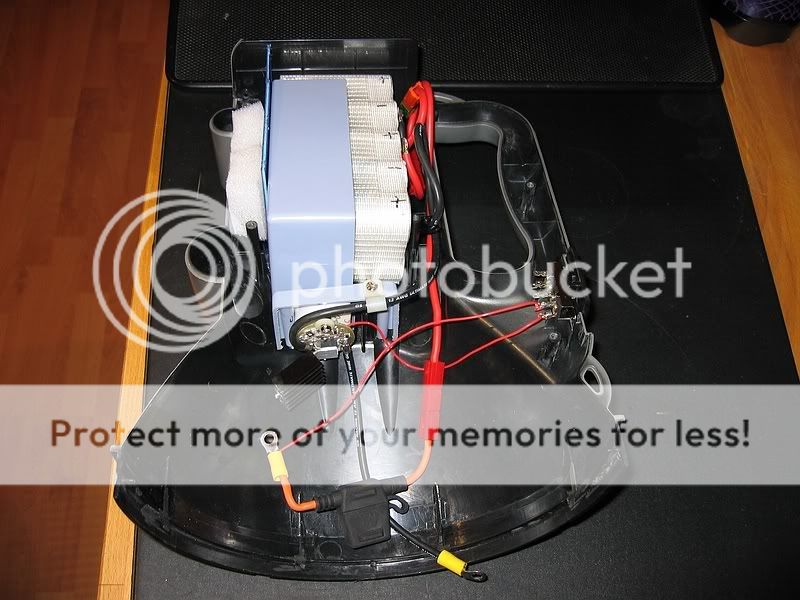
Inside - I made a 'floor' for the battery tray to slide in on. The tray is a cutdown project box, perfect width. I cut the end off as it was too short, but used the cut off as a stop, and also to mount the JimmyM SST, to which I added a cutdown computer ally heatsink attached with AA to the top of the FET. Inline 30A fuse on the +ve feed. Hats off to Jimmy - he thought the board might explode!
IMG_2206.jpg


With the lamp in place. Ready to go back together.
IMG_2212.jpg


OK, not so pretty, but stonking output and terrific fun!
Need to add balance leads to the 6S and 4S packs, which are connected with Powerpole connectors to run as a 10S pack in situ, and then dress the pack nicely with some Duct tape.

If anyone wants a Q4559X lamp unit, let me know - I don't think I'm gonna build 5 more!

Thanks to everyone on CPF for the knowledge and inspiration to do this - its a really easy and fun project if you can find the right host. Everyone needs a LarryK!:twothumbs
 
Mine has been one of my best bang for the buck lights. It's always fun to show it to someone and get that holy &%# look on there faces. Aim yours at a black garbage bag from around 6 feet and watch how fast it starts to shrivel up and start to melt.
 
Hello plasmaman,

Good job on your build! You are going to have a lot of fun with your light. Show it off to some unsuspecting friends. The reactions are great, usually provoking profanity.

Regards,
Mark
 
eyy, good one! :twothumbs Good job with the battery pack - it looks good, and the wiring and connectors.
It looks some kind of packaging tape, the kind with strapping/reinforcing. ?
 
Top