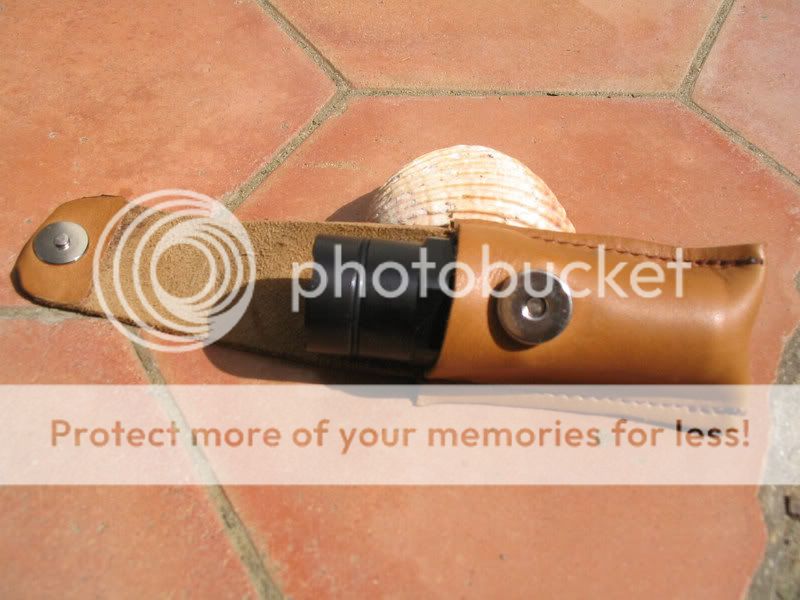
Long John
Flashlight Enthusiast
Hello
Thanks to "Oldgrandpajack" for the nice E1e HA black, "Icarus" for breaking me in modding and supplying with modding stuff
Now the object was the E1e.
At first I tried to open the head......:sweat:.......after cooking half an hour I got it opened.
But.....the window broke .
.
Next step was, boring, filing and sanding down to remove the reflector and widen the head........what a hard work:sweat:.
After that, I had to shorten the McR20 reflector, at the back for fitting the SSC and at the front side for installing into the head. I sanded it down.
Ok, now I had to find a replacement window.....hmmm, the idea .
.
I had an old Mag plastic-window......but no lathe. I drawed the size of the lens to the nicest part of the Mag-window and sawed it by hand round about.Then I took a stainless nail and glued a blobb with a hot-glue-gun to the nailhead and placed it in about the middle of the window.
Edit because forgot to mention: Now I could use the nail in my boring-machine.
That was my "hand-lathe":lolsign:
This way, I sanded the window down with sandpaper. But be careful at the end, better often testing the diameter.
It worked very well. With a finger-nail I could easy remove the glue/nail from the window, without any residues.
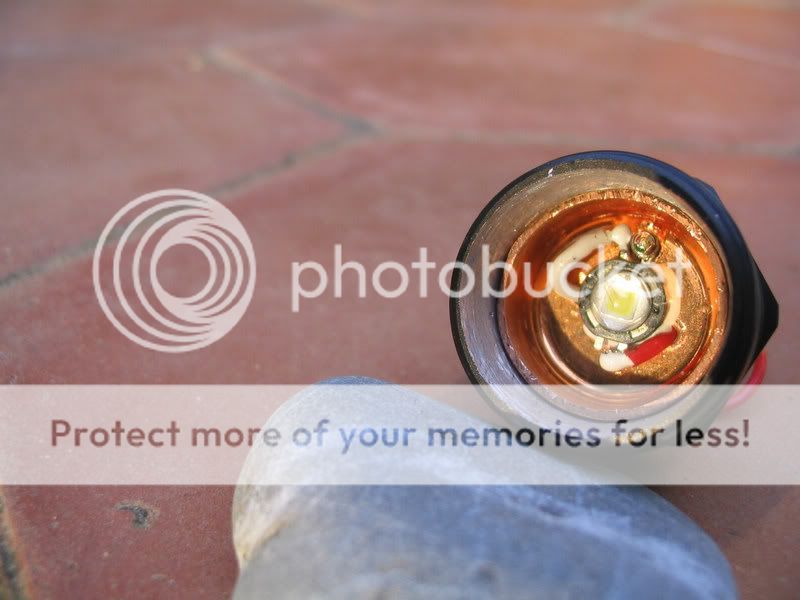
Now I had to create a propper heatsink. I took a copper endcap (gas/water line) and finished it for fitting.
Take a look here:
After that, I installed a Flupic at the backside of the heatsink, wired all together..........but it hasn't fit the light like I wished .
.
I could had made it fitting but with too many agreements about the heatsink/ shorter reflector.
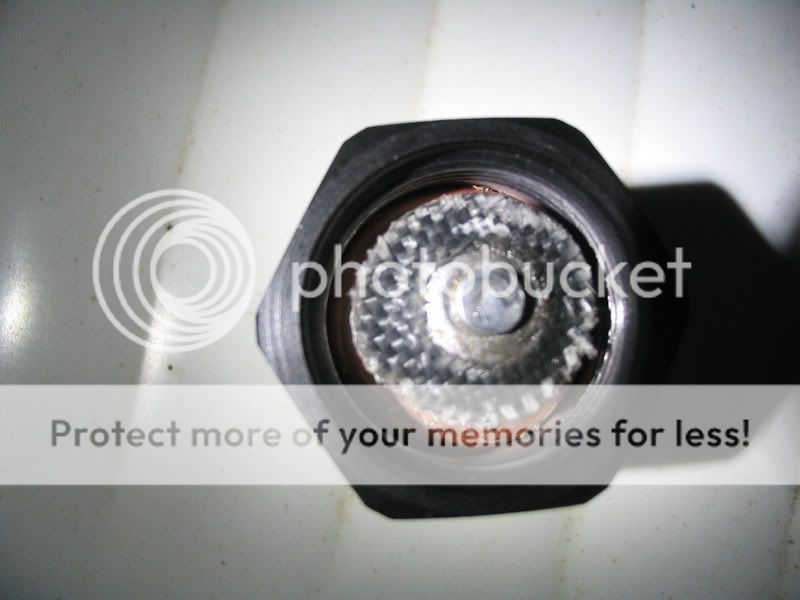
So I decided to go the DD-route. Disassembling the Flupic.....new wiring.... To isolate the +pole for the batterie I sawed a thin plate from an old fishing rod, made from glas-fibre. In the middle I rivet the +wire and soldered a blob to the rivet (which I pressed into the rivet-hole and filed it even).
And that's the look of the backside:
After a longer time than expected, I finished my little beauty .
.
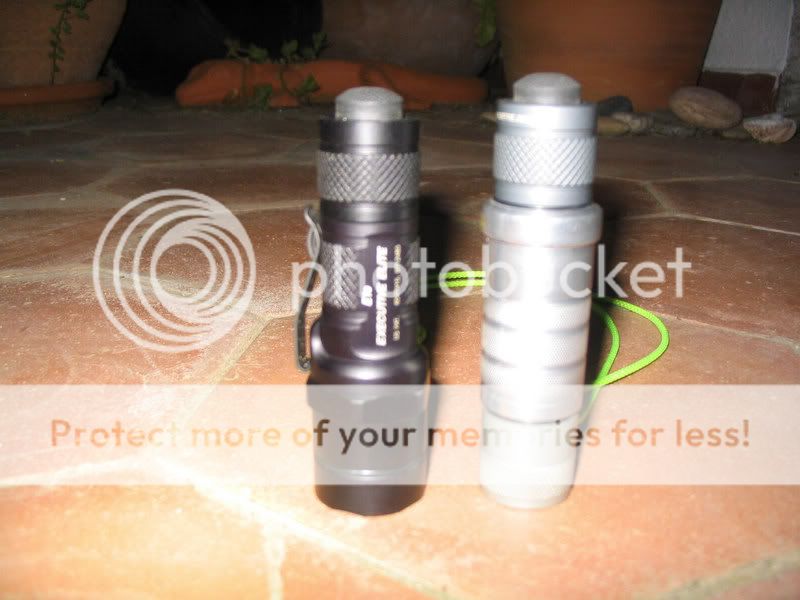
Here a picture with my Fenix P1D-CE:
Now the performance .
.
She is brighter than expected. I measured 600mA with a fresh charged RCR123 cell.
Perfect beam (for narrow and medium tasks) without artefacts and large hotspot.
Very nice warm tint. And.......brighter than my Fenix with fresh RCR123, 3.0V cell .
.
Take a look:

Fenix on high (boost) at the left side, distance 8m to the wall.
Look at the shadows of the camera. You can see the more detailed shadow at the left side, aroused through the SF-SSC, so you can imagine the brighter overall output.
Runtime should be more than 1 hour.
Can I recommend this mod?
Absolutely yes, but only when you will be patient and efforts time
Very best regards
_______
Tom:wave:
Thanks to "Oldgrandpajack" for the nice E1e HA black, "Icarus" for breaking me in modding and supplying with modding stuff
Now the object was the E1e.
At first I tried to open the head......:sweat:.......after cooking half an hour I got it opened.
But.....the window broke
 .
. Next step was, boring, filing and sanding down to remove the reflector and widen the head........what a hard work:sweat:.
After that, I had to shorten the McR20 reflector, at the back for fitting the SSC and at the front side for installing into the head. I sanded it down.
Ok, now I had to find a replacement window.....hmmm, the idea
I had an old Mag plastic-window......but no lathe. I drawed the size of the lens to the nicest part of the Mag-window and sawed it by hand round about.Then I took a stainless nail and glued a blobb with a hot-glue-gun to the nailhead and placed it in about the middle of the window.
Edit because forgot to mention: Now I could use the nail in my boring-machine.
That was my "hand-lathe":lolsign:
This way, I sanded the window down with sandpaper. But be careful at the end, better often testing the diameter.
It worked very well. With a finger-nail I could easy remove the glue/nail from the window, without any residues.
Now I had to create a propper heatsink. I took a copper endcap (gas/water line) and finished it for fitting.
Take a look here:

After that, I installed a Flupic at the backside of the heatsink, wired all together..........but it hasn't fit the light like I wished
 .
.I could had made it fitting but with too many agreements about the heatsink/ shorter reflector.
So I decided to go the DD-route. Disassembling the Flupic.....new wiring.... To isolate the +pole for the batterie I sawed a thin plate from an old fishing rod, made from glas-fibre. In the middle I rivet the +wire and soldered a blob to the rivet (which I pressed into the rivet-hole and filed it even).
And that's the look of the backside:

After a longer time than expected, I finished my little beauty
 .
.Here a picture with my Fenix P1D-CE:

Now the performance
She is brighter than expected. I measured 600mA with a fresh charged RCR123 cell.
Perfect beam (for narrow and medium tasks) without artefacts and large hotspot.
Very nice warm tint. And.......brighter than my Fenix with fresh RCR123, 3.0V cell
 .
.Take a look:

Fenix on high (boost) at the left side, distance 8m to the wall.
Look at the shadows of the camera. You can see the more detailed shadow at the left side, aroused through the SF-SSC, so you can imagine the brighter overall output.
Runtime should be more than 1 hour.
Can I recommend this mod?
Absolutely yes, but only when you will be patient and efforts time
Very best regards
_______
Tom:wave:
Last edited:


