PhotonFanatic
Flashlight Enthusiast
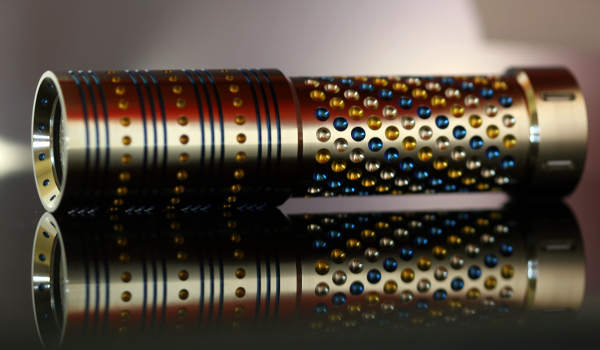
Some time ago, a friend asked if I could make a light for him to take on a trip to India. He wanted something different and pretty much left it up to me, just as long as it had a clip, used a AA battery, and had a Trit sphere in the tail.
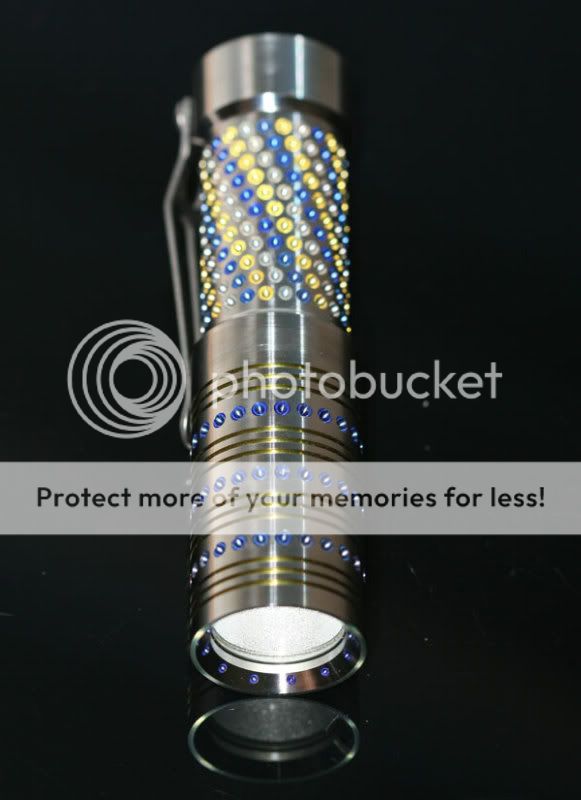
Here's how the Indian Princess came out:
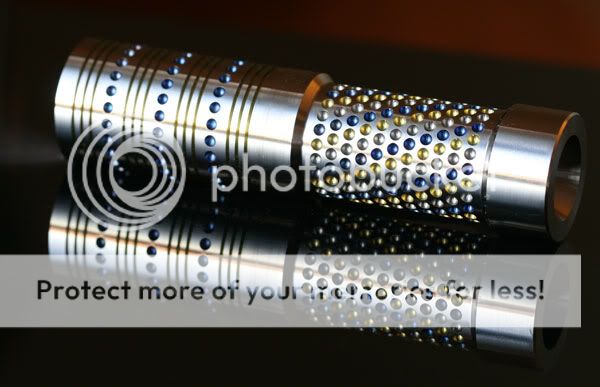
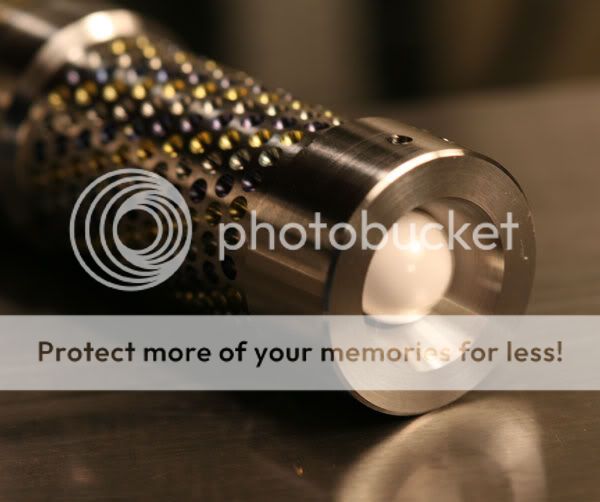
It was a bear to make, mainly due to the spiraling anodized dots on the battery tube--there are quite a few there. The most intriguing aspect of the dimples, or dots, is that due to the ball nose end mill and the way that it cuts, the dimples come out with an eery glow! You can more easily see it in person, rather than in a photograph, but when slightly out of focus, it does show up somewhat in a photo--to wit:
Needless to say, since the light is so time consuming to make, I haven't been keen on making another one, but, hey, money talks, so I have another request for something similar. But, of course, we don't have any real Princesses in the United States, so I needed a different name, the Southern Belle, in deference to where she will eventually reside, is the second coming. :devil:
First, let's outline what the Southern Belle will hopefully be:
Once those are done, the more challenging decorative work takes place. The head is the easier one to do, but still requires a few steps to get it done. When anodizing Ti, using two colors, there are a couple of ways to approach the job; first option could be to machine the dimples and the grooves, and then mask off the feature(s) that will be anodized in a different color, before actually hitting the anodizing solution. But I prefer to anodize freshly machined Ti, rather than first putting a masking compound on it and then stripping it off with acetone before anodizing the second color.
So, I decided that for the Southern Belle, I would cut the feature (the dimples), then clean and anodize that feature, then go back to the lathe and machine the second feature (the grooves) and then complete the anodizing on the grooves.
So here's the head with the dimples cut in place:
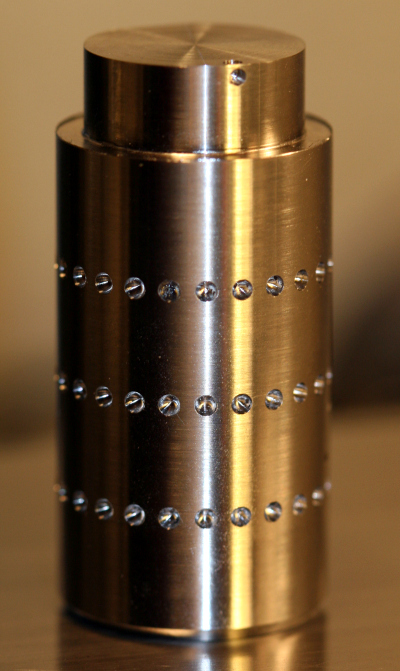
Notice that there is some excess material, the stub as I call it, at one end of the head--in fact that will eventually be the top of the light--where the light emanates. And, if you have good eyes, you will see two bored holes in the stub--that's where I insert the electrode for the anodizing. The stub also allows me to take the piece off the machine, do anodizing, and then come back to the lathe for further machining operations, or tweaking, as may be need, both internally and externally on the head.
The battery tube is also cut with the first column of spiraling dimples, since those will be anodized the same color as the dimples on the head:

The stub on the battery tube will also be bored for the anodizing electrode and, more importantly, it has a flat milled onto it so that I can later machine the second and third columns of dimples and have something to indicate on so that the spirals will start and finish in the right spots.
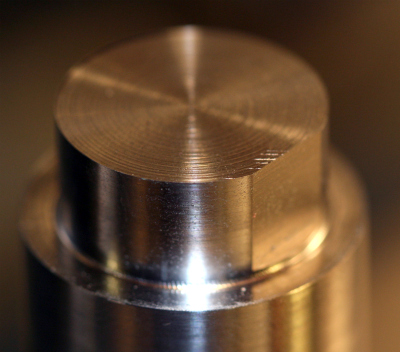
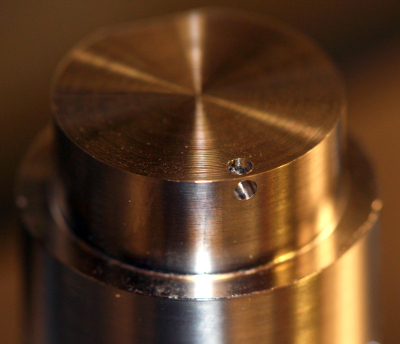
Yeah, yeah, I know, not very exciting looking at the nitty gritty, boring things.
So here are the two pieces, now ready for the anodizing:
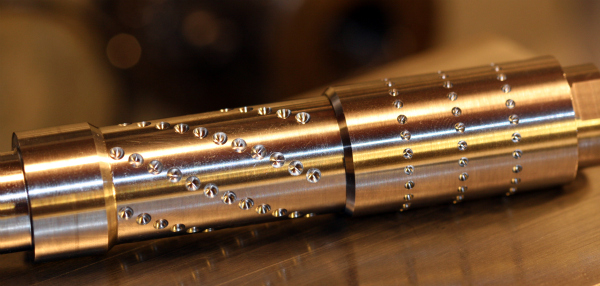
Once the gold was done, the battery tube was machined for the second column of dimples, which was then anodized blue. And finally, the battery tube was back in the lathe for the third and final column of spiraling dimples:
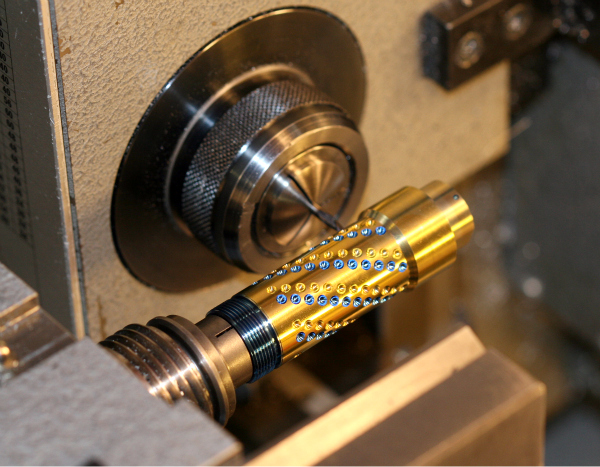
The head was then grooved and the grooves were anodized blue. Here are the pieces after all the anodizing is done:
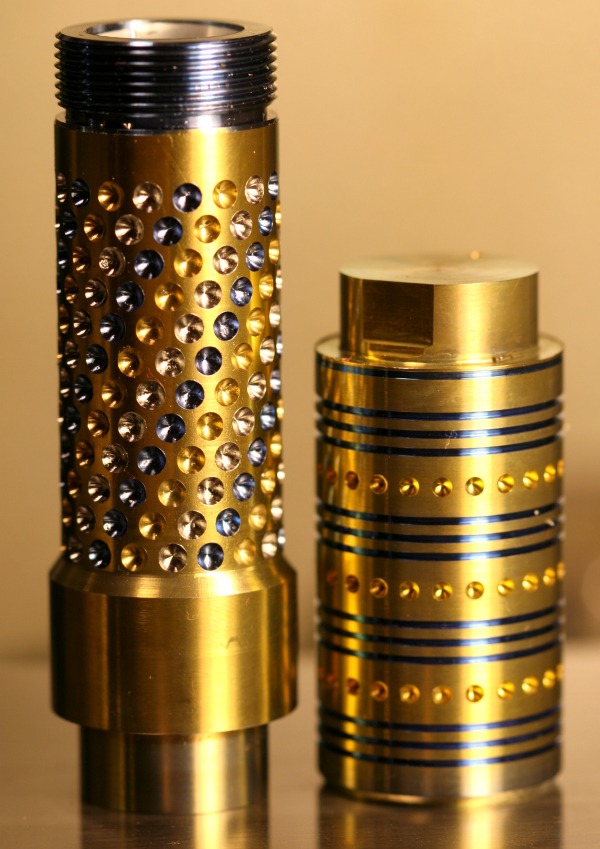
Not that pretty yet, eh?
Some close-ups:
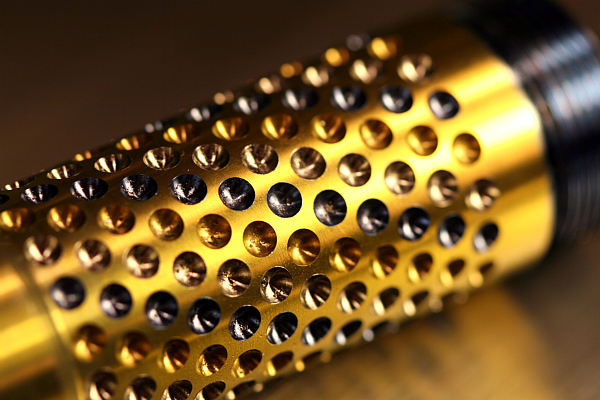
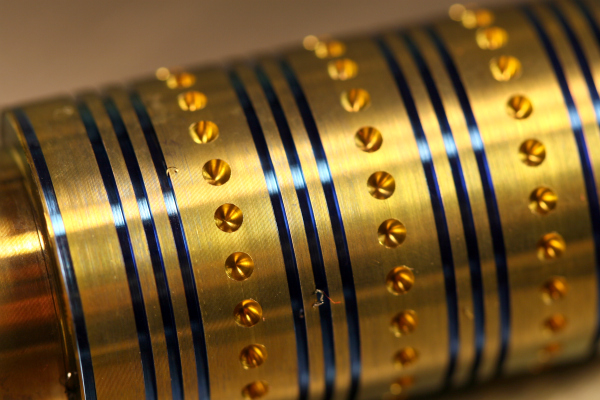
Obviously, the next operations on the lathe were to skim off the gold anodizing, leaving the bare Ti exposed:
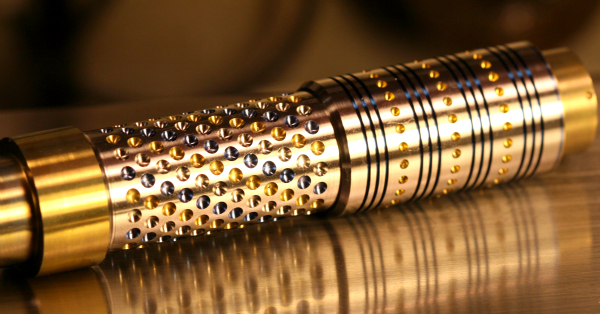
The gold anodized section at the tail of the battery tube will have some Trit slots milled into it, six of them, then another skim cut to clean that up. The head will have a bevel on the front leading down to the lens, with some small dimples on the bevel.
Once all the grooves and dimples were completed along the axis of the light, I removed the stub from the head portion and cut a 45-degree bevel leading to the lens.
The bevel would have 12 dimples added and then anodized. Here's the ball nose end mill and the cut dimples:
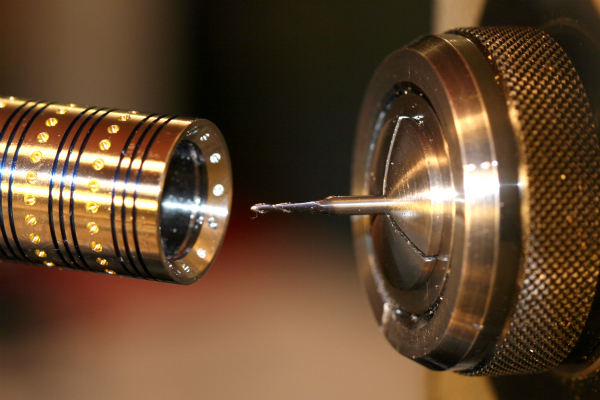
The dimples are cut at 90 degrees to the bevel, so that means that the light is angled another 45 degrees to the axis of the lathe. Here's an overview of the set-up:
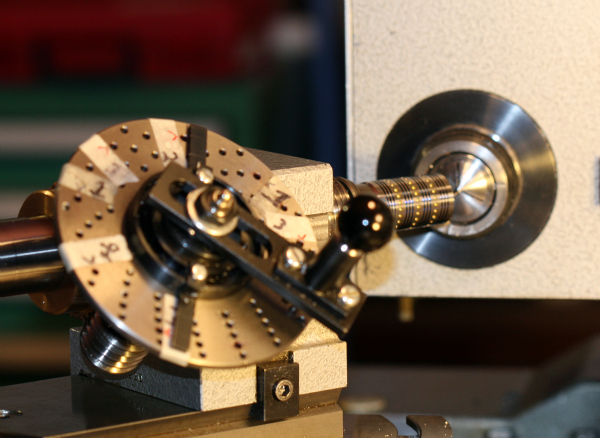
That's a rotary indexer sitting on top of a rotating base, which allows me to set the workpiece on any angle from zero to 90 degrees to the axis of the lathe's spindle.
Next up were the slots for the Trit vials that the customer will install:
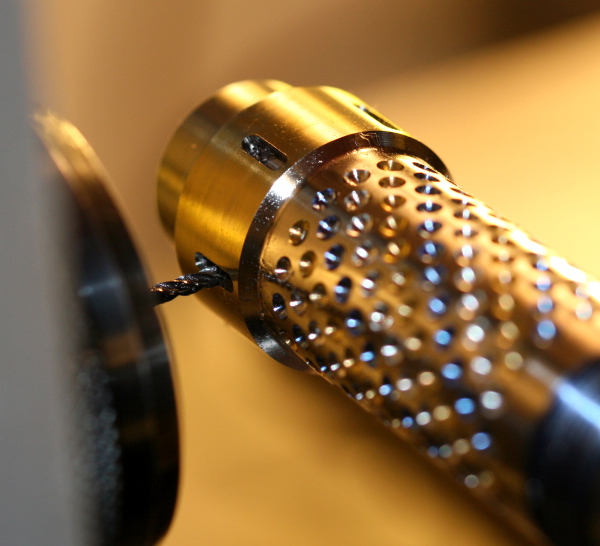
There are six slots around the base of the light.
Finally, since there were no more slots, dimple, or grooves to be installed, the stub could be removed from the battery tube and the tail end of the light could be cleaned up and made a bit lighter:

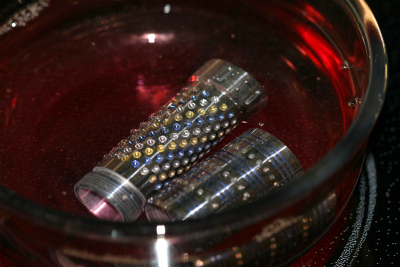
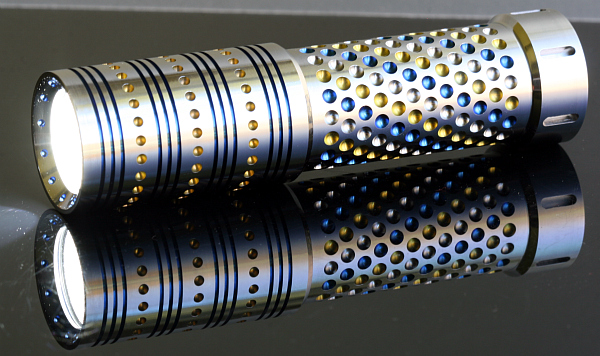
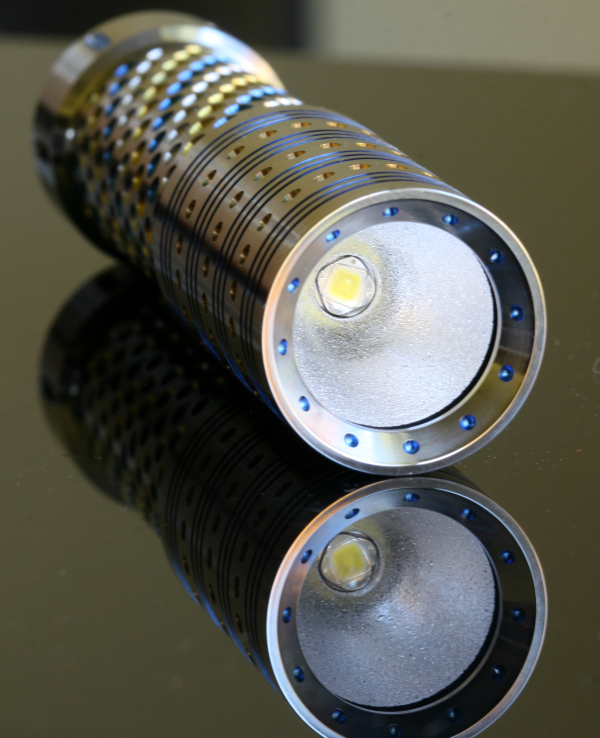
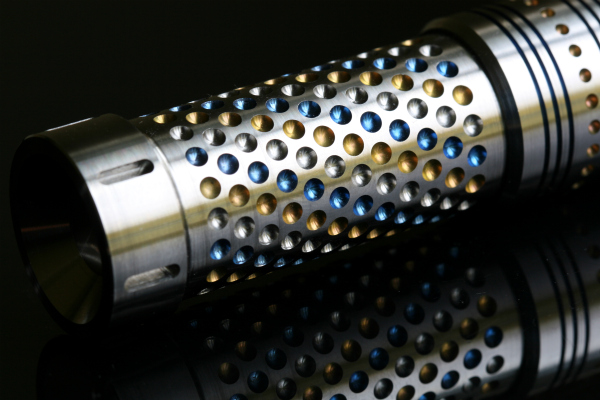
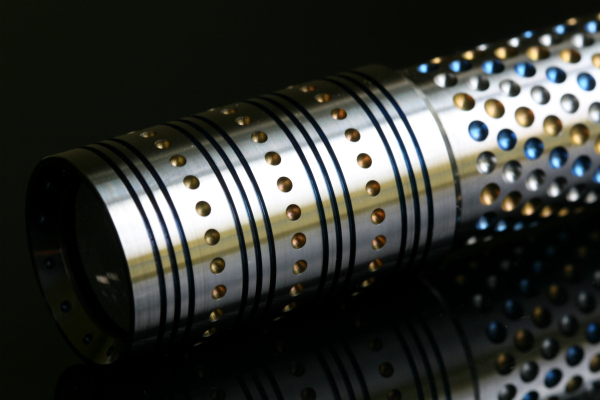
Still to be done is the installation of the LED/driver and the O-rings and lens, but on the way to the electronics workbench, the light was cleaned and photographed in natural light:
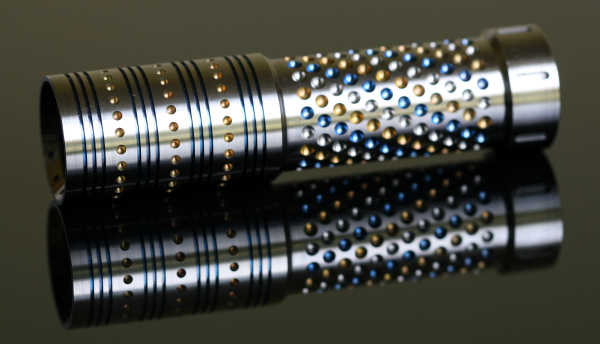
Once the driver is installed and the light is functioning, I'll lightly buff the light, clean it up well and take the final photos.
To be continued . . . Please see post #15 for the final installment.
Here's how the Indian Princess came out:

It was a bear to make, mainly due to the spiraling anodized dots on the battery tube--there are quite a few there. The most intriguing aspect of the dimples, or dots, is that due to the ball nose end mill and the way that it cuts, the dimples come out with an eery glow! You can more easily see it in person, rather than in a photograph, but when slightly out of focus, it does show up somewhat in a photo--to wit:

Needless to say, since the light is so time consuming to make, I haven't been keen on making another one, but, hey, money talks, so I have another request for something similar. But, of course, we don't have any real Princesses in the United States, so I needed a different name, the Southern Belle, in deference to where she will eventually reside, is the second coming. :devil:
First, let's outline what the Southern Belle will hopefully be:
- Made of 6AL/4V titanium
- Will have a three-level driver
- Will use a rechargeable AA battery
- Will be a twisty
- Will be O-ring sealed
- Mineral glass lens and Khatod stippled reflector
- Custom made AL heatsink
- Have spiraling anodized dimple in the battery tube
- Anodized grooves and dimples in the head
- Seoul P4 U3SVNH emitter
Once those are done, the more challenging decorative work takes place. The head is the easier one to do, but still requires a few steps to get it done. When anodizing Ti, using two colors, there are a couple of ways to approach the job; first option could be to machine the dimples and the grooves, and then mask off the feature(s) that will be anodized in a different color, before actually hitting the anodizing solution. But I prefer to anodize freshly machined Ti, rather than first putting a masking compound on it and then stripping it off with acetone before anodizing the second color.
So, I decided that for the Southern Belle, I would cut the feature (the dimples), then clean and anodize that feature, then go back to the lathe and machine the second feature (the grooves) and then complete the anodizing on the grooves.
So here's the head with the dimples cut in place:

Notice that there is some excess material, the stub as I call it, at one end of the head--in fact that will eventually be the top of the light--where the light emanates. And, if you have good eyes, you will see two bored holes in the stub--that's where I insert the electrode for the anodizing. The stub also allows me to take the piece off the machine, do anodizing, and then come back to the lathe for further machining operations, or tweaking, as may be need, both internally and externally on the head.
The battery tube is also cut with the first column of spiraling dimples, since those will be anodized the same color as the dimples on the head:

The stub on the battery tube will also be bored for the anodizing electrode and, more importantly, it has a flat milled onto it so that I can later machine the second and third columns of dimples and have something to indicate on so that the spirals will start and finish in the right spots.


Yeah, yeah, I know, not very exciting looking at the nitty gritty, boring things.
So here are the two pieces, now ready for the anodizing:

Once the gold was done, the battery tube was machined for the second column of dimples, which was then anodized blue. And finally, the battery tube was back in the lathe for the third and final column of spiraling dimples:

The head was then grooved and the grooves were anodized blue. Here are the pieces after all the anodizing is done:

Not that pretty yet, eh?
Some close-ups:


Obviously, the next operations on the lathe were to skim off the gold anodizing, leaving the bare Ti exposed:

The gold anodized section at the tail of the battery tube will have some Trit slots milled into it, six of them, then another skim cut to clean that up. The head will have a bevel on the front leading down to the lens, with some small dimples on the bevel.
Once all the grooves and dimples were completed along the axis of the light, I removed the stub from the head portion and cut a 45-degree bevel leading to the lens.
The bevel would have 12 dimples added and then anodized. Here's the ball nose end mill and the cut dimples:

The dimples are cut at 90 degrees to the bevel, so that means that the light is angled another 45 degrees to the axis of the lathe. Here's an overview of the set-up:

That's a rotary indexer sitting on top of a rotating base, which allows me to set the workpiece on any angle from zero to 90 degrees to the axis of the lathe's spindle.
Next up were the slots for the Trit vials that the customer will install:

There are six slots around the base of the light.
Finally, since there were no more slots, dimple, or grooves to be installed, the stub could be removed from the battery tube and the tail end of the light could be cleaned up and made a bit lighter:

Still to be done is the installation of the LED/driver and the O-rings and lens, but on the way to the electronics workbench, the light was cleaned and photographed in natural light:


Once the driver is installed and the light is functioning, I'll lightly buff the light, clean it up well and take the final photos.
To be continued . . . Please see post #15 for the final installment.
Last edited:



 :rock:

