
kenster
Flashlight Enthusiast
Just having some Dremel fun until I have a Lathe set up and can really have some flashlight modding fun!
 This started out to be a Modamag PXR heatsink mod for a TriCree SF III mod but.........
 I am waiting on Mcr17XR & Mcr16XR reflectors from the Shoppe to show up for customizing to fit this mod and SSC P4 emitters will show up at the same time so........ I could still change my mind at this point which LED`s and reflectors to use!?!

Just thought I would share one of the crazy flashlight modding things I have been playing around with when I am bored. If you don`t like it?

Yes, I am a nutcase!

It is far from perfect but I had a lot of fun working on it. It fits in my SF III head perfect and will be a Tri something light soon!
Thanks for the PXR heatsink to play with Modamag
 and thanks for looking everyone!

Ken
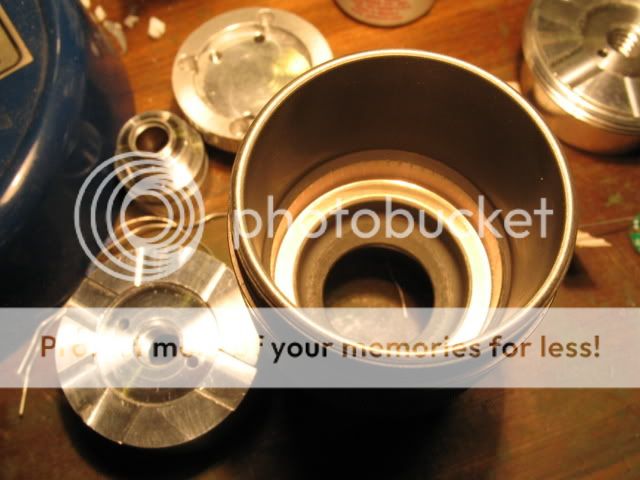
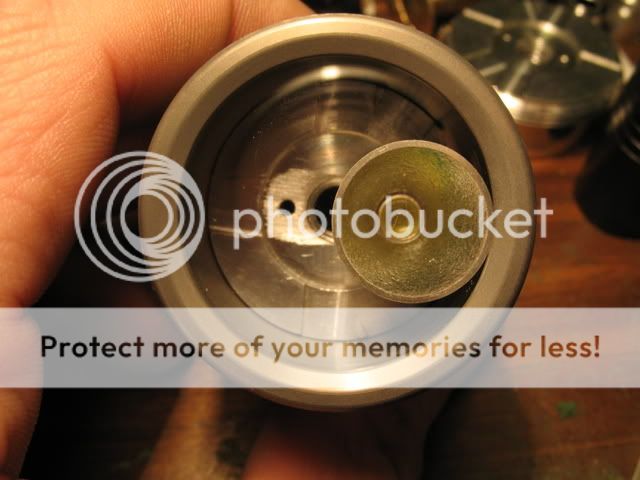
Here is my only unmodified Mcr17XR reflector I have left at the moment and not already in another flashlight in the SF III head. The reflector is well beaten up from handling it so much while measuring for this and other mods. The 3 reflectors will be cut down to a height that closely matches them to the top of the head.
After they are cut shorter, then the diameter can be made smaller so all 3 reflectors will fit and not be blocked at the edge by the bezel. This is still a stock untrimmed Mcr17XR in the pic but I thought it would help to see a visual of it with the bezel on anyway.
***ON WITH THE MOD!***
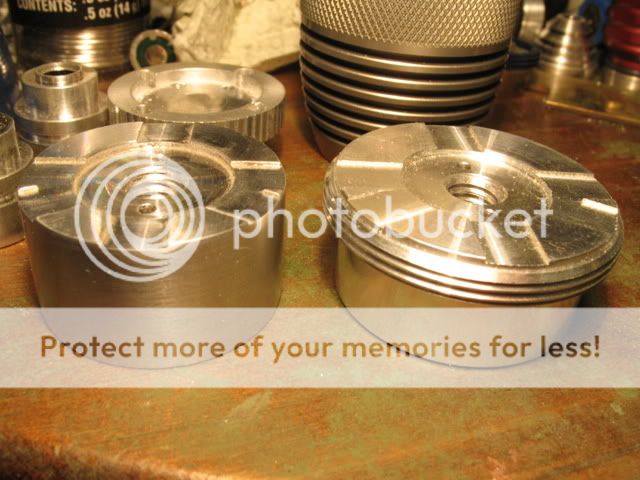
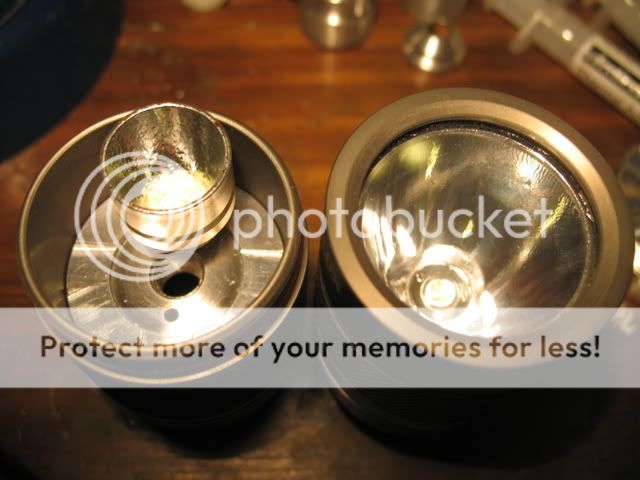
In getting the emitters to sit flat on the heatsink I first tried this where an emitter was not going to end up in case what I had planned didn`t work well. If it didn`t the heatsink wouldn`t be ruined and make me have to start over from the begining. Some material was removed with a dremel and then filed the the rest of the way flat. Just deepening the notches to fit the Cree will make it a lot easier positioning the emitters when it is time to AA Epoxy them to the heatsink.
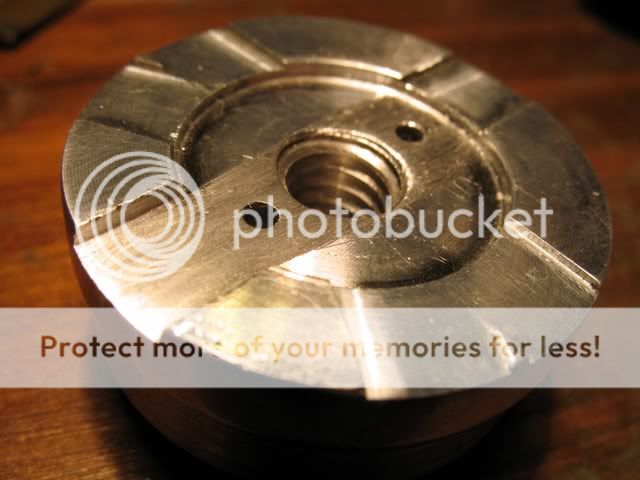
Not perfect but I can live with the results.
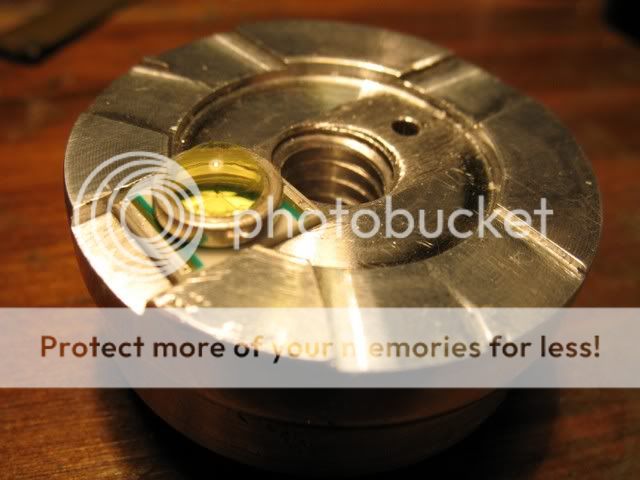
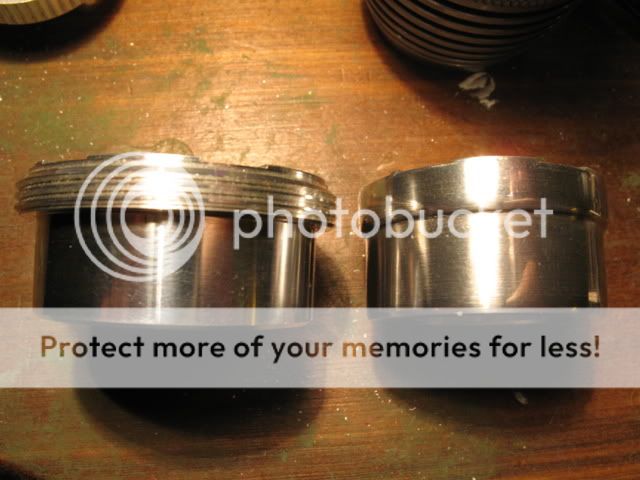
The Mcr16XR reflector was slightly shortened at the large opening or lens end. They are too large in diameter to fit 3 in the head so some Dremel work is needed.
 It is going to be nice whaen I have a Lathe and Milling Machine to work with for mods like this!:rock:

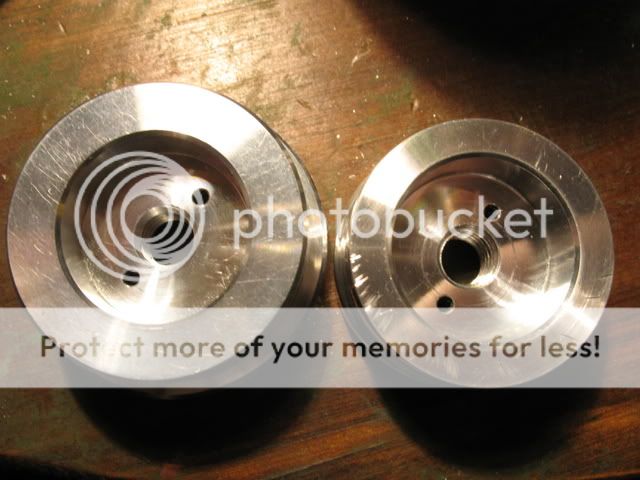
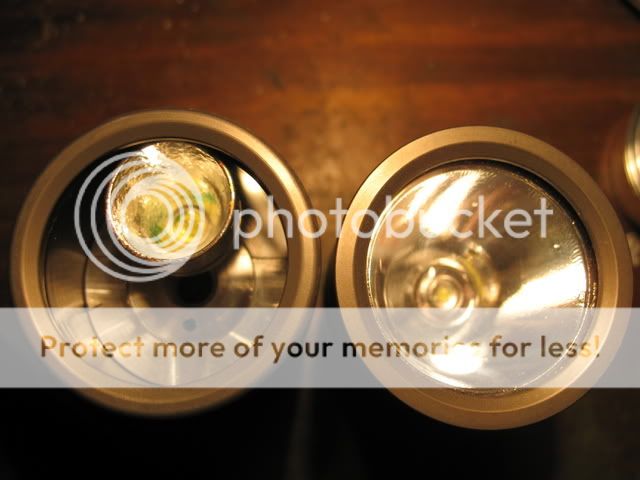
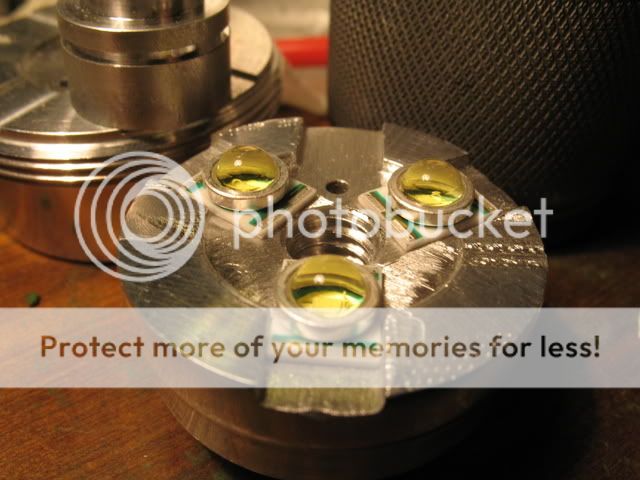
You can see my Dremel Tool got away from me a few times.
 I also started grinding on one of the wrong emitter notches.
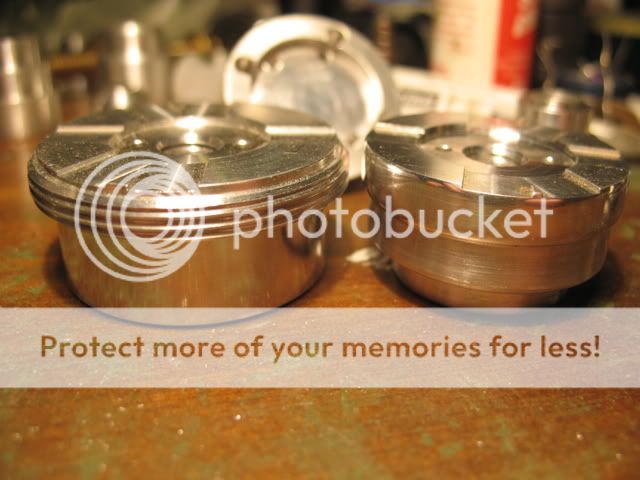
 They fit nicely but I will have to clean up the heatsink a little. I plan on Black Duracoat for the top of the heatsink which should hide my goof ups somewhat.
Maybe Cmacllel will take care of that for me after he bores out the battery tube for an 18650 cell?
He is a "Da Man" when it comes to Duracoat!
They fit nicely but I will have to clean up the heatsink a little. I plan on Black Duracoat for the top of the heatsink which should hide my goof ups somewhat.
Maybe Cmacllel will take care of that for me after he bores out the battery tube for an 18650 cell?
He is a "Da Man" when it comes to Duracoat!
 Hi Mac!
Just thought I would share one of the crazy flashlight modding things I have been playing around with when I am bored. If you don`t like it?
Yes, I am a nutcase!
It is far from perfect but I had a lot of fun working on it. It fits in my SF III head perfect and will be a Tri something light soon!
Thanks for the PXR heatsink to play with Modamag
Ken
Here is my only unmodified Mcr17XR reflector I have left at the moment and not already in another flashlight in the SF III head. The reflector is well beaten up from handling it so much while measuring for this and other mods. The 3 reflectors will be cut down to a height that closely matches them to the top of the head.
After they are cut shorter, then the diameter can be made smaller so all 3 reflectors will fit and not be blocked at the edge by the bezel. This is still a stock untrimmed Mcr17XR in the pic but I thought it would help to see a visual of it with the bezel on anyway.
***ON WITH THE MOD!***
In getting the emitters to sit flat on the heatsink I first tried this where an emitter was not going to end up in case what I had planned didn`t work well. If it didn`t the heatsink wouldn`t be ruined and make me have to start over from the begining. Some material was removed with a dremel and then filed the the rest of the way flat. Just deepening the notches to fit the Cree will make it a lot easier positioning the emitters when it is time to AA Epoxy them to the heatsink.
Not perfect but I can live with the results.
The Mcr16XR reflector was slightly shortened at the large opening or lens end. They are too large in diameter to fit 3 in the head so some Dremel work is needed.
You can see my Dremel Tool got away from me a few times.
Last edited:
") I`m on dialup but I added a couple more pics. This should be a really neat mod!
I`m on dialup but I added a couple more pics. This should be a really neat mod! Think Goldserve and 3x FluPic for it!


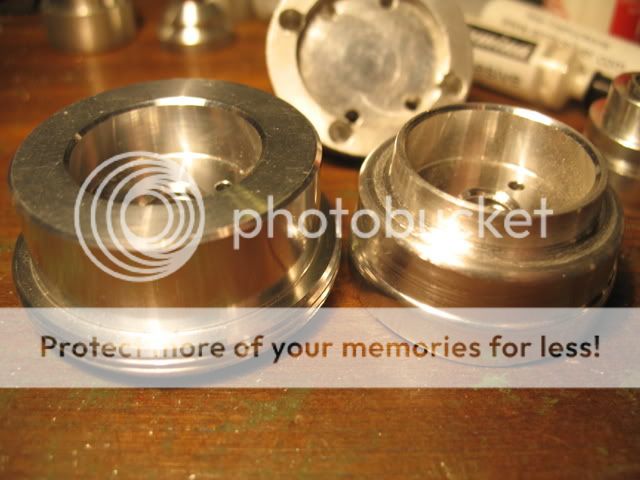
 I would do things different with a Lathe I think. Probably thread the inside of the head where the heatsink was press fit and thread the new heatsink. The press fit between the two pieces was Bare Aluminum and used as the ground path to the LE. My heatsink slips in and out and it is a snug fit but not pressed tight enough for a ground path. In several of the first post pictures you can see the original heatsink in the background. The evenly spaced indentations around it were pressed in with some kind of tool which squeezed some metal out for it`s press fit. You can see the lines it left in the head from it as well. I`ll have to do something similiar to mine. Maybe I can use a chisel?:shrug: I`ll figure something out!