Mounting Rebels LEDs

coolwaters

Newly Enlightened
Joined
Jul 5, 2007
Messages
123
any tips on which way is the easiest?

i have some pretty small ones that i would like to light up on a heatsink for now.

and is there a site that sells blank MCPCB? i might try to mount it on that too.
 
Last edited:

LukeA

Flashlight Enthusiast
Joined
Jun 3, 2007
Messages
4,399
Location
near Pittsburgh
I've found that the easiest way to mount them is to epoxy the bottom of the LED to the heatsink, then scrape the silicone off of the flat, and solder the leads to the top of the ceramic base.
 

SemiMan

Banned
Joined
Jan 13, 2005
Messages
3,899
I am not sure epoxy is a great idea. The surface area for bonding is quite small and thermal epoxy is about 5-10 times less conductive than solder.
 

evan9162

Flashlight Enthusiast
Joined
Apr 18, 2002
Messages
2,639
Location
Boise, ID
Epoxy works fine, just get as thin of a layer as possible. If you squeeze most of it out, you'll get metal-to-metal contact in areas, so there won't be any thermal epoxy involved for those contact spots.

Considering that hand soldering is completely out of the question (too easy to damage the parts), epoxying is a reasonable alternative if care is taken.
 

coolwaters

Newly Enlightened
Joined
Jul 5, 2007
Messages
123
im going to shop for some thermal epoxy later then.

about the soldering it sticks pretty well to aluminum right?
 

Curious_character

Flashlight Enthusiast
Joined
Nov 10, 2006
Messages
1,211
im going to shop for some thermal epoxy later then.

about the soldering it sticks pretty well to aluminum right?
Arctic Silver has one of the highest thermal conductivities of commonly available epoxies. Arctic Alumina's conductivity is about half as great, but it's adequate if kept thin. Arctic Alumina is a bit less expensive.

Soldering to aluminum isn't straightforward. I'd think thermal epoxy would be the only practical way to mount an emitter to an aluminum header.

c_c
 

spaech

Newly Enlightened
Joined
Jul 12, 2007
Messages
9
I've tried mounting rebels by soldering the heat pad directly to a chunk of copper. Very tricky because the solder solidifies almost immediately because the heat is taken away from that area due to thermal conductivity of the copper (it is a heatsink after all). It's possible, and it does give decent heat sinking, but I wouldn't consider it viable. Too much heat stress on components when soldering, and difficulty in getting a good solid solder connection.

Personally I'm going to try this method, when the gear arrives:

Rebel-->Solder Paste-->Rebel Star-->Heat Conductive Pad-->Heatsink

I'm not sure how effective the pads will be as a thermal interface. I might switch to thermal epoxy if they're no good.
 
Last edited:

coolwaters

Newly Enlightened
Joined
Jul 5, 2007
Messages
123
i already have the Arctic Silver. but it doesnt seem to stick...
probably need to get a epoxy version?


i got small copper heatsinks squares from a ram heatsink. i'll probably use that and mount it on the edge to avoid the cathodes contacting with the copper.

that seems do-able somewat...
 

coolwaters

Newly Enlightened
Joined
Jul 5, 2007
Messages
123
alright i'll go out and hunt for that.

did anyone else find an easier way to mount the rebels?
 

coolwaters

Newly Enlightened
Joined
Jul 5, 2007
Messages
123
hmmm mounting it on the edge of the heatsinks is probably the best and cheapest way for me right now so i'll give it a try.

im still opened for suggestions.
 

spaech

Newly Enlightened
Joined
Jul 12, 2007
Messages
9
If anyone's looking for a straightforward, effective method for soldering & mounting Luxeon Rebels, this method has worked well for me (after experimentation with a few other methods):
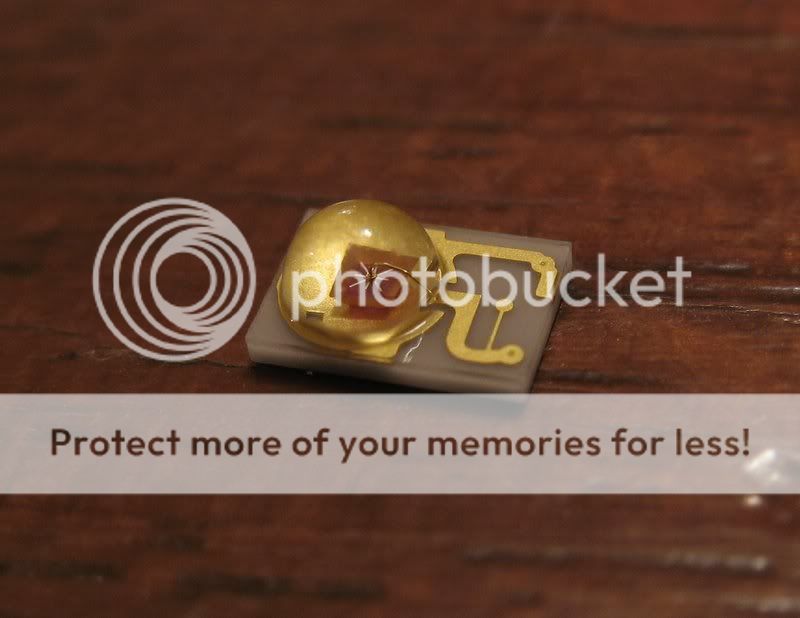
Take one rebel:
IMG_1161-1.jpg


Place it somewhere upside down so that it won't move around too much when you're soldering it:
IMG_1210.jpg


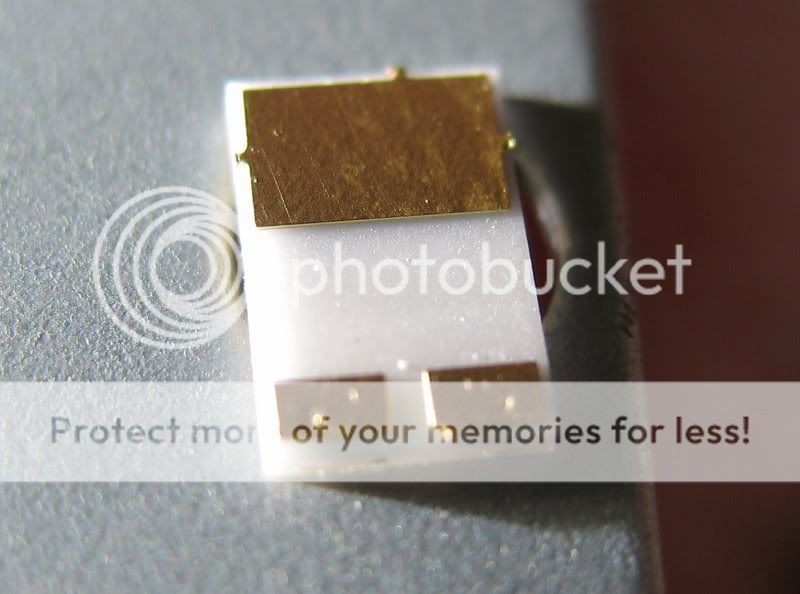
Coat the copper contacts on the rebel with solder:
IMG_1213.jpg


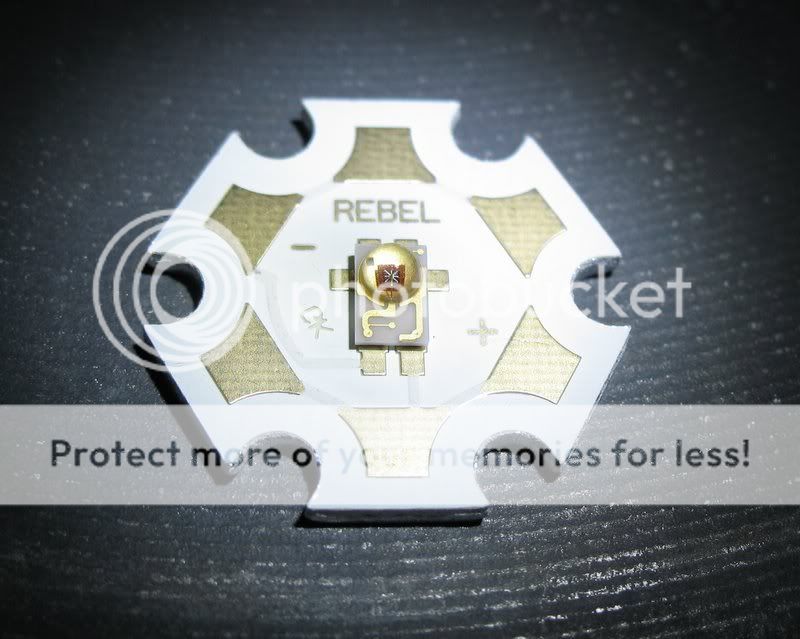
Place the rebel with the soldered contacts aligned over the copper pads of the rebel star. Pre-heat stove hotplate to medium-high or thereabouts and place the star on the hotplate with tweezers or needle-nose pliers:
IMG_1215.jpg


Take the star off the hotplate as soon as you see the solder melting onto the star's copper pads. You want the hotplate to be at a temperature that will melt the solder in 5-15 seconds. Too much time or too much heat can damage the LED or the circuit board. You might want to be especially careful with the higher spec'd rebels - I only used red & blue ones for this project (they suffered no heat damage), but others on the forum are suggesting the 100 lumen white rebels are quite sensitive to heat.

I mounted the stars to a chunk of aluminum using heat conductive pads as the thermal interface. Works well, although that aluminum sure gets hot!
IMG_1221.jpg


Note, no affiliation with led-tech.de, that's just who I happened to get the gear from.
 

pesca

Newly Enlightened
Joined
Nov 12, 2008
Messages
1
Spaech,

In your 3rd image I can see that you used solder to attach the Rebel to PCB. Instead of using the solder, can I use other thing that don't need heat, like the "ArcticSilver Thermal Adhesive" (two-components glue) ???
 
Top