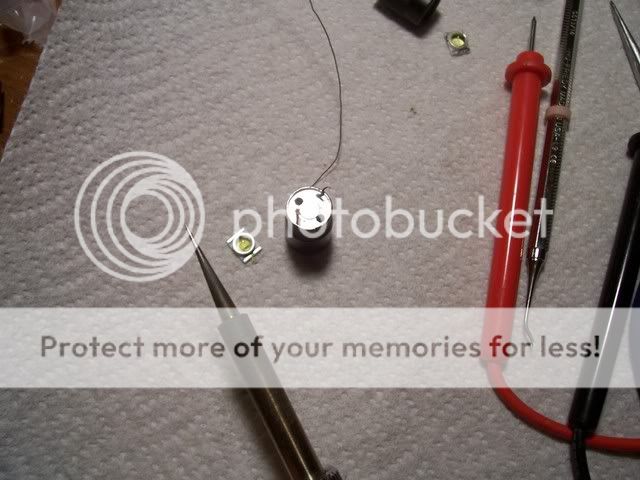
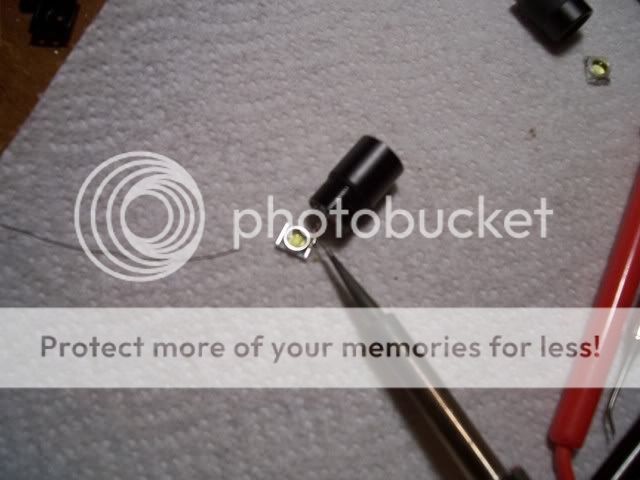
This pictorial shows how to open a Fenix L0P (L0P SE or L0D Luxeon) flashlight and upgrade it with a Seoul P4 LED. Do not attempt this mod if you are not comfortable with your modding skills, or do not have the proper tools. I will not be held responsible for any damages to your light if you choose to do this modification based upon the information contained herein. Proceed at your own risk. ---This will void your warranty---
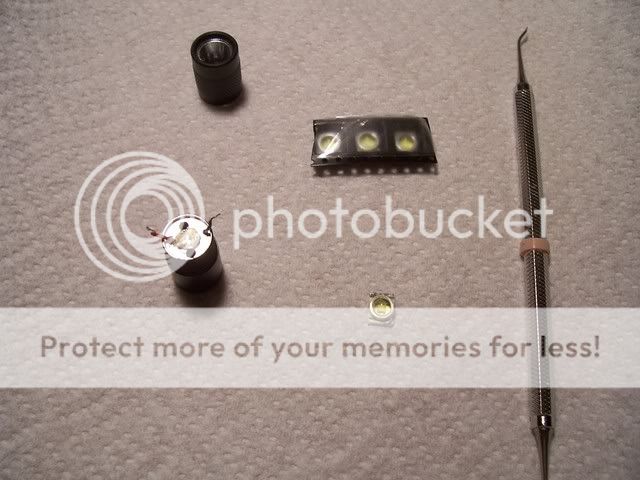
The tools and materials necessary for this mod are:
Strap wrenches (I got these from Lowe's)
Large rubber band, cut into two or three pieces
coffee mug warmer (or other method of heating the head of the light)
Fine tipped pliers
Soldering station or iron
Solder
Fenix L0P, L0P SE or L0D (Luxeon) flashlight
Seoul LED (I chose USXOH for this mod)
Thin copper shim 0.015"-0.030"
Arctic Alumina thermal adhesive (AA)
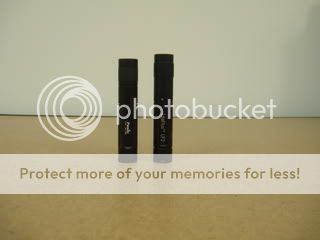
Fenix L0P on left, LiteFlux LF2 Seoul on right.
Remove the head, and heat with the method of your choice. I chose to use a mug warmer.
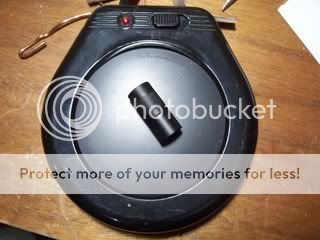
Hot! Hot! Hot! Thread the head back onto the body. This is for safety, as we do not want to crush the thin walls of the head. It also makes it easier to hold onto.
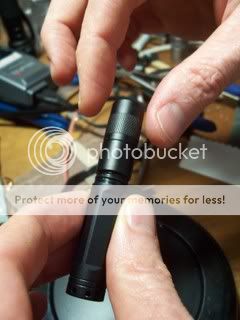
Wrap a thick rubber band around the base of the head, in the direction that you will be twisting to remove it. Use a strap wrench over the rubber band, and tighten.
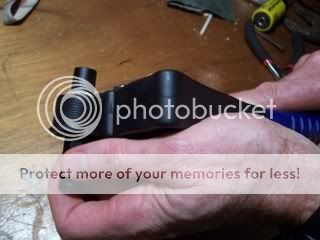
Do the same for the top of the head. Wrap it tightly!
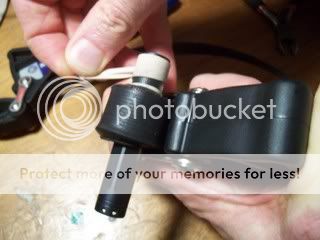
Affix the other strap wrench, and use some muscle.
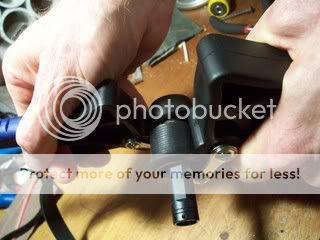
It is moving... If at any time the head will not yield, put it back apply heat for a few more minutes.
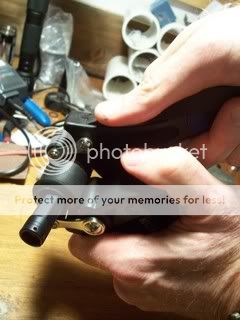
Success. The head is off.
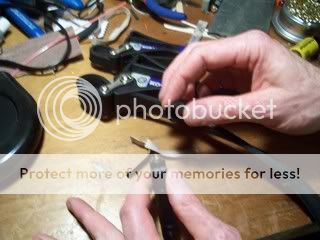
Clean away the epoxy. This light had less than most L0P's.
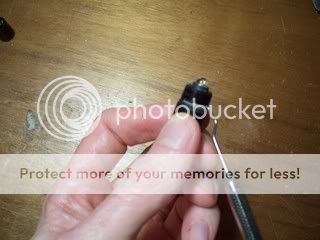
Remove the reflector. If needed, heat the head first. This L0P did not have any adhesive on the reflector.
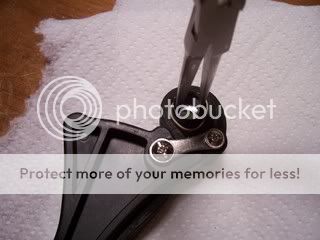
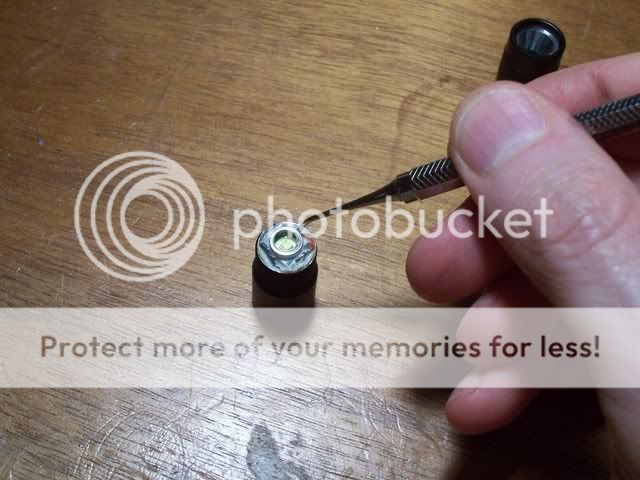
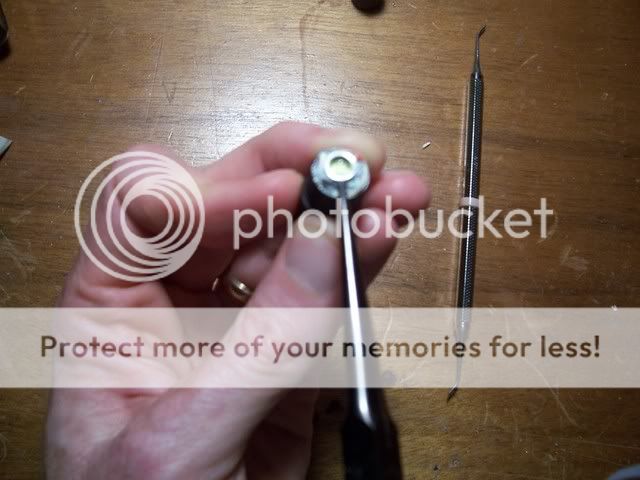
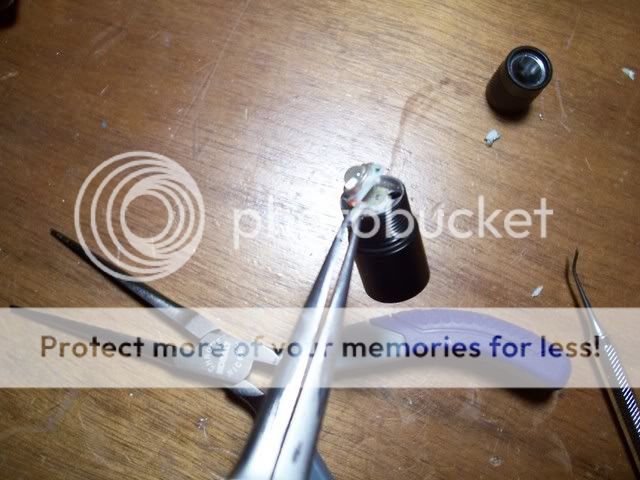
Unsolder the leads of the Luxeon LED, and remove it. Dental tools are stainless steel, and solder does not stick. They were feebies from my dentist just for asking.
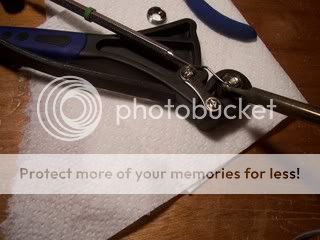
Gone. Clean the area well, and wipe with alcohol.
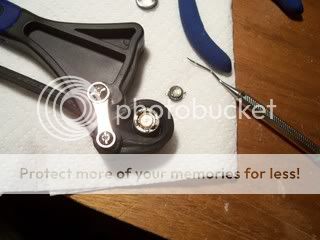
Clean as a whistle! Now it is time to work on the reflector.
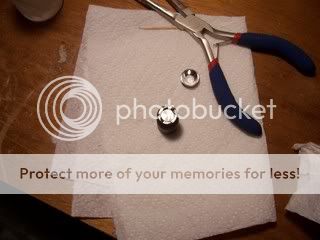
Measure the reflector depth, and remove 0.015" - 0.030" from the back of the reflector, depending on the thickness of the shim that you use. For this mod, I removed a total of 0.025". Use firm pressure on a fine flat file. Rotate the reflector after each pass. Keep your fingers out of the reflector cup. When it is the correct height, run hot water through the reflector, and blow the water out. Do not wipe the reflector, it will leave streaks.
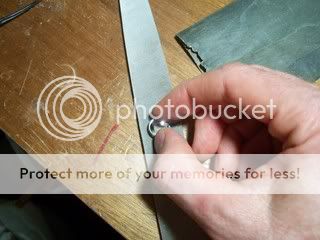
Prepare the head for the shim. Clean the head and the copper shim with alcohol. Mix AA thermal adhesive and add a small dot in the recess for the led.
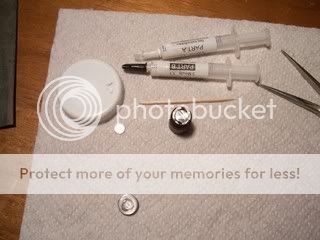
Center the copper shim in the recess, and press it into the AA thermal adhesive. Not too hard, though. It must not make contact with the aluminum.
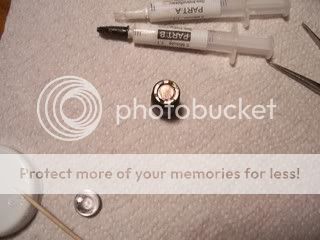
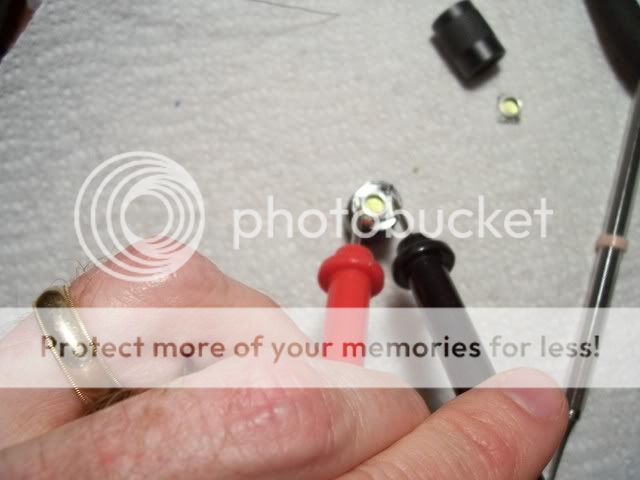
Test the copper shim for continuity.
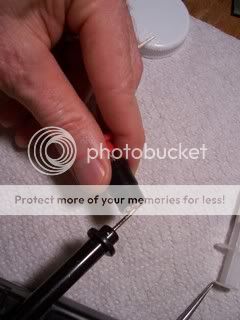
Install the reflector into the head at this point (for centering the Seoul). Cut the lower portion of the leads from the Seoul LED. Use the Luxeon LED as an example.
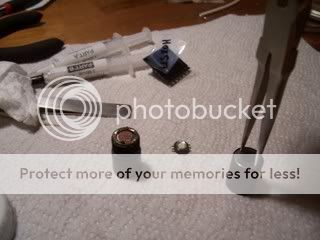
Mix up some more AA, and center the LED on the shim. Watch for the correct LED polarity!!! The notch in the tab of the LED is the negative. Make sure that the LED is well seated on the copper shim, and that the AA is in a thin layer.
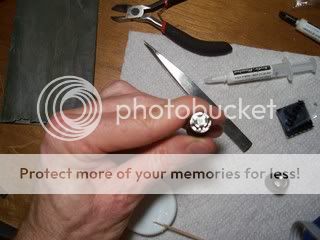
Thread the reflector portion of the head onto the base and check the centering. After a few adjustments, it is perfectly centered. Allow the AA to dry completely.

Bend the leads of the LED to touch the copper traces.
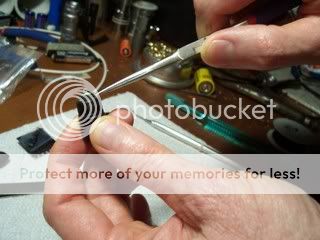
Solder the LED to the traces. I like very fine solder for this step. I am using 0.015" Kester solder. The fine solder helps to avoid solder blobs.
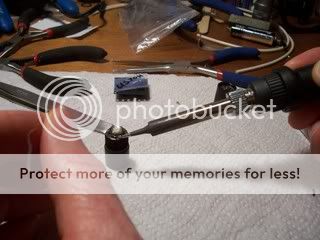
Put everything back together.
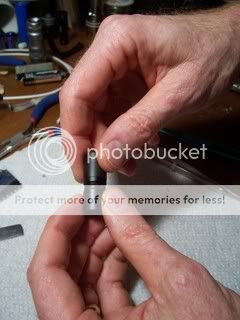
Modded Fenix L0P on left, LiteFlux LF2 Seoul on right.
Notice the well centered LED in the light on the left.
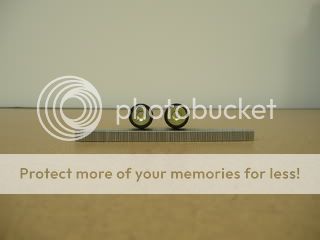
Modded Fenix L0P on left, LiteFlux LF2 Seoul on right.
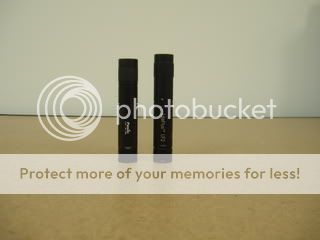
Modded Fenix L0P on left, LiteFlux LF2 Seoul on right. Both lights are using alkaline cells.
LF2 is on high. Not too shabby, huh?

Modded Fenix L0P on left, LiteFlux LF2 Seoul on right. Both lights are using alkaline cells.
LF2 is on high. The L0P has a bit tighter hotspot due to the smooth reflector.

OK, you have seen the pictures, now go for it!
Most of all, have fun.
datiLED
The tools and materials necessary for this mod are:
Strap wrenches (I got these from Lowe's)
Large rubber band, cut into two or three pieces
coffee mug warmer (or other method of heating the head of the light)
Fine tipped pliers
Soldering station or iron
Solder
Fenix L0P, L0P SE or L0D (Luxeon) flashlight
Seoul LED (I chose USXOH for this mod)
Thin copper shim 0.015"-0.030"
Arctic Alumina thermal adhesive (AA)
Fenix L0P on left, LiteFlux LF2 Seoul on right.

Remove the head, and heat with the method of your choice. I chose to use a mug warmer.

Hot! Hot! Hot! Thread the head back onto the body. This is for safety, as we do not want to crush the thin walls of the head. It also makes it easier to hold onto.

Wrap a thick rubber band around the base of the head, in the direction that you will be twisting to remove it. Use a strap wrench over the rubber band, and tighten.

Do the same for the top of the head. Wrap it tightly!

Affix the other strap wrench, and use some muscle.

It is moving... If at any time the head will not yield, put it back apply heat for a few more minutes.

Success. The head is off.

Clean away the epoxy. This light had less than most L0P's.

Remove the reflector. If needed, heat the head first. This L0P did not have any adhesive on the reflector.

Unsolder the leads of the Luxeon LED, and remove it. Dental tools are stainless steel, and solder does not stick. They were feebies from my dentist just for asking.

Gone. Clean the area well, and wipe with alcohol.

Clean as a whistle! Now it is time to work on the reflector.

Measure the reflector depth, and remove 0.015" - 0.030" from the back of the reflector, depending on the thickness of the shim that you use. For this mod, I removed a total of 0.025". Use firm pressure on a fine flat file. Rotate the reflector after each pass. Keep your fingers out of the reflector cup. When it is the correct height, run hot water through the reflector, and blow the water out. Do not wipe the reflector, it will leave streaks.

Prepare the head for the shim. Clean the head and the copper shim with alcohol. Mix AA thermal adhesive and add a small dot in the recess for the led.

Center the copper shim in the recess, and press it into the AA thermal adhesive. Not too hard, though. It must not make contact with the aluminum.

Test the copper shim for continuity.

Install the reflector into the head at this point (for centering the Seoul). Cut the lower portion of the leads from the Seoul LED. Use the Luxeon LED as an example.

Mix up some more AA, and center the LED on the shim. Watch for the correct LED polarity!!! The notch in the tab of the LED is the negative. Make sure that the LED is well seated on the copper shim, and that the AA is in a thin layer.

Thread the reflector portion of the head onto the base and check the centering. After a few adjustments, it is perfectly centered. Allow the AA to dry completely.

Bend the leads of the LED to touch the copper traces.

Solder the LED to the traces. I like very fine solder for this step. I am using 0.015" Kester solder. The fine solder helps to avoid solder blobs.

Put everything back together.

Modded Fenix L0P on left, LiteFlux LF2 Seoul on right.
Notice the well centered LED in the light on the left.

Modded Fenix L0P on left, LiteFlux LF2 Seoul on right.

Modded Fenix L0P on left, LiteFlux LF2 Seoul on right. Both lights are using alkaline cells.
LF2 is on high. Not too shabby, huh?

Modded Fenix L0P on left, LiteFlux LF2 Seoul on right. Both lights are using alkaline cells.
LF2 is on high. The L0P has a bit tighter hotspot due to the smooth reflector.

OK, you have seen the pictures, now go for it!
Most of all, have fun.
datiLED
Last edited:


