
I do a lot of night hiking and camping so I decided a medium power flood light would work best. I EDC a McLux PD and use the hell out of it; I can certainly attest to its robustness, but I needed much more spill. I have a few mag hosts sitting around and my Ultrafire which I never use. Why not meld them into something much more useful?

Step 1
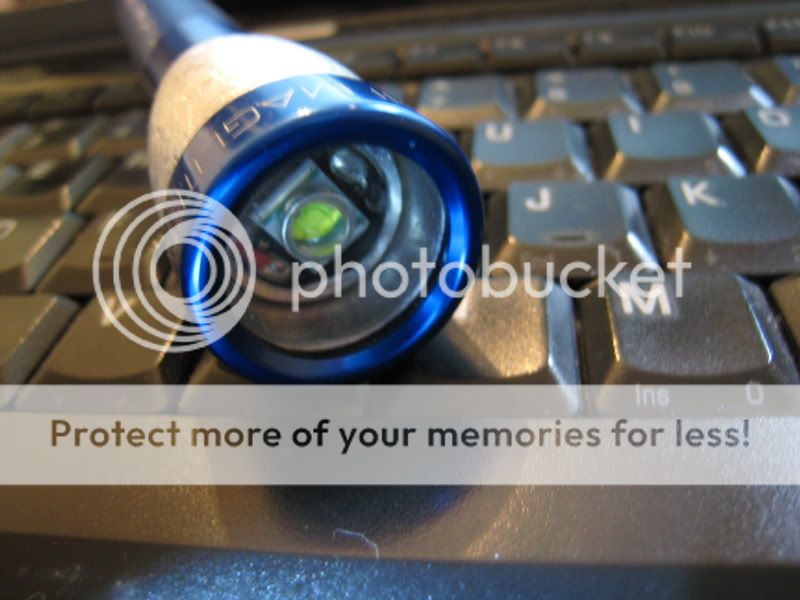
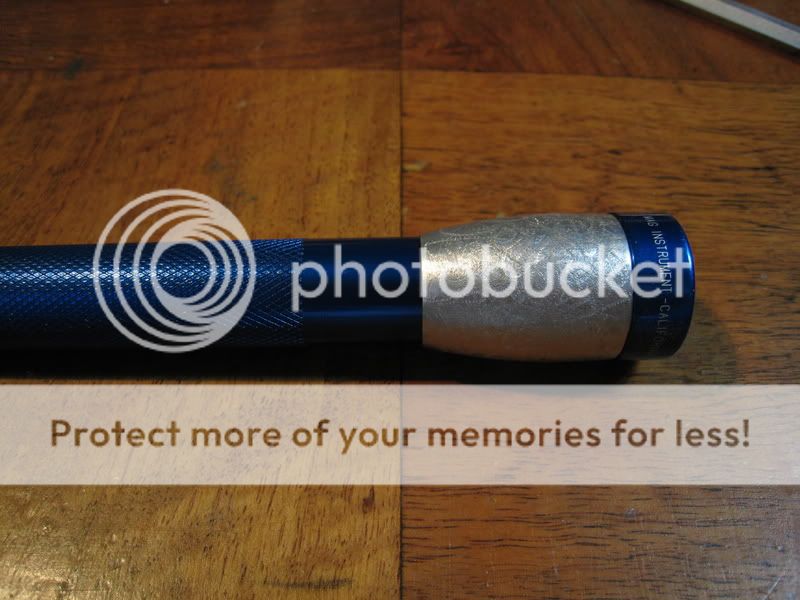
Lets start with prepping the mag body and tail cap. Disassemble all internal parts. They are not used. Next sand the top of the body to give a good electrical contact. The tail cap spring must be slightly stretched to make up for the missing parts.
Step 2 - UltraFire Disassembly
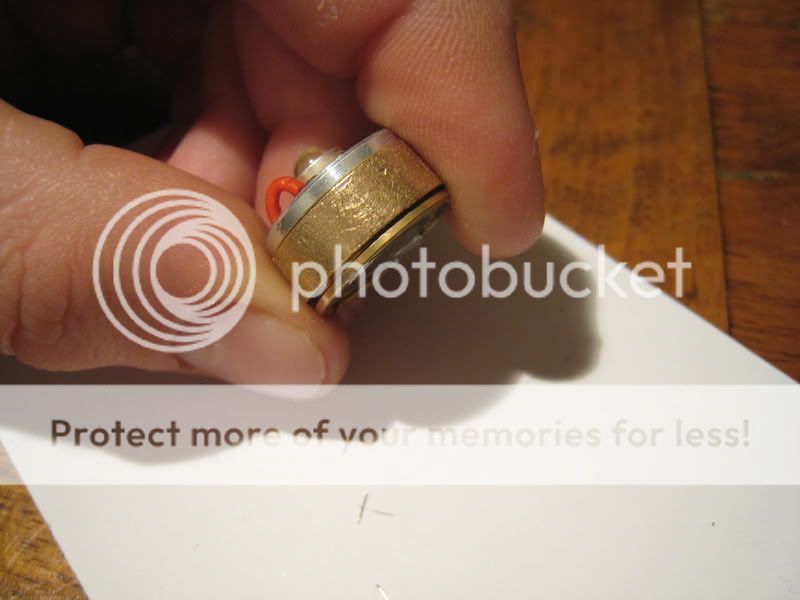
Looking inside of the head you can see a brass ring with two notches in it. A small set of needle nose pliers work best to remove this.
(If you are lazy and want an easy mod you can almost stop here. The pill will actually fit inside the mag head if you sand off the plastic threads. Press it in. Should be an interference fit. Insert batteries and presto!)
But if you want a good thermal path to the mag head and a bullet proof mod go to…
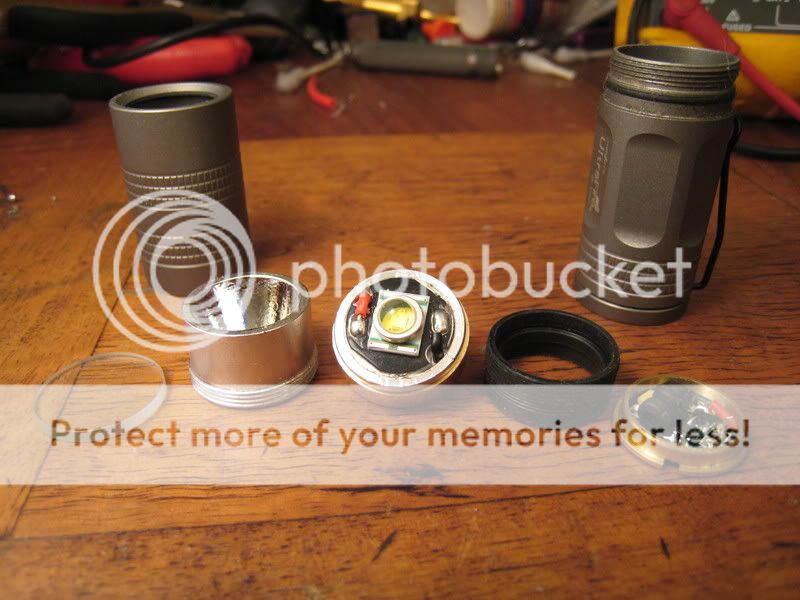
Step 3 - Pill parts
This is what we are going to replace the plastic spacer with...
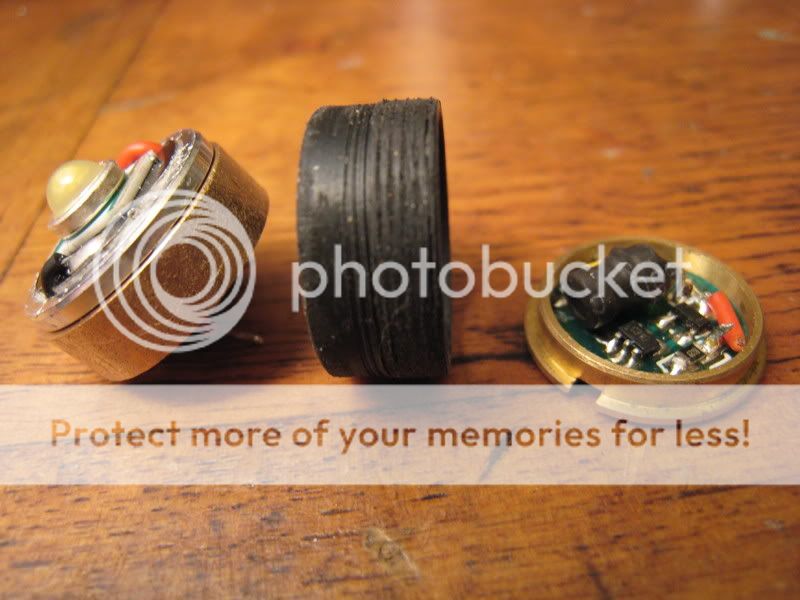
Disassemble the pill (its only a press fit) and cut the + and - wires as close to the PCB as possible. you will need to go to your local hardware store and buy a bronze bushing with an OD equal to or slightly more than the ID of the mag head, and an ID equal to or smaller then the OD of the lip of the PCB. And you will need a drill-bit to enlarge the mag head for the bushing to have an interference (press) fit.
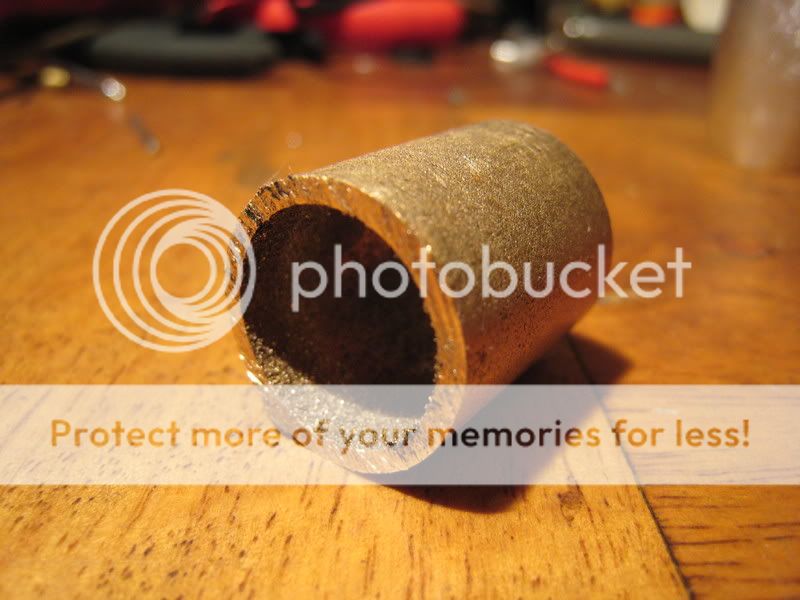
I used a hack saw to cut the bushing slightly thinner then the original plastic part. The LED heat sink and PCB can only be slightly closer then the original pill because of the, I'm assuming, capacitor, which is quite large.
Now comes the file work. It took me close to an hour to file the ID of the bushing for the LED heat sink to press fit perfectly. You might notice I did not do this to the PCB side. I used a countersink bit so that when the bushing is pressed into the head it auto centers the PCB. In hindsight I do not think this best. I recommend a press fit on both sides.
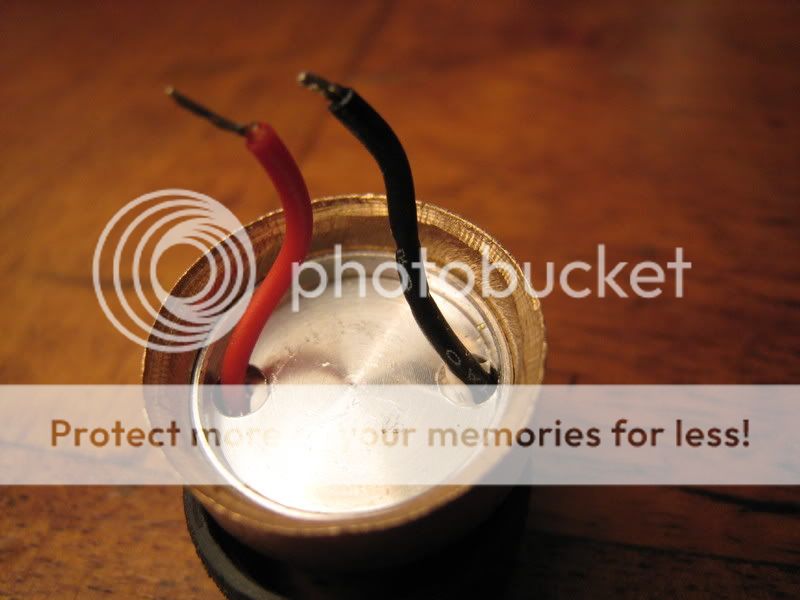
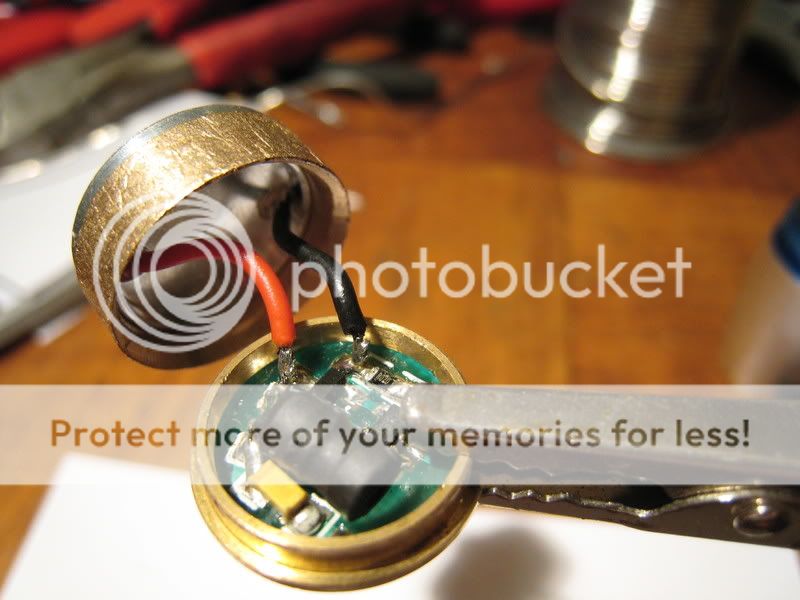
Step 4 - Assemble the pill.
Assemble and solder!
I cut the wires shorter then in that picture for a more compact fit.
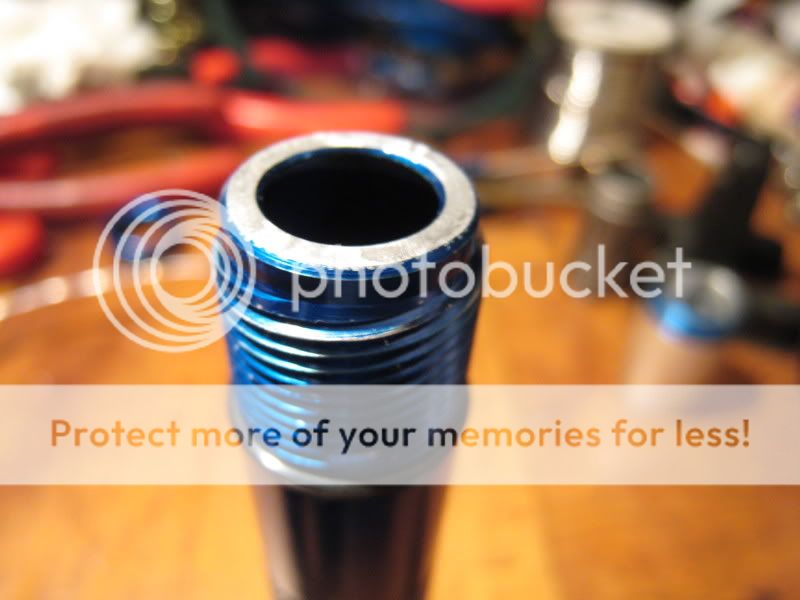
Step 5 - Drill the head
Well this part was a pain for me. I don't have a drill press or lath so a simple cordless drill and a vice had to do.
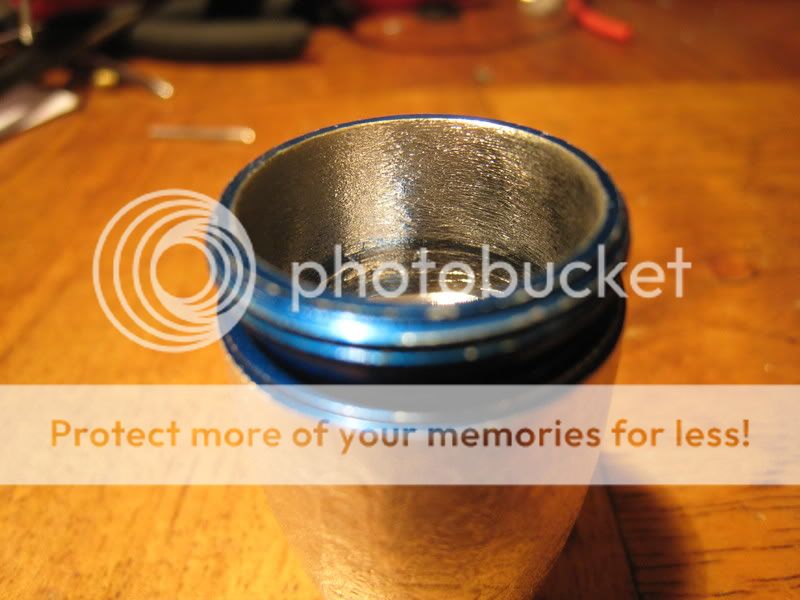
After drilling the head I used a 120 grit drum sander, steel wire brush, then brass wire brush to give a slight stippled reflector look to the inner head to help smooth out the beam.
Now all you have to do is press the pill in and you're done!
There are a few things I added later to help it live a long healthy life. One is a small spring to the negative contact of the PCB to help prevent any damage in the case of a drop to the head. Another is a small spacer inserted in front of the batteries (necessary with the spring). As you might realize with the pill only being held in by pressure so inserting a spacer to press on the pill might make it more secure…
…though I haven't had any problems yet and I have at least 3 hours or running/hiking through it already.
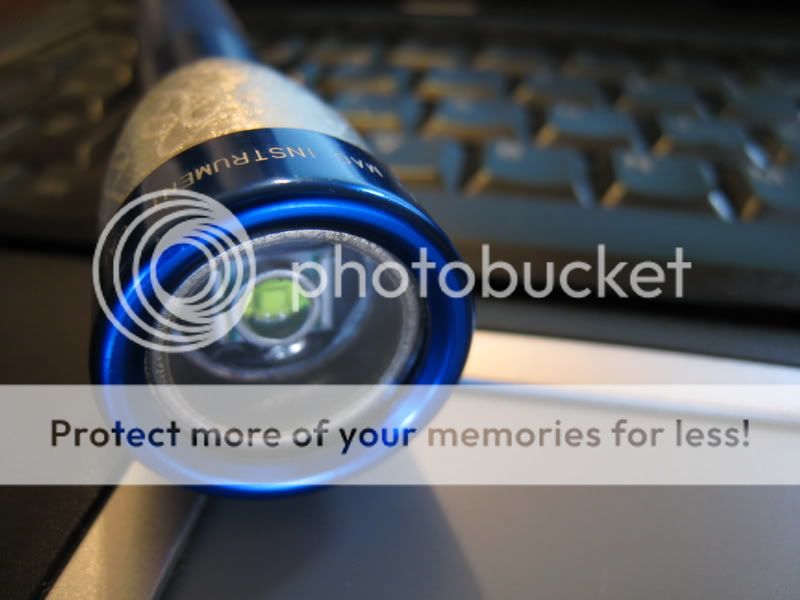
Beamshots!


If the pictures don't show or a mod thinks I need to resize let me know.
Step 1
Lets start with prepping the mag body and tail cap. Disassemble all internal parts. They are not used. Next sand the top of the body to give a good electrical contact. The tail cap spring must be slightly stretched to make up for the missing parts.
Step 2 - UltraFire Disassembly
Looking inside of the head you can see a brass ring with two notches in it. A small set of needle nose pliers work best to remove this.
(If you are lazy and want an easy mod you can almost stop here. The pill will actually fit inside the mag head if you sand off the plastic threads. Press it in. Should be an interference fit. Insert batteries and presto!)
But if you want a good thermal path to the mag head and a bullet proof mod go to…
Step 3 - Pill parts
This is what we are going to replace the plastic spacer with...
Disassemble the pill (its only a press fit) and cut the + and - wires as close to the PCB as possible. you will need to go to your local hardware store and buy a bronze bushing with an OD equal to or slightly more than the ID of the mag head, and an ID equal to or smaller then the OD of the lip of the PCB. And you will need a drill-bit to enlarge the mag head for the bushing to have an interference (press) fit.
I used a hack saw to cut the bushing slightly thinner then the original plastic part. The LED heat sink and PCB can only be slightly closer then the original pill because of the, I'm assuming, capacitor, which is quite large.
Now comes the file work. It took me close to an hour to file the ID of the bushing for the LED heat sink to press fit perfectly. You might notice I did not do this to the PCB side. I used a countersink bit so that when the bushing is pressed into the head it auto centers the PCB. In hindsight I do not think this best. I recommend a press fit on both sides.
Step 4 - Assemble the pill.
Assemble and solder!
I cut the wires shorter then in that picture for a more compact fit.
Step 5 - Drill the head
Well this part was a pain for me. I don't have a drill press or lath so a simple cordless drill and a vice had to do.
After drilling the head I used a 120 grit drum sander, steel wire brush, then brass wire brush to give a slight stippled reflector look to the inner head to help smooth out the beam.
Now all you have to do is press the pill in and you're done!
There are a few things I added later to help it live a long healthy life. One is a small spring to the negative contact of the PCB to help prevent any damage in the case of a drop to the head. Another is a small spacer inserted in front of the batteries (necessary with the spring). As you might realize with the pill only being held in by pressure so inserting a spacer to press on the pill might make it more secure…
…though I haven't had any problems yet and I have at least 3 hours or running/hiking through it already.
Beamshots!
If the pictures don't show or a mod thinks I need to resize let me know.