cryhavok
Enlightened
I've been itching for a Surefire Kroma forever so I finally picked one up...and that same day, I opened the head and had it completely disassembled :devil:
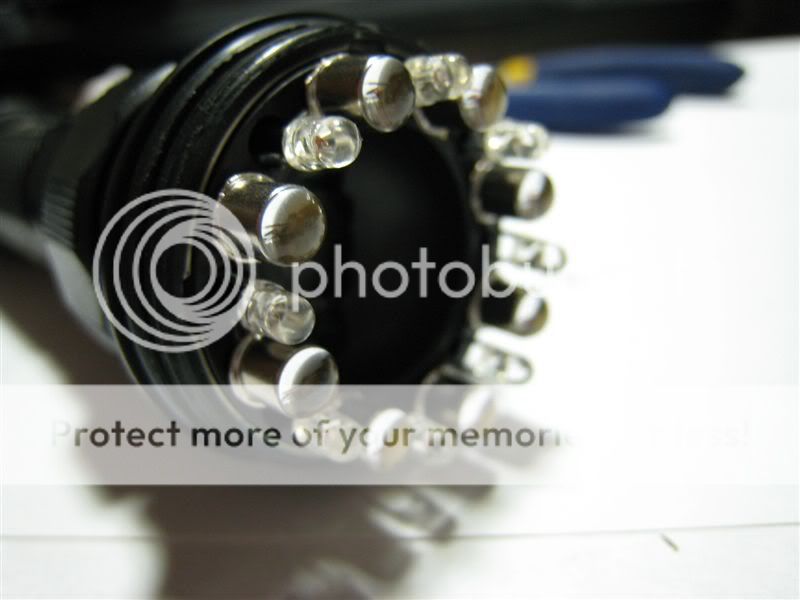
A little about the Kroma: I opted for the civilian version, meaning 2 led colors in addition to the white main beam. The light houses 16 3mm LEDs with a distribution of 8 blue and 8 red. The red and blue LEDs are very bright and produce a huge amount of light for only 3mm LEDs. Keep in mind, 3mm LEDs actually use the same die size as the more common 5mm LEDs...they just have less optical plastic and are more floody.
The red LEDs easily light up an entire room on high and are excellent for preserving night vision on low. I decided to keep these LEDs stock as they are a useful color.
The blue LEDs are also extremely bright. Apparently they are useful for tracking blood but I don't have any real use for the color. I decided to switch them to UV leds...tracking body fluids is more my thing ...more on this below.
The white led is a luxeon 3 behind an optic similar to the KL1 (note:not KX1). The beam is very interesting with many weird lines and not much of a hotspot. It does not have a similar beam to the old KL1...this light has a lot more spill at the cost of much less throw. I'm actually crazy about throw, so I knew I wanted to do something to improve the beam (besides updating the LuxIII to a modern high power LED).
Now for some pictures:
Note: I alread removed the central optic and Luxeon LED in the following pics.
Opening the head:
I followed these instructions and they worked great. I used 4 coke can shims equally spaced and the ring came right off with minimal effort and no damage.
Pics of the head open:
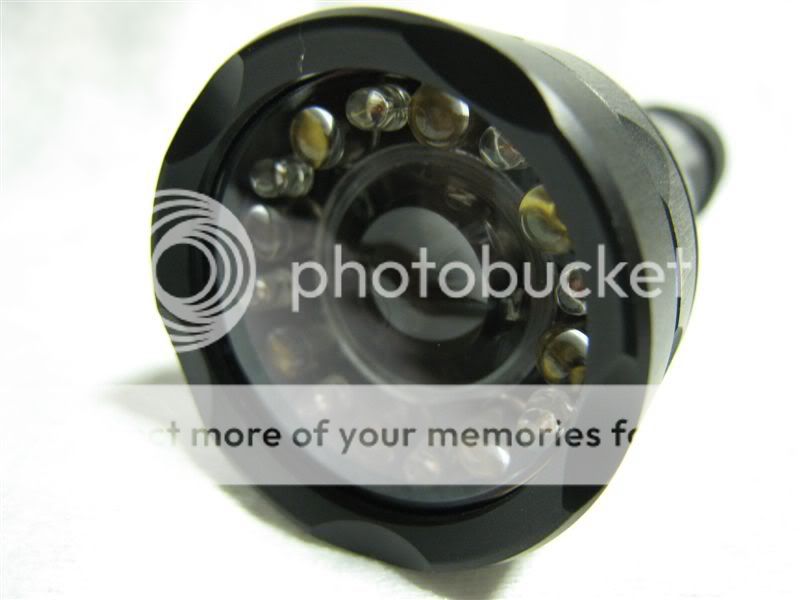
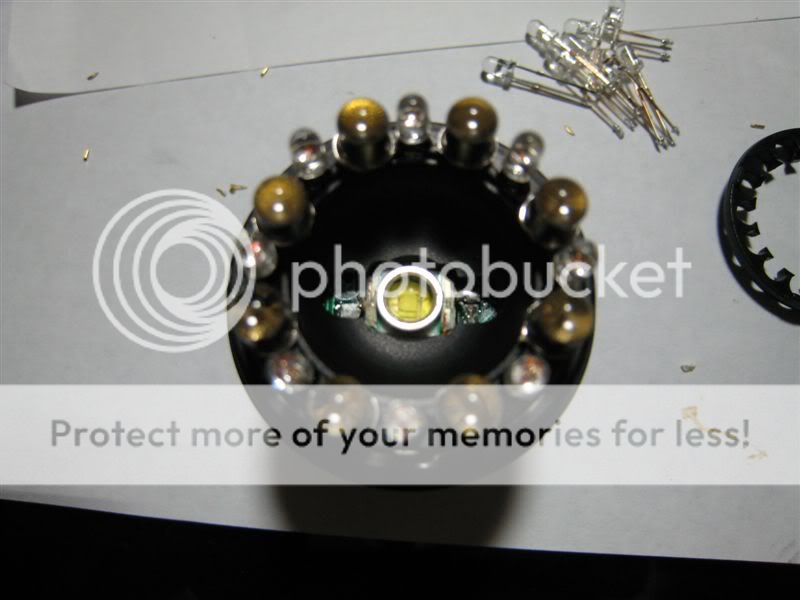
Here is what the head looks like right when you open it
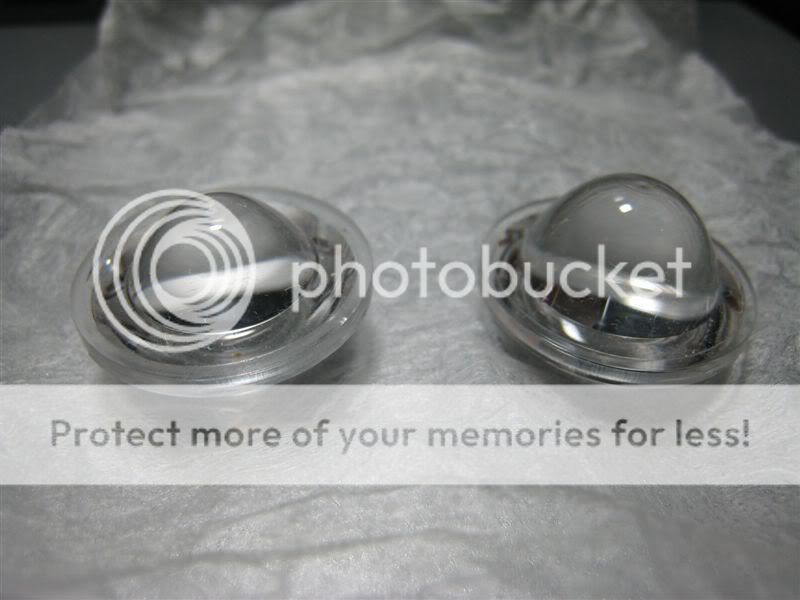
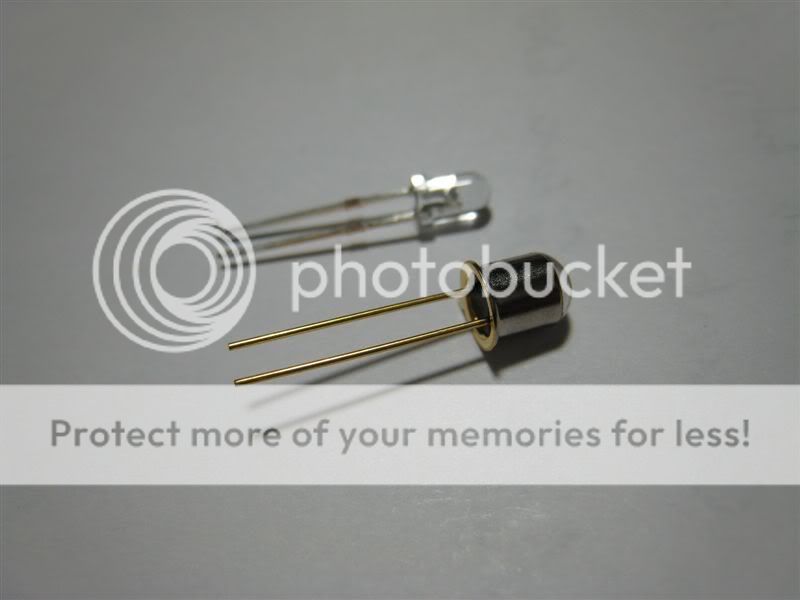
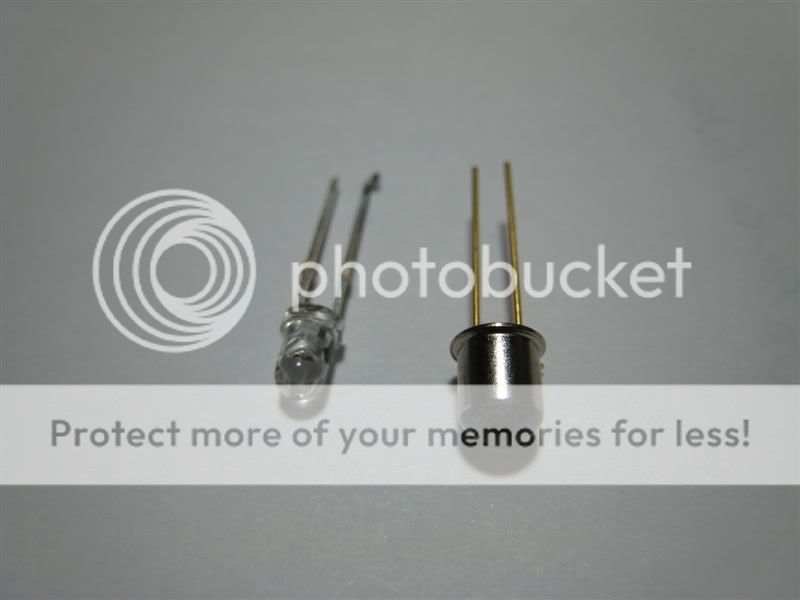
Here is a picture comparing the KL1 (left) and Kroma (right)
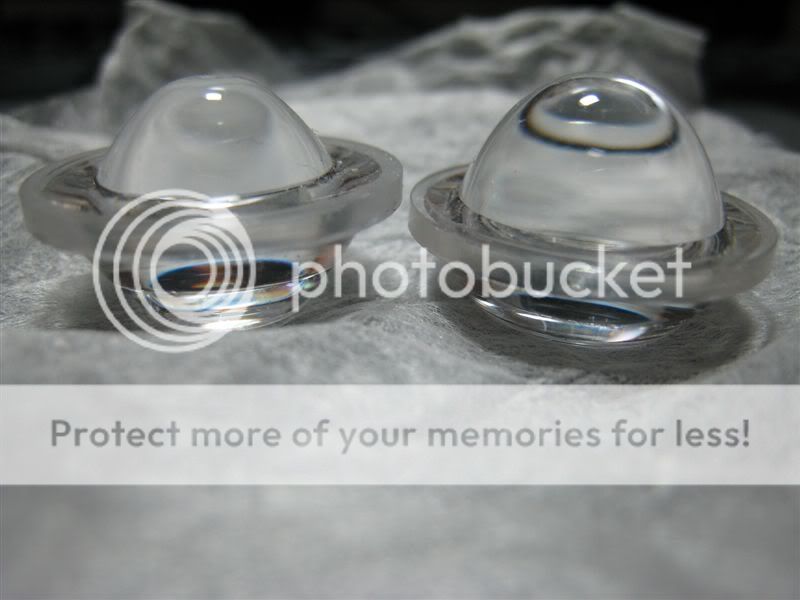
Another:
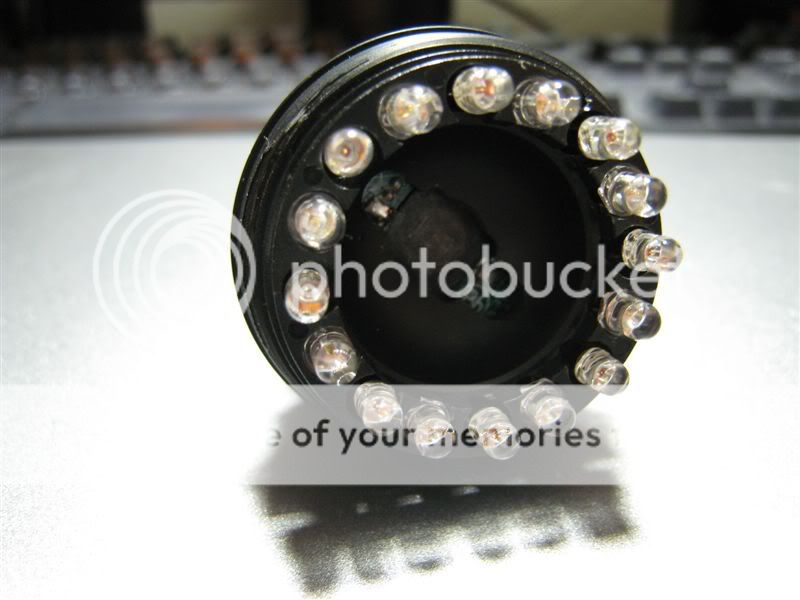
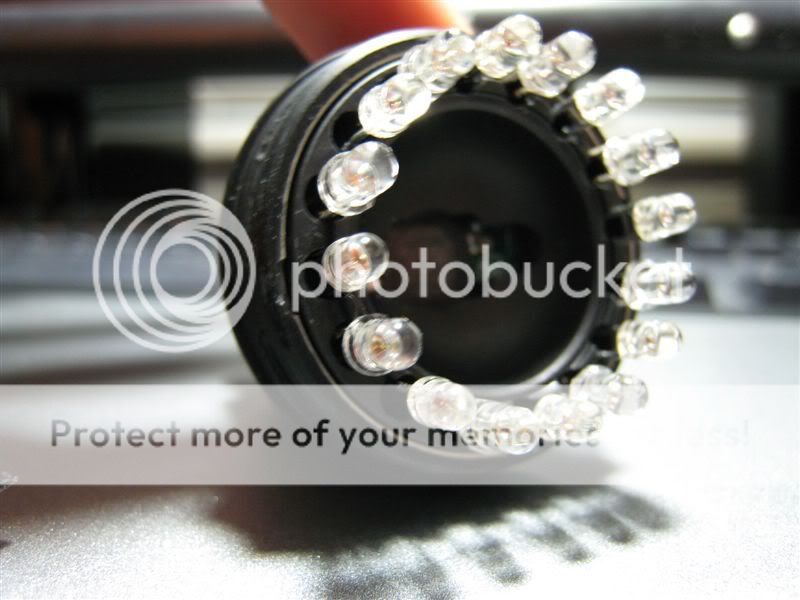
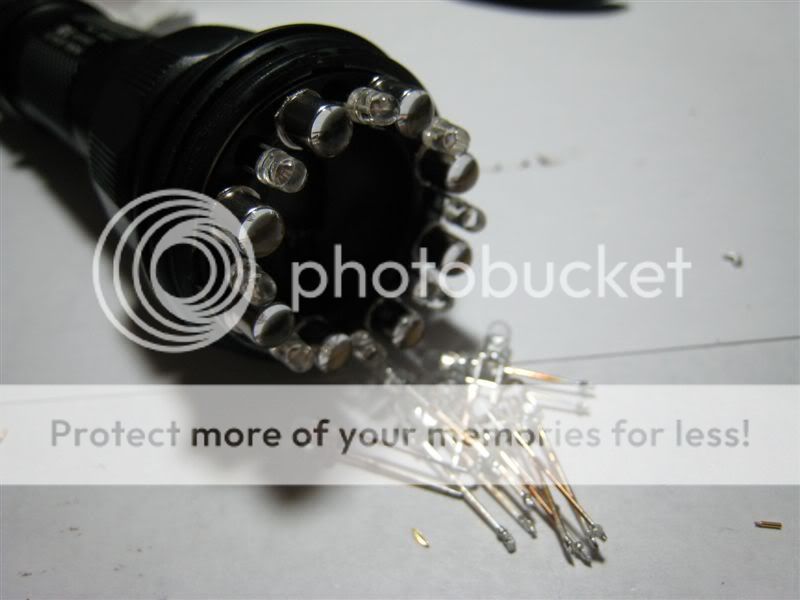
The optic is just free floating, so it should come out easily. You may need to bend some of the 3mm LEDs outward as they kind of hold the optic in place.
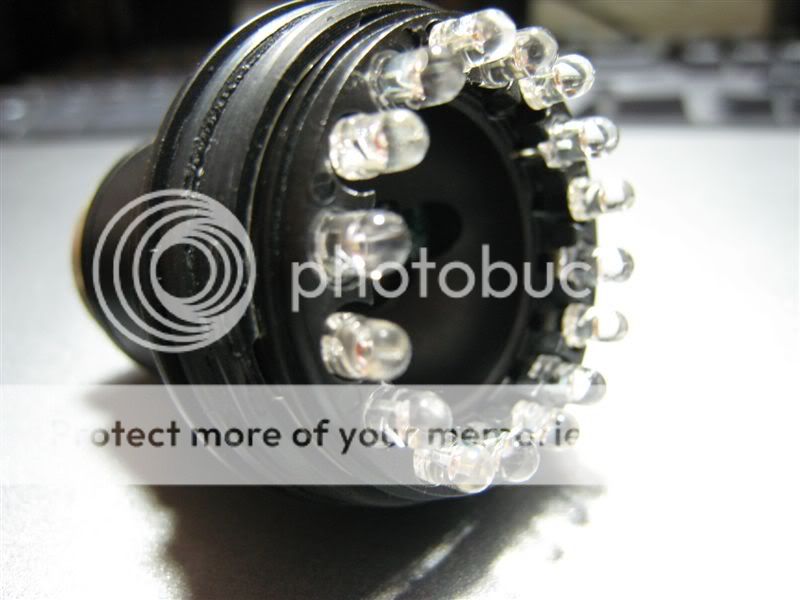
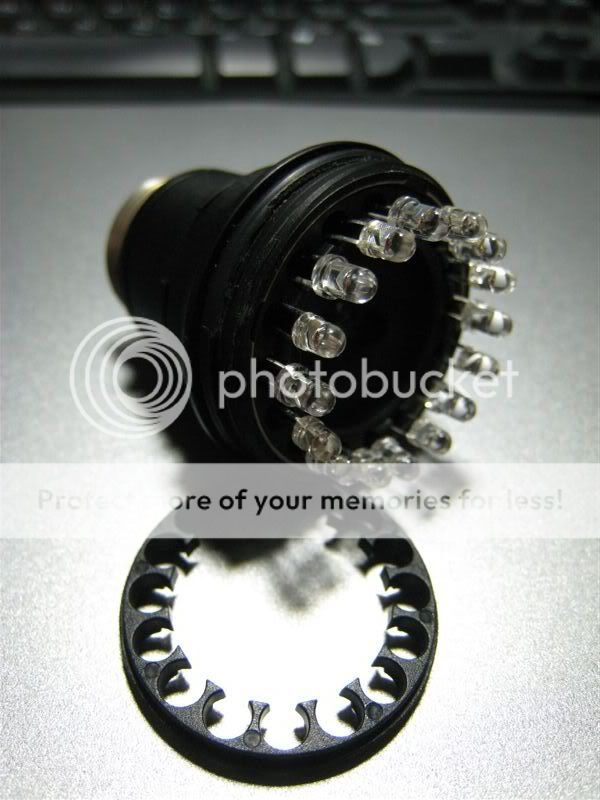
Next, remove the plastic ring that "aligns" the 3mm LEDs
Next, use a small flat-head screwdriver and pry the light engine out of the head. There are 4 slots around the head...just keep going around as it wiggles out. Notice the slot in this picture
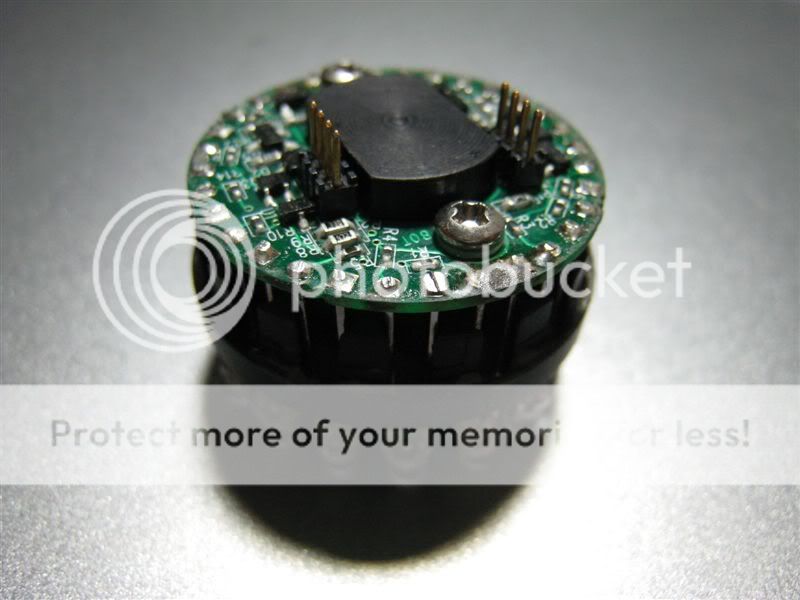
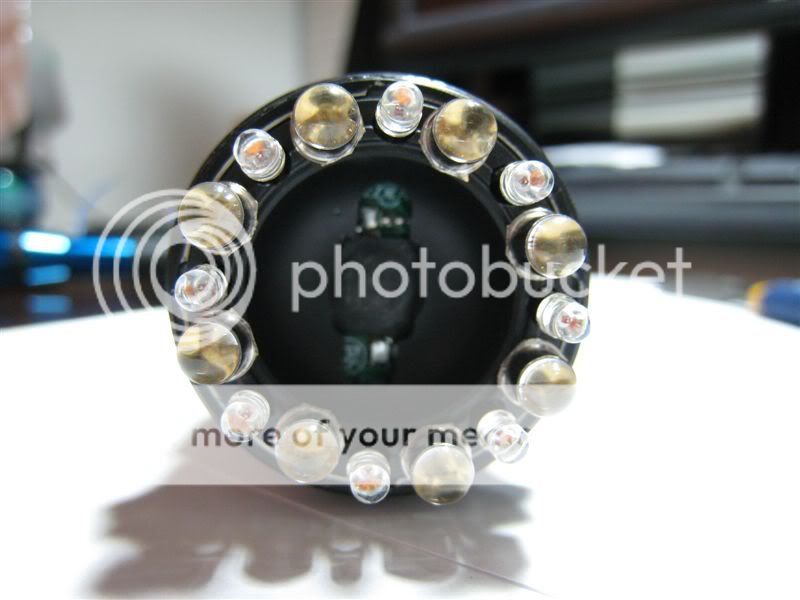
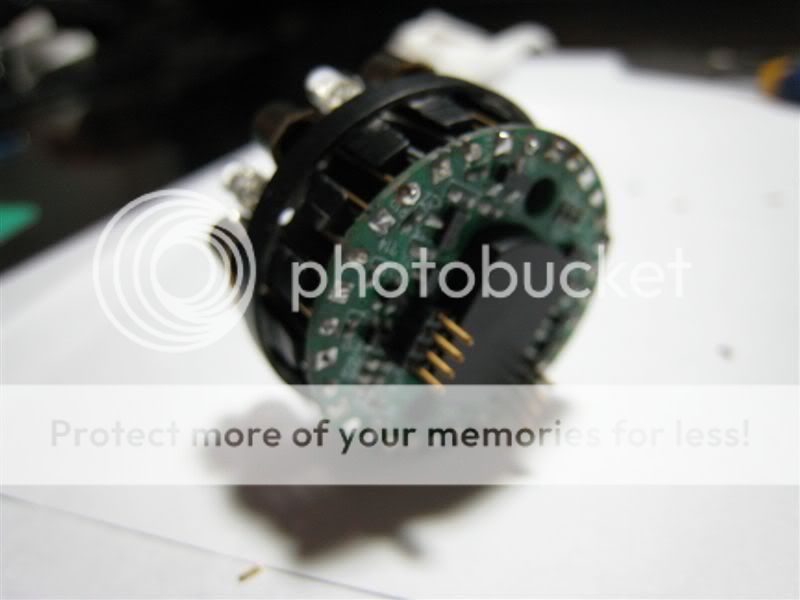
There are 2 circuit boards that attach by 2 sets of pins. As you wiggle out the top piece, you are separating the 2 boards. Here is the bottom of the light engine unit:
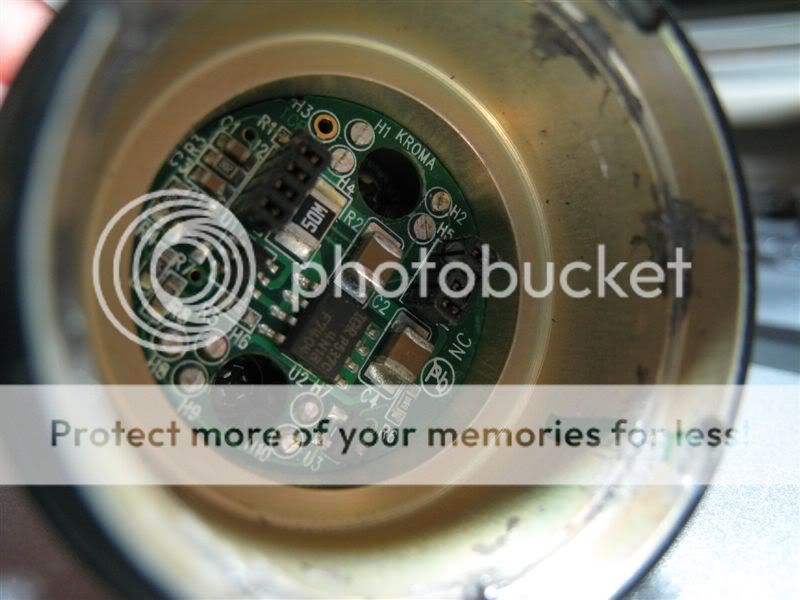
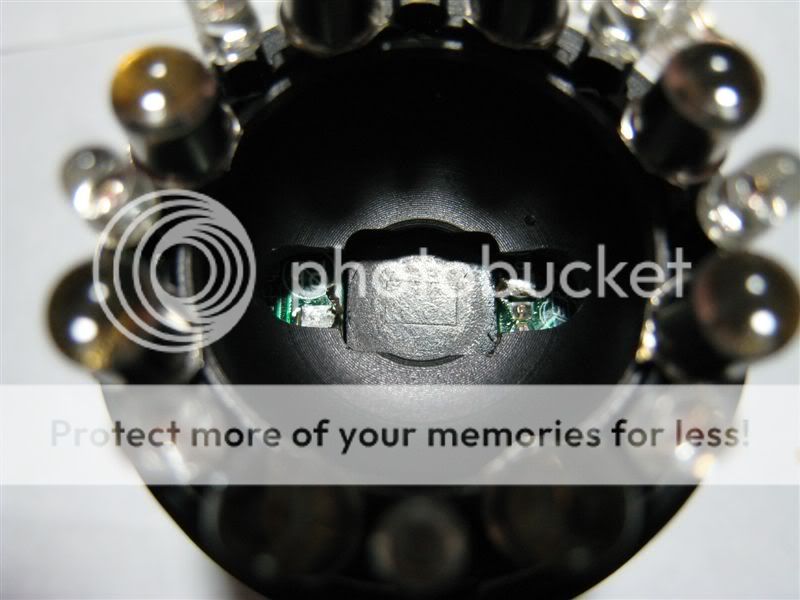
And here is the inside of the head:
Have you ever seen such a complicated circuit layout for a flashlight")
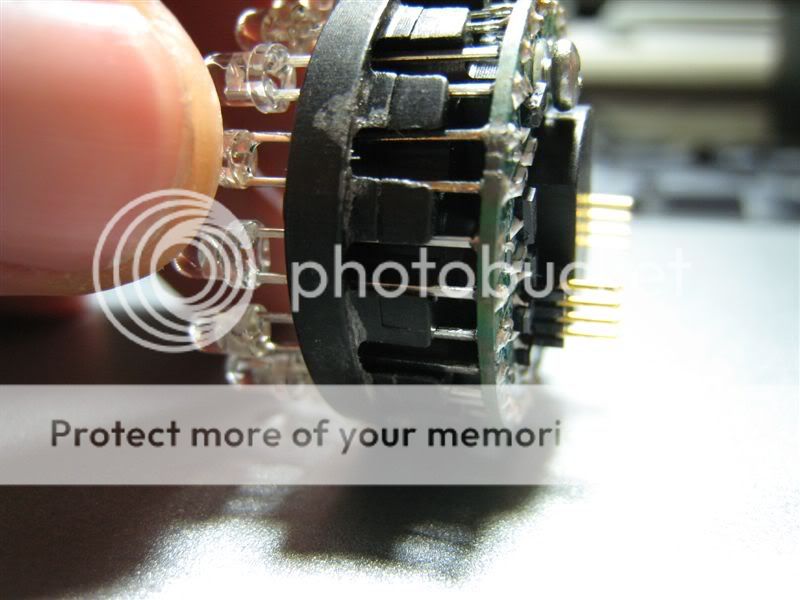
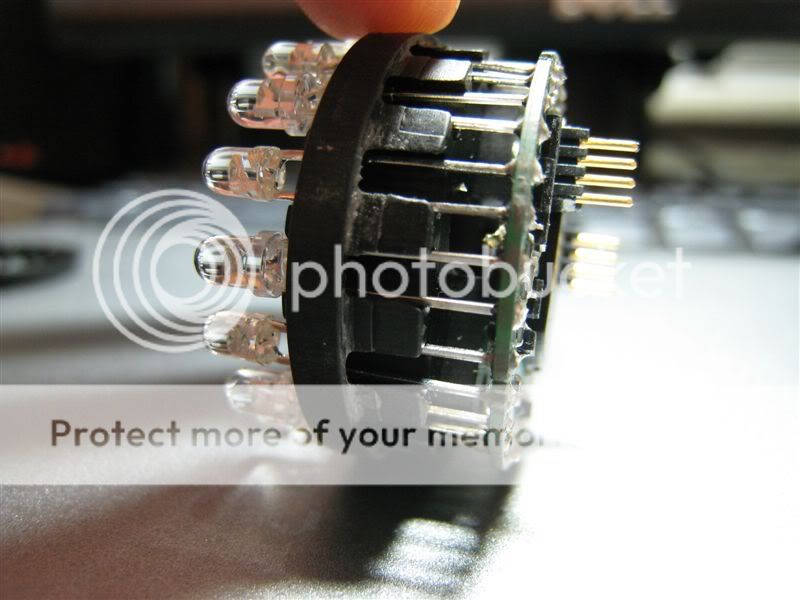
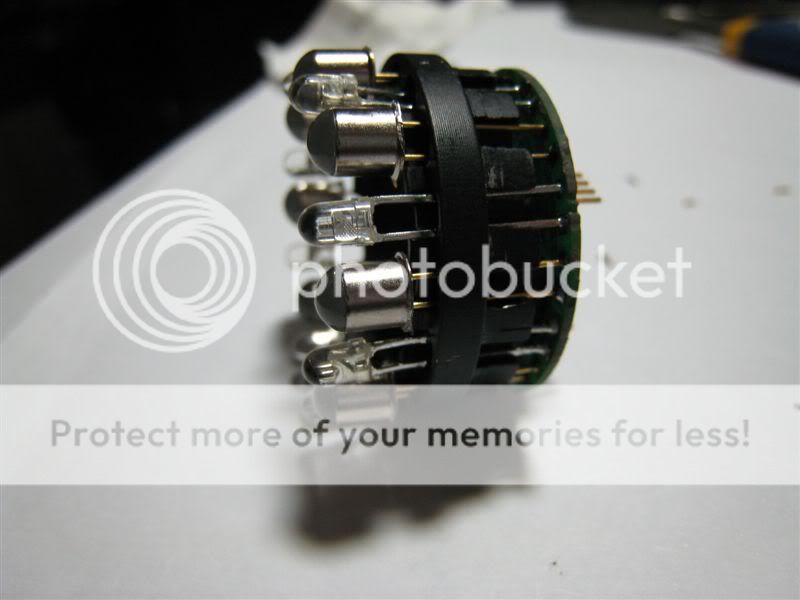
Here are some side shots of the light engine:

And after removing the 2 screws shown above, you can move the heatsink a bit (but you cannot remove it from the circuit board as the blue LEDs won't fit backwards through the holes:
Now a thing to note is that the entire black piece is 1 single chunk of anodized aluminum. I don't even want to know how many steps it takes to machine just one heatsink. It really is an ingenious design. The heat from the main led actually has a large surface area to dissipate. Additionally, the heat will spread to the flashlight head through the outer rings of the heatsink (you can see the gray goop in the shot above of inside the head...that is actually heatsink compound)
Stage 1 of the mod involved swapping the 3mm blue for UV LEDs. Now I am very particular in the LEDs I use...I don't want to throw in any cheap 3mm
A little about the Kroma: I opted for the civilian version, meaning 2 led colors in addition to the white main beam. The light houses 16 3mm LEDs with a distribution of 8 blue and 8 red. The red and blue LEDs are very bright and produce a huge amount of light for only 3mm LEDs. Keep in mind, 3mm LEDs actually use the same die size as the more common 5mm LEDs...they just have less optical plastic and are more floody.
The red LEDs easily light up an entire room on high and are excellent for preserving night vision on low. I decided to keep these LEDs stock as they are a useful color.
The blue LEDs are also extremely bright. Apparently they are useful for tracking blood but I don't have any real use for the color. I decided to switch them to UV leds...tracking body fluids is more my thing
...more on this below.The white led is a luxeon 3 behind an optic similar to the KL1 (note:not KX1). The beam is very interesting with many weird lines and not much of a hotspot. It does not have a similar beam to the old KL1...this light has a lot more spill at the cost of much less throw. I'm actually crazy about throw, so I knew I wanted to do something to improve the beam (besides updating the LuxIII to a modern high power LED).
Now for some pictures:
Note: I alread removed the central optic and Luxeon LED in the following pics.
Opening the head:
I followed these instructions and they worked great. I used 4 coke can shims equally spaced and the ring came right off with minimal effort and no damage.
Pics of the head open:
Here is what the head looks like right when you open it
Here is a picture comparing the KL1 (left) and Kroma (right)
Another:
The optic is just free floating, so it should come out easily. You may need to bend some of the 3mm LEDs outward as they kind of hold the optic in place.
Next, remove the plastic ring that "aligns" the 3mm LEDs
Next, use a small flat-head screwdriver and pry the light engine out of the head. There are 4 slots around the head...just keep going around as it wiggles out. Notice the slot in this picture
There are 2 circuit boards that attach by 2 sets of pins. As you wiggle out the top piece, you are separating the 2 boards. Here is the bottom of the light engine unit:
And here is the inside of the head:
Have you ever seen such a complicated circuit layout for a flashlight
Here are some side shots of the light engine:
And after removing the 2 screws shown above, you can move the heatsink a bit (but you cannot remove it from the circuit board as the blue LEDs won't fit backwards through the holes:
Now a thing to note is that the entire black piece is 1 single chunk of anodized aluminum.
I don't even want to know how many steps it takes to machine just one heatsink. It really is an ingenious design. The heat from the main led actually has a large surface area to dissipate. Additionally, the heat will spread to the flashlight head through the outer rings of the heatsink (you can see the gray goop in the shot above of inside the head...that is actually heatsink compound)Stage 1 of the mod involved swapping the 3mm blue for UV LEDs. Now I am very particular in the LEDs I use...I don't want to throw in any cheap 3mm
Last edited:


 ... :wave: