Work in progress:
beamshots to be added — postponed pending resolution of an issue.


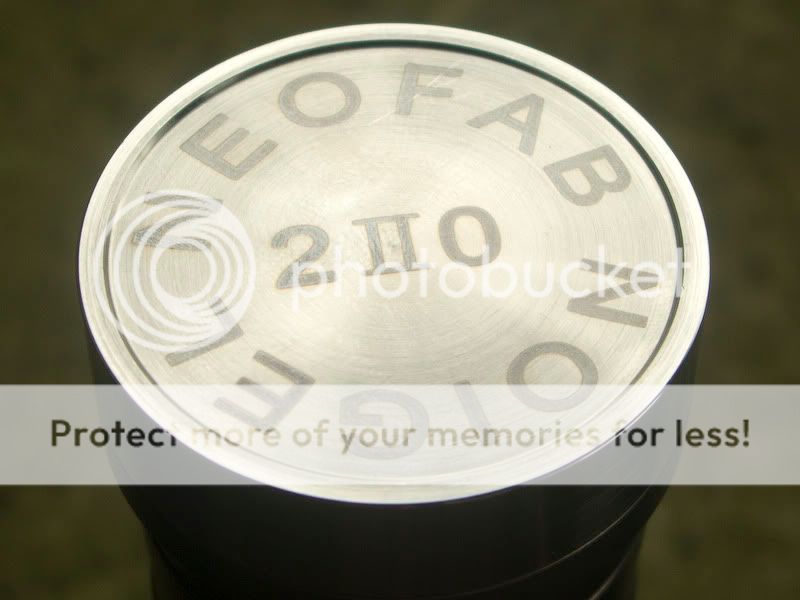
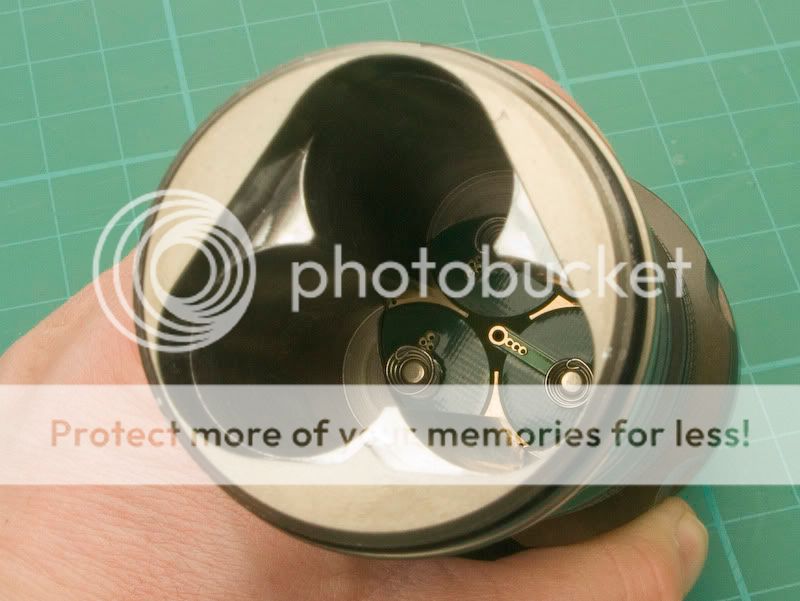
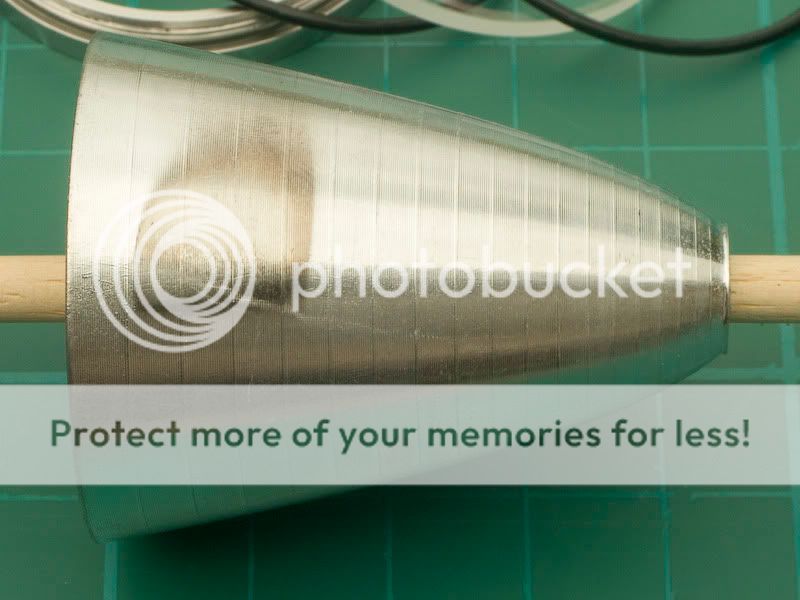
Off centre emitter? — Despite the dice appearing off centre, the reflector aperture is a close fit over the dome. As with the Spartanian II, the reflector is very deep.
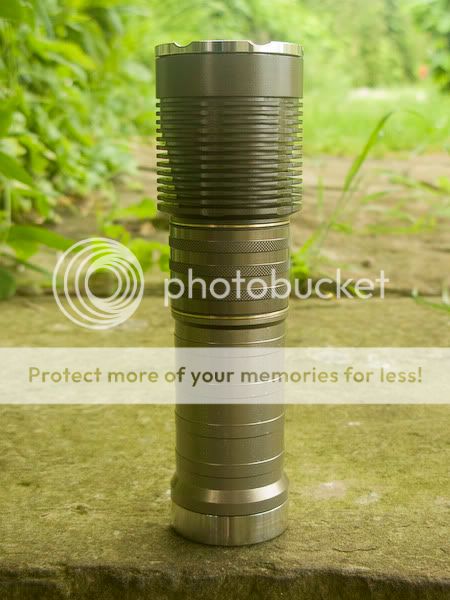
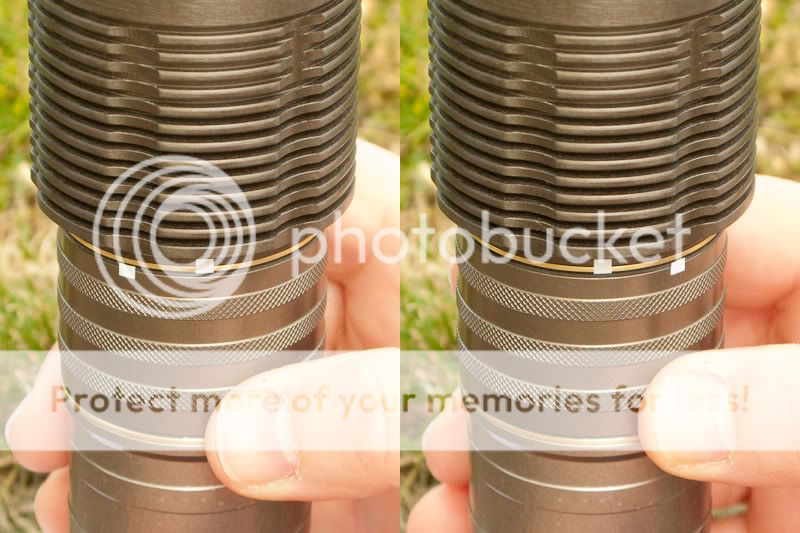
Mismatched HA — Head, control ring and body are all different colours. The body has some flaws in the anodising which are much more apparent in the flesh. While a possible reason has been posted in the pre-order thread, it seems odd that the control ring does not exhibit the same flaws as they would appear to be machined from the same diameter bar stock and would therefore likely originate from the same batch.
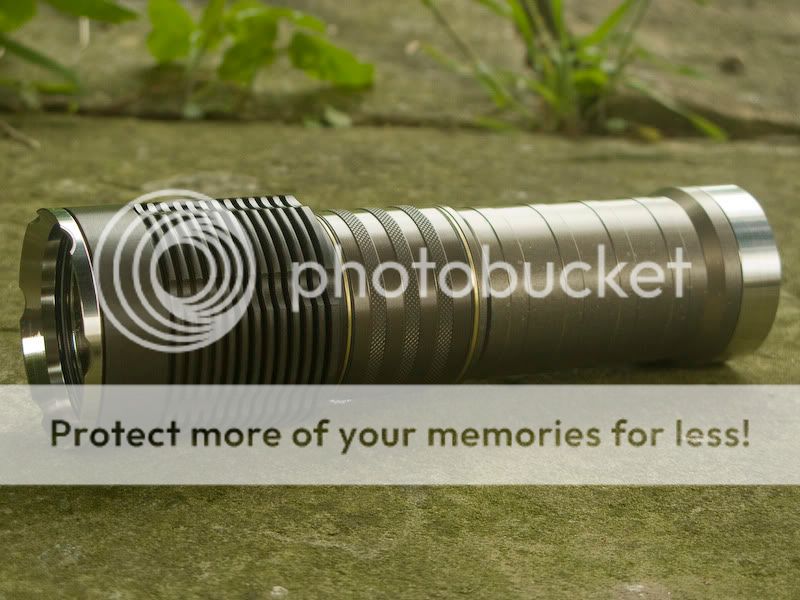
Tail standing — The head appears adequately finned for heat dissipation purposes.

In the hand — The control ring falls easily to thumb and forefinger when used with an underhand grip. When used overhand the ring is much harder, if not impossible, to operate consistently with one hand. The knurling provides adequate grip to rotate the ring.
User interface — The amount of control ring rotation required for switching is not excessive (tape marks added for clarity). Rotating to the right and holding switches on or off after 0.5 sec with a confirmation flicker when latching on, from on a sub 0.5 sec twist and release selects the next brightness level up (5 total). Rotating left gives a momentary action, latching on after 3 sec, again with a confirmation flicker. Rotating left and holding when on accesses the battery meter function, one to six flashes (actually a brief off-on) reflecting the battery state under load from low to high, a sub 0.5 sec twist and release selects the next brightness level down. Both left and right switch on levels can be set by switching on in the desired direction, selecting a level and slackening the tailcap until the light extinguishes. I would like to see some cushioning added to the end-stops as there is an annoying 'clack' when the ring hits them.

Size comparison — L-R Jetbeam Jet-III Pro ST / FM Megalennium with KT4 Turbohead and RPM Ti bezel / Britelumens HA 1D Mag with SSC P7 / Neofab Legion II (Cree MC-E) / 2C Mag ROP with Download stainless bezel and FM tailcap / 2D Mag with Download stainless bezel.

Size comparison — L-R Jetbeam Jet-III Pro ST / FM Megalennium with KT4 Turbohead and RPM Ti bezel / Britelumens HA 1D Mag with SSC P7 / Neofab Legion II (Cree MC-E) / 2C Mag ROP with Download stainless bezel and FM tailcap / 2D Mag with Download stainless bezel.
Attention to detail?

Disassembly
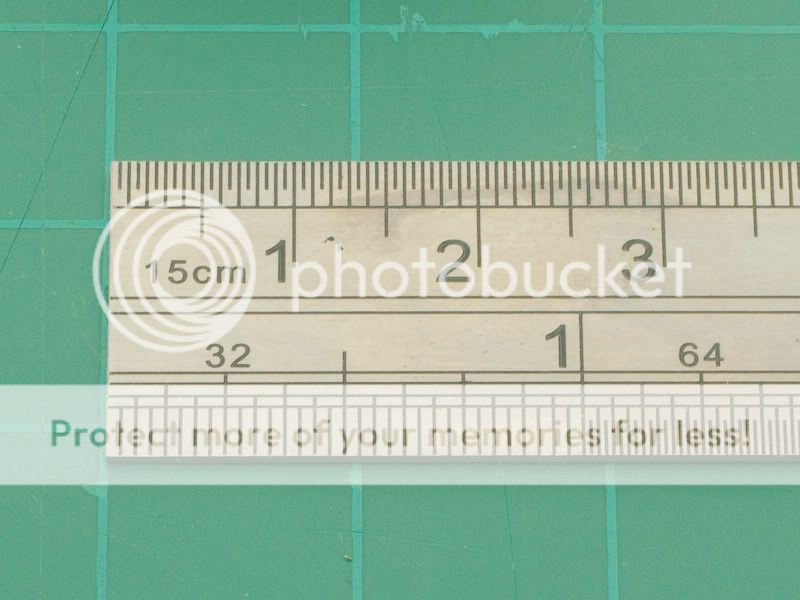
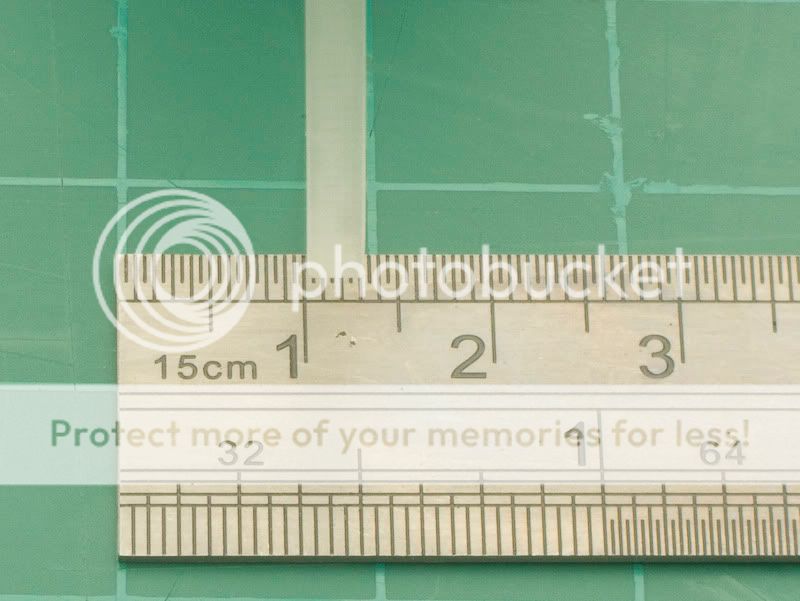
Size reference — Squares are ~12.5mm/0.5in
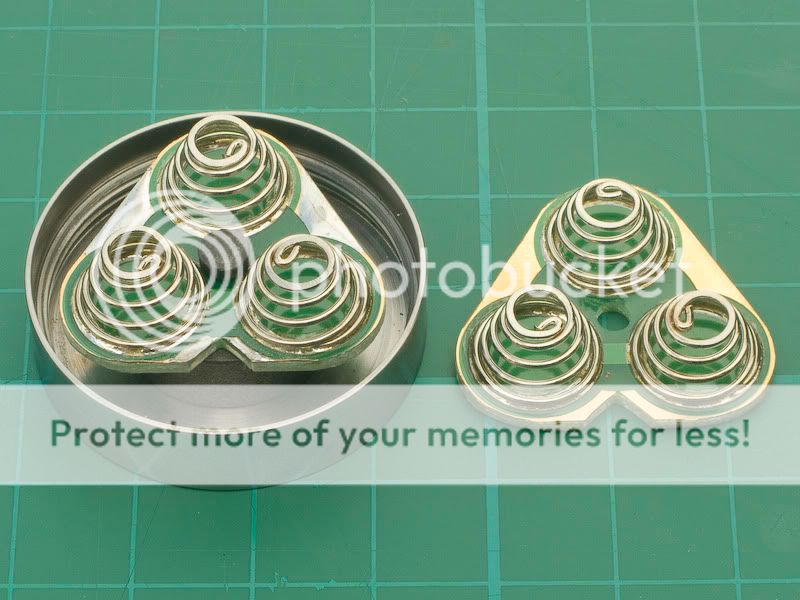
Tailcap — The springs have been modified from the original design by removing the end caps to allow the use of longer cells such as AW's protected 18650. Solder has also been added to the contact areas, the spare contact ***'y on the right has none.
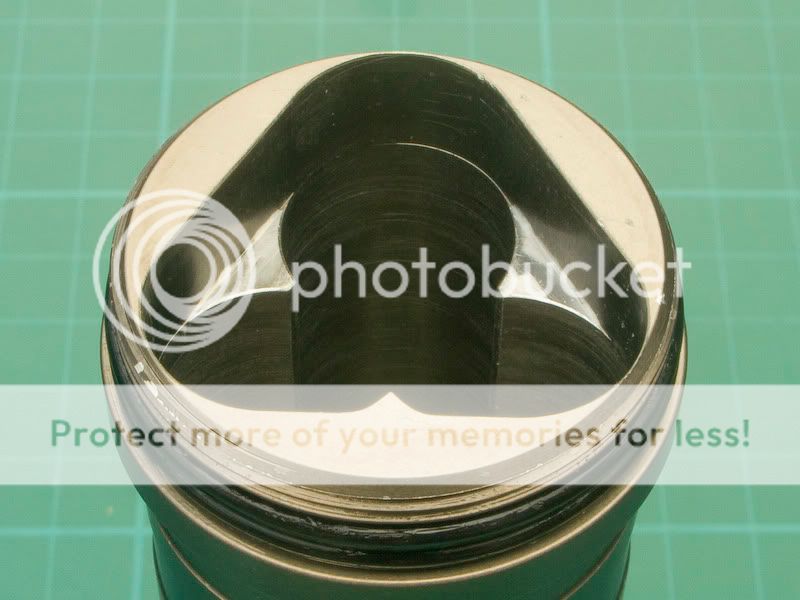
Body — Both AW's protected and IMR 18650 cells are a good fit in diameter terms with no rattle. The sharp point on the lower edge serves as a registration mark, mating with the notch in the contact ***'y to ensure correct orientation. Note there are no markings for cell polarity, this is detailed on a sheet of paper. From the 12 o'clock position clockwise: -ve, -ve and +ve, with respect to the tailcap end not the end of the cell that is inserted into the body.
Inside — The head end contact ***'y has springs to ensure contact is maintained at all times, given the relative strengths of the head and tail springs and degree of compression I suspect that these will seldom be anything other than fully compressed.
Cells — AW's IMR 18650 (left) leaves around 3.5mm for the tail springs to compress into with the front spring fully compressed. AW's protected 18650 (right) only has 1.5mm at the most and results in the tailcap feeling very tight when screwed down all the way, a necessary condition to complete the circuit.
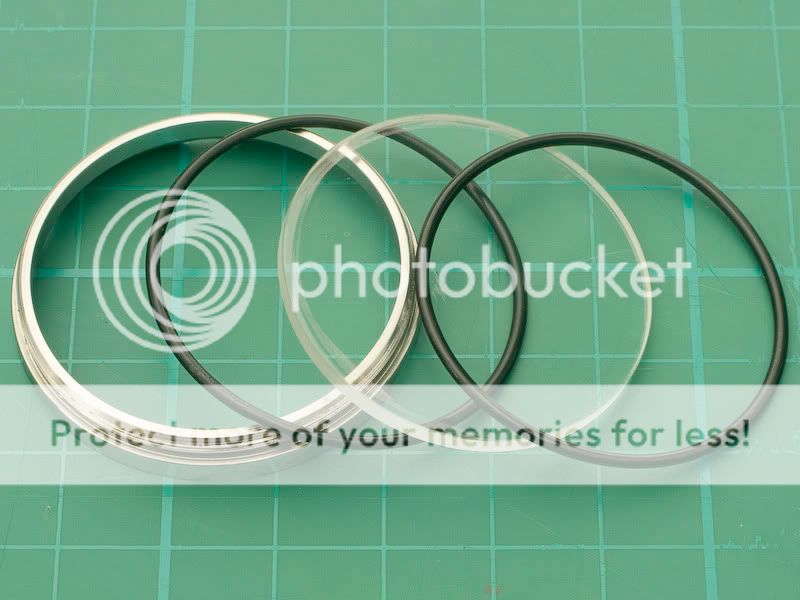
Front end — The thick lens is sandwiched between o-rings. A slight annoyance is that there is no provision for the bezel to trap the o-ring, this tends to result in the o-ring popping out whilst tightening down the o-ring.
Thickness — 3mm AR coated lens.
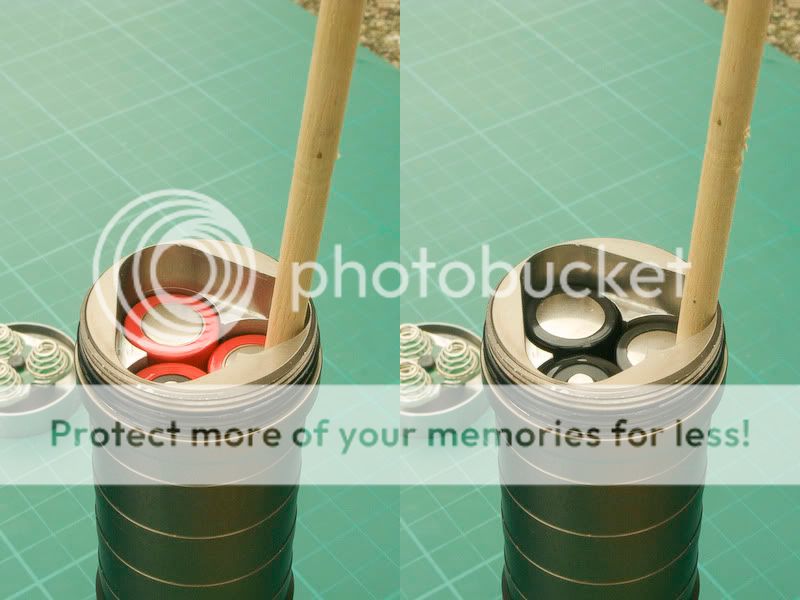
Reflector — At over 55mm the extremely deep reflector extends into the body inside the control ring. I do not have an exact length measurement for reasons which will become apparent.

Orange peel — As noted previously, the hole at the bottom of the reflector is a close fit over the MC-E dome.
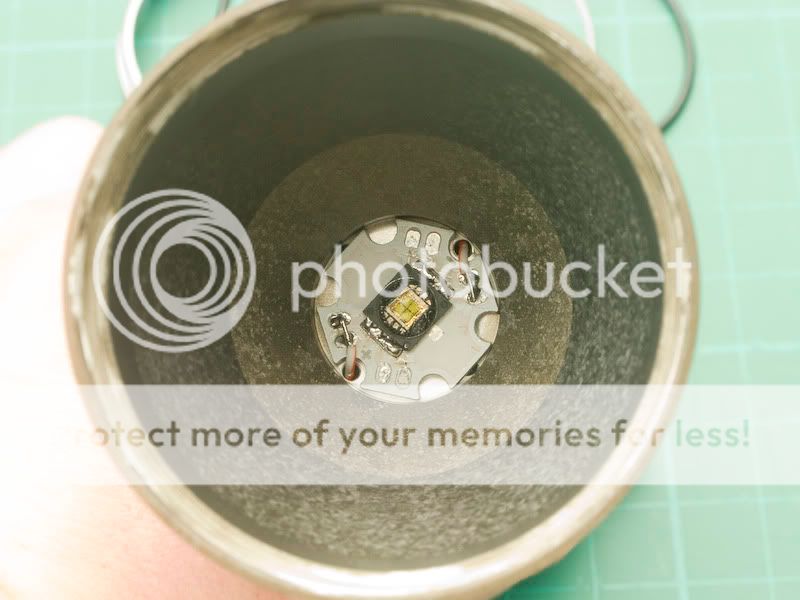
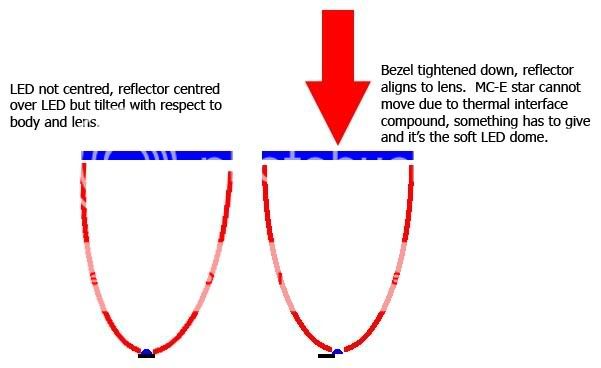
Misaligned — Also noted previously, the MC-E LED is mounted off centre in this example. This has resulted in the reflector cleaving the dome from the LED as it straightened inside the body when the bezel was tightened down. The dome fell into my hand as I tipped the reflector from the head.

Off centre — As can be seen from the remnants of the dome, the LED was seriously misaligned, if the flat area at the bottom of the reflector was removed the dome would still be touching the reflector.
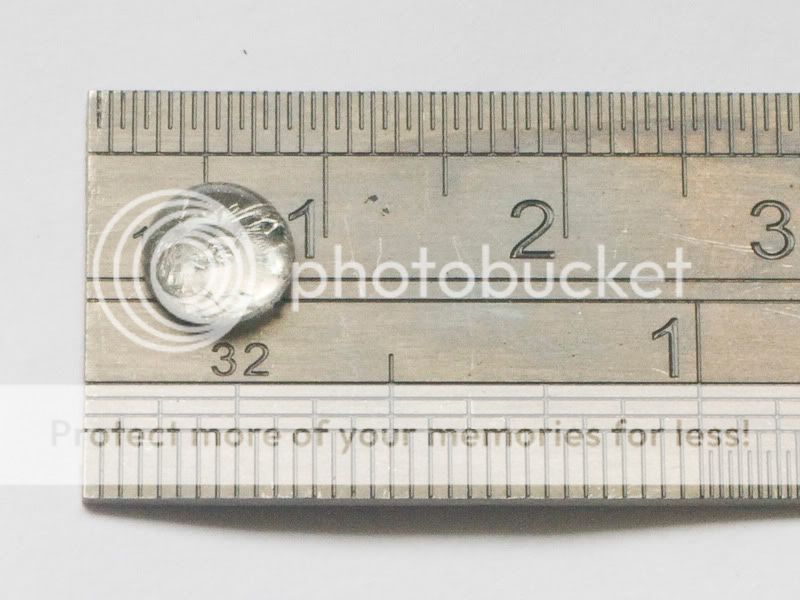
Dome
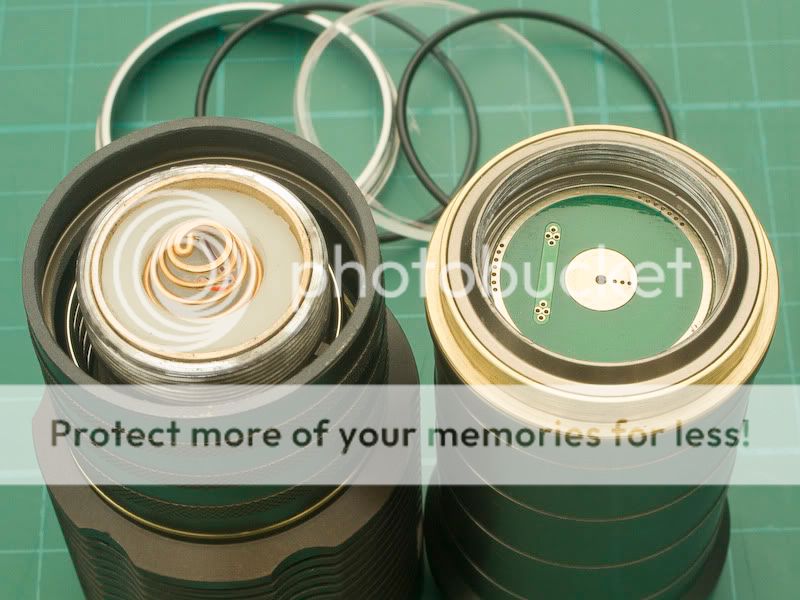
Battery tube — The body splits at the rear of the control ring, a spring makes contact with the centre of the front contact ***'y. None of the threads (Bezel, head/battery tube and tailcap) were lubricated on delivery.
Return spring — The spring tension on the control ring is not too high, I could stand having to use more force to operate the ring.

Control ring — The hole at 6 o'clock picks up the spring, the magnet at 12 operates the switch.

Bearings — At the front and rear of the control ring are two PTFE bearings. On my example, these could be marginally thicker, the ring rattles when shaken due to perhaps 0.5mm of play fore and aft that remains when the body is fully tightened.
Kev.
beamshots to be added — postponed pending resolution of an issue.
Off centre emitter? — Despite the dice appearing off centre, the reflector aperture is a close fit over the dome. As with the Spartanian II, the reflector is very deep.
Mismatched HA — Head, control ring and body are all different colours. The body has some flaws in the anodising which are much more apparent in the flesh. While a possible reason has been posted in the pre-order thread, it seems odd that the control ring does not exhibit the same flaws as they would appear to be machined from the same diameter bar stock and would therefore likely originate from the same batch.
Tail standing — The head appears adequately finned for heat dissipation purposes.
In the hand — The control ring falls easily to thumb and forefinger when used with an underhand grip. When used overhand the ring is much harder, if not impossible, to operate consistently with one hand. The knurling provides adequate grip to rotate the ring.
User interface — The amount of control ring rotation required for switching is not excessive (tape marks added for clarity). Rotating to the right and holding switches on or off after 0.5 sec with a confirmation flicker when latching on, from on a sub 0.5 sec twist and release selects the next brightness level up (5 total). Rotating left gives a momentary action, latching on after 3 sec, again with a confirmation flicker. Rotating left and holding when on accesses the battery meter function, one to six flashes (actually a brief off-on) reflecting the battery state under load from low to high, a sub 0.5 sec twist and release selects the next brightness level down. Both left and right switch on levels can be set by switching on in the desired direction, selecting a level and slackening the tailcap until the light extinguishes. I would like to see some cushioning added to the end-stops as there is an annoying 'clack' when the ring hits them.
Size comparison — L-R Jetbeam Jet-III Pro ST / FM Megalennium with KT4 Turbohead and RPM Ti bezel / Britelumens HA 1D Mag with SSC P7 / Neofab Legion II (Cree MC-E) / 2C Mag ROP with Download stainless bezel and FM tailcap / 2D Mag with Download stainless bezel.
Size comparison — L-R Jetbeam Jet-III Pro ST / FM Megalennium with KT4 Turbohead and RPM Ti bezel / Britelumens HA 1D Mag with SSC P7 / Neofab Legion II (Cree MC-E) / 2C Mag ROP with Download stainless bezel and FM tailcap / 2D Mag with Download stainless bezel.
Attention to detail?
Disassembly
Size reference — Squares are ~12.5mm/0.5in
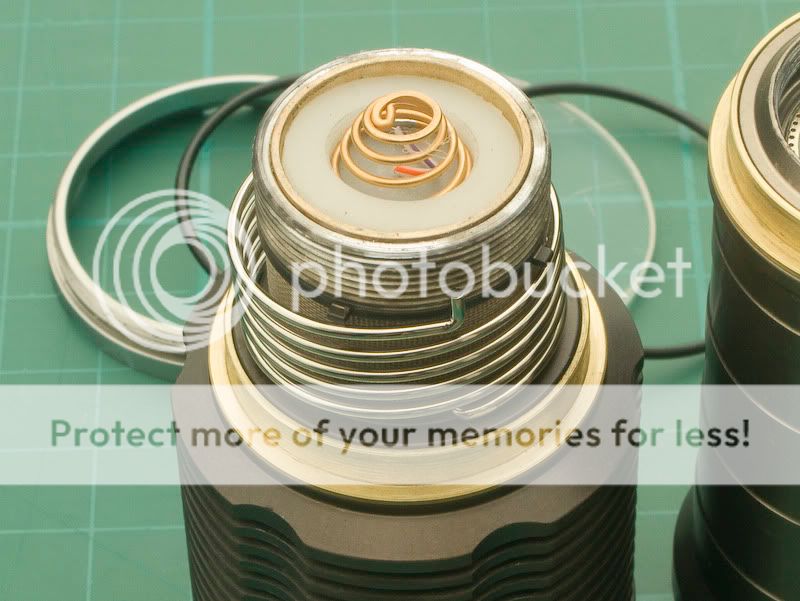
Tailcap — The springs have been modified from the original design by removing the end caps to allow the use of longer cells such as AW's protected 18650. Solder has also been added to the contact areas, the spare contact ***'y on the right has none.
Body — Both AW's protected and IMR 18650 cells are a good fit in diameter terms with no rattle. The sharp point on the lower edge serves as a registration mark, mating with the notch in the contact ***'y to ensure correct orientation. Note there are no markings for cell polarity, this is detailed on a sheet of paper. From the 12 o'clock position clockwise: -ve, -ve and +ve, with respect to the tailcap end not the end of the cell that is inserted into the body.
Inside — The head end contact ***'y has springs to ensure contact is maintained at all times, given the relative strengths of the head and tail springs and degree of compression I suspect that these will seldom be anything other than fully compressed.
Cells — AW's IMR 18650 (left) leaves around 3.5mm for the tail springs to compress into with the front spring fully compressed. AW's protected 18650 (right) only has 1.5mm at the most and results in the tailcap feeling very tight when screwed down all the way, a necessary condition to complete the circuit.
Front end — The thick lens is sandwiched between o-rings. A slight annoyance is that there is no provision for the bezel to trap the o-ring, this tends to result in the o-ring popping out whilst tightening down the o-ring.
Thickness — 3mm AR coated lens.
Reflector — At over 55mm the extremely deep reflector extends into the body inside the control ring. I do not have an exact length measurement for reasons which will become apparent.
Orange peel — As noted previously, the hole at the bottom of the reflector is a close fit over the MC-E dome.
Misaligned — Also noted previously, the MC-E LED is mounted off centre in this example. This has resulted in the reflector cleaving the dome from the LED as it straightened inside the body when the bezel was tightened down. The dome fell into my hand as I tipped the reflector from the head.
Off centre — As can be seen from the remnants of the dome, the LED was seriously misaligned, if the flat area at the bottom of the reflector was removed the dome would still be touching the reflector.
Dome
Battery tube — The body splits at the rear of the control ring, a spring makes contact with the centre of the front contact ***'y. None of the threads (Bezel, head/battery tube and tailcap) were lubricated on delivery.
Return spring — The spring tension on the control ring is not too high, I could stand having to use more force to operate the ring.
Control ring — The hole at 6 o'clock picks up the spring, the magnet at 12 operates the switch.
Bearings — At the front and rear of the control ring are two PTFE bearings. On my example, these could be marginally thicker, the ring rattles when shaken due to perhaps 0.5mm of play fore and aft that remains when the body is fully tightened.
Kev.
Last edited:
")