
PCC
Flashlight Enthusiast
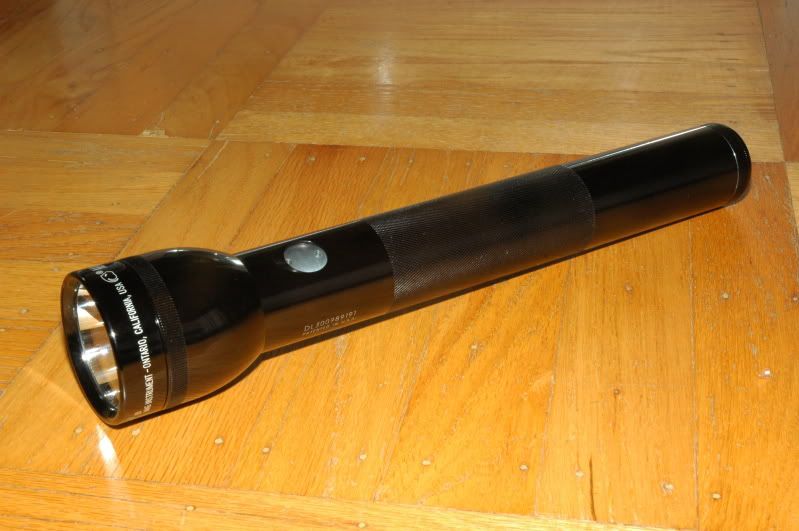
This is a light that I had built for bigchelis. It started out as a simple 3D Rebel MagLED but we had much bigger plans for it. The meager 110 lumens, as measured by bigchelis, just wasn't going to do so I gutted it out and rebuilt it. Sorry, no build pictures but this was a fairly simple build and it is modular so you should get the idea once you've seen the pictures. I'm powering it with a trio of Saft brand NiMH D-sized cells that are spec'd at 9500mAH capacity.
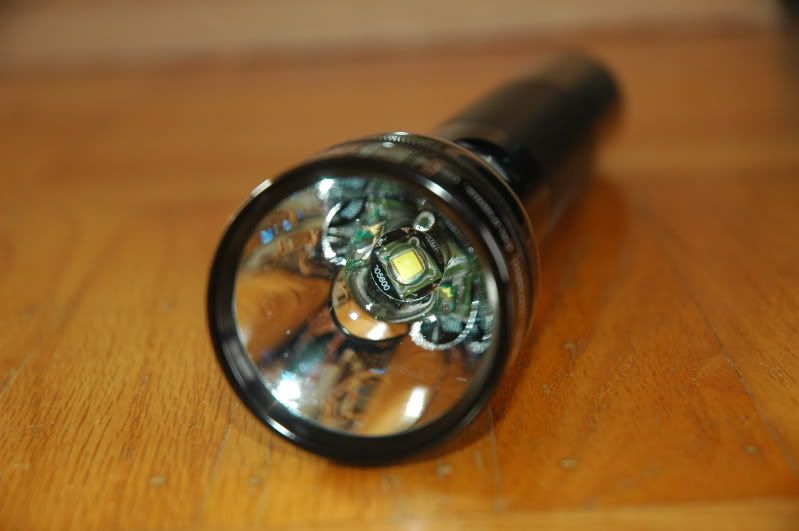
SSR-90, I believe it is SSR-90-W65S-R11-WN. This is the same emitter that LambdaLights uses in his Vara2000 that was measured at 2100 lumens. The stock Rebel reflector was decammed and trimmed by about 1.5mm to adjust the focus.
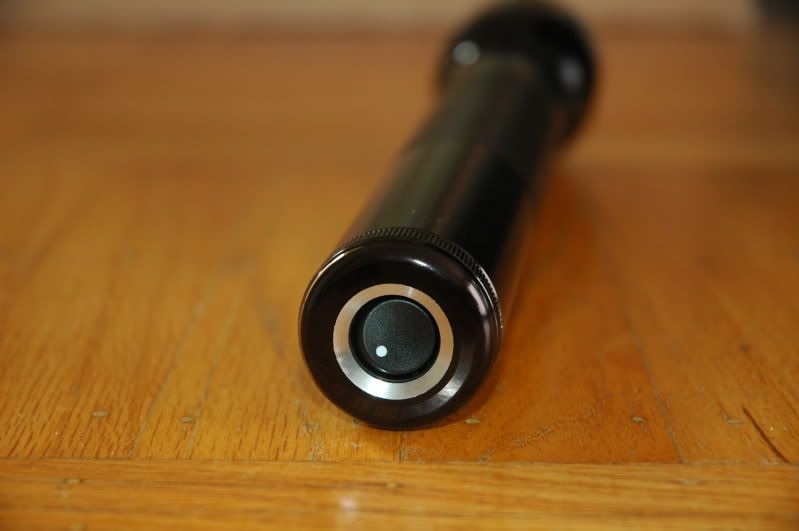
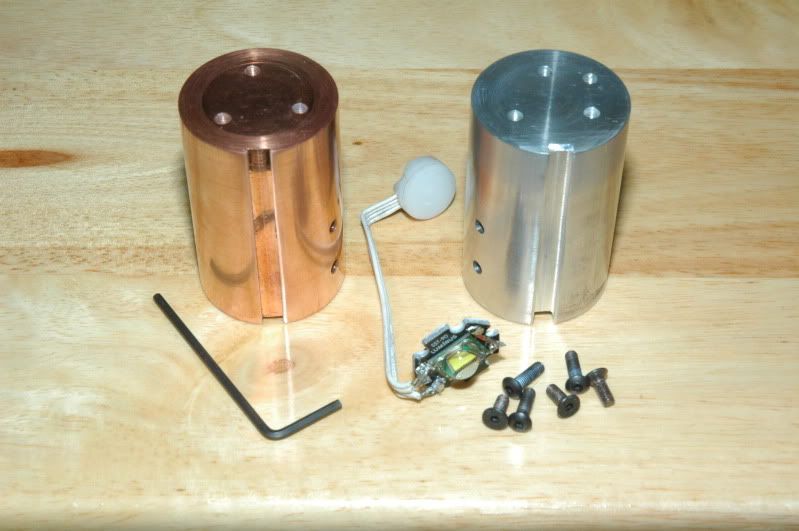
Here is the business end of the light with the head removed.
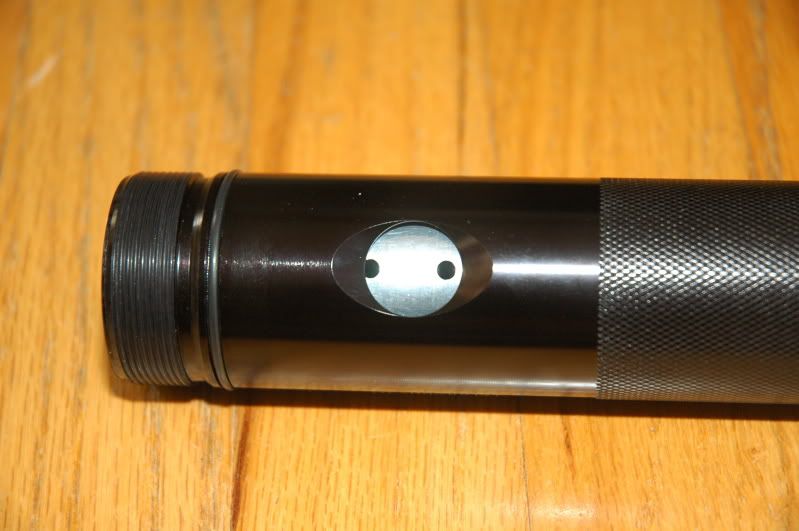
No switch in the usual spot. So, where's the switch?
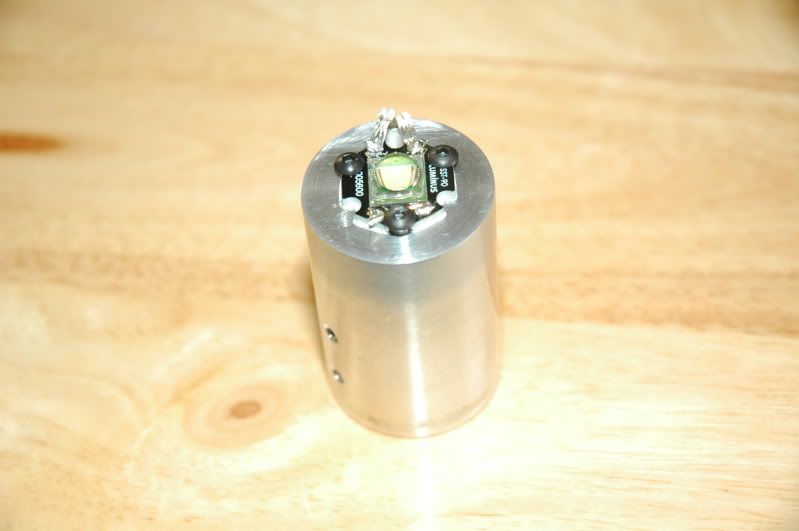
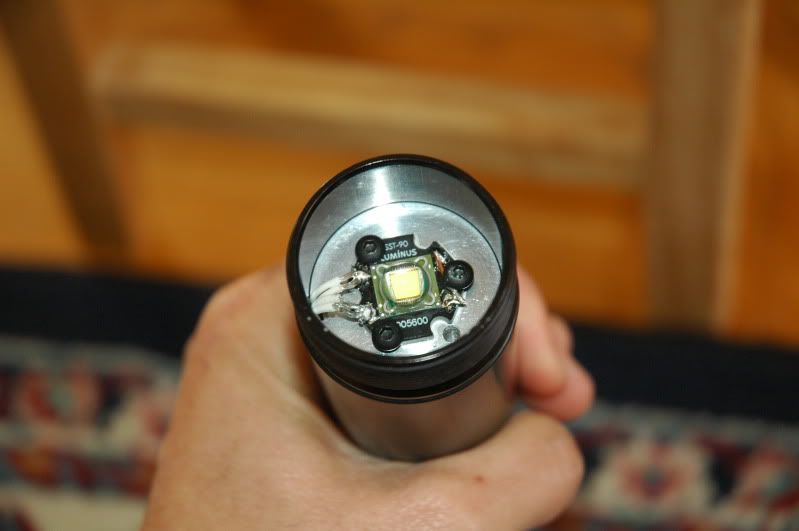
The LED slug. That's 2.25" of 6061 T6 aluminum turned down to make it a friction fit in the Mag tube. I cut a groove down the side of the slug to simplify the wiring. I used a dab of thermal paste between the star and the heatsink.
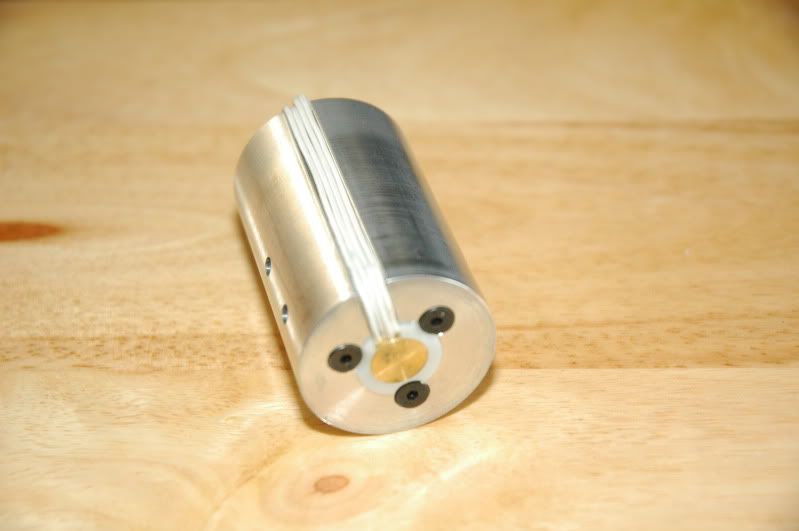
The other end of the LED module. Those are four 24G wires from the positive connector to the positive side of the star. If you don't think that those four thin wires can carry sufficient current to the emitter to drive this at over 10A then let me tell you that four batteries will turn the LED blue with this set up so I believe that it is sufficient for the task.
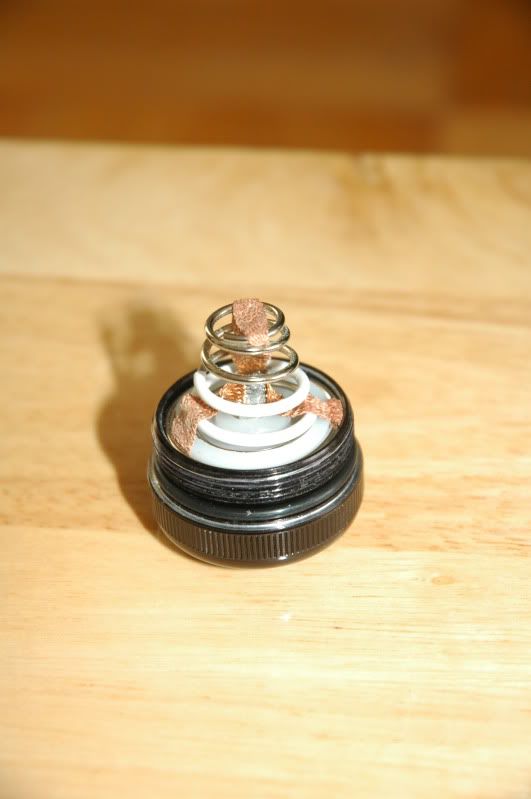
The tail cap switch.
Does this light get hot? Absolutely! After five minutes the head of the light is approaching about 130 degrees F. The light coming out the front of this light is warm, too, unlike other LED lights that I have had experience with (the dual K2 beam also felt warm but not to this degree!). I'm guessing that the batteries are good for about an hour of total run time, though I would not advise that anyone try to run this light for that length of time straight. We ran this light on BC's sphere and it dropped 40 lumens over a 4 minute span but two of the positive wires had popped off at some point so that data is invalid. It made over 1600 lumens on four cells, but, now that I've resoldered the loose wire and have broken in the emitter, the LED turns blue with four cells. I'll need to remeasure this at bigchelis' house this coming Sunday.
Beam shots
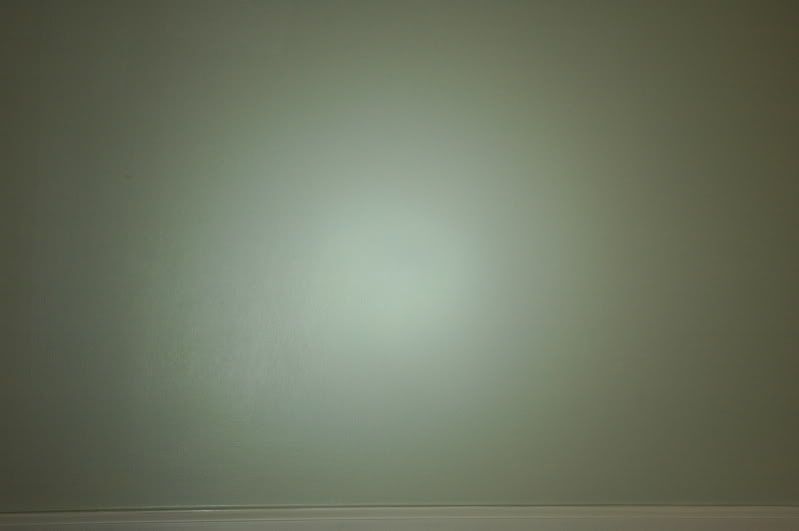
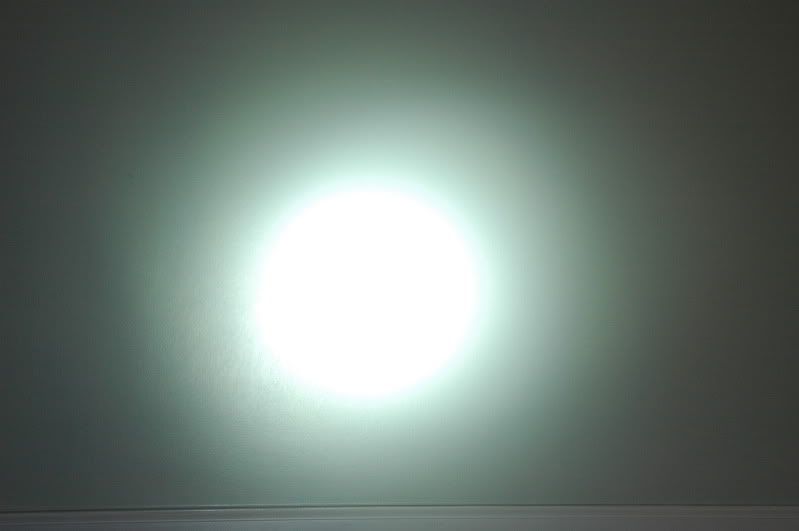
The wall is painted mint green so I don't want to hear any comments about the tints of the lights as being a bit green. The distance to the wall is about six feet. The pictures of the dual K2 were taken on a different day but the SSC P7 Mag and the SSR-90 Mag were taken at the same time. White balance was set to sunlight and ISO is at 640. The dual K2 2C Mag write-up is here and was measured at about 460 OTF lumens when these pictures were taken. The SSC P7 2D Mag is a C-Bin P7 driven by a KaiDomain three level driver at 2.8A and powered by two unprotected 18650 Li-Ion batteries salvaged from a laptop battery pack. It has a diffusing lens on it since the beam is pretty bad without it. Bigchelis measured this one at 500 lumens OTF.
1/500 second @ f/29

SSC P7 2D Mag
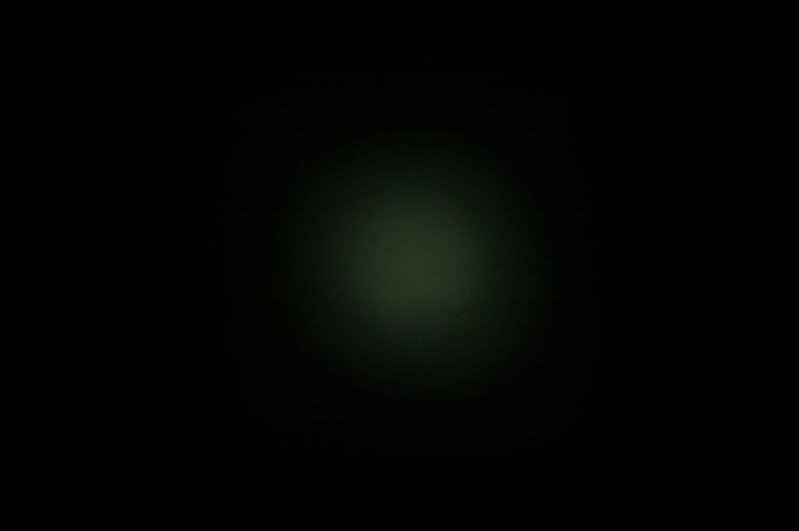
Dual K2 2C Mag
SSR-90 3D Mag
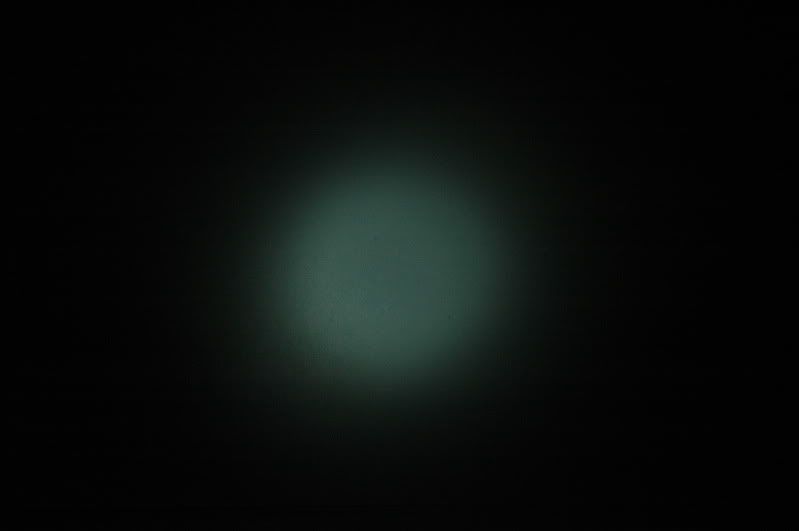
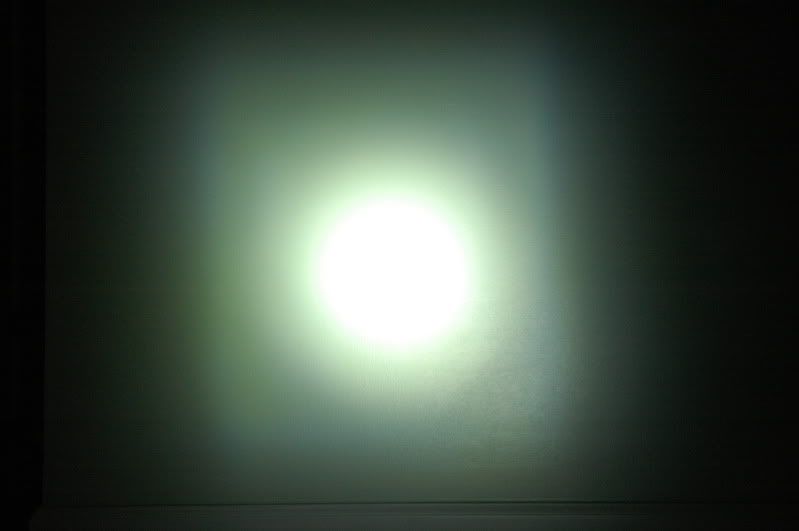
1/500 second @ f/5.6
SSC P7 2D Mag
Dual K2 2C Mag
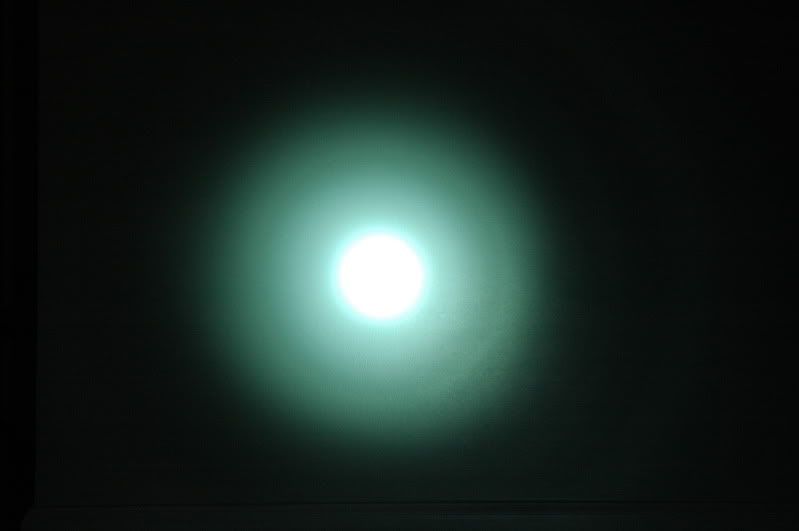
SSR-90 3D Mag - that hot spot is about 7" across
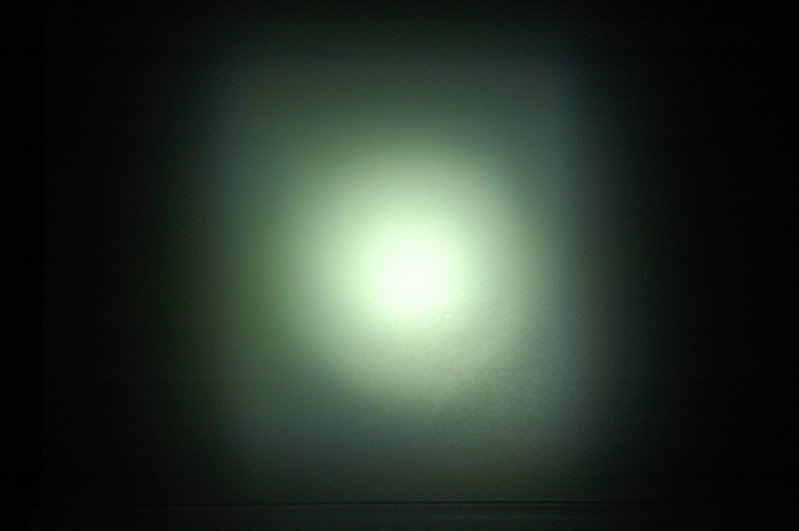
1/250 second @ f/5.6
SSC P7 2D Mag
Dual K2 2C Mag
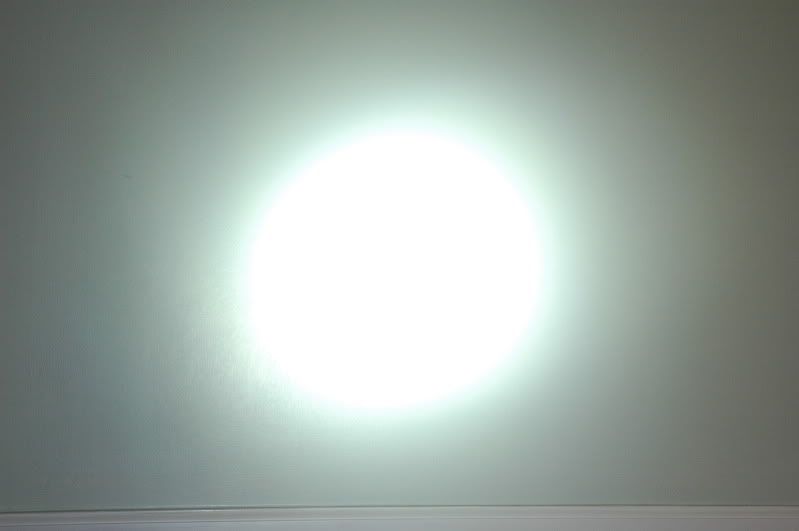
SSR-90 3D mag
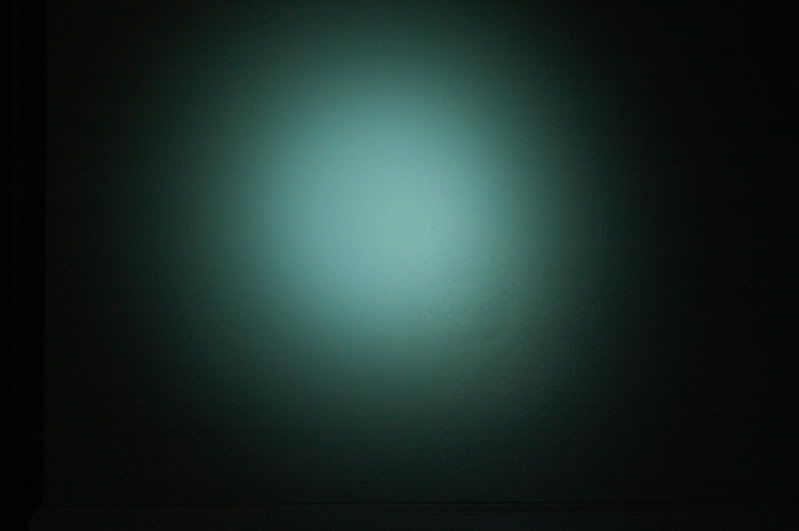
Surefire G2 with ThruNite reflector, XP-G R5, and 700mA driver measured at 210 OTF lumens
Surefire 9N with TLS TX3 head and ThruNite 3-mode 1.5A XP-G pill measured at 270 OTF lumens
This light is really simple, modular, and really puts out a lot of light. It doubles as a hand warmer for the colder climates and the beam itself is quite warm so you can heat up your face while you are waiting for the heatsink to warm up. Just don't look into the beam :huh:

 ......
