How hard can you push the SST-50?

Roland Gama

Newly Enlightened
Joined
Aug 29, 2008
Messages
83
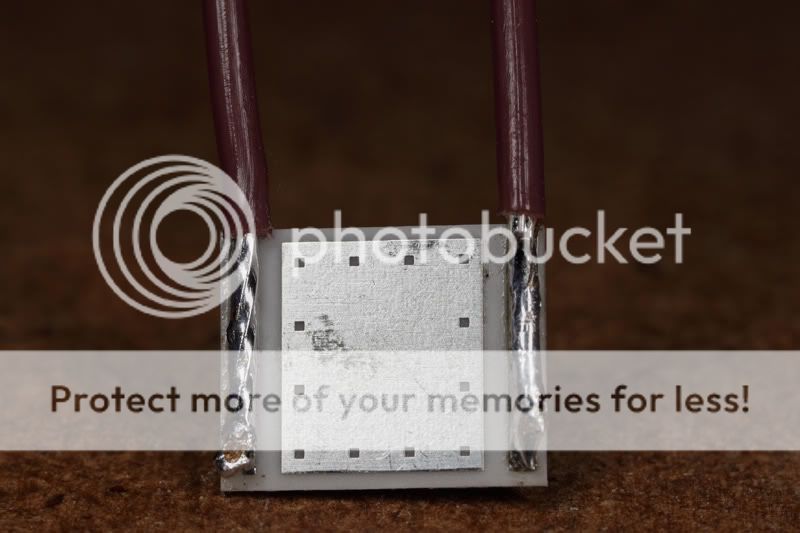
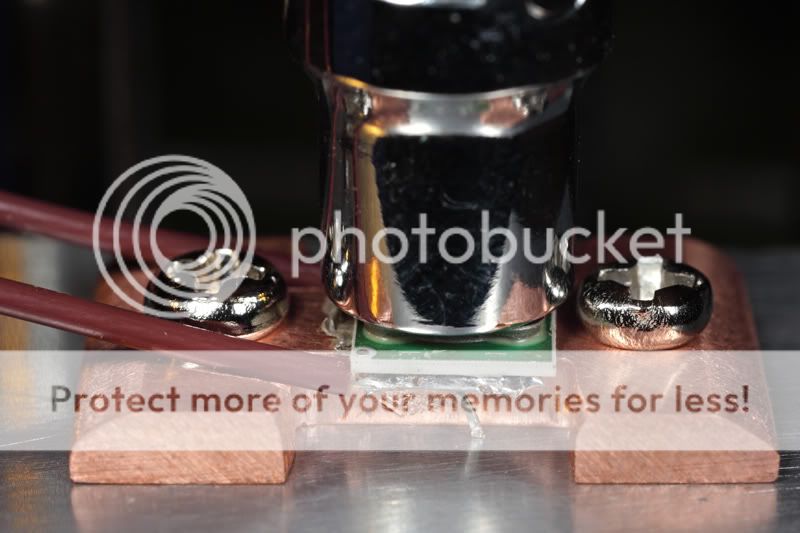
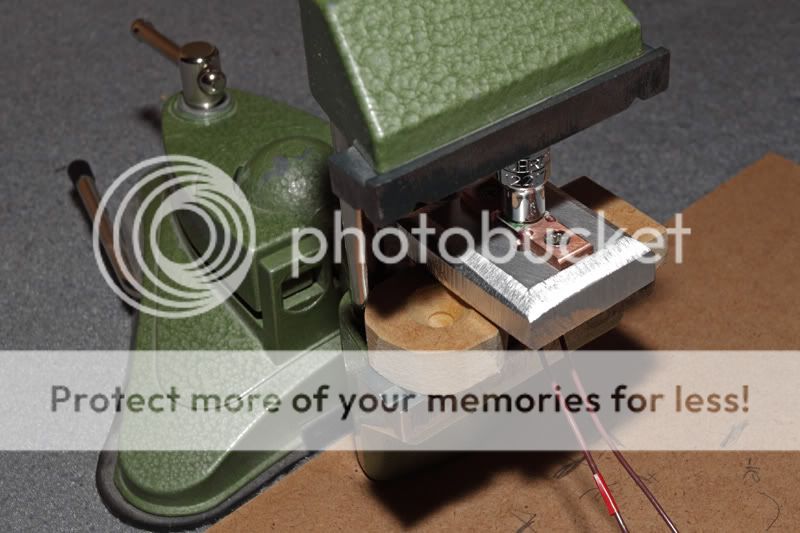
Building an aspheric lens torch using the feilong 80mm lens.
Would the sst-50 survive Der Wichtel's 9 amp driver for short bursts using a copper heat sink?
All views appreciated.
 

LilKevin715

Enlightened
Joined
May 25, 2010
Messages
712
Location
San Diego, CA USA
I don't think the SST-50 would survive past 6 amps, its only rated up to 5 amps. Why not use a sst-90 instead? Perfect match for the 9 amp driver.
 

netprince

Enlightened
Joined
Sep 7, 2008
Messages
547
Just another reference point for you, my sst50 doesn't like going over 5A, and begins to tint shift.
 

mvyrmnd

Flashlight Enthusiast
Joined
Sep 4, 2009
Messages
3,391
Location
Australia
I've just bought one being driven at 5.5A It's right on the edge, and is heatsinked to a lump of copper the size of your fist.

For 9A you really do need to go SST-90.
 

Roland Gama

Newly Enlightened
Joined
Aug 29, 2008
Messages
83
Thanks for your inputs.
I have an SST-90 running at 9.1 amps. but the spot is too big for my liking.
Will stick with 5 amps for the SST-50.
Thanks again.
 

Packhorse

Flashlight Enthusiast
Joined
Nov 29, 2007
Messages
1,912
Location
New Zealand
It will handle 9 amp.

JUST DO IT!!!!!!

( I accept no responsibility for blown emitters or any thing else at all)
 

ma_sha1

Flashlight Enthusiast
Joined
Jan 10, 2009
Messages
3,042
Location
CT, USA
Up to 7.5A no issues at all.
I am building a Franken Mag Cannon SST-50 & will drive it to 9A using the 9A driver. I've tested SST-50 over 10A & SST-90 over 15Amp.

That being said, if not heat sinked perfectly, it'll :poof:

To answer one question above, why not SST-90?
the answer is simply Surface Brightness, which = more throw.

The SST-50 driven to 9Amp will have a surface brightness same as XRE R2 at 1.8 Amp,
I.E. higher surface brightness than the original DEFT (XRE R2/1.6A).
It'll will take SST-90 driven to 16 Amp to match up the surface brightness.
 
Last edited:

netprince

Enlightened
Joined
Sep 7, 2008
Messages
547
ma_sha1: whats your secret? Do you solder or thermal paste the emitter? Do you clamp it when the thermal paste is setting, and if so how? I am curious... I usually just clamp the emitter with my fingers for 10 min, then leave it alone for 60 mins...
 

Chodes

Flashlight Enthusiast
Joined
Jun 5, 2008
Messages
1,092
Location
Australia
Triple SS50 stars on big copper/aluminium heatsink - LEDs handled 5.6A for 20-30 seconds measuring at tailcap. With tailcap fitted (lower resistance) LEDs turned blue I'd say less than 2 seconds. Unknown current obviously.

I have a variable power supply , only 5A though so I can't test to see what current they will handle.
 

Roland Gama

Newly Enlightened
Joined
Aug 29, 2008
Messages
83
The SST-50 driven to 9Amp will have a surface brightness same as XRE R2 at 1.8 Amp,
I.E. higher surface brightness than the original DEFT (XRE R2/1.6A).
It'll will take SST-90 driven to 16 Amp to match up the surface brightness
.
__________________
This has changed my direction. Then I would prefer to use the XRE R2 at 1.8amp with the big aspheric as I want a bright and tight beam.
Thanks Ma_sha1 for the info.

Netprince: I used thermal adhesive for fixing the sst-90 on the heatsink.
Machined a delrin ring to fit over the led and kept it gently pressed on a mini mill while the adhesive set.
 

ma_sha1

Flashlight Enthusiast
Joined
Jan 10, 2009
Messages
3,042
Location
CT, USA
ma_sha1: whats your secret? Do you solder or thermal paste the emitter? Do you clamp it when the thermal paste is setting, and if so how? I am curious... I usually just clamp the emitter with my fingers for 10 min, then leave it alone for 60 mins...

SST-50 bare led, Arctic Silver & use a clamp for 2-3 hrs, critical to have the pressure on until completely set so that the thermo adhesive is as thin as possible. use this method, I can use it at 7Amp. At 8.5Amp, it stats to show blue.


SSR-50 star, Arctic silver on to Copper heat sink, I can get over 10A w/o blue.

I haven't tried solder bare LED to copper directly.
 

CKOD

Enlightened
Joined
Aug 3, 2010
Messages
708
Putting together my SST-90 light, I used the cap from an x-acto knife to slip over the dome and push on the base without applying pressure to the dome. I could clamp it with a bar clamp then. find a pen cap, marker cap etc... that will fit over the dome just right then use that when you clamp it down.
 

Techjunkie

Enlightened
Joined
Nov 16, 2007
Messages
943
Location
in the brightly lit suburbs of NYC (Long Island)
I'm using Arctic Silver and SST-50s on aluminum stars mounted with screws, which is arguably the best heatsinking you can get short of soldering the emitter directly to a copper sink, and I still notice tint shift and slight spill dimming at >=5A. Granted, the SST-50s I use are the warmer 4500K variety, so it's possible that the shift is either more noticible considering the target color or that the top-bin cool white can withstand higher drive currents than the 4500K. Personally, I think that 4.5A is the sweet spot for the SST-50. It seems that with every 100mA higher than that, more of the additional power goes to generating heat than light. Playing with these has given me a new apprecaition for how awesome the overdrive capability of the CREE XR-E really is.
 

Chodes

Flashlight Enthusiast
Joined
Jun 5, 2008
Messages
1,092
Location
Australia
I just had a LED mount fail - arctic silver bare LED to copper , held for 15 mins then clamped for 3 hours. Thought I did everything right , careful preparation , lucky LED fell off only driving at 1.5A.

Had it on a piece of aluminium just to test reflectors , also to test what current it can take. I noticed a bare patch on the copper with no arctic silver matching the dirty mark on the base of the LED but there was plenty left so should not have fallen off due to that. Lucky it did , would have been missing some contact area.

Have redone it , hour and a half in the vice so far...might get to test max current tomorrow.

_MG_5992.jpg


That's some arctic silver oozing out undeneath
_MG_5999.jpg


Next try..
_MG_6016.jpg
 

netprince

Enlightened
Joined
Sep 7, 2008
Messages
547
Chodes: Perhaps I misunderstood what you mean by 'held for 15 minutes', but I would think you should not adjust the clamping pressure after only 15 minutes. The epoxy has only begun to setup at that point.

I think you might have better luck going straight to your clamp. I started by holding mine by hand but thats just because I didn't setup a nice clamping system like yours...

EDIT: Just noticed you said 'arcitc silver', nevermind my post if your not using epoxy...
 
Last edited:

MikeAusC

Enlightened
Joined
Jul 8, 2010
Messages
995
Location
Sydney, Australia
The best Thermal compounds have resistivity TEN TIMES higher than solder and FIFTY TIMES higher than copper.

I would ONLY use solder over such a tiny area that's carrying all the heat.


This test confirms you can get by with more current where the LED is soldered -
"SST-50 bare led, Arctic Silver , . . . At 8.5Amp, it starts to show blue.

SSR-50 star, Arctic silver on to Copper heat sink, I can get OVER 10A w/o blue. "
 
Last edited:

Chodes

Flashlight Enthusiast
Joined
Jun 5, 2008
Messages
1,092
Location
Australia
Chodes: Perhaps I misunderstood what you mean by 'held for 15 minutes', but I would think you should not adjust the clamping pressure after only 15 minutes. The epoxy has only begun to setup at that point.

I think you might have better luck going straight to your clamp. I started by holding mine by hand but thats just because I didn't setup a nice clamping system like yours...

EDIT: Just noticed you said 'arcitc silver', nevermind my post if your not using epoxy...

Arctic Silver 2 Part Thermal Adhesive is what I used.
The 2nd attempt definitely stuck , I used a little too much clamping force though , 1 dead SST50 :(

I think I will use stars screwed to heatsink in future , while the star seems like extra two extra heat transfer areas the ability to easily apply pressure via screws may outweigh the disadvantage.
 

MikeAusC

Enlightened
Joined
Jul 8, 2010
Messages
995
Location
Sydney, Australia
I think I will use stars screwed to heatsink in future , while the star seems like extra two extra heat transfer areas the ability to easily apply pressure via screws may outweigh the disadvantage.

But a star also has the advantage of solder (thermal conductivity around 50) over the small area behind the LED, rather than thermal compound (thermal conductivity around 5).
 

Chodes

Flashlight Enthusiast
Joined
Jun 5, 2008
Messages
1,092
Location
Australia
But a star also has the advantage of solder (thermal conductivity around 50) over the small area behind the LED, rather than thermal compound (thermal conductivity around 5).

That never seems to get mentioned in the tech talk comparing stars to bare emitters. (Seems logical) I'd guess the factory solder job is fairly consistent while my home jobs vary considerably.
With that copper mount plate I have made , I am tempted to try soldering an SST50 directly to it. Not willing to risk an expensive 90.
Maybe 2 person/ 2 iron job?
Reason for me wanting to try bare emitters is to give more clearance for optics / reflectors.
Going to make a jig so I can mount the bare emitter on ,my copper plate and just place the LED on so it will be centred , I can clamp immediately.
 
Top