
ti-force
Flashlight Enthusiast
Some of you may have already seen the Quark 123-2 XM-L mod. If so, this is basically the same procedure, just in a larger light. If not, click here. CPF members Fichtenelch, RecDNA and MrGman talked me into this mod  ...........
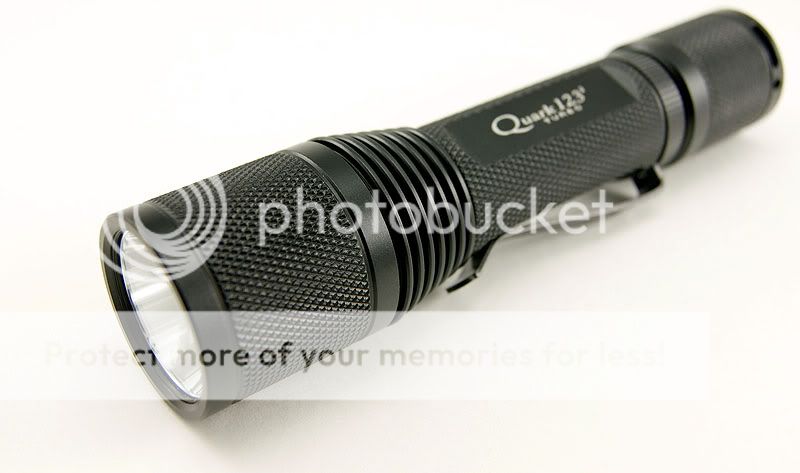
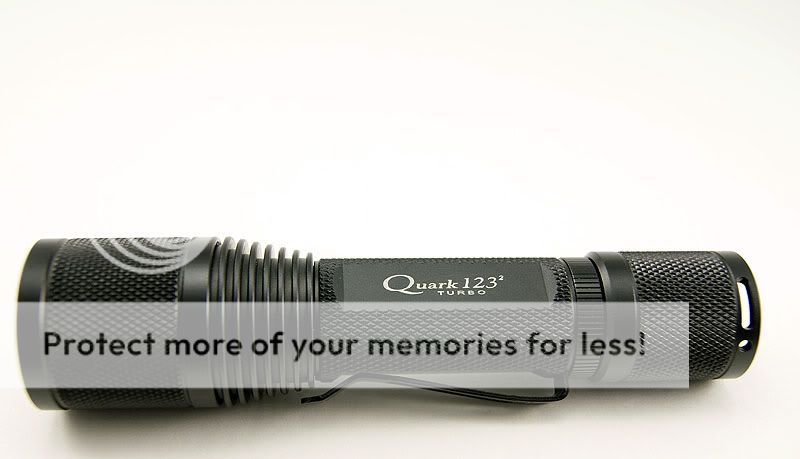
Most of you should be familiar with the Quark Turbo lights, but for anyone who's not, here are a couple of pictures:
The mod is basically the same process as the regular Quark 123-2 mod, but as usual I like to include pictures of the process.[/B]
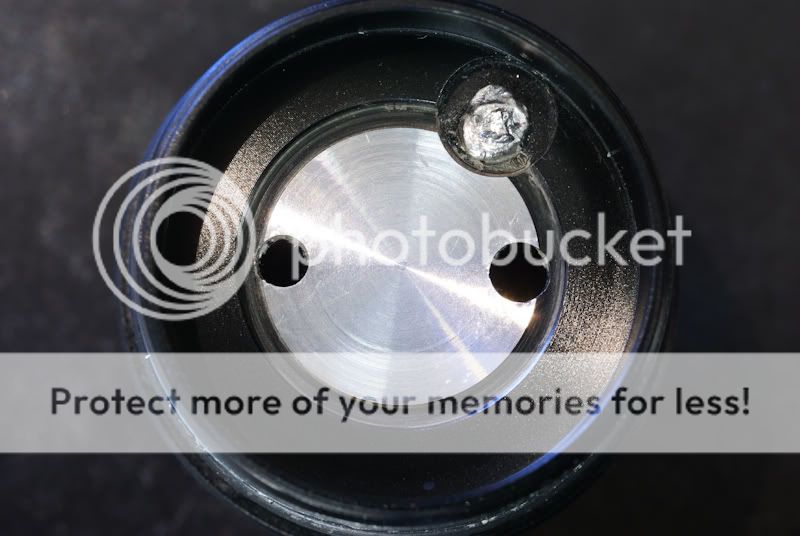
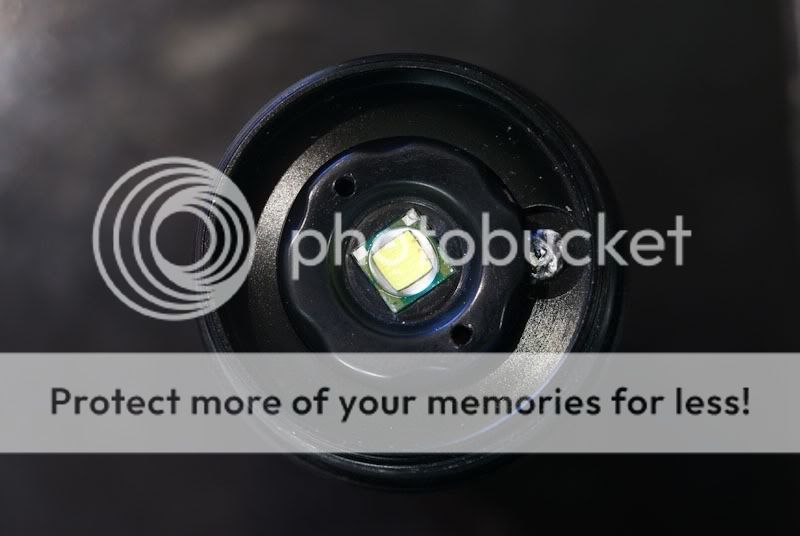
First things first, get the Quark Turbo head naked:
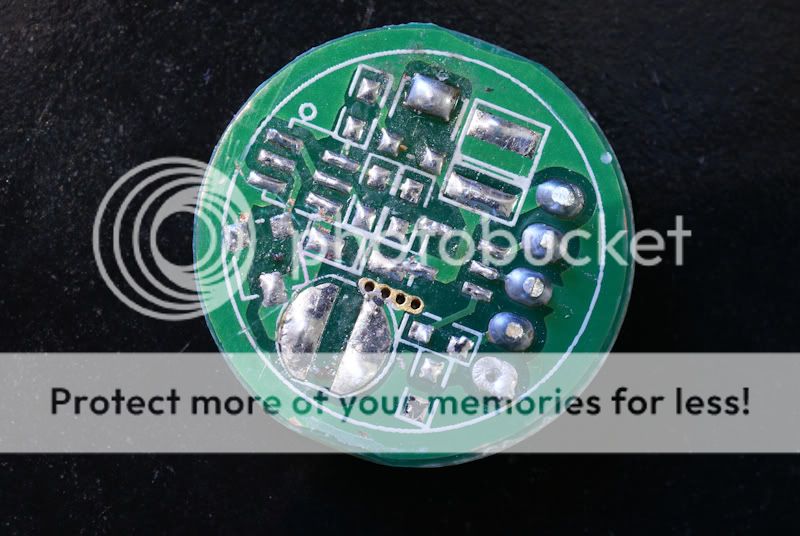
Disassemble the factory driver, only using the bottom board, then remove all components:
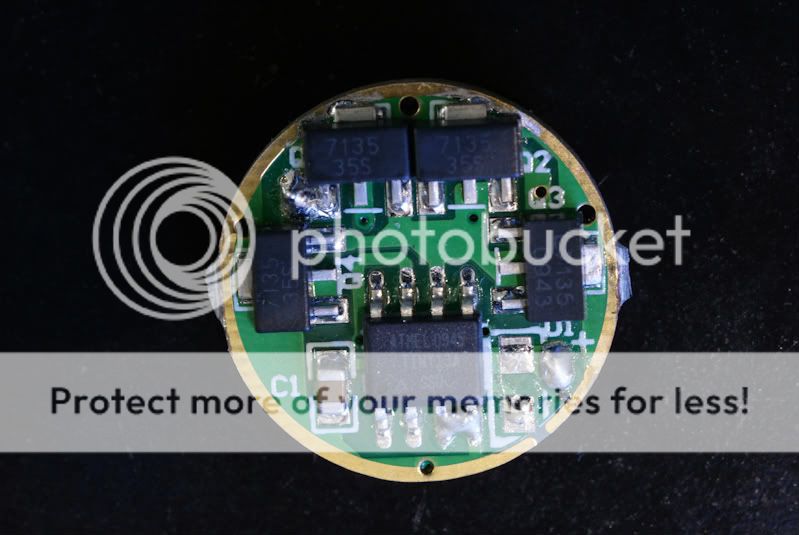
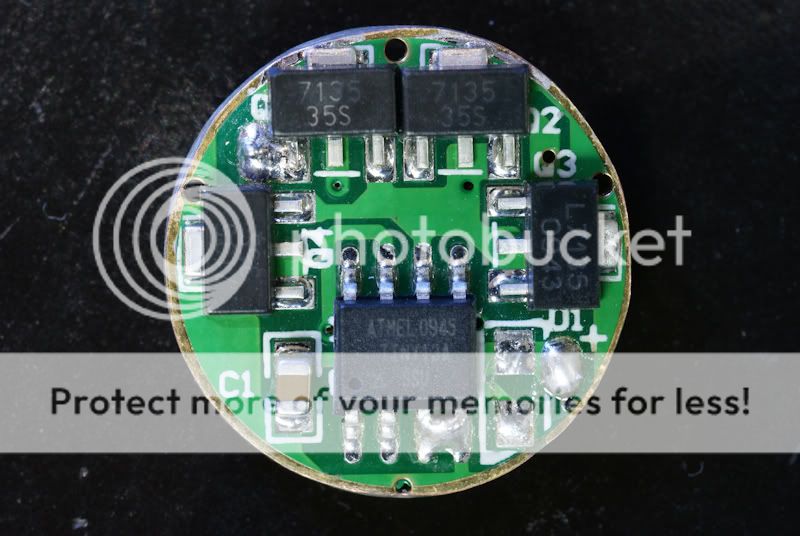
Now it's time to prepare the Shiningbeam driver by removing the spring and two 7135 chips from the rear of the board:

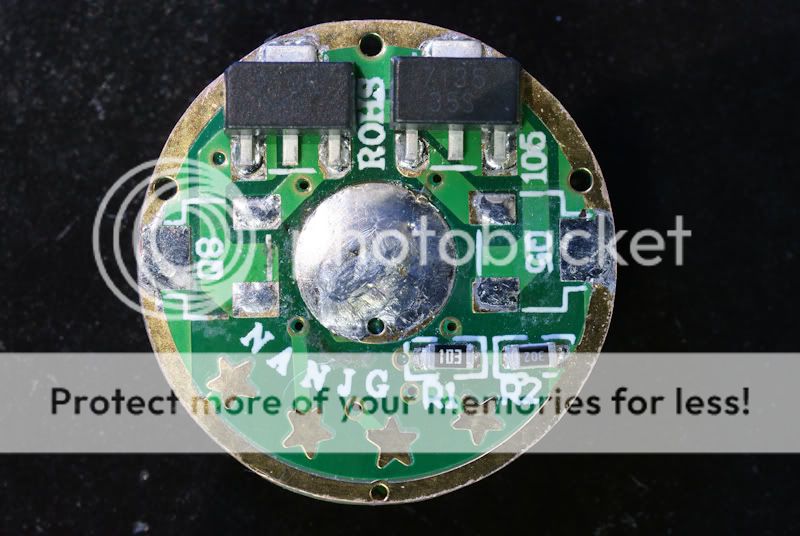
Now the outside diameter of the board needs to be sanded down so that it fits into the Quark Turbo head:
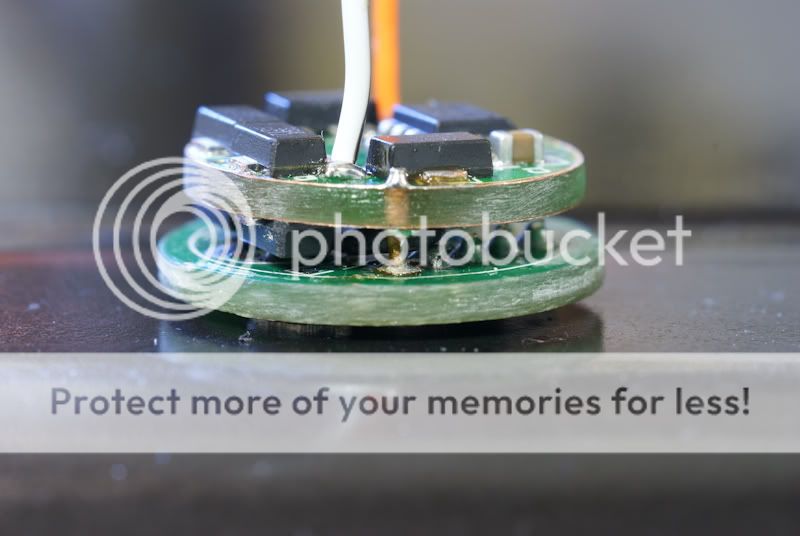
Finish the driver assembly:

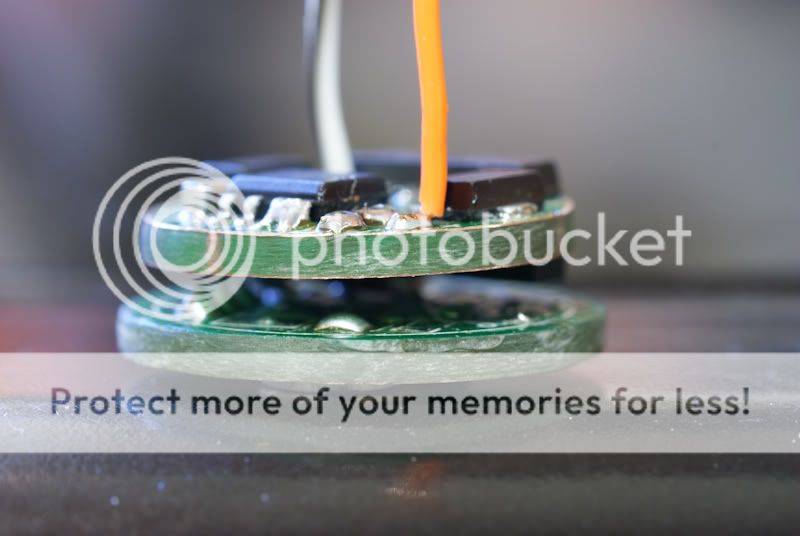
Insert the MCPCB mounted XM-L emitter and solder lead wires. Also, I used Arctic Silver 5 thermal paste under the board. (Note: The OD of the MCPCB needs to be made smaller, and trimmed to fit the factory solder post):

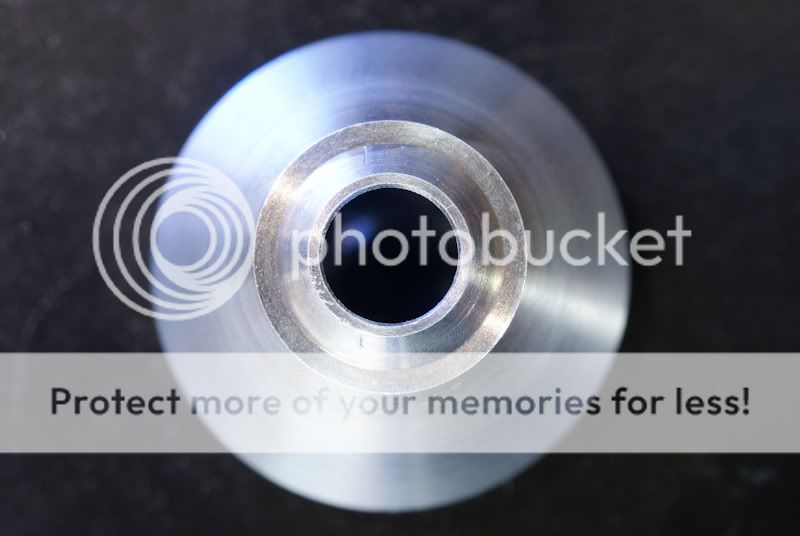
Now the plastic centering piece needs to be opened up to fit the larger XM-L emitter:
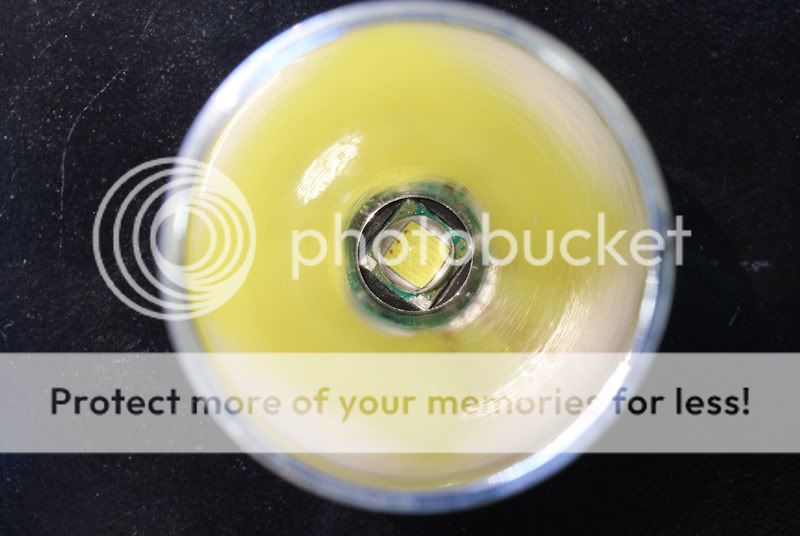
Now the reflector needs to be opened up to fit the larger XM-L emitter:
Before:

After:
Test fit, reassemble, then we're ready to go do some testing :naughty::
Here are my lumen measurements taken in my homemade integrating sphere. All measurements are OTF (out the front lumens):
The battery used for all testing is an AW 17670 Li-Ion battery, and it was fully charged before testing:
____________Quark Turbo 123-2, fully charged AW 17670, SB 2.1A driver High Mode_______________
________________________1 Sec____________613.3______________________________ _
________________________30 Sec___________585.5_______________________________
________________________1 Min____________578.2______________________________ _
________________________2 Min____________572.1______________________________ _
________________________3 Min____________566.1______________________________ _
________________________4 Min____________564.9______________________________ _
____________Quark Turbo 123-2, fully charged AW 17670, SB 2.1A driver Medium Mode_______________
________________________1 Sec____________196.4______________________________ _
________________________30 Sec___________196.4_______________________________
________________________1 Min____________195.2______________________________ _
________________________2 Min____________195.2______________________________ _
________________________3 Min____________195.2______________________________ _
____________Quark Turbo 123-2, fully charged AW 17670, SB 2.1A driver Low Mode_______________
________________________1 Sec____________30.3_______________________________
________________________30 Sec___________30.3_______________________________
________________________1 Min____________30.3_______________________________
________________________2 Min____________30.3_______________________________
________________________3 Min____________30.3_______________________________
Beamshots will follow when I have time.
...........Most of you should be familiar with the Quark Turbo lights, but for anyone who's not, here are a couple of pictures:
The mod is basically the same process as the regular Quark 123-2 mod, but as usual I like to include pictures of the process.[/B]
First things first, get the Quark Turbo head naked
:
Disassemble the factory driver, only using the bottom board, then remove all components:
Now it's time to prepare the Shiningbeam driver by removing the spring and two 7135 chips from the rear of the board:
Now the outside diameter of the board needs to be sanded down so that it fits into the Quark Turbo head:
Finish the driver assembly:
Insert the MCPCB mounted XM-L emitter and solder lead wires. Also, I used Arctic Silver 5 thermal paste under the board. (Note: The OD of the MCPCB needs to be made smaller, and trimmed to fit the factory solder post):
Now the plastic centering piece needs to be opened up to fit the larger XM-L emitter:
Now the reflector needs to be opened up to fit the larger XM-L emitter:
Before:
After:
Test fit, reassemble, then we're ready to go do some testing :naughty::
Here are my lumen measurements taken in my homemade integrating sphere. All measurements are OTF (out the front lumens):
The battery used for all testing is an AW 17670 Li-Ion battery, and it was fully charged before testing:
____________Quark Turbo 123-2, fully charged AW 17670, SB 2.1A driver High Mode_______________
________________________1 Sec____________613.3______________________________ _
________________________30 Sec___________585.5_______________________________
________________________1 Min____________578.2______________________________ _
________________________2 Min____________572.1______________________________ _
________________________3 Min____________566.1______________________________ _
________________________4 Min____________564.9______________________________ _
____________Quark Turbo 123-2, fully charged AW 17670, SB 2.1A driver Medium Mode_______________
________________________1 Sec____________196.4______________________________ _
________________________30 Sec___________196.4_______________________________
________________________1 Min____________195.2______________________________ _
________________________2 Min____________195.2______________________________ _
________________________3 Min____________195.2______________________________ _
____________Quark Turbo 123-2, fully charged AW 17670, SB 2.1A driver Low Mode_______________
________________________1 Sec____________30.3_______________________________
________________________30 Sec___________30.3_______________________________
________________________1 Min____________30.3_______________________________
________________________2 Min____________30.3_______________________________
________________________3 Min____________30.3_______________________________
Beamshots will follow when I have time
.