
Techjunkie
Enlightened
Recently, I took a break from the XM-L fascination which has been steadily fueling my appetite for this hobby since November. Not one, but two SST-90 projects...
#1:
Another CPFer presented me with the challenge of making suitable use of a Throwmaster in an LED application. I experimented with his Throwmaster, but couldn't offer him an affordable and timely solution. Intrigued by the challenge and the opportunity to finally own one of these pieces of CPF history, I did offer him my latest XM-L based creation and two Sony 26650VT batteries in exchange for his (less-than-perfect) Throwmaster and he accepted.
Experimenting first with various bulbs, I concluded quickly that the Throwmaster really only pays off when used with larger filaments. Only one LED came to mind that could really show off the ability of the Throwmaster's wide focal point to gather and concentrate the lumens - the SST-90.
The focal point of the Throwmaster is not at the bottom of the reflector (no reason it should be, it's meant for incans). To focus the SST-90, a pedestal is needed to raise the emitter up into the reflector, but the opening of the reflector is not wide enough to accommodate the 16mm diameter pedestal of the BrigthLumens and other heatsinks.
After many attempts and much wrestling with two strap wrenches, I finally managed to get the bezel unscrewed so I could clean the reflector of the unknown residue that was already there and the dust I was about to make by reaming the opening. I got extremely lucky. I had a sharpening/grinding stone for my dremel that started out cylindrical, but wore to a cone shape 16mm at the base. My dremel didn't have the torque required for the job, but my corded drill did. I got lucky a second and third time when I made it all the way through and didn't scratch the interior of the reflector with the bit or when removing the grinding stone debris. That bit was a consumable tool. If I had to do this again, I'd have to "make" another by wearing one down just the right way.
My "Big Red" SST-90 light with Mag Rebel reflector might have matched the color of the TM nicely, but that emitter is star mounted, not pedestal mounted, so using that for this project was not an option. The host is also custom modded to also be the built-in battery carrier so that one had to stay as-is.
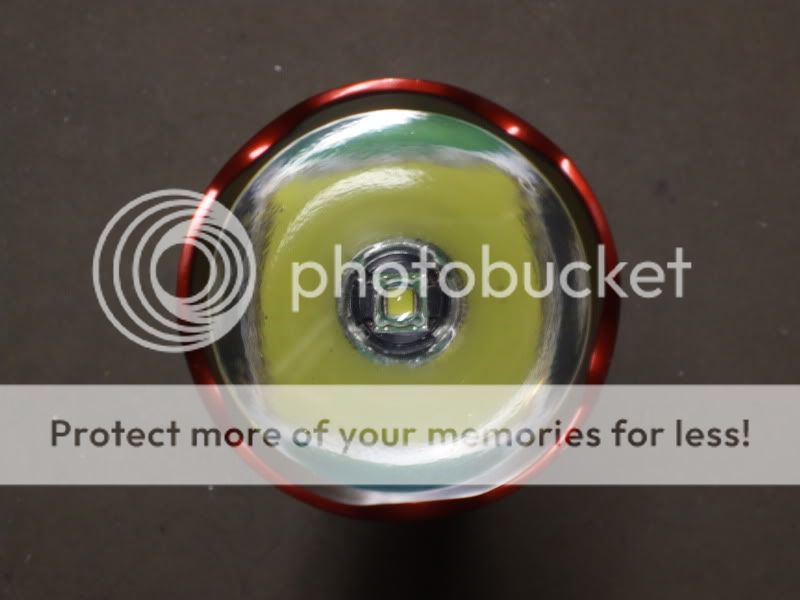
You may recall my very low Vf neutral white SST-90 on BrightLumens heatsink from this build thread and this burn-in thread. Well, here it is repurposed for this project:
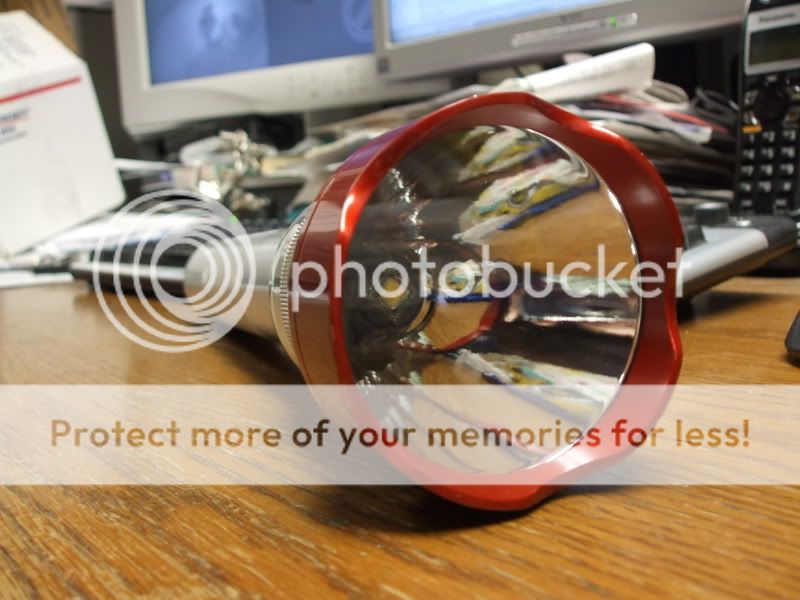
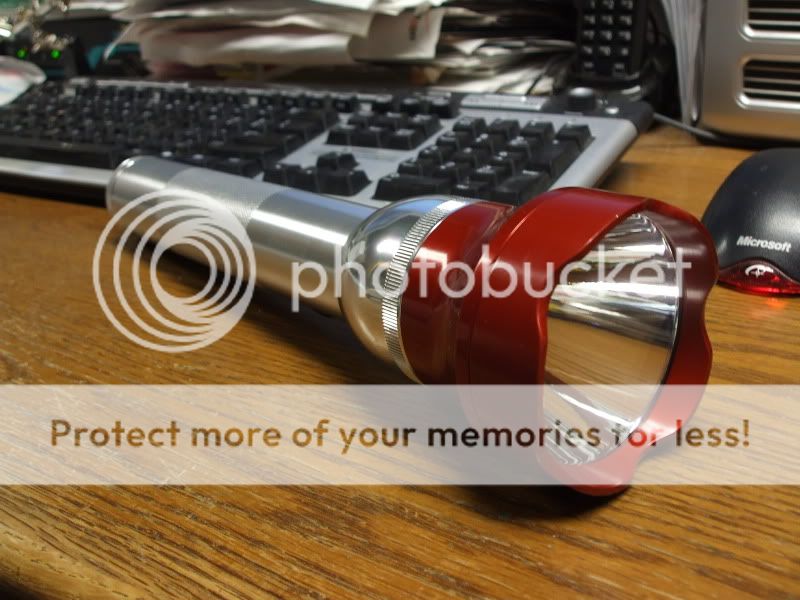
One thing bothered me though, I couldn't stand to have the TM mismatch the color of the light, so enter a new red 2D host to take the silver's place.
I dub thee, "Bigger Red":
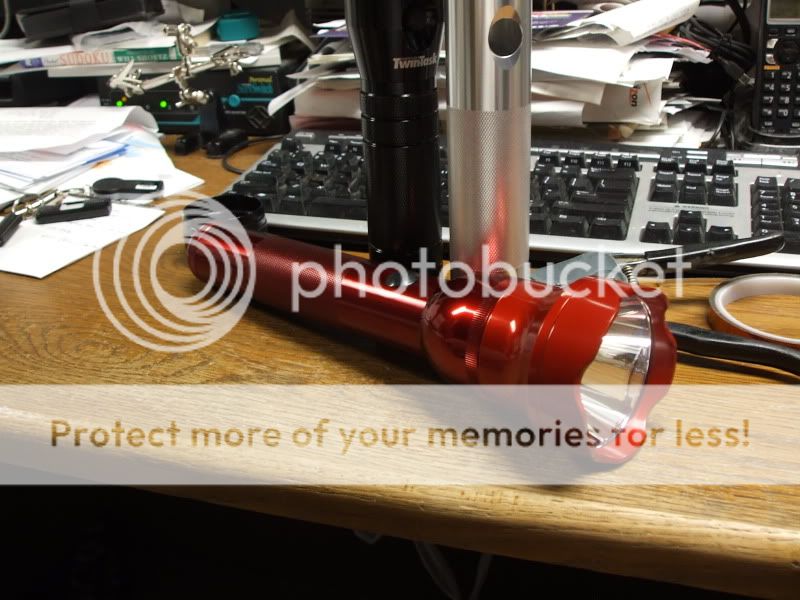
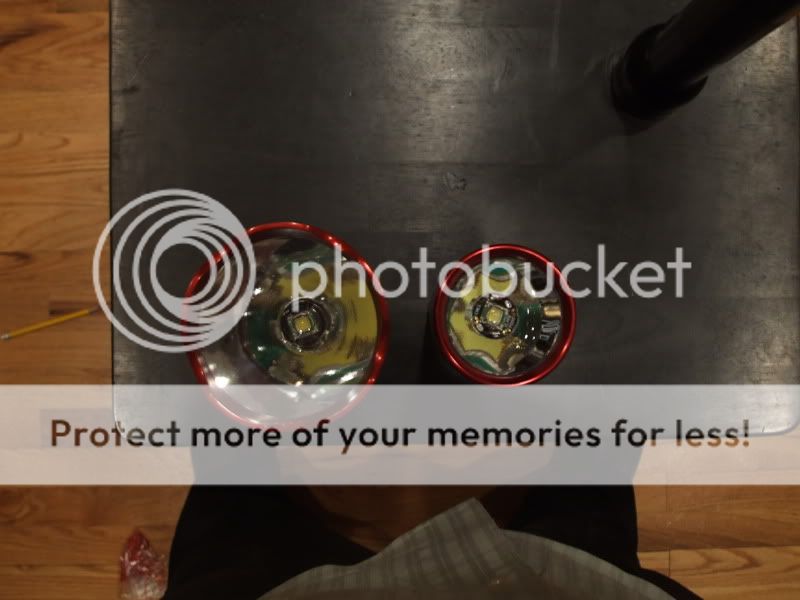
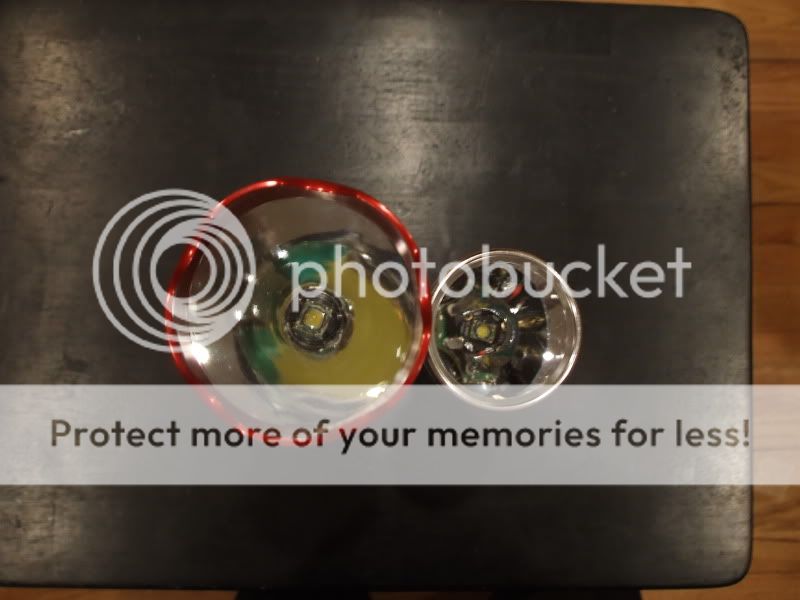
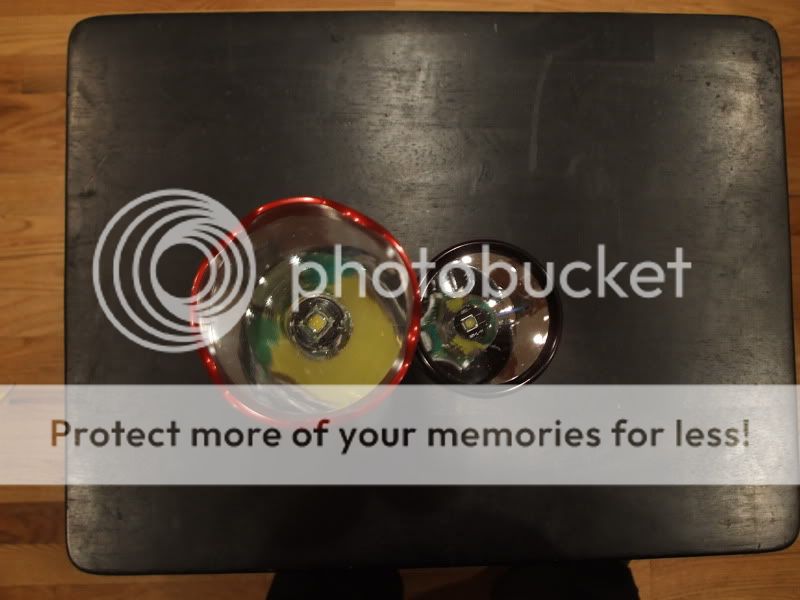
Here's a side-by-side of "Big Red" and "Bigger Red" and some comparison beamshots.


That modded ThrowMaster really does an awesome job of collecting all the SST-90's light and concentrating it into the hotspot. It reminded me of the beam profile of my neutral white SST-50 in Mag Rebel:

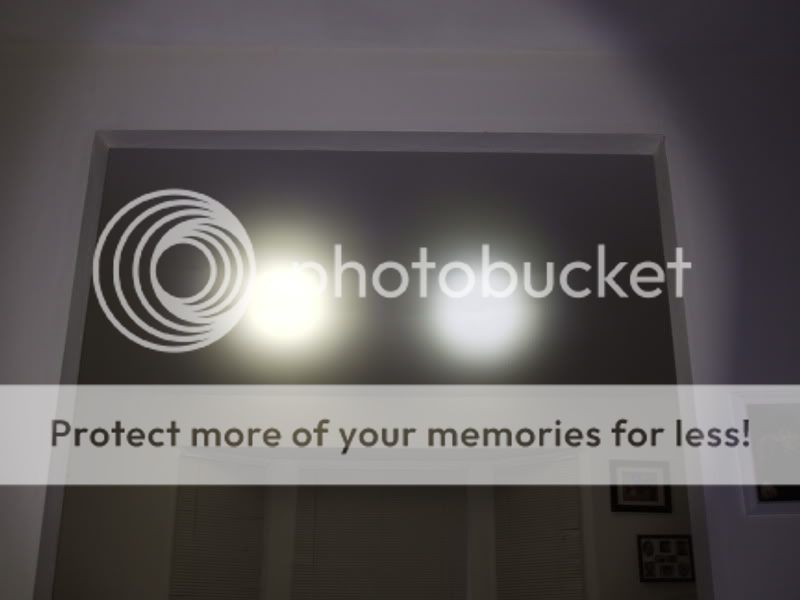
Wow. Same sized hotspot, but brighter. Is this possibly my most impressive single LED creation to date? Surprisingly, no. This might have really impressed me a year ago, before I started tinkering with XM-L, but side-by-side, the XM-L overdriven to 5A in the Mag Rebel takes the win:

So, the ThrowMaster has gone to good use in an LED light. I think it's even more impressive than it was with the Osram 64440 axial filament bulb overdriven to 125W in my "Bruiser" where I had considered keeping it and where it would have returned had this experiment not worked out so well. But now, I have one SST-90 regulated to 8.4A on AAs in a Rebel reflector in the Big Red, and one ThrowMaster'd SST-90 drawing 7-12A from 3 NiMH C (depending on charge and emitter temperature) in the Bigger Red, but no SST-90 aspheric anymore. That won't do...
#2
Eager to replace the SST-90 Aspheric which was parted out for the project above, I ordered an SST-90 from KD, expecting to repeat the Vf lowering success of the neutral emitter on the BL pedestal heatsink. No such luck (or maybe I'm too impatient). The cool white KD sample only drew 2.7A from the same three AccuPower Evolution C Cells initially and after some burn-in therapy, only 4.4A. That was an improvement, but at the same time, still a disappointment. The intensity of the die image at 4.4A was noticeably weaker than my XR-E aspheric with the same lens. The SST-90 would need more current to compete.
Current and voltage measures revealed that the emitter takes a lot to get started, but then scales very quickly. A direct drive solution that lands around 9A would be very tricky with this one.
Vf. I
3.76V 2.7A
3.96V 8.0A
after the emitter heated up...
3.90V 8.4A
Some current regulation and higher voltage pack is called for here. Enter three DX 20330 drivers, modded to output 2.8A each by stacking a 0.82 ohm SMD resistor on top of the existing 0.40 ohm SMD resistor. Wire up three in parallel and viola - regulated 8.4 output. Pics tell the rest.
Mod and test all three individually, then wire the stack with long leads for clamp testing:
After testing (pics of that below), trim the wires and assemble the switch, driver stack, and heatsink to juuuust fit:
...and install it:
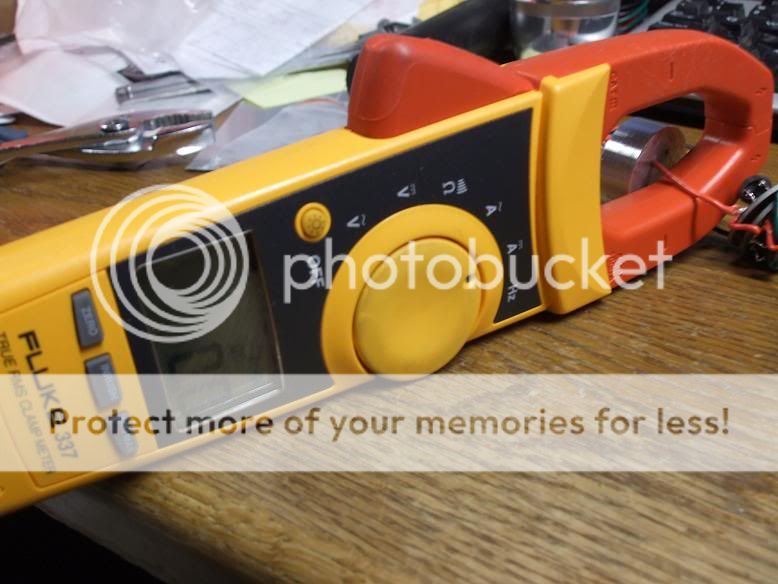
And to prove it really works, zero the meter...
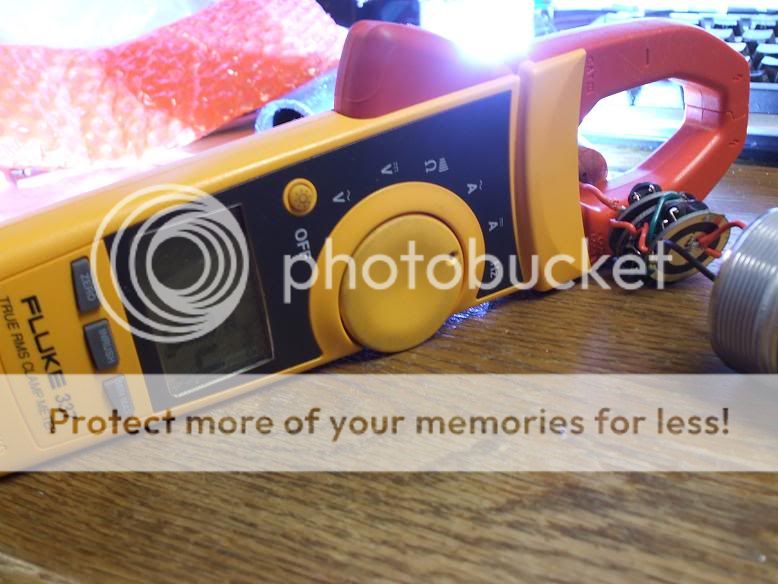
Hit the switch, and viola! 8.4A:
The rest you've seen already in my original 2D SST-90 Aspheric build thread - same DX 50*18mm aspheric, same silver host - biggest difference is now this one's cool white instead of 4500K.
I should mention the battery combinations I tried. The drivers did not perform equally with every set and more to the point, not all cells performed equally under the load.
First up were my recent favorites, the UltraFire 4AH 32600 LiFePO4. On the Pin side of the stack, I measured 6.0A and 5.92V. On the Pout side, only 6.6A reaching the emitter.
Next, my trusty old Sony 26650VT LiNiCoMn toolpack cells. Pin measured 7.9V under load, but still only 8.0A of Pout hitting the emitter. I forget or didn't measure amperage at Pin, so I can't say if the driver efficiency went up or down with the increased input voltage. I'm guessing down.
Finally, genuine A123 26650 Lithium nano-phosphate cells. These are really impressive. Now I understand why the RC guys never use anything else. Under load, I measured 6.24V in (that's virtually no sag) at 6.6A draw. Pout delivered 8.4A to the emitter as shown above. Driver efficiency with this combination works out to 80%. That's not fantastic, but it's certainly acceptable.
#1:
Another CPFer presented me with the challenge of making suitable use of a Throwmaster in an LED application. I experimented with his Throwmaster, but couldn't offer him an affordable and timely solution. Intrigued by the challenge and the opportunity to finally own one of these pieces of CPF history, I did offer him my latest XM-L based creation and two Sony 26650VT batteries in exchange for his (less-than-perfect) Throwmaster and he accepted.
Experimenting first with various bulbs, I concluded quickly that the Throwmaster really only pays off when used with larger filaments. Only one LED came to mind that could really show off the ability of the Throwmaster's wide focal point to gather and concentrate the lumens - the SST-90.
The focal point of the Throwmaster is not at the bottom of the reflector (no reason it should be, it's meant for incans). To focus the SST-90, a pedestal is needed to raise the emitter up into the reflector, but the opening of the reflector is not wide enough to accommodate the 16mm diameter pedestal of the BrigthLumens and other heatsinks.
After many attempts and much wrestling with two strap wrenches, I finally managed to get the bezel unscrewed so I could clean the reflector of the unknown residue that was already there and the dust I was about to make by reaming the opening. I got extremely lucky. I had a sharpening/grinding stone for my dremel that started out cylindrical, but wore to a cone shape 16mm at the base. My dremel didn't have the torque required for the job, but my corded drill did. I got lucky a second and third time when I made it all the way through and didn't scratch the interior of the reflector with the bit or when removing the grinding stone debris. That bit was a consumable tool. If I had to do this again, I'd have to "make" another by wearing one down just the right way.
My "Big Red" SST-90 light with Mag Rebel reflector might have matched the color of the TM nicely, but that emitter is star mounted, not pedestal mounted, so using that for this project was not an option. The host is also custom modded to also be the built-in battery carrier so that one had to stay as-is.
You may recall my very low Vf neutral white SST-90 on BrightLumens heatsink from this build thread and this burn-in thread. Well, here it is repurposed for this project:
One thing bothered me though, I couldn't stand to have the TM mismatch the color of the light, so enter a new red 2D host to take the silver's place.
I dub thee, "Bigger Red":
Here's a side-by-side of "Big Red" and "Bigger Red" and some comparison beamshots.
That modded ThrowMaster really does an awesome job of collecting all the SST-90's light and concentrating it into the hotspot. It reminded me of the beam profile of my neutral white SST-50 in Mag Rebel:
Wow. Same sized hotspot, but brighter. Is this possibly my most impressive single LED creation to date? Surprisingly, no. This might have really impressed me a year ago, before I started tinkering with XM-L, but side-by-side, the XM-L overdriven to 5A in the Mag Rebel takes the win:
So, the ThrowMaster has gone to good use in an LED light. I think it's even more impressive than it was with the Osram 64440 axial filament bulb overdriven to 125W in my "Bruiser" where I had considered keeping it and where it would have returned had this experiment not worked out so well. But now, I have one SST-90 regulated to 8.4A on AAs in a Rebel reflector in the Big Red, and one ThrowMaster'd SST-90 drawing 7-12A from 3 NiMH C (depending on charge and emitter temperature) in the Bigger Red, but no SST-90 aspheric anymore. That won't do...
#2
Eager to replace the SST-90 Aspheric which was parted out for the project above, I ordered an SST-90 from KD, expecting to repeat the Vf lowering success of the neutral emitter on the BL pedestal heatsink. No such luck (or maybe I'm too impatient). The cool white KD sample only drew 2.7A from the same three AccuPower Evolution C Cells initially and after some burn-in therapy, only 4.4A. That was an improvement, but at the same time, still a disappointment. The intensity of the die image at 4.4A was noticeably weaker than my XR-E aspheric with the same lens. The SST-90 would need more current to compete.
Current and voltage measures revealed that the emitter takes a lot to get started, but then scales very quickly. A direct drive solution that lands around 9A would be very tricky with this one.
Vf. I
3.76V 2.7A
3.96V 8.0A
after the emitter heated up...
3.90V 8.4A
Some current regulation and higher voltage pack is called for here. Enter three DX 20330 drivers, modded to output 2.8A each by stacking a 0.82 ohm SMD resistor on top of the existing 0.40 ohm SMD resistor. Wire up three in parallel and viola - regulated 8.4 output. Pics tell the rest.
Mod and test all three individually, then wire the stack with long leads for clamp testing:
After testing (pics of that below), trim the wires and assemble the switch, driver stack, and heatsink to juuuust fit:
...and install it:
And to prove it really works, zero the meter...
Hit the switch, and viola! 8.4A:
The rest you've seen already in my original 2D SST-90 Aspheric build thread - same DX 50*18mm aspheric, same silver host - biggest difference is now this one's cool white instead of 4500K.
I should mention the battery combinations I tried. The drivers did not perform equally with every set and more to the point, not all cells performed equally under the load.
First up were my recent favorites, the UltraFire 4AH 32600 LiFePO4. On the Pin side of the stack, I measured 6.0A and 5.92V. On the Pout side, only 6.6A reaching the emitter.
Next, my trusty old Sony 26650VT LiNiCoMn toolpack cells. Pin measured 7.9V under load, but still only 8.0A of Pout hitting the emitter. I forget or didn't measure amperage at Pin, so I can't say if the driver efficiency went up or down with the increased input voltage. I'm guessing down.
Finally, genuine A123 26650 Lithium nano-phosphate cells. These are really impressive. Now I understand why the RC guys never use anything else. Under load, I measured 6.24V in (that's virtually no sag) at 6.6A draw. Pout delivered 8.4A to the emitter as shown above. Driver efficiency with this combination works out to 80%. That's not fantastic, but it's certainly acceptable.
 Thanks for the lowdown on these.