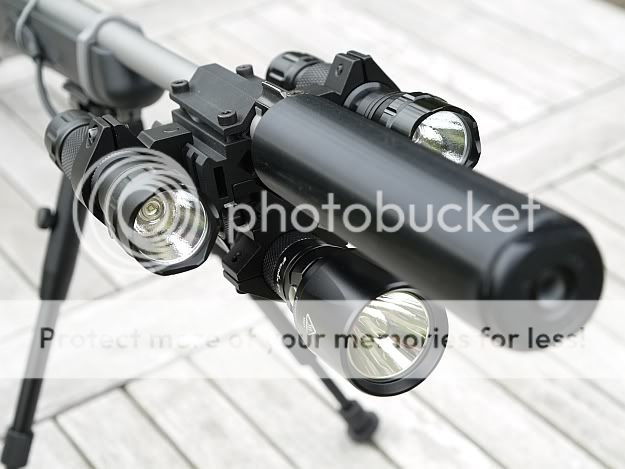
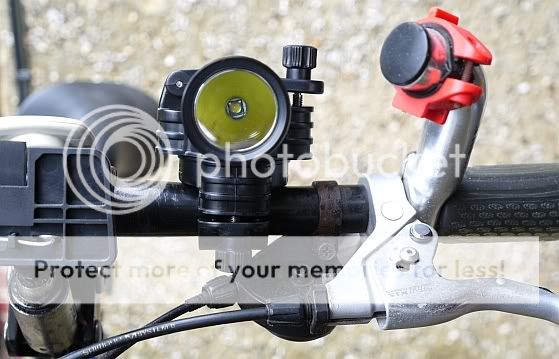
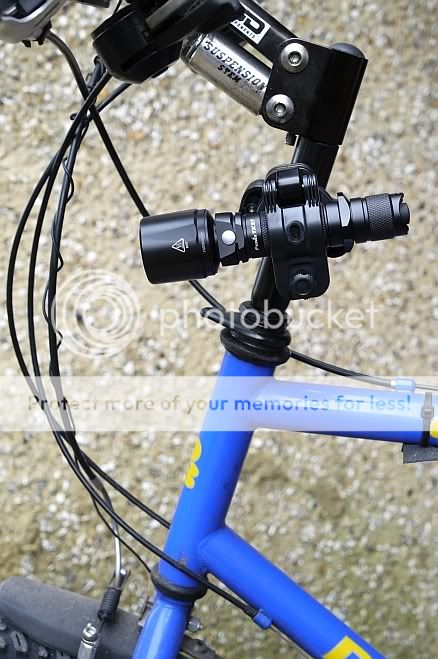
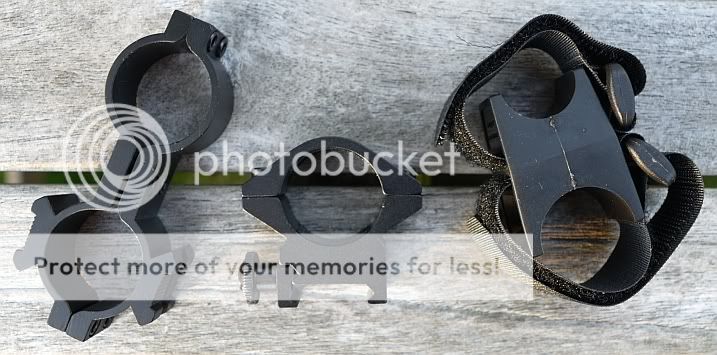
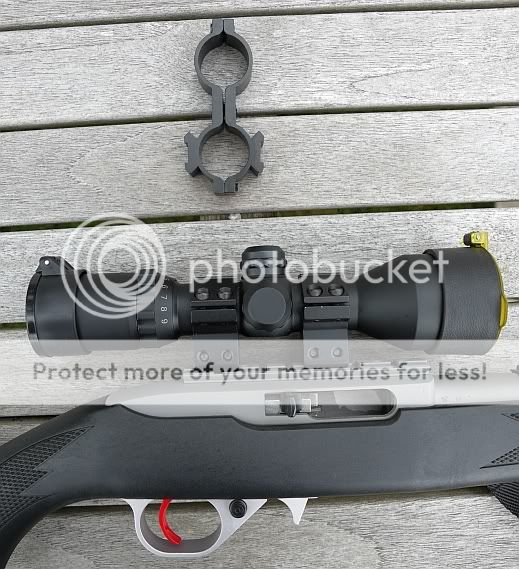
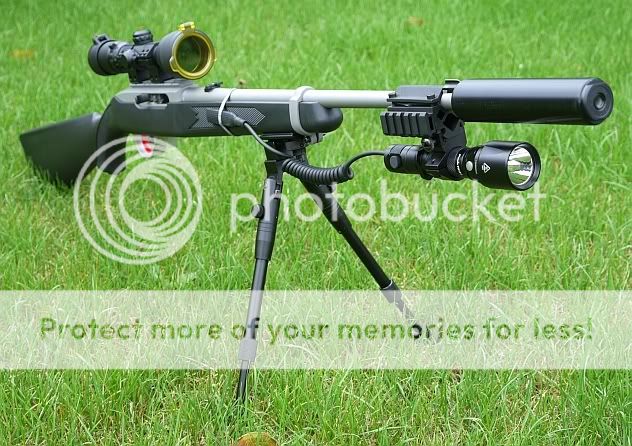
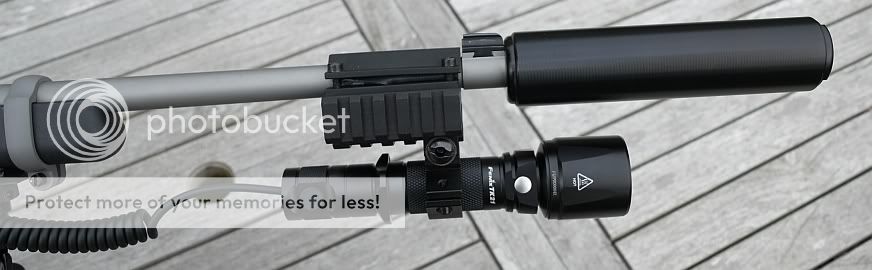
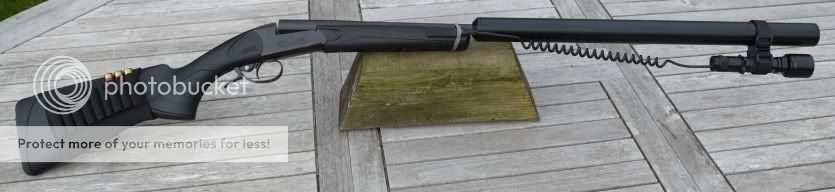
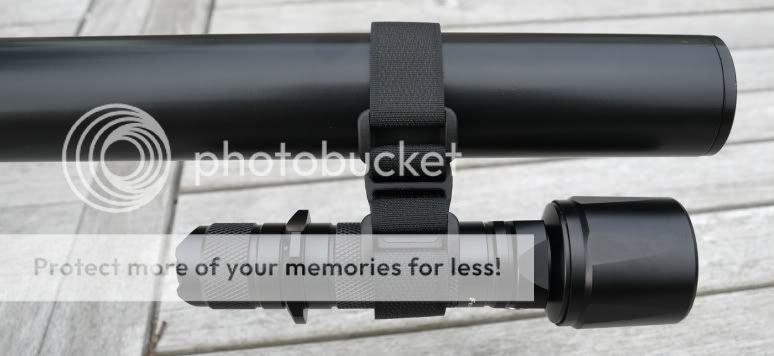
A few days ago I received a TK21 for review along with the Fenix AR102 a remote tail switch, AF02 a bike mount, and two types of gun mount (scope and rubber block).
Before I look at how this torch performs while out hunting (part 3) and on bicycle rides (part 4), part 1 will cover initial impressions and part 2 some measured performance tests.
PART 1 – Initial Impressions:
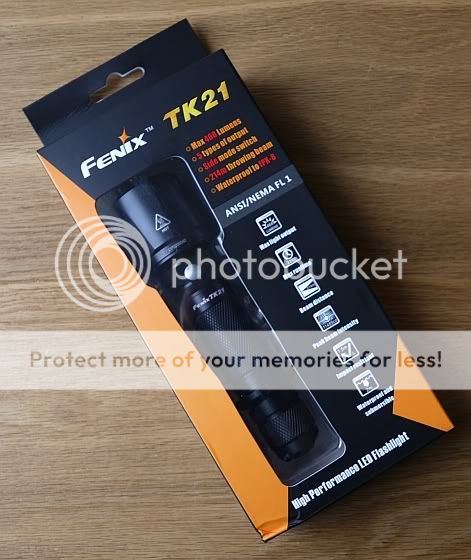
The TK21 U2 is the latest single 18650 or two CR123 powered torch from Fenix with an XML U2 LED (updated from the XML T6). It has a combination of features that I have found make it incredibly versatile as a tactical/hunting and general purpose light.
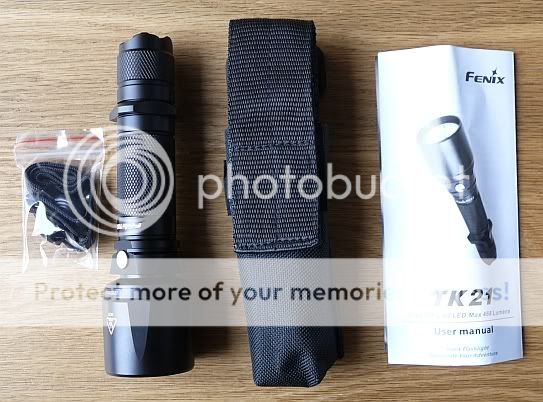
What is in the box:
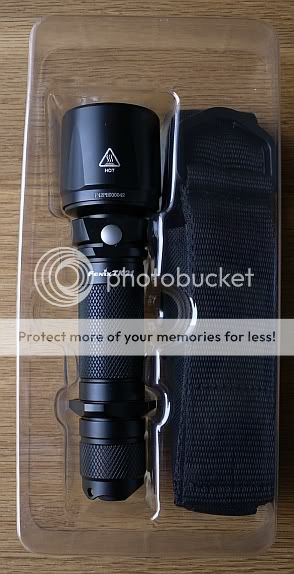
The TK21 U2, Holster and spares (lanyard, o-rings, switch rubber)
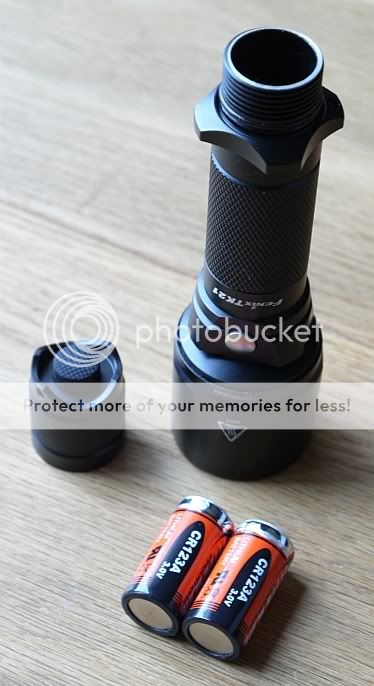
Two CR123 batteries were already in the torch with the tail-cap slightly undone to lock it out. This is because the Photon Shop provides a set of batteries with each retail sale, not because Fenix provide them.
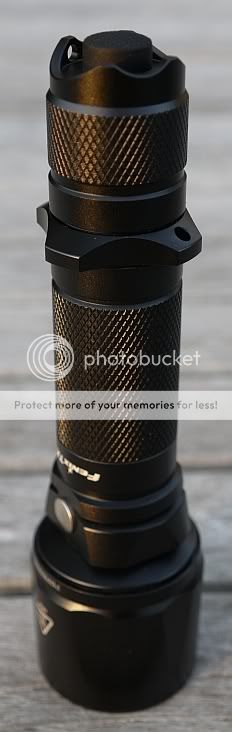
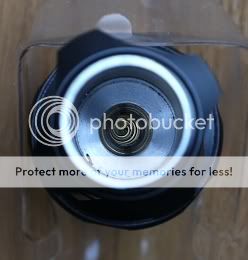
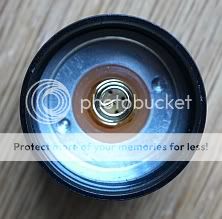
Overall quality is excellent. This torch feels like it will take hard use in its stride. Fit and finish is excellent. The threads are well formed and smooth in use. The LED is well centred.

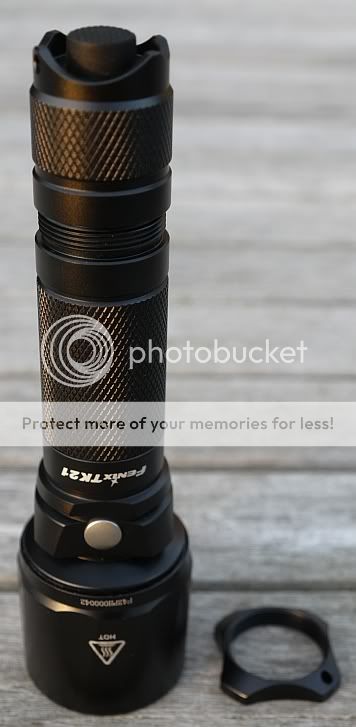
The tactical grip ring near the switch can be unscrewed if you don't want it, but this does leave the screw threads exposed.
The positive and negative terminals are both springs. This gives excellent continuity of connection when the torch is subjected to recoil or other shocks. This means you can also use flat top 18650s.
Modes and User Interface:
The TK21 has a forward clicky tail-cap switch giving momentary operation, and the modes are changed by a side switch. The output modes are Low, Medium, High, Turbo and an automatically cycling strobe which alternates between a 15 Hz and 2Hz strobe. The strobe is hidden in that you have to hold the mode changing button down for 2 seconds to enter strobe. Turning it on and off again clears the strobe, so in normal use you never accidentally get to the strobe.
The use of a separate mode-changing switch gives this light a totally reliable memory, always coming on in the last used mode (apart from strobe). You will not accidentally change modes by using the tail switch (which being a forward clicky is vital if you use this with the momentary output). This also makes it ideal for use as a hunting light in combination with the momentary operation remote switch.
Batteries and output:
The recommended power source for the TK21 is a set of two CR123s, but it will work with an 18650. My preference is for a rechargeable battery (and the TK21 is not compatible with RCR123) so I wanted to use an 18650.
Despite not being the recommended power source, output is actually slightly higher with an 18650 when compared to two CR123s possible due to the 18650 being better able to deliver a high current.
On 18650s, the TK21 is quite fussy on two counts. Some protected cells are too long to fit inside. I marked one of mine when tightening up the tail-cap and it developed a circular pressure mark around the positive terminal button. Changing to a different brand which was 1mm shorter and there was no problem. Secondly, some older cells I had would only keep the Turbo output on for around 5-10 seconds before dropping to high. Newer 18650 cells managed 40mins+ on Turbo.
Running a non-protected 18650 to the point the torch turned off resulted in a cell voltage just over 3V once removed from the torch, so the TK21 seems to have a built in LVC protection.
Indoors and just sitting on a table, the whole torch gets pretty warm after 15 minutes on Turbo, but never too hot to touch. Once it has reached this temperature it stays stable at that temperature and doesn't get any hotter.
There have been comments about a green tint, but I saw no evidence of this. If anything the tint of the TK21 seems more neutral than cool. Directly next to a TK45 which is cool white, the TK21 did look a bit warmer.
The remote tail switch is a hunting related item and is covered in Part 3 – Out In The Field
The bike mount is examined in Part 4 – Riding Into The Night
Standard Beam shots have already been done on Fonark and Lygte, so I won't repeat these.
PART 2 – In The Lab
Beam shots are one thing, but I decided to try and quantify the actual beam profile. There are probably many flaws in my method, but it is simple and easy to carry out and seems to provide a good enough comparison.
The method used was to put the torch on the edge of a table 1m from a wall, with a tape measure on the wall. The zero of the scale is placed in the centre of the hotspot and a lux meter is then positioned at points along the scale, with the measurements recorded. Beam shots are often taken with the light shining on a flat white wall, so this method is simply measuring the actual intensity across the beam on a flat surface, not the spherical light emission.
The results are then plotted on a graph with other torch profiles superimposed for comparison.
For the best throw you want to see a sharp peak with less of the distracting spill. My previous hunting light with R2 LED is also profiled here and you can see it has a pretty good throw profile, but the TK21 blows it away!
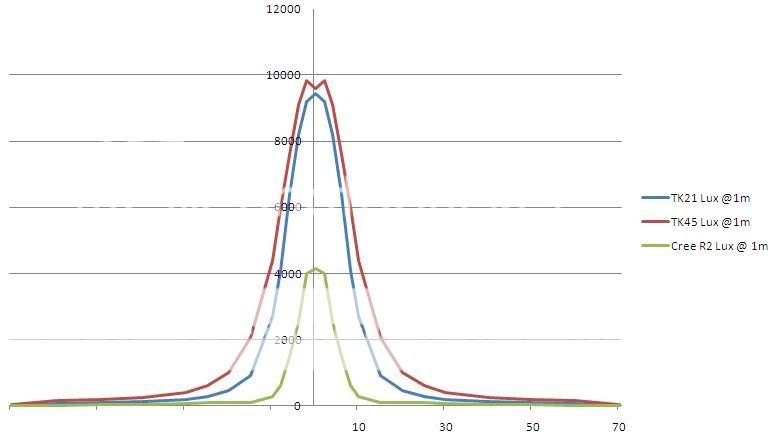
After creating this graph I realised that it makes the TK21 and TK45 look very similar despite the TK45 having a higher output on Turbo.
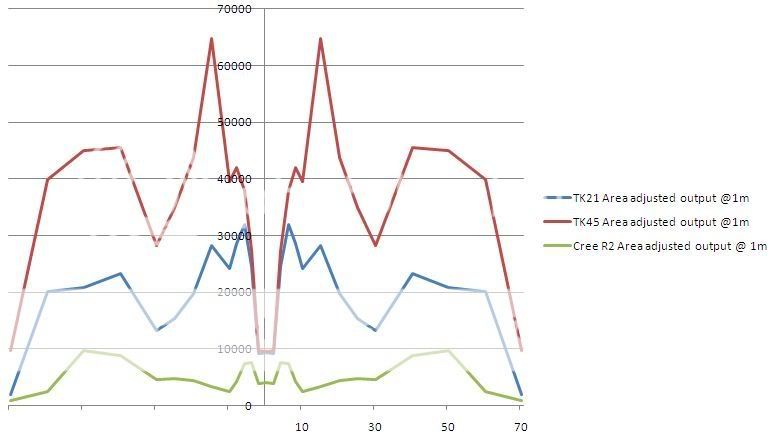
Taking this a little further, I calculated an approximate factor to apply to the lux measurements, as each measurement gets further from the centre of the beam, it corresponds to a larger area onto which the light is falling. It seems to me that this should also be taken into consideration, so I applied these area corrections and came up with this odd looking graph.
The key quantity here is the area under the graph line. This should correspond to the total light output. The TK45 with 760lm output and TK21 with 468lm, so the TK45 should have 1.6 times the output of the TK21 and although difficult to tell accurately, it does appear to show is more in keeping with the actual output of both the TK21 and TK45 on Turbo.
I have also done the profile for the TK41 which is insane (the TK41 is a monster thrower). I'll post this in a TK41 thread when I get a chance.
.....to be continued with....
PART 3 – Out In The Field (hunting with the TK21)
PART 4 – Riding Into The Night
Coming soon
(Note: this light was supplied by Fenix for review)
Before I look at how this torch performs while out hunting (part 3) and on bicycle rides (part 4), part 1 will cover initial impressions and part 2 some measured performance tests.
PART 1 – Initial Impressions:
The TK21 U2 is the latest single 18650 or two CR123 powered torch from Fenix with an XML U2 LED (updated from the XML T6). It has a combination of features that I have found make it incredibly versatile as a tactical/hunting and general purpose light.
What is in the box:
The TK21 U2, Holster and spares (lanyard, o-rings, switch rubber)
Two CR123 batteries were already in the torch with the tail-cap slightly undone to lock it out. This is because the Photon Shop provides a set of batteries with each retail sale, not because Fenix provide them.
Overall quality is excellent. This torch feels like it will take hard use in its stride. Fit and finish is excellent. The threads are well formed and smooth in use. The LED is well centred.
The tactical grip ring near the switch can be unscrewed if you don't want it, but this does leave the screw threads exposed.
The positive and negative terminals are both springs. This gives excellent continuity of connection when the torch is subjected to recoil or other shocks. This means you can also use flat top 18650s.
Modes and User Interface:
The TK21 has a forward clicky tail-cap switch giving momentary operation, and the modes are changed by a side switch. The output modes are Low, Medium, High, Turbo and an automatically cycling strobe which alternates between a 15 Hz and 2Hz strobe. The strobe is hidden in that you have to hold the mode changing button down for 2 seconds to enter strobe. Turning it on and off again clears the strobe, so in normal use you never accidentally get to the strobe.
The use of a separate mode-changing switch gives this light a totally reliable memory, always coming on in the last used mode (apart from strobe). You will not accidentally change modes by using the tail switch (which being a forward clicky is vital if you use this with the momentary output). This also makes it ideal for use as a hunting light in combination with the momentary operation remote switch.
Batteries and output:
The recommended power source for the TK21 is a set of two CR123s, but it will work with an 18650. My preference is for a rechargeable battery (and the TK21 is not compatible with RCR123) so I wanted to use an 18650.
Despite not being the recommended power source, output is actually slightly higher with an 18650 when compared to two CR123s possible due to the 18650 being better able to deliver a high current.
On 18650s, the TK21 is quite fussy on two counts. Some protected cells are too long to fit inside. I marked one of mine when tightening up the tail-cap and it developed a circular pressure mark around the positive terminal button. Changing to a different brand which was 1mm shorter and there was no problem. Secondly, some older cells I had would only keep the Turbo output on for around 5-10 seconds before dropping to high. Newer 18650 cells managed 40mins+ on Turbo.
Running a non-protected 18650 to the point the torch turned off resulted in a cell voltage just over 3V once removed from the torch, so the TK21 seems to have a built in LVC protection.
Indoors and just sitting on a table, the whole torch gets pretty warm after 15 minutes on Turbo, but never too hot to touch. Once it has reached this temperature it stays stable at that temperature and doesn't get any hotter.
There have been comments about a green tint, but I saw no evidence of this. If anything the tint of the TK21 seems more neutral than cool. Directly next to a TK45 which is cool white, the TK21 did look a bit warmer.
The remote tail switch is a hunting related item and is covered in Part 3 – Out In The Field
The bike mount is examined in Part 4 – Riding Into The Night
Standard Beam shots have already been done on Fonark and Lygte, so I won't repeat these.
PART 2 – In The Lab
Beam shots are one thing, but I decided to try and quantify the actual beam profile. There are probably many flaws in my method, but it is simple and easy to carry out and seems to provide a good enough comparison.
The method used was to put the torch on the edge of a table 1m from a wall, with a tape measure on the wall. The zero of the scale is placed in the centre of the hotspot and a lux meter is then positioned at points along the scale, with the measurements recorded. Beam shots are often taken with the light shining on a flat white wall, so this method is simply measuring the actual intensity across the beam on a flat surface, not the spherical light emission.
The results are then plotted on a graph with other torch profiles superimposed for comparison.
For the best throw you want to see a sharp peak with less of the distracting spill. My previous hunting light with R2 LED is also profiled here and you can see it has a pretty good throw profile, but the TK21 blows it away!
After creating this graph I realised that it makes the TK21 and TK45 look very similar despite the TK45 having a higher output on Turbo.
Taking this a little further, I calculated an approximate factor to apply to the lux measurements, as each measurement gets further from the centre of the beam, it corresponds to a larger area onto which the light is falling. It seems to me that this should also be taken into consideration, so I applied these area corrections and came up with this odd looking graph.
The key quantity here is the area under the graph line. This should correspond to the total light output. The TK45 with 760lm output and TK21 with 468lm, so the TK45 should have 1.6 times the output of the TK21 and although difficult to tell accurately, it does appear to show is more in keeping with the actual output of both the TK21 and TK45 on Turbo.
I have also done the profile for the TK41 which is insane (the TK41 is a monster thrower). I'll post this in a TK41 thread when I get a chance.
.....to be continued with....
PART 3 – Out In The Field (hunting with the TK21)
PART 4 – Riding Into The Night
Coming soon
(Note: this light was supplied by Fenix for review)
Last edited:

")