
pyro1son
Newly Enlightened
- Joined
- Aug 19, 2012
- Messages
- 115
After watching me plan and organize my last mod, one of my house mates asked me if I could mod a Maglite for him. Of course I jumped at the chance to do some more modding.
At the time I was also reading a few different threads and low current Beacon lights or Lamp lighters had caught my attention, and this got me thinking. The most annoying thing in the dark is... not being able to find your torch. So I decided that I would add something a little special to this mod.
We then set about purchasing all the necessary parts for this mod.
-Glass lens
-Some connectors
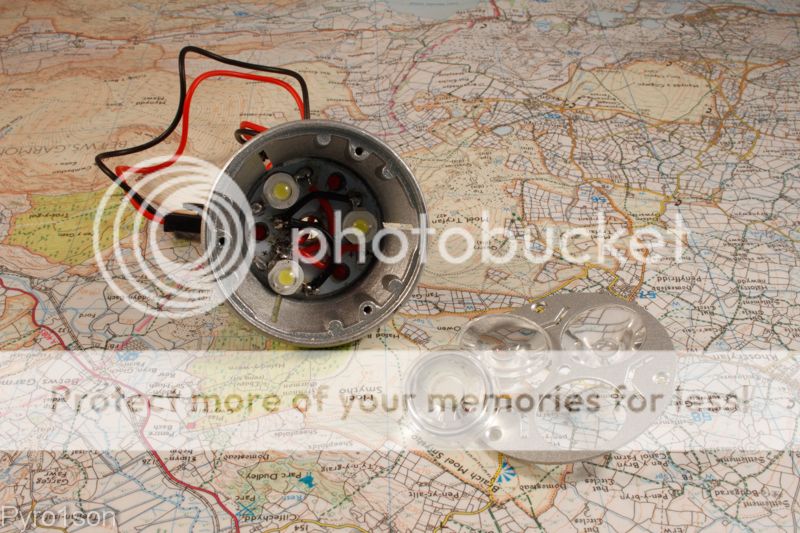
-MR16 3x3W LED Spot Lamp
Now let the modding begin.
This is the original Lamp, it fits within the Mag head so no modding is required to get it to fit.

As the lamp was 12v and the LED's were in series I needed to cut the connections between then and solder them in parallel so I could supply them with ~4V
Once the connectors were soldered on it was only a matter of dropping the lamp in.
So were all done now then? Not quite! Earlier I was talking about the low current beacon LED's. Well these are going to be incorporated into the head of the Maglite.
To do this I firstly needed to make a constant current circuit like the one found here.
It was now time for some serious modding.

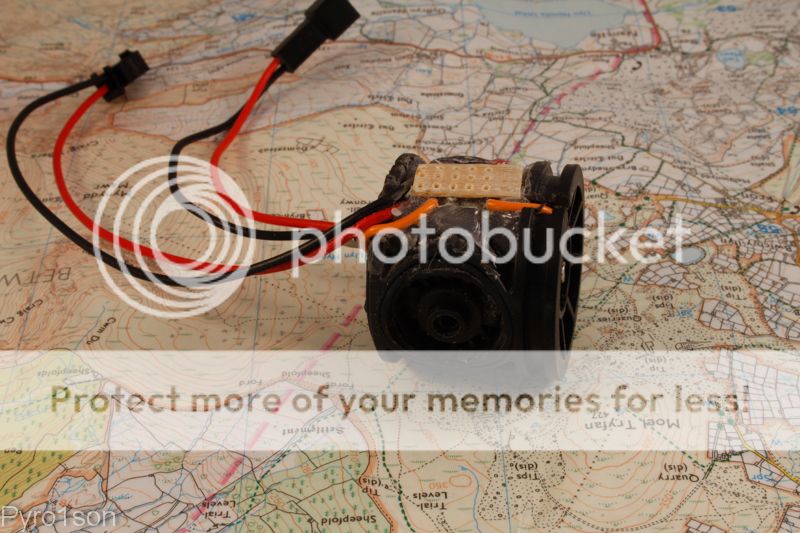
This was my first circuit.

Not the greatest but it worked.
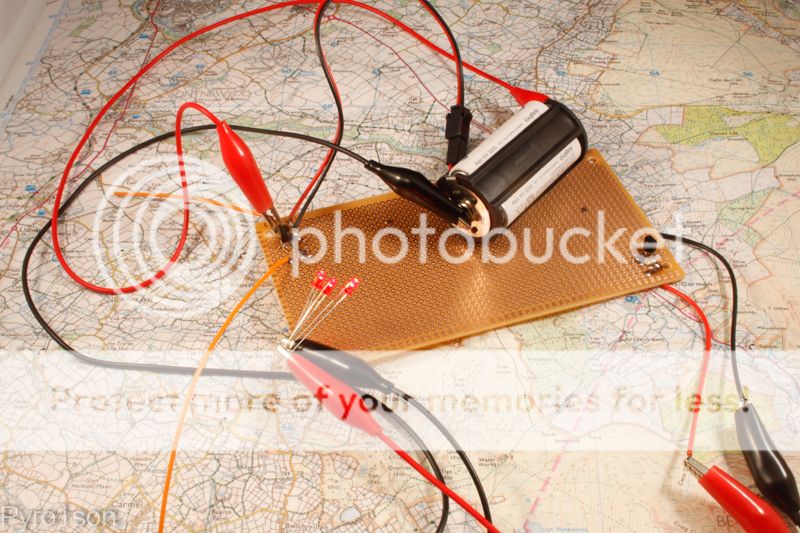

So I covered it in hotglue to stop things falling off or shorting circuit, and cut it out.

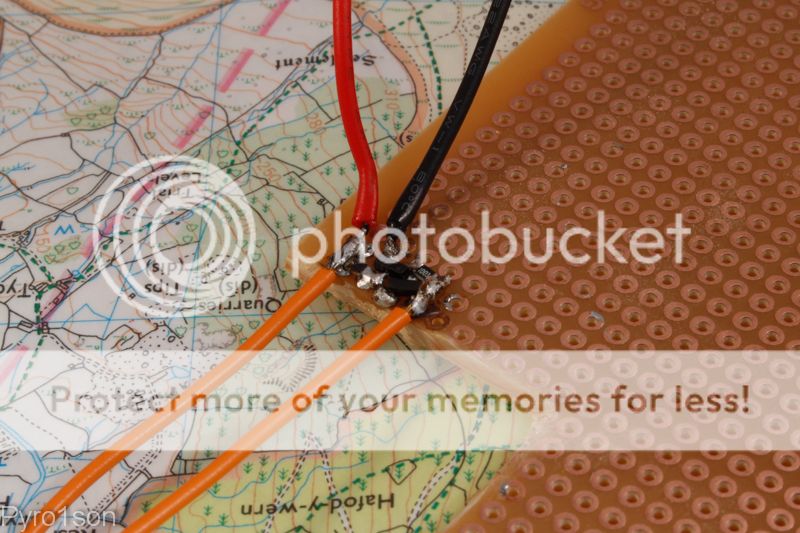
But unfortunatly it was too large for my plans, so I needed to make a smaller version. I used all SMD components and the resistors were 33K ohm and 100k ohm respectively. This means the 3mm Reds get about 20ma giving a total run time of 9ish days.
This was now perfect. Time to mod the switch. From this,
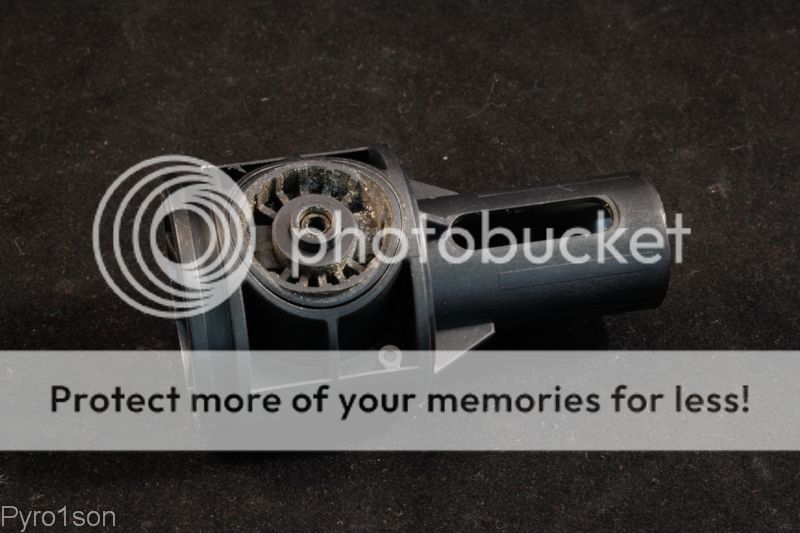
To this,


The constant current circuit has no switch and connect directly to the batteries meaning its always on, which is what we wanted so we could find it in the dark.
If its in storage its as simple as loosening the tail cap ever so slightly to turn them off.
At first I wasn't sure as to where to put the 3mm Red LED's in the head but fortunately the holes, from where the screws holding the socket on, were the perfect size. So I hot glued them in and soldered them in parallel.

Connecting everything up and hay presto it all works
As the lamp now only needs ~4V the Maglite is running of 3 D cells (rechargeable or alkaline) with a spacer to fill the rest.
This is what it looks like from the front in the dark.

And some beam-shots.
Control shot

Standard 4D Maglite

3x3w Maglite

Not much more throw but a lot more floody and smoother beam pattern. All were taken at ISO 100, 1.6sec at f/4.5
I think i've covered everything but feel free to ask any questions I'm more than happy to answer.
Thanks for looking!
UPDATE!!
Video showing the simple installation of the MR16
At the time I was also reading a few different threads and low current Beacon lights or Lamp lighters had caught my attention, and this got me thinking. The most annoying thing in the dark is... not being able to find your torch. So I decided that I would add something a little special to this mod.
We then set about purchasing all the necessary parts for this mod.
-Glass lens
-Some connectors
-MR16 3x3W LED Spot Lamp
Now let the modding begin.
This is the original Lamp, it fits within the Mag head so no modding is required to get it to fit.
As the lamp was 12v and the LED's were in series I needed to cut the connections between then and solder them in parallel so I could supply them with ~4V
Once the connectors were soldered on it was only a matter of dropping the lamp in.
So were all done now then? Not quite! Earlier I was talking about the low current beacon LED's. Well these are going to be incorporated into the head of the Maglite.
To do this I firstly needed to make a constant current circuit like the one found here.
It was now time for some serious modding.
This was my first circuit.
Not the greatest but it worked.
So I covered it in hotglue to stop things falling off or shorting circuit, and cut it out.
But unfortunatly it was too large for my plans, so I needed to make a smaller version. I used all SMD components and the resistors were 33K ohm and 100k ohm respectively. This means the 3mm Reds get about 20ma giving a total run time of 9ish days.
This was now perfect. Time to mod the switch. From this,
To this,
The constant current circuit has no switch and connect directly to the batteries meaning its always on, which is what we wanted so we could find it in the dark.
If its in storage its as simple as loosening the tail cap ever so slightly to turn them off.
At first I wasn't sure as to where to put the 3mm Red LED's in the head but fortunately the holes, from where the screws holding the socket on, were the perfect size. So I hot glued them in and soldered them in parallel.
Connecting everything up and hay presto it all works
As the lamp now only needs ~4V the Maglite is running of 3 D cells (rechargeable or alkaline) with a spacer to fill the rest.
This is what it looks like from the front in the dark.
And some beam-shots.
Control shot
Standard 4D Maglite
3x3w Maglite
Not much more throw but a lot more floody and smoother beam pattern. All were taken at ISO 100, 1.6sec at f/4.5
I think i've covered everything but feel free to ask any questions I'm more than happy to answer.
Thanks for looking!
UPDATE!!
Video showing the simple installation of the MR16
Last edited: