
ShineOnYouCrazyDiamond
Flashlight Enthusiast
I am looking for some input before I go ahead and do some additional etching on a flashlight of mine.
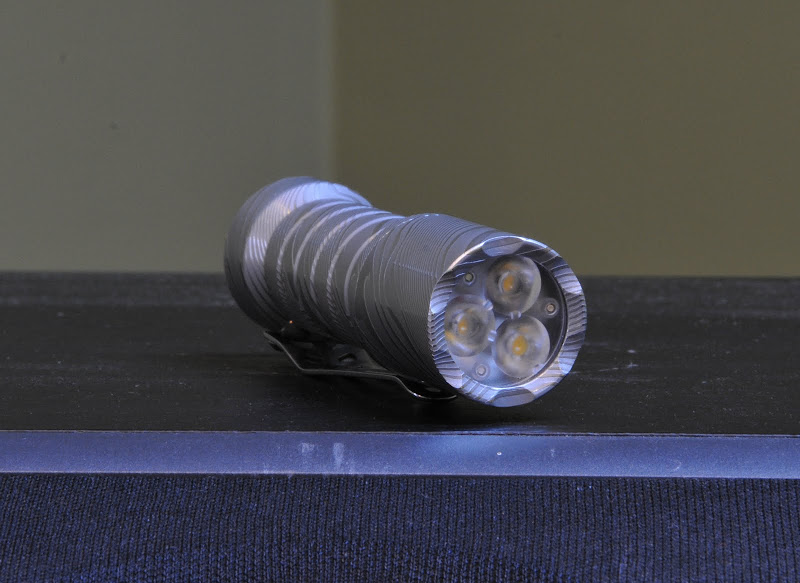
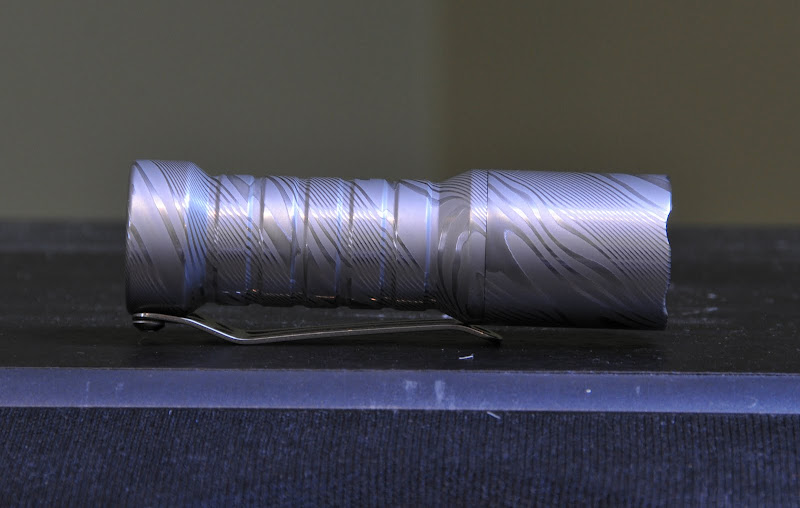
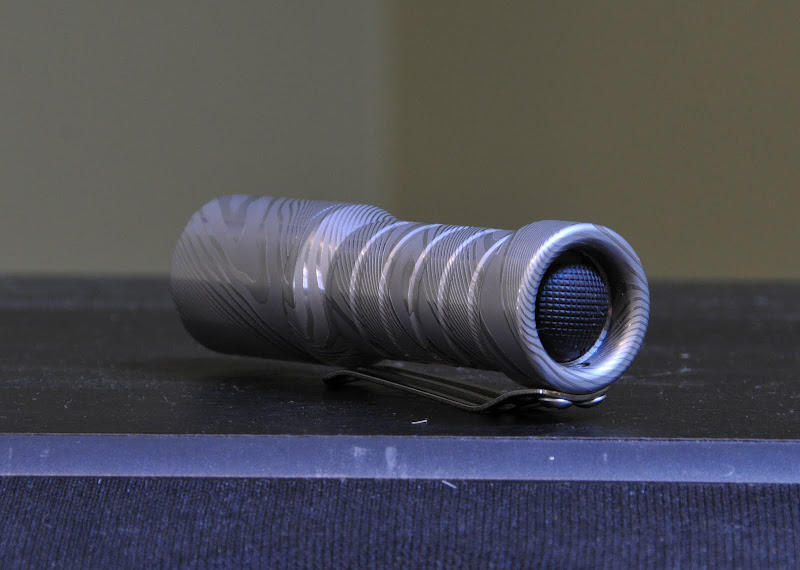
I have a damascus that had very light damascus etching and also some scrape looking marks. I sanded off the scrapes and polished up the light but in the process the etching was made even less deep. I want to re-etch the light but have a few questions before proceeding.
When people etch their lights do they do it with the light completely assembled relying on the seals to protect it?
Or, do they remove everything and etch the whole light inside and out? Does etching the inside present any concerns?
If you don't etch the inside what do you use to protect the metal so it doesn't etch?
My main thoughts about inside etching are: It could mess up all of the threaded action if the threads are etched and also the seals may not be solid.
Now - onto what to etch with. I have read muriatic acid and sulphuric acid, but those are out of my comfort level (and I have kids so way to risky just having that stuff in my house). The other thing I have read is using PCB Etchant Solution (my RadioShack has that) will work. One YouTube instructional video showed using a 1:1 mixture of white vinegar and etchant solution (with a warning of pouring etchant into vinegar and not the other way around).
Some input would be appreciated for best results. Thanks.


")