oRAirwolf
Newly Enlightened
So I spent all day on this mod and it was a b**** of a mod which ended in utter failure due to my stupidity, but I figured I would post it anyways.
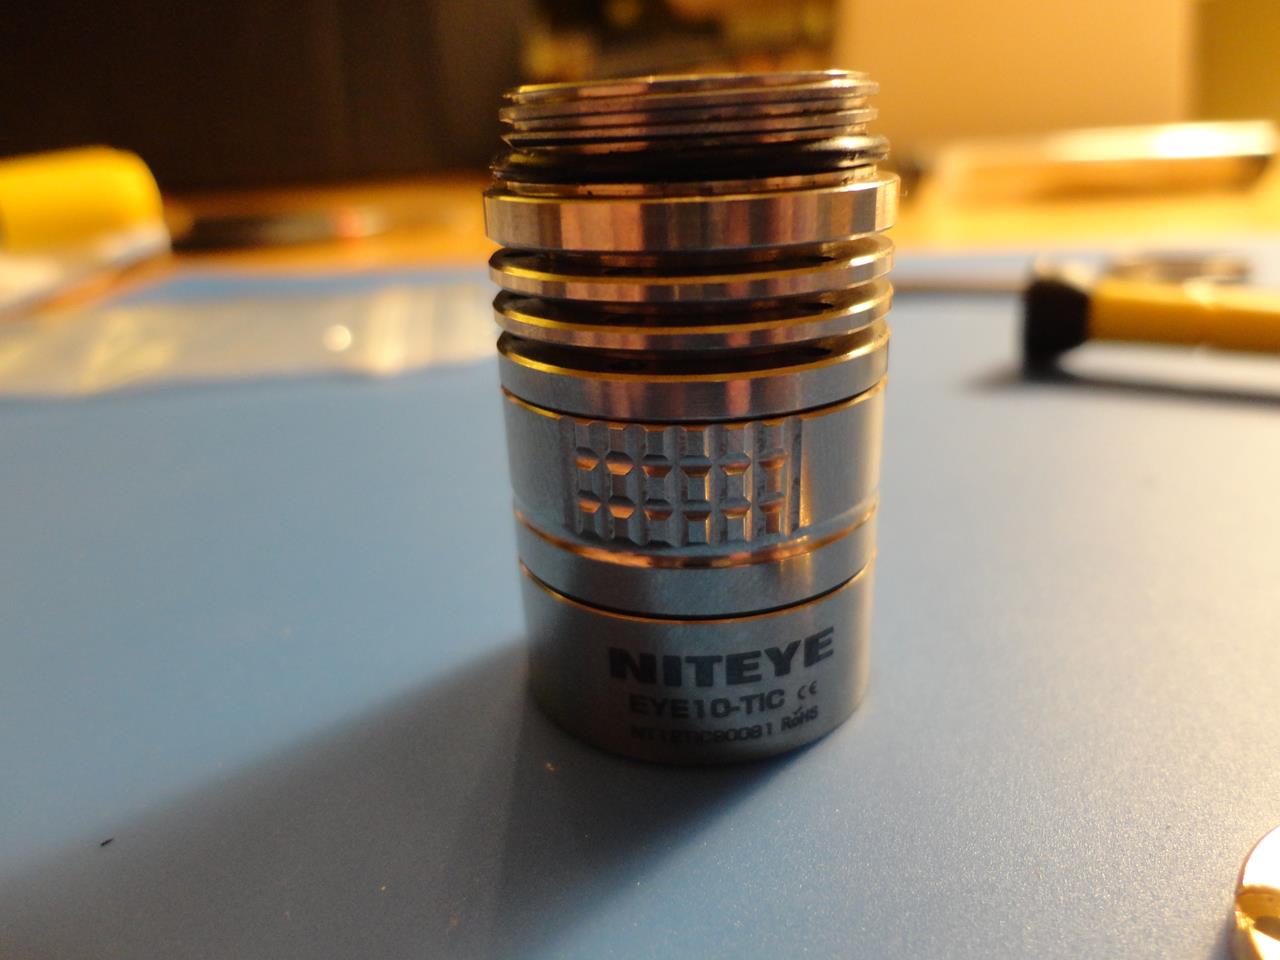
I have a Niteye EYE10 TiC, which is a 500 lumen single CR123/16340/18350 size light with infinitely variable brightness. It is made of titanium with a carbon fiber body. It is one of my favorite flashlights and I wanted to make it better by upgrading it to XM-L2 on Noctigon direct thermal copper and installing tritium gas lights, like I had seen in some other forum posts. There are pre-drilled holes in the cooling fins which people have inserted tritium gas lights into. I have a couple watches and a keychain with tritium gas lights in them, so I thought this would be a super trick mod.
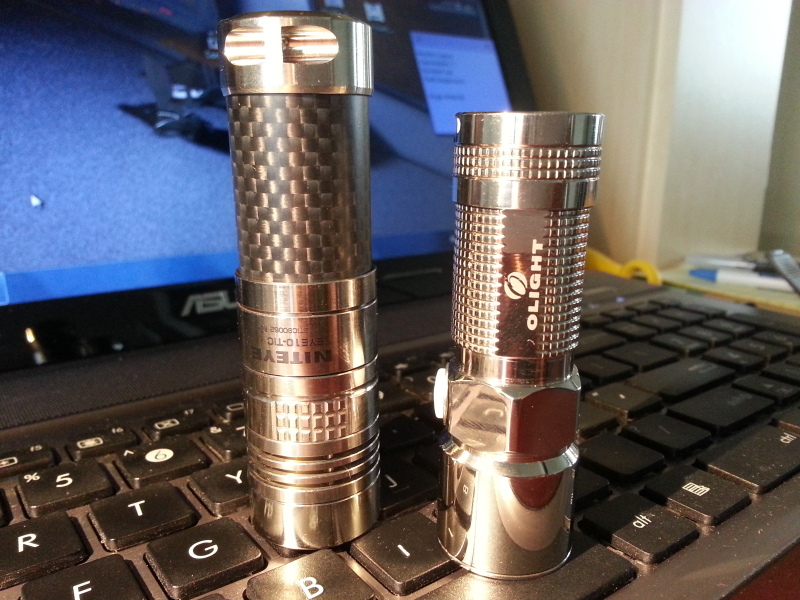
The light in it's original form on the left (not my picture):
I saw this picture of the light, which inspired me to mod it:
There are no good guides on how to mod this light, so I was mostly running blind. I got some information from Firelight2 on modding the Jetbeam RRT-01, which is essentially the same light, but the information was sparse at best. This is my first foray into flashlight modding and I am an idiot for starting out on a light I paid $128 for, but I say go big or go home.
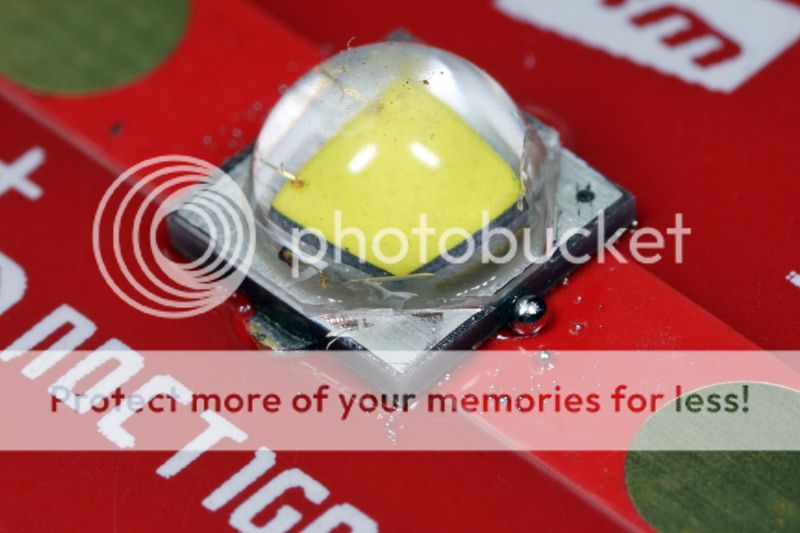
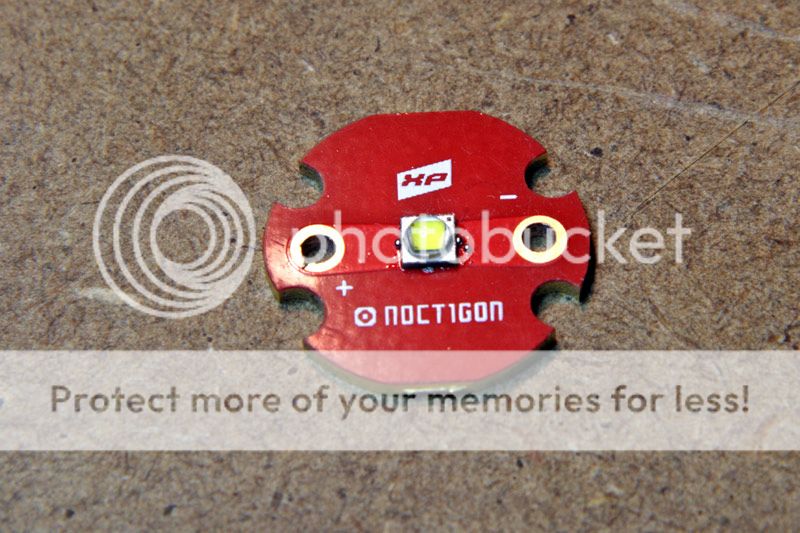
I ordered a Noctigon 16mm direct thermal copper MCPCB with a Cree XM-L2 U2 1A LED flowed onto it from www.intl-outdoor.com. I also ordered 6 2×8mm ice-blue tritium gas lights from B@rt in CPFMP.
First things first, I needed to remove the bezel of the light. This light uses threadlock everywhere, so it was not easy to take apart. I didn't take any pictures of this process, but I put the light in a ziplock bag and submerged it in boiling water for about 30 seconds. I used 2 silicone jar openers to twist apart the bezel from the head.
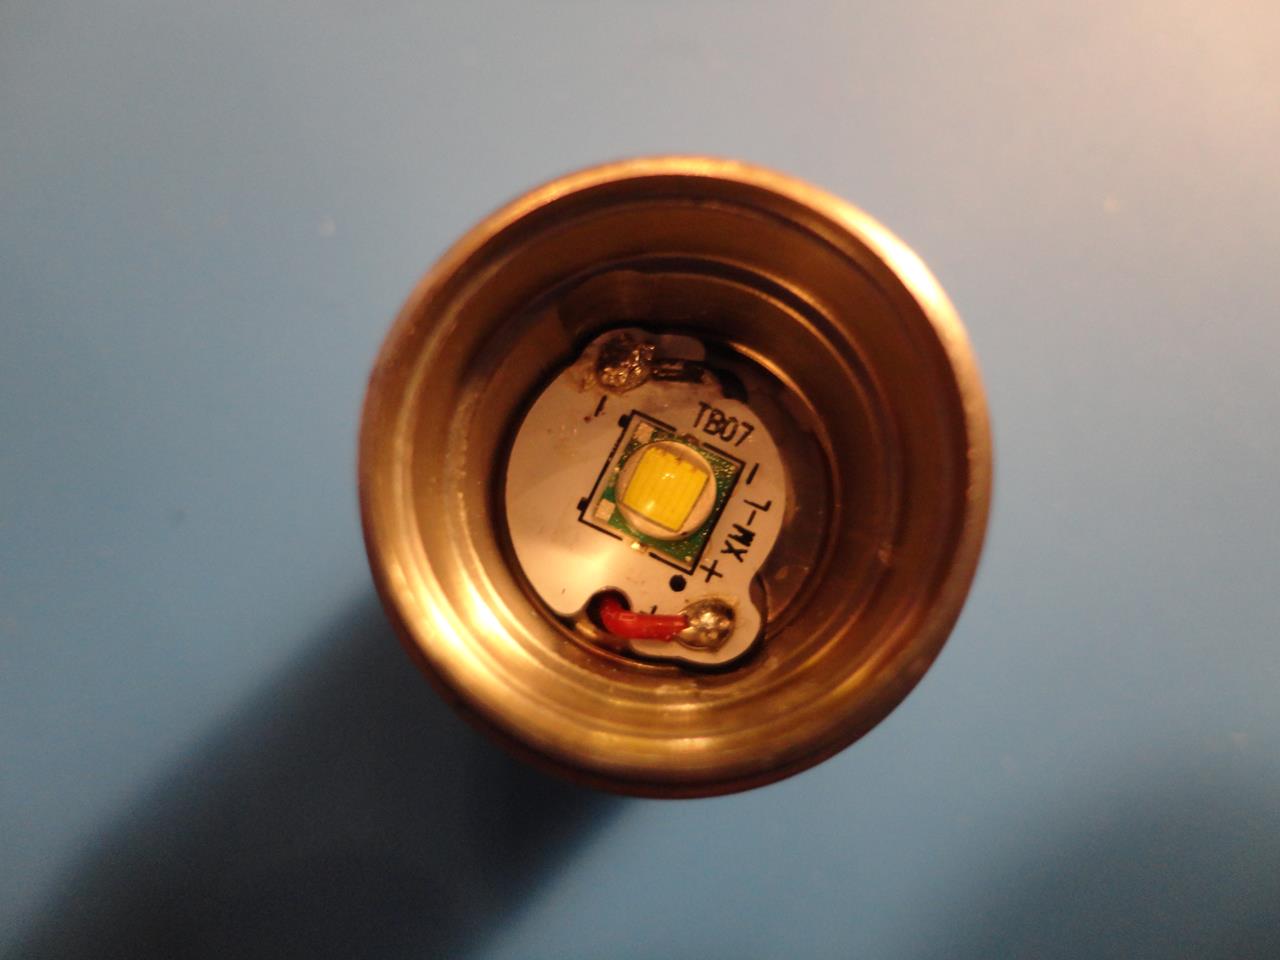
This is was the head of the light looks like with the bezel, aluminum OP reflector, and centering ring removed. I used a wire brush to clean all of the thread locker off the threads:
Next I removed the two screws holding the driver plate and driver in place:
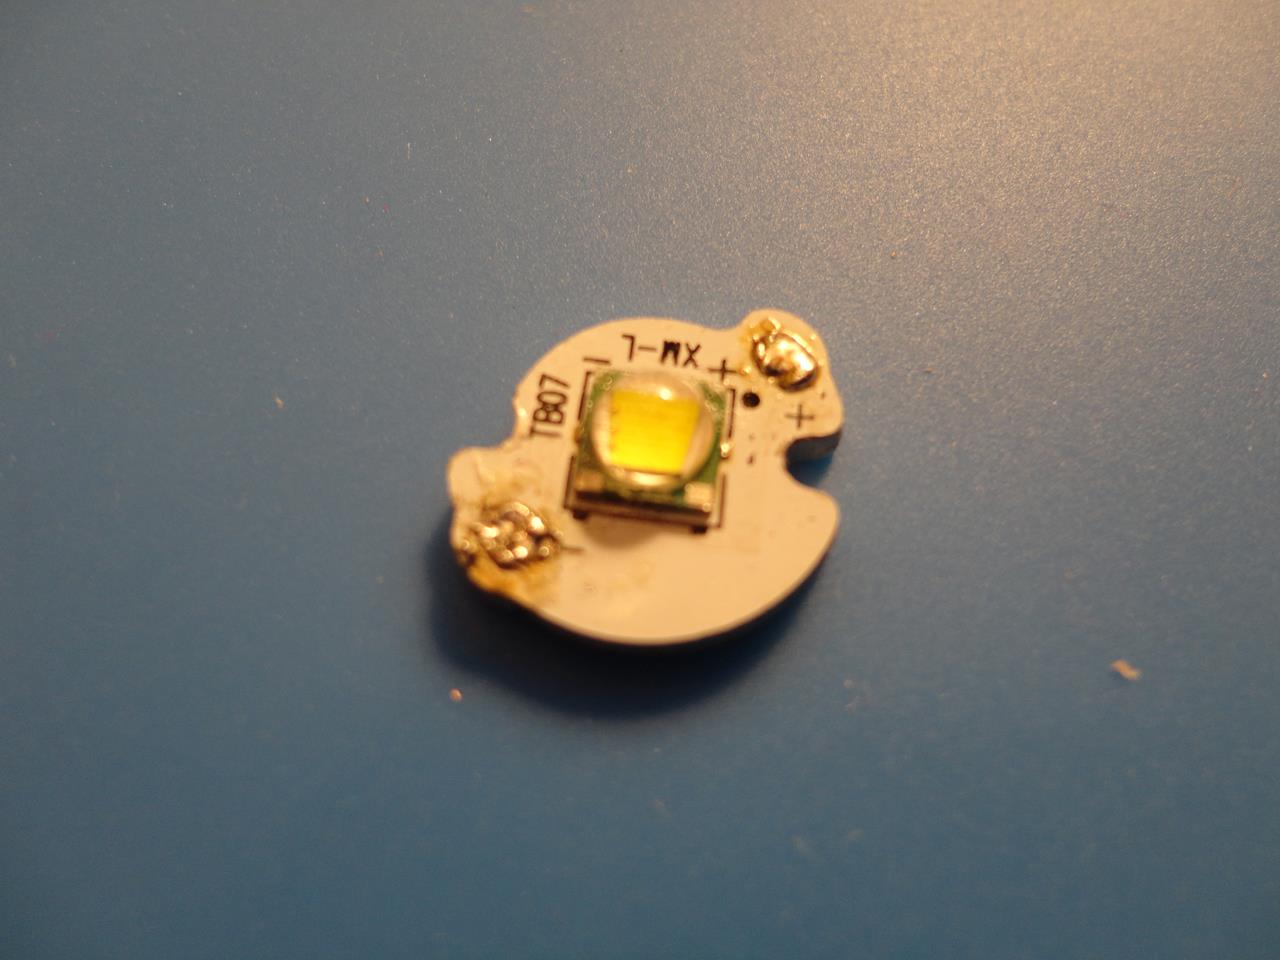
Then I removed the aluminum MCPCB from the light by desoldering the connections from the driver. The MCPCB was held in place with the centering ring and some silicone thermal paste:
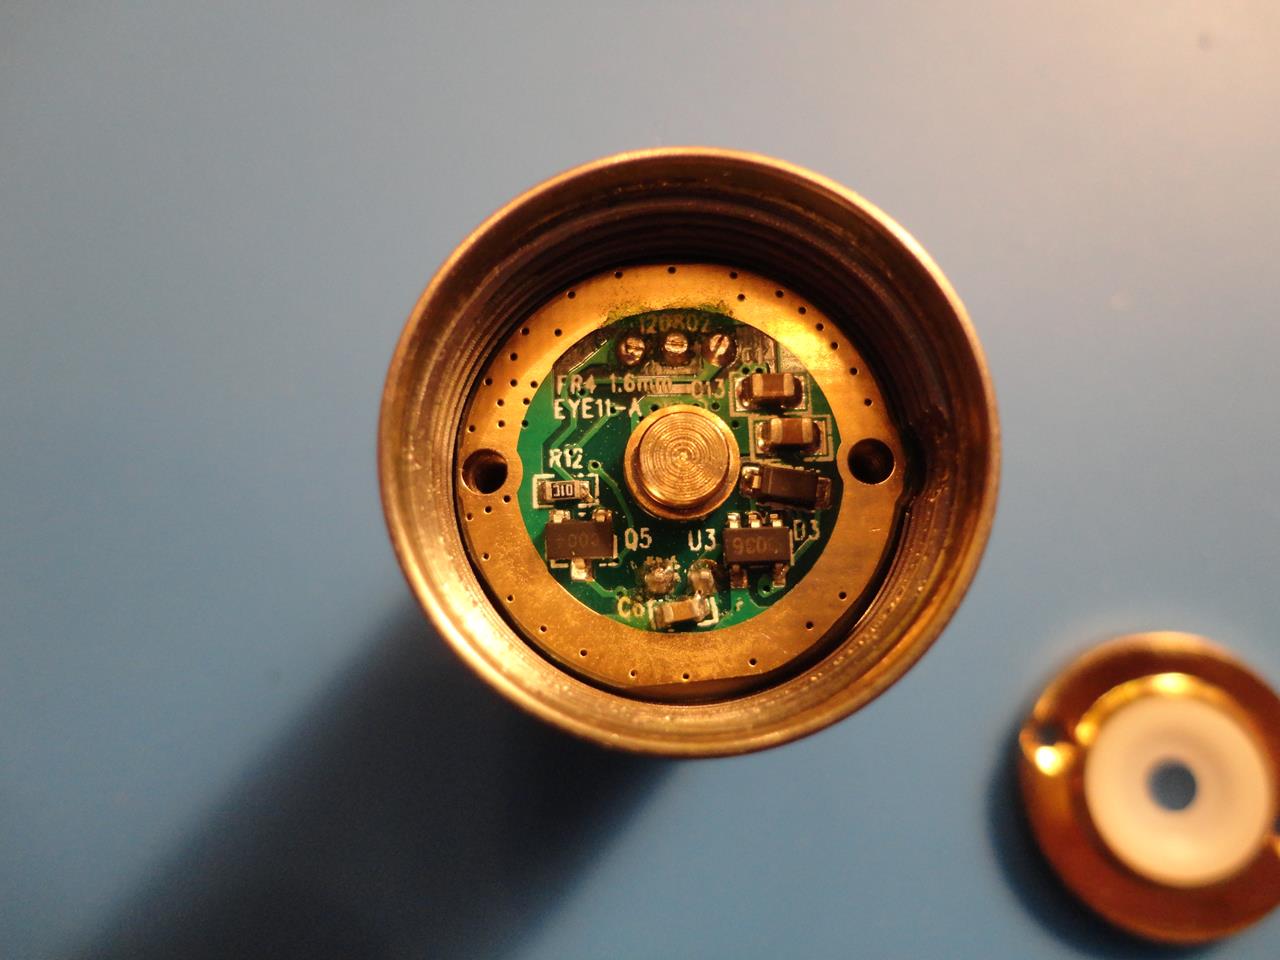
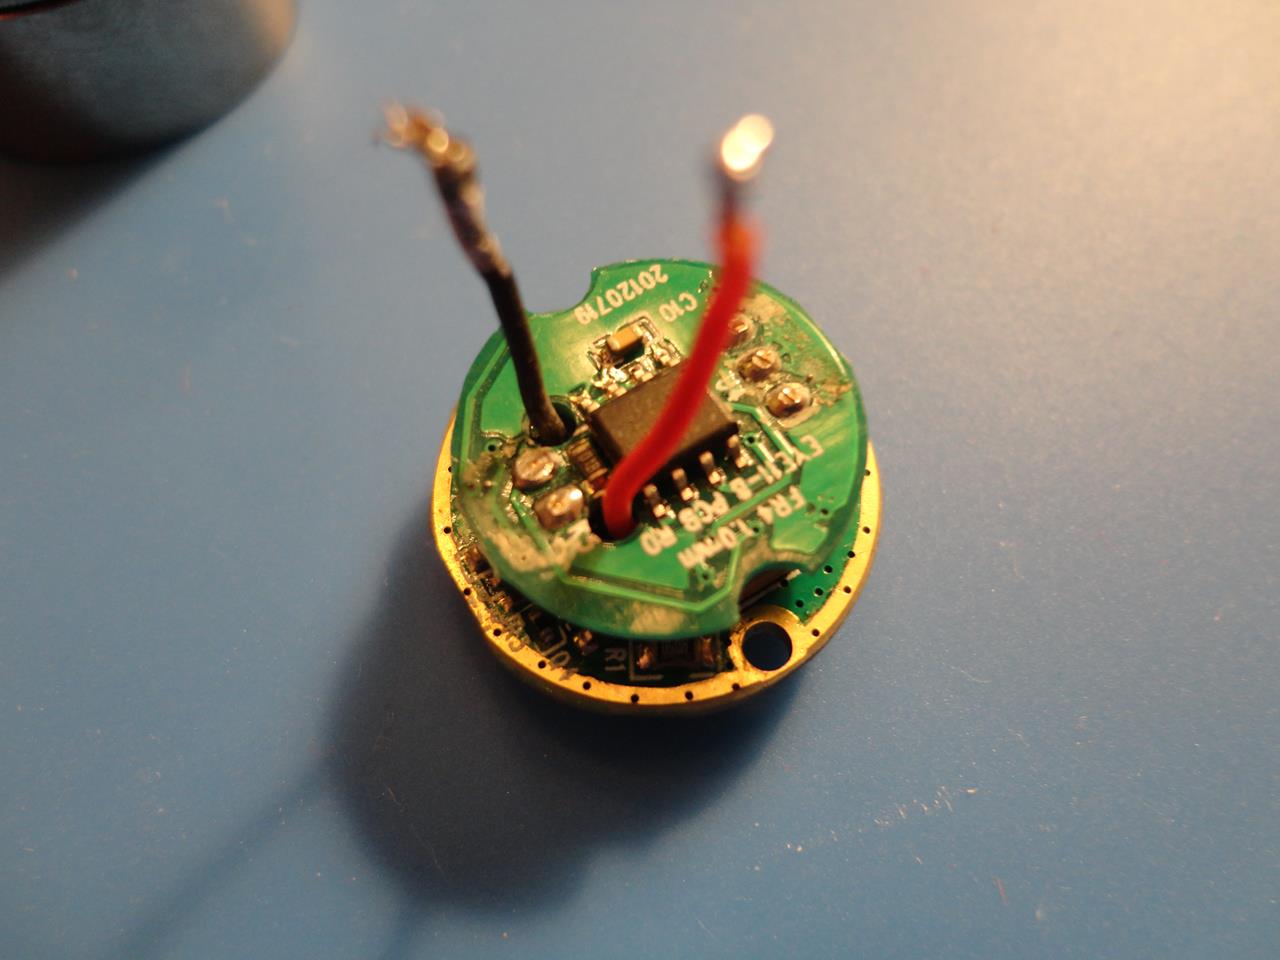
I pulled out the driver:

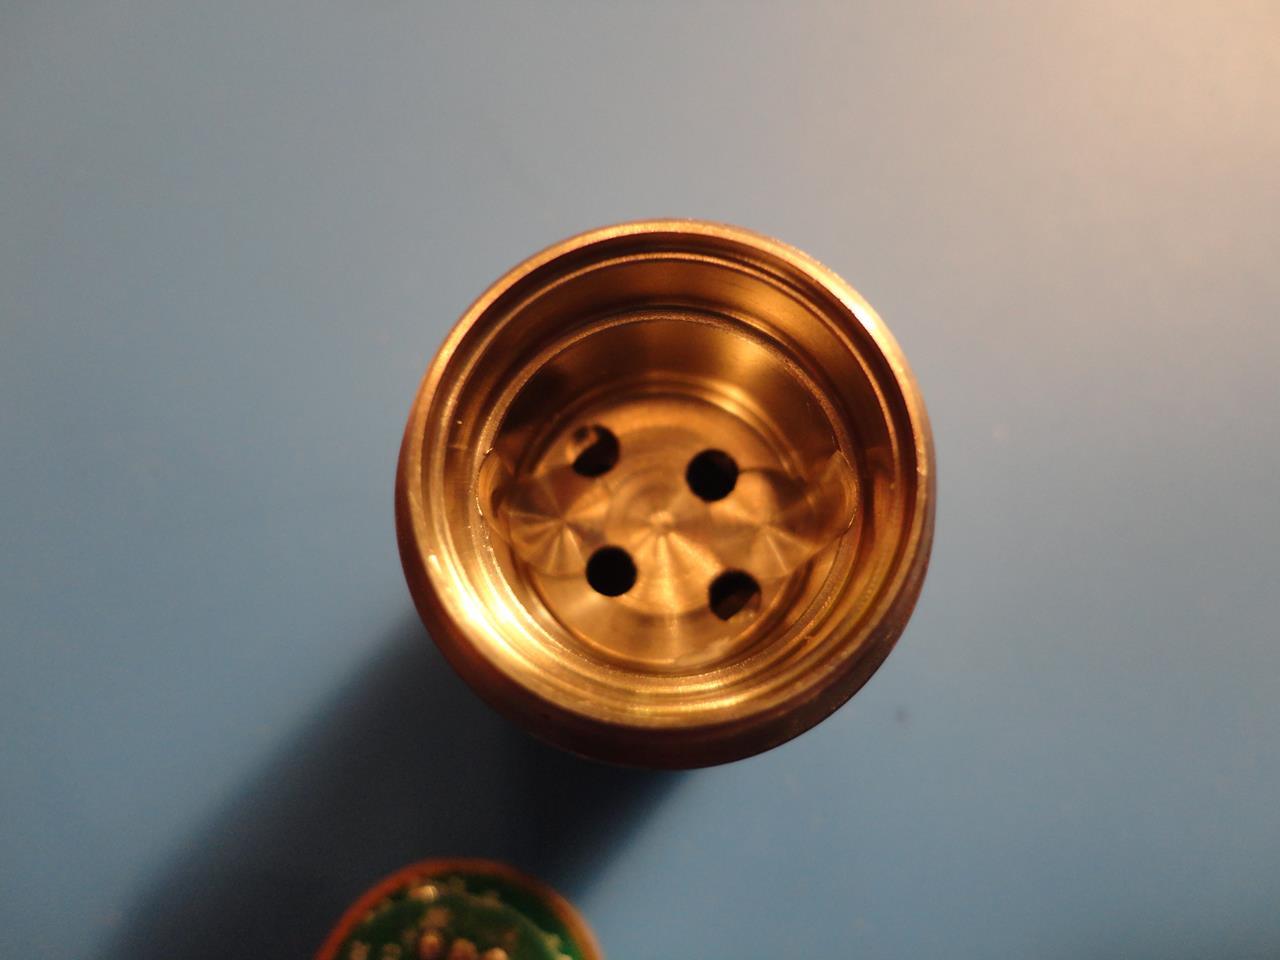
This is the front of the body where the MCPCB rests. This is post cleaning up with alcohol pads:
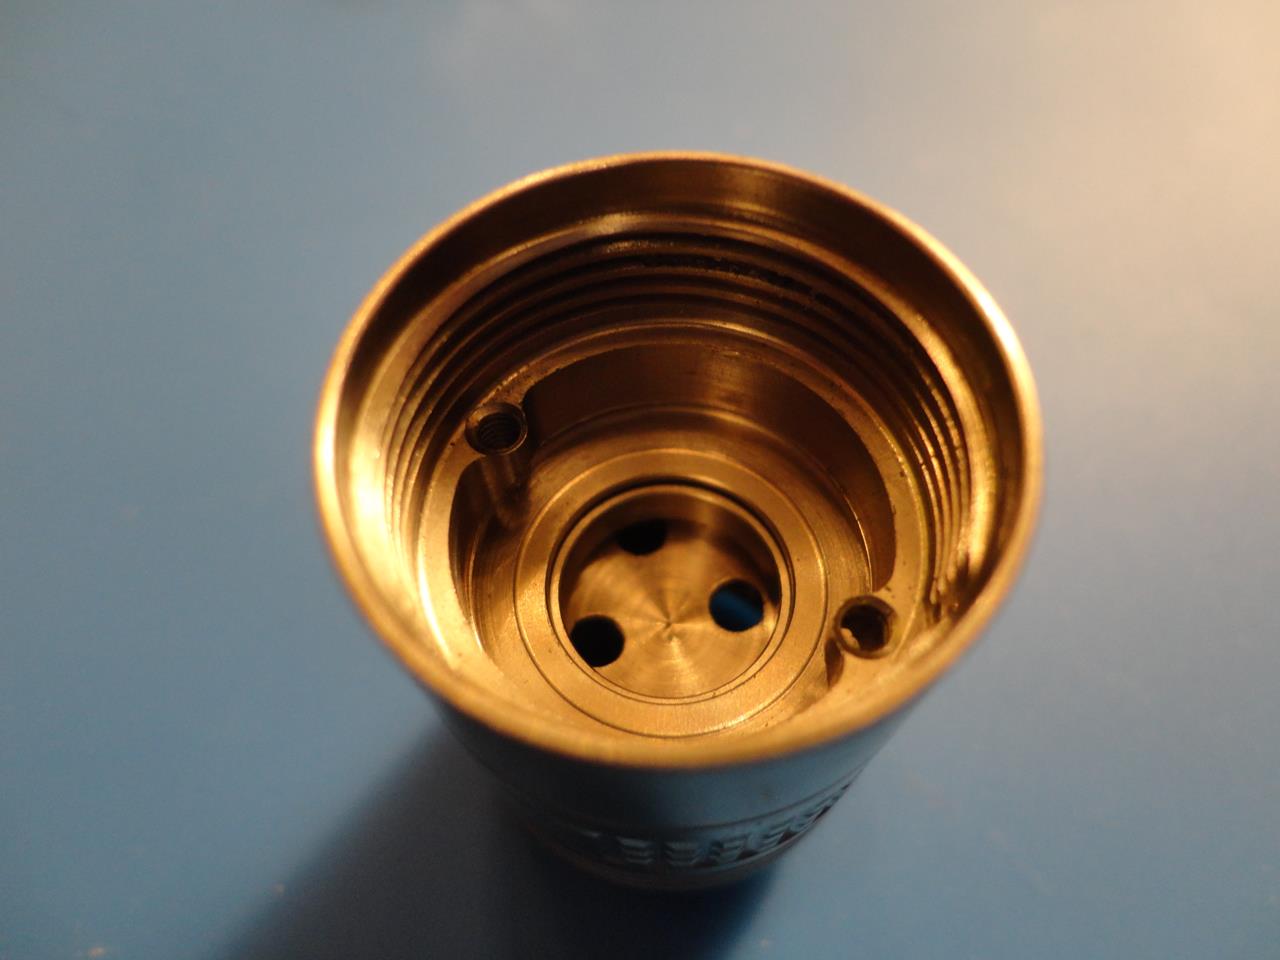
This is the back of the body where the driver goes:
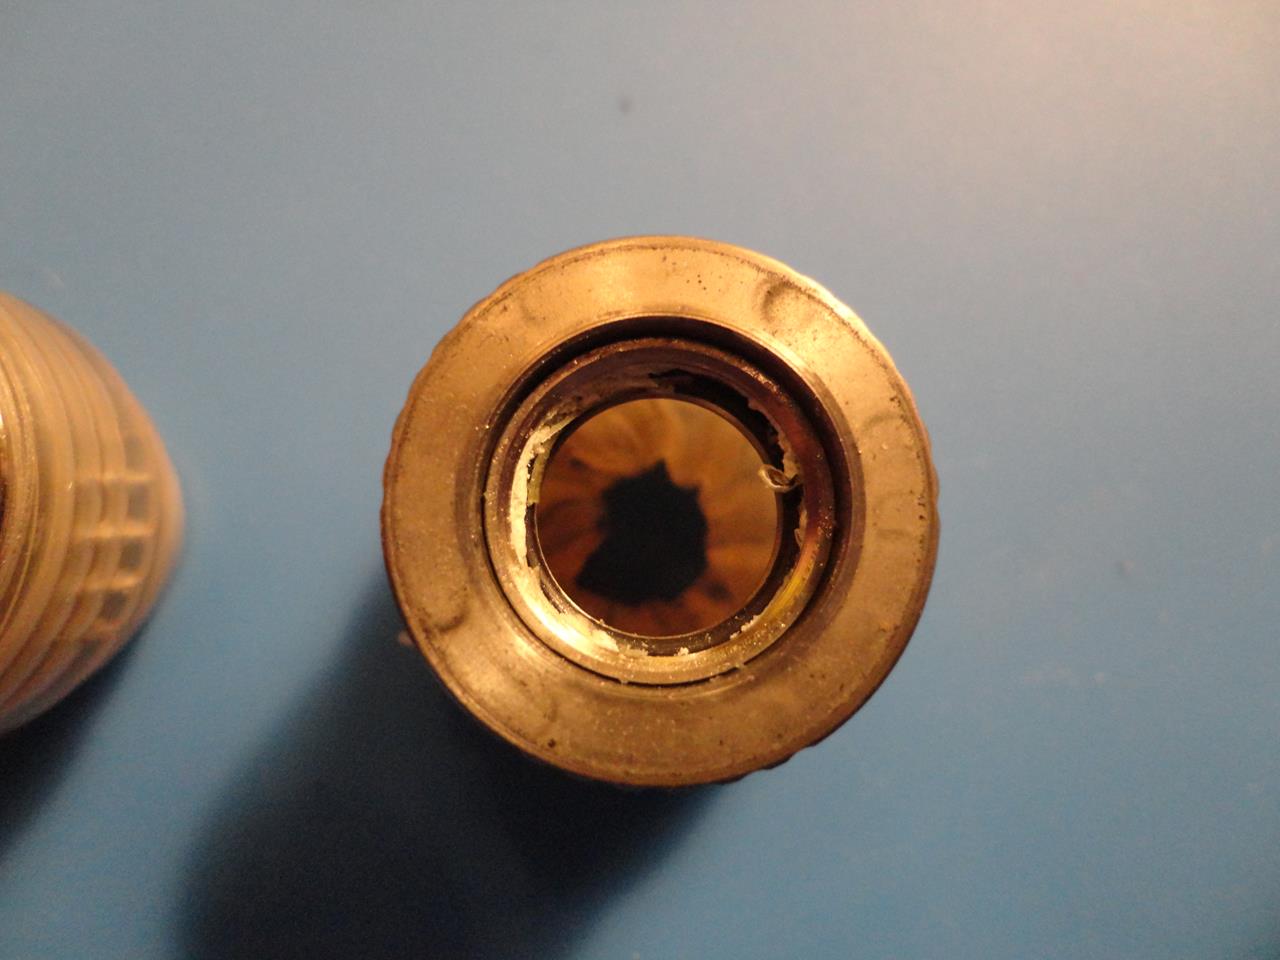
Here is the body without the head and the battery tube:
Here is a picture of the pre-drilled holes for what I can only imagine is intended to have gas lights installed:
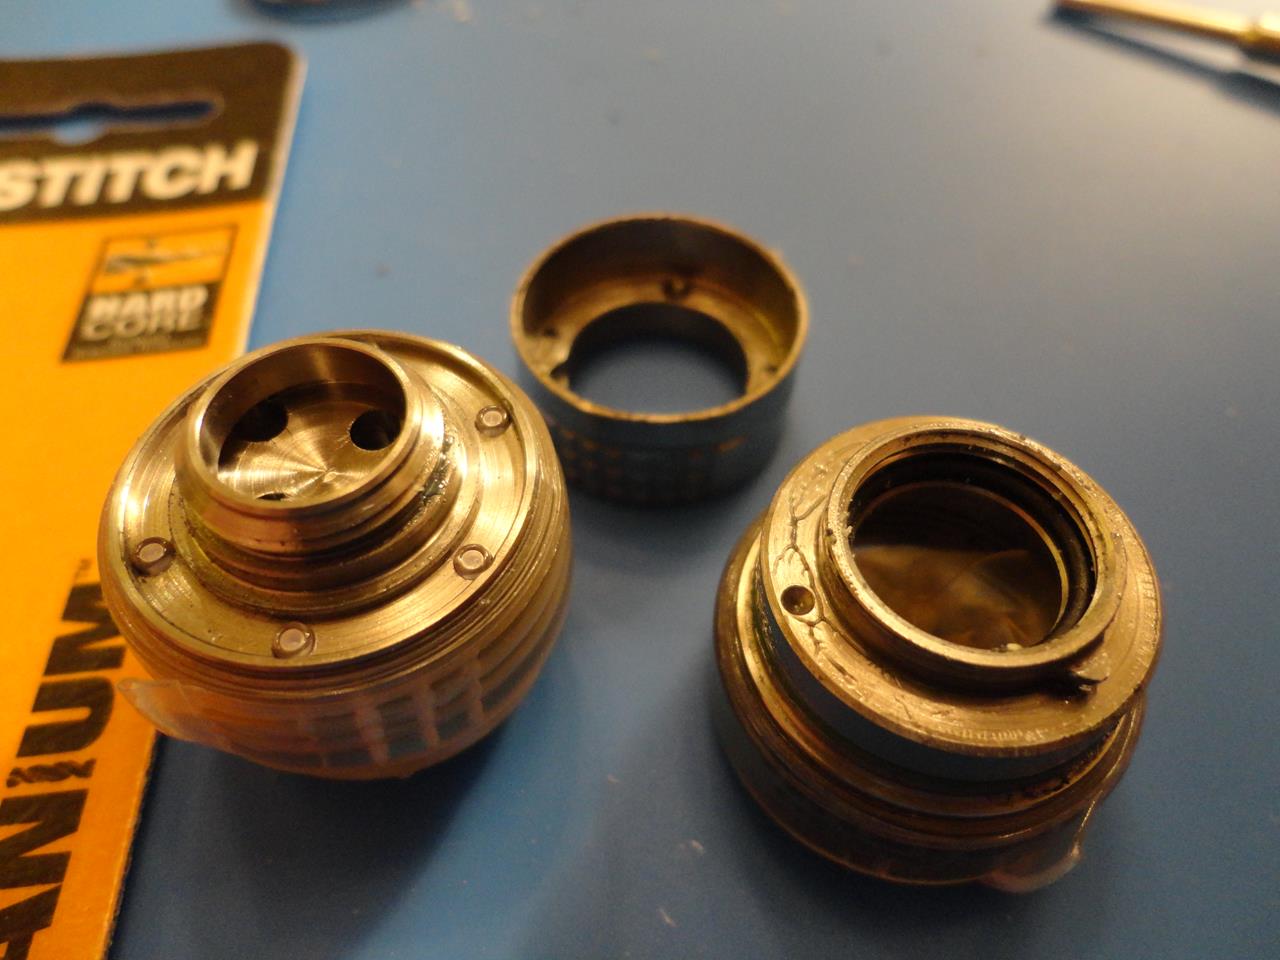
At this point, I was a little confused as to how to continue, I knew there had to be a way to remove the magnetic ring, but I wasn't sure how it was all held together. I tried boiling the body again, but I could not twist it apart. Eventually, I wrapped a bunch of electrical tape around the cooling fins and body, and used 2 vice grips to twist them apart. Niteye used a lot of thread locker here, but they came apart pretty easily with the vice grips:
Here is the top and bottom. You can see there is a lot of thread locker, which again, I used a wire brush to get rid of. I also cleaned out the area with alcohol wipes after taking these pictures. You can see the pre-drilled holes in the cooling fins:
Top:
Bottom
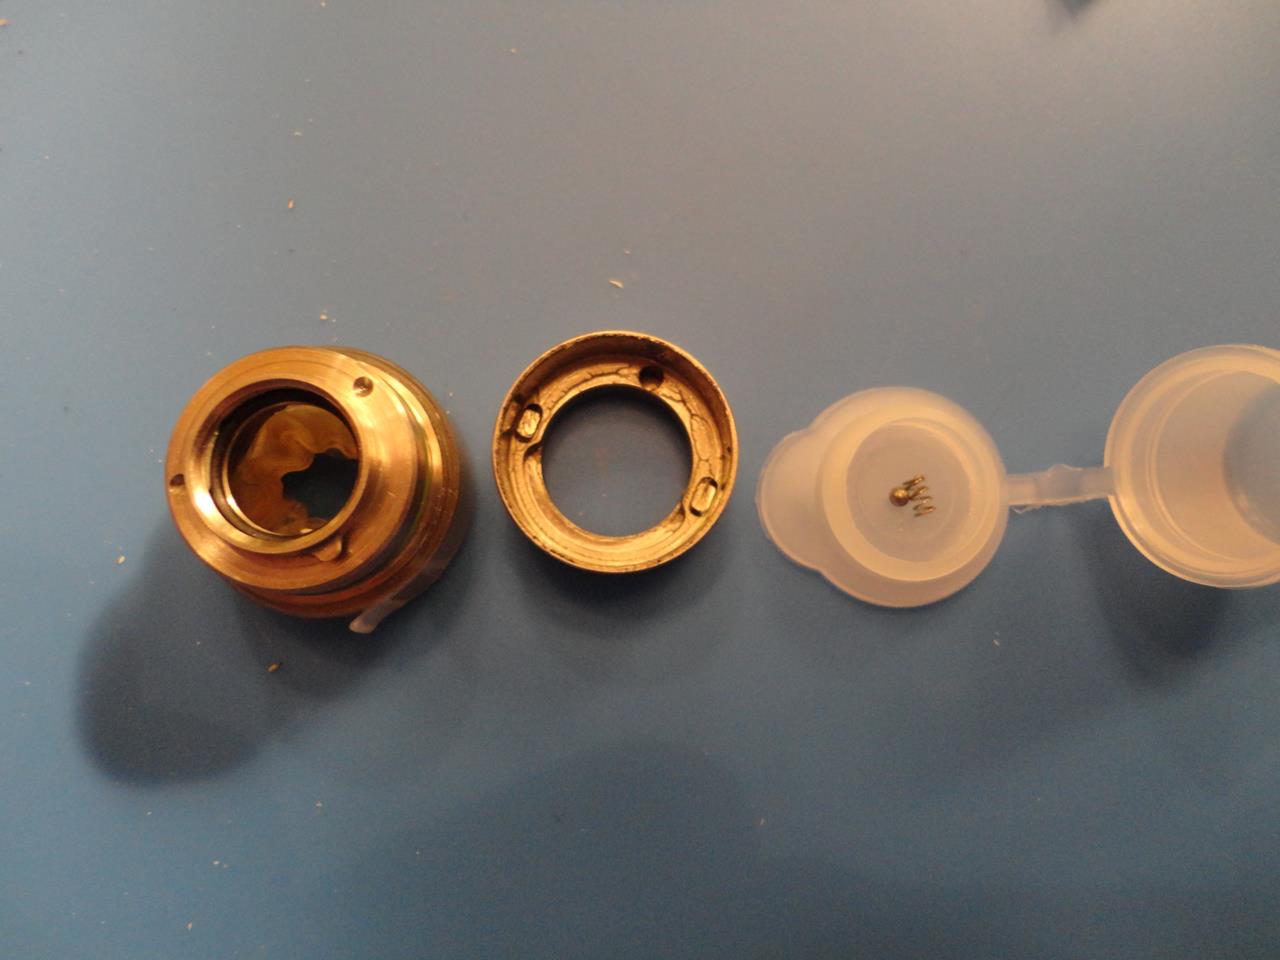
Here is the bottom part with the magnetic ring removed, along with all of it's parts. There is a ball inside the magnetic ring on top of a small spring:

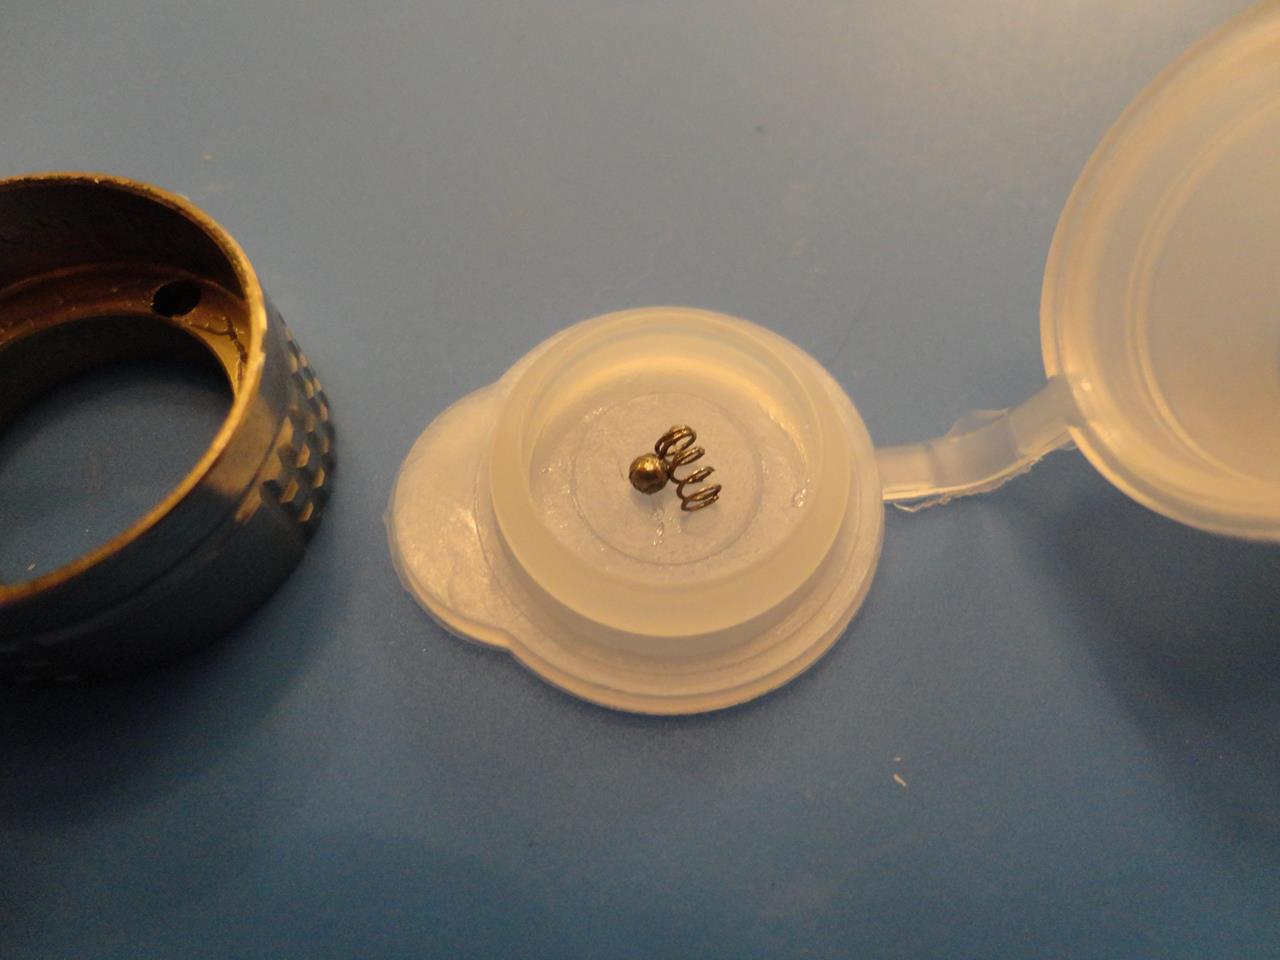
I cleaned up all of the magnetic ring parts and then re-lubed them with Nyogel.
I found that the 2×8mm gas lights would not fit, but they should, so I began to try and ream out the holes. I ended up buying some 2mm titanium coated drill bits from Walmart that I was able to use to bore out the holes and slide in the lights with no problems. You can see the lights in the respective holes in this picture:

Here is a lot of the metal filings left over from reaming out the holes with the drill bit stuck to the tape:
 [/IMG]
I then put some (a lot) blue/medium thread lock on the threads that hold the two parts of the body together and screwed them back together. This was the root cause of my eventual failure.
Next, I had to get the driver back in the body and the wires threaded through the tiny holes. I did this by soldering some of my solder wire to the leads to lengthen them and pull them through the holes. This part was quite tricky and required quite a bit of finesse because the solder wires would break off easily:
Finally…
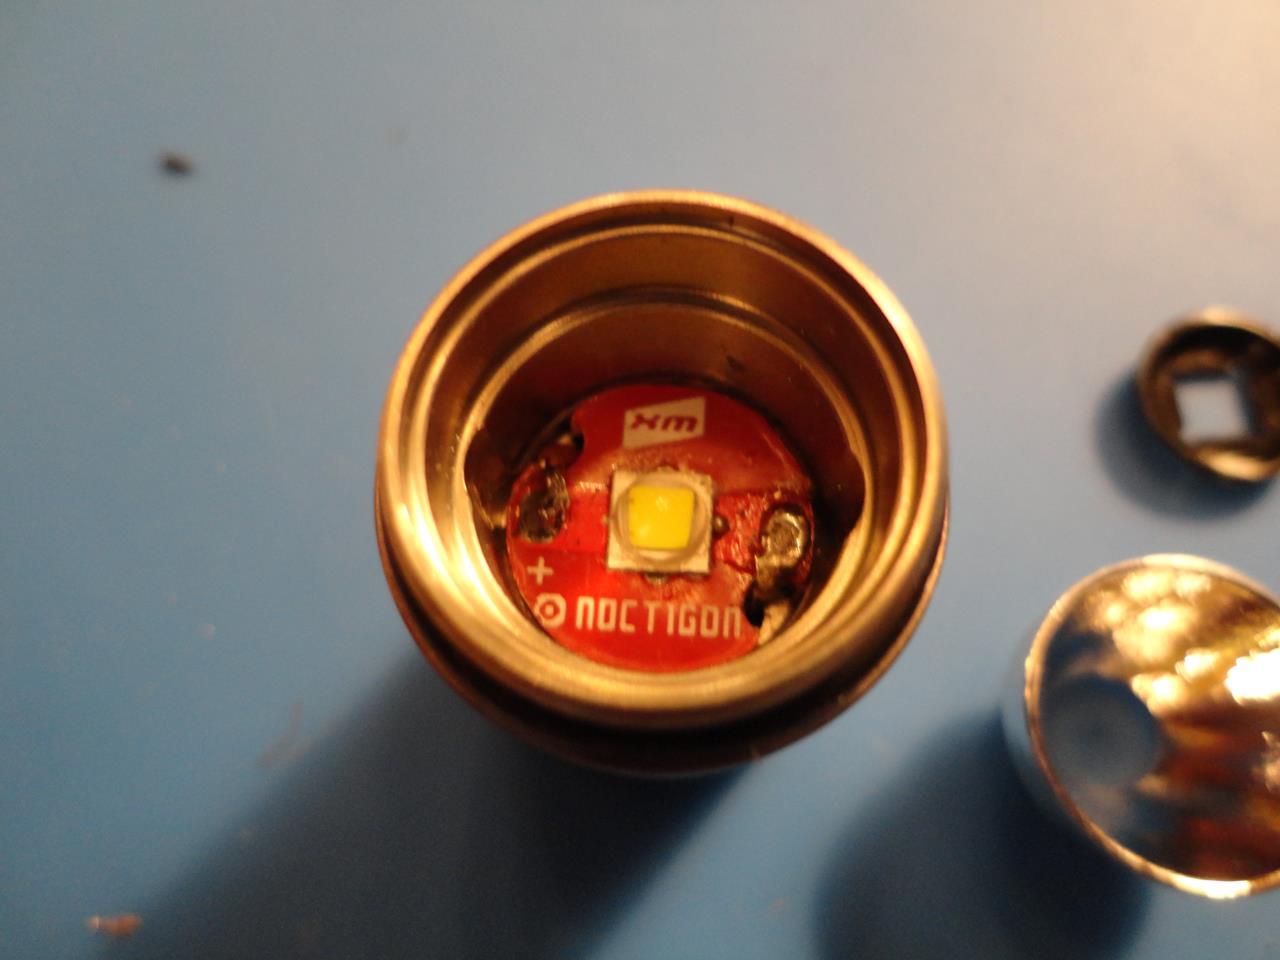
I then had to fit the 16mm Noctigon MCPCB into the body. This required quite a bit of grinding and re-sizing. I used a rotary tool with a grinding wheel to remove material from the MCPCB until it would fit inside. I thought I had everything in at first and ended up soldering the leads back on to theMCPCB. I then tried to put the reflector in and it wouldn't go all the way in. I realized after putting back in the original MCPCB that I wasn't getting past the last tier of the body. There is a ring that you have to get the MCPCB past, which can be seen in the last picture. After finally removing enough material from the MCPCB, I was able to fit it in all the way. I put Arctic Silver 5 on the back of the MCPCB, set it in place, and soldered on the leads:
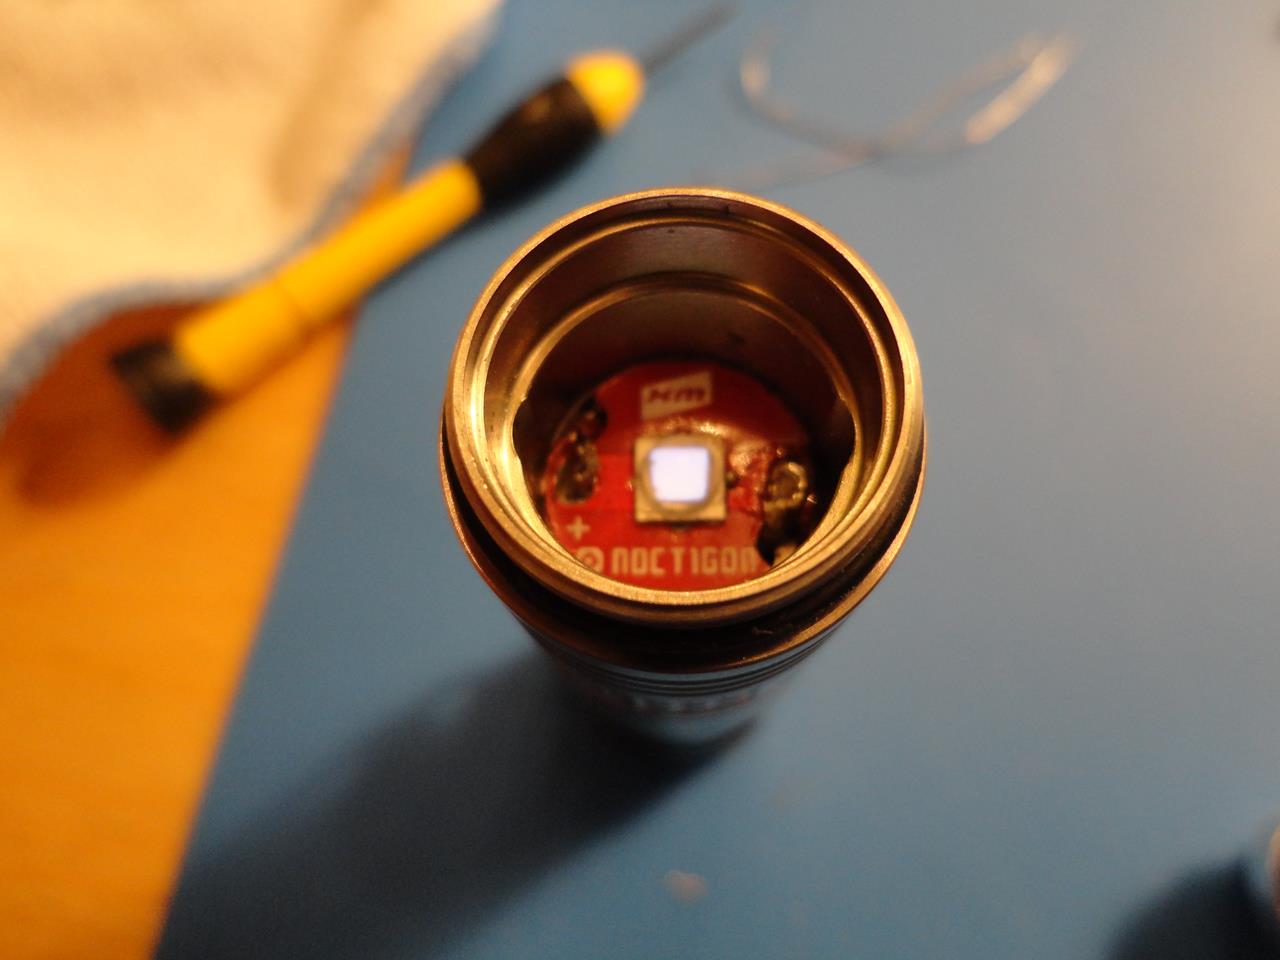
I screwed back on the driver plate and tested the light. It worked (keyword: "worked," not "works"):
At this point I was pretty proud of myself, as this was my first mod and everything was working. I found the control ring very difficult to turn and figured some of the blue thread lock I had used had gotten on it. I couldn't get it to move smoothly, so I very stupidly twisted the body of the light a little bit to see if it just needed to be loosened a little. Big mistake. I'm not sure what happened, but when I tried the light again, it wouldn't turn on. The body was very hot, so I quickly removed the battery, which was slightly warm, and began oh f**k mode. I completely disassembled the light again…Desoldered the MCPCB and removed the driver. The driver smelled burned, so I was pretty sure what had happened at that point. I managed to fry the driver somehow by turning the body of the light. After taking apart the light completely, I found that the thread locker had gotten on the control ring and is what was causing all the problems. I removed all of the thread locker, put on a small amount this time, and completely re-assembled the light. Still won't turn on. I have to contact Niteye about getting a new driver. I really hope they are cool about it, because it was not a cheap light and I can't harvest a driver from an RRT-01 or EYE10, because they are both constructed differently (I have both). I was not able to use the stock centering ring anymore. I think my crappy soldering job is to blame, so I need to figure out what to do there as well. I am probably just going to cut a piece of silicone electrical tape to size, but any suggestions would be appreciated.
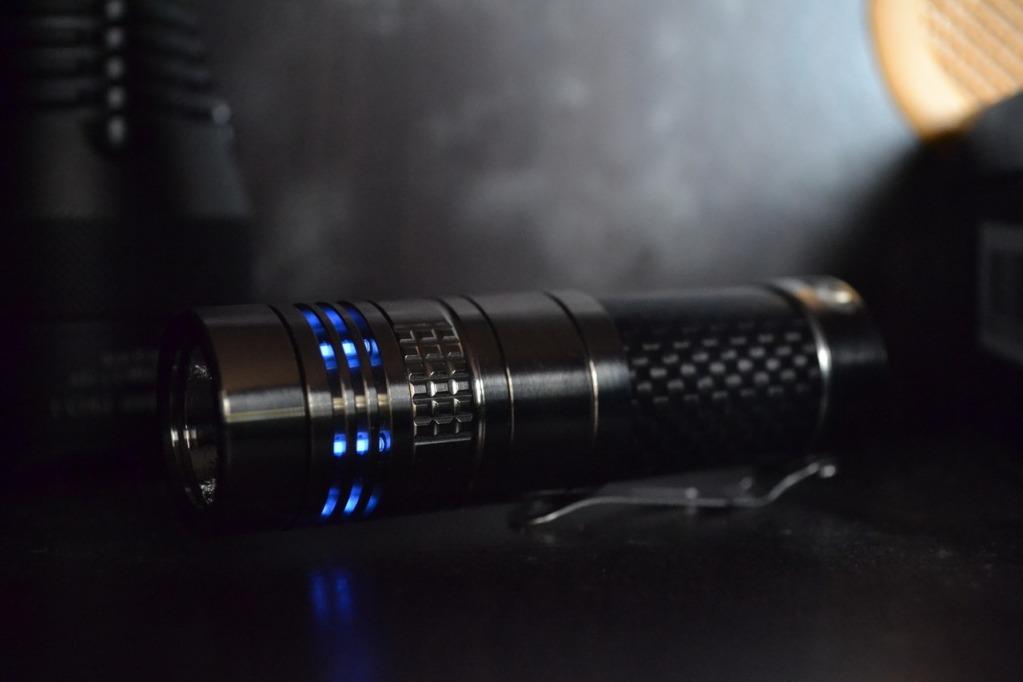
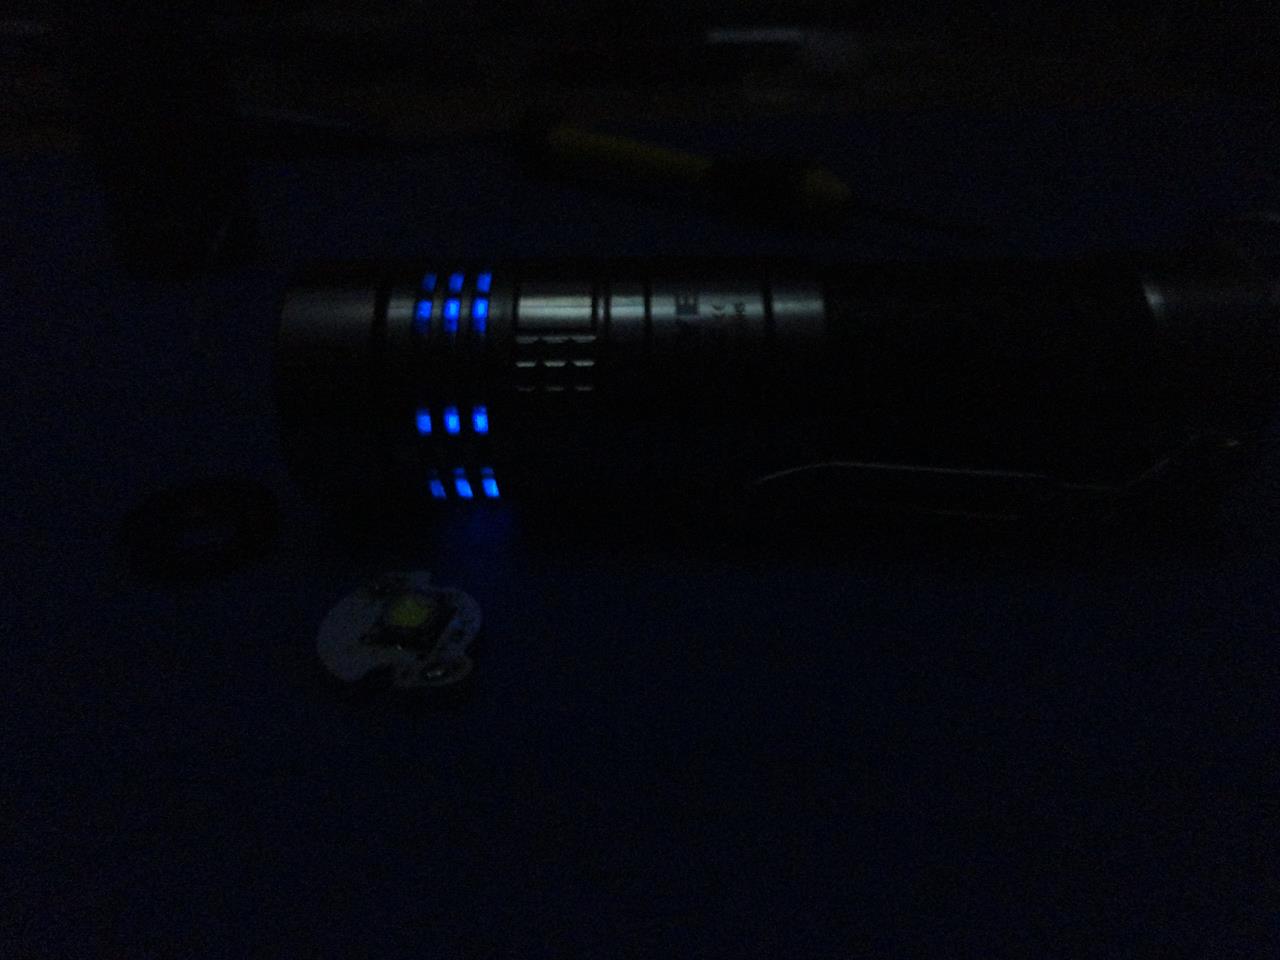
In the meantime, here is a picture of the light with the gas lights installed:
So not a total failure, but I have to wait and see if Niteye will be cool and let me buy a new driver. Otherwise, I just burned a crapload of money and time. I will update this post if/when I hear back from Niteye and when I get the light working again.
Total cost:
Niteye EYE10 TiC from Doing Outdoor via eBay: $127.50
Noctigon 16mm direct thermal copper MCPCB w/ Cree XM-L2 U2 1A: $8.45 shipped w/ tracking
6 × 2×8mm ice-blue tritium gas lights from B@rt: $69 shipped with no tracking
————————————————
Total: $204.95 before incidentals (drill bits, rotary tool, thread lock, nyogel, hemostats, solder, solder vaccum, tears of sadness, etc)
I have a Niteye EYE10 TiC, which is a 500 lumen single CR123/16340/18350 size light with infinitely variable brightness. It is made of titanium with a carbon fiber body. It is one of my favorite flashlights and I wanted to make it better by upgrading it to XM-L2 on Noctigon direct thermal copper and installing tritium gas lights, like I had seen in some other forum posts. There are pre-drilled holes in the cooling fins which people have inserted tritium gas lights into. I have a couple watches and a keychain with tritium gas lights in them, so I thought this would be a super trick mod.
The light in it's original form on the left (not my picture):
I saw this picture of the light, which inspired me to mod it:
There are no good guides on how to mod this light, so I was mostly running blind. I got some information from Firelight2 on modding the Jetbeam RRT-01, which is essentially the same light, but the information was sparse at best. This is my first foray into flashlight modding and I am an idiot for starting out on a light I paid $128 for, but I say go big or go home.
I ordered a Noctigon 16mm direct thermal copper MCPCB with a Cree XM-L2 U2 1A LED flowed onto it from www.intl-outdoor.com. I also ordered 6 2×8mm ice-blue tritium gas lights from B@rt in CPFMP.
First things first, I needed to remove the bezel of the light. This light uses threadlock everywhere, so it was not easy to take apart. I didn't take any pictures of this process, but I put the light in a ziplock bag and submerged it in boiling water for about 30 seconds. I used 2 silicone jar openers to twist apart the bezel from the head.
This is was the head of the light looks like with the bezel, aluminum OP reflector, and centering ring removed. I used a wire brush to clean all of the thread locker off the threads:
Next I removed the two screws holding the driver plate and driver in place:
Then I removed the aluminum MCPCB from the light by desoldering the connections from the driver. The MCPCB was held in place with the centering ring and some silicone thermal paste:
I pulled out the driver:
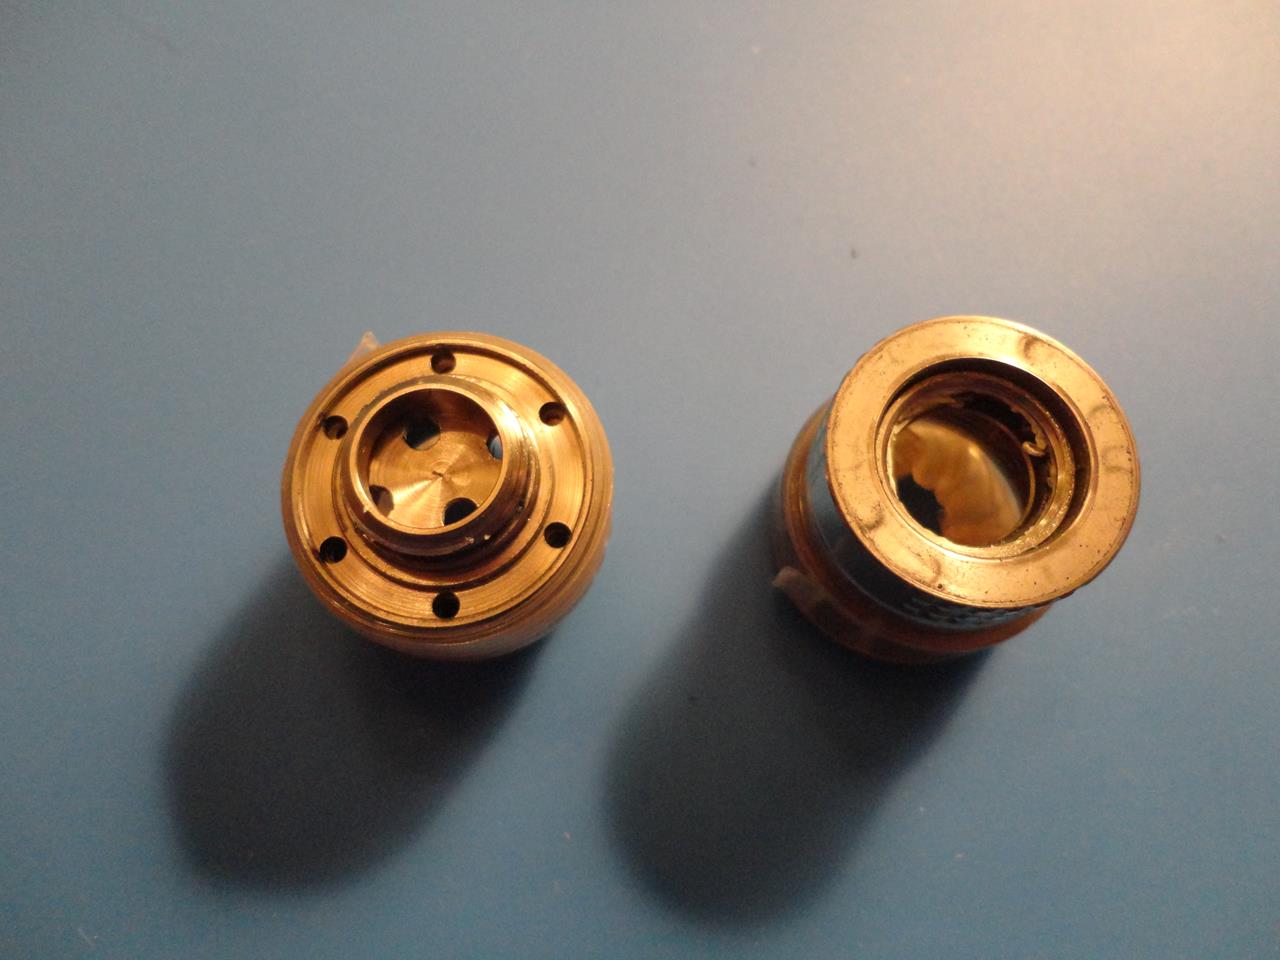
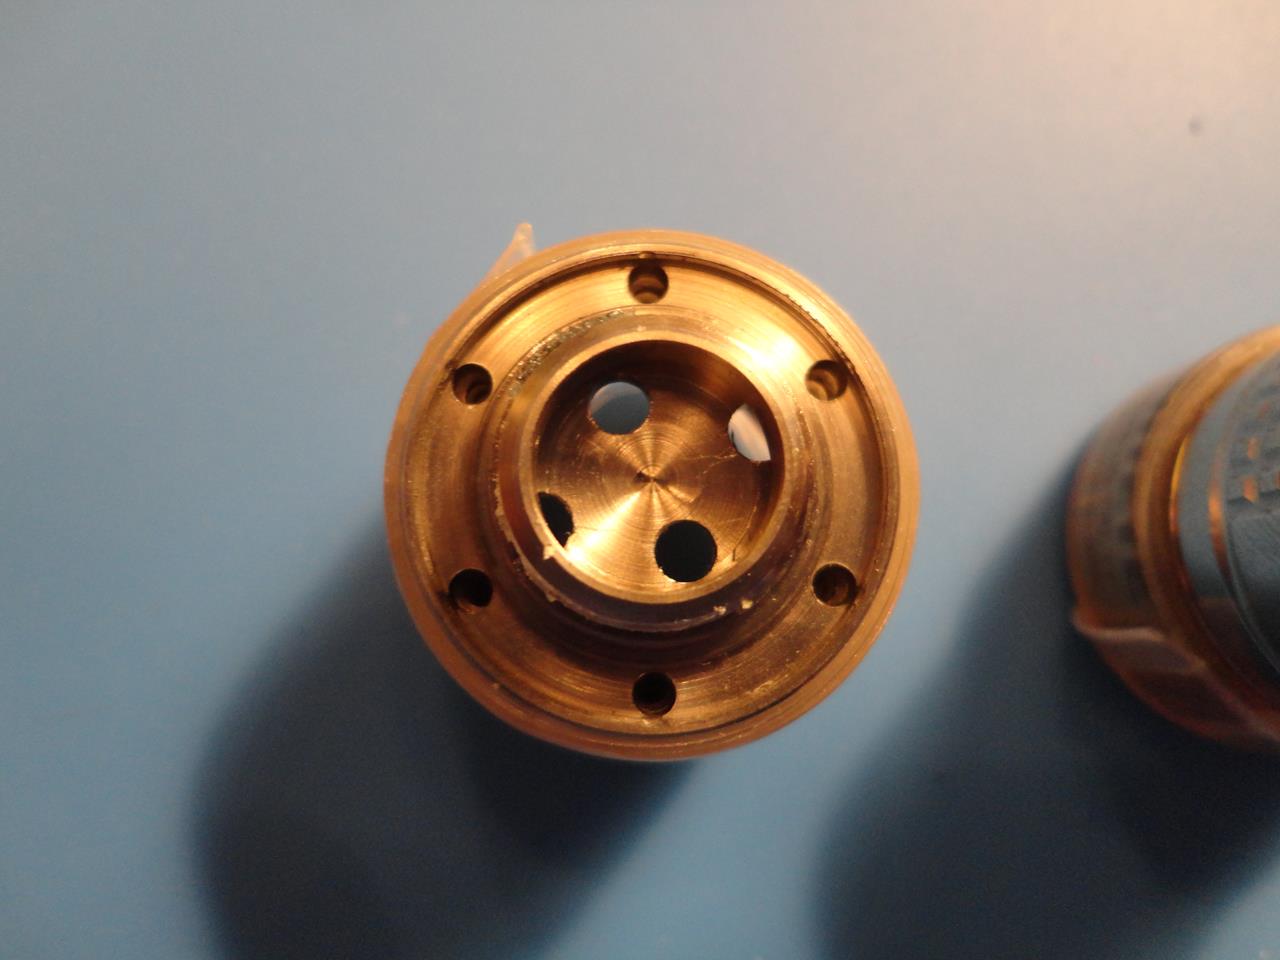
This is the front of the body where the MCPCB rests. This is post cleaning up with alcohol pads:
This is the back of the body where the driver goes:
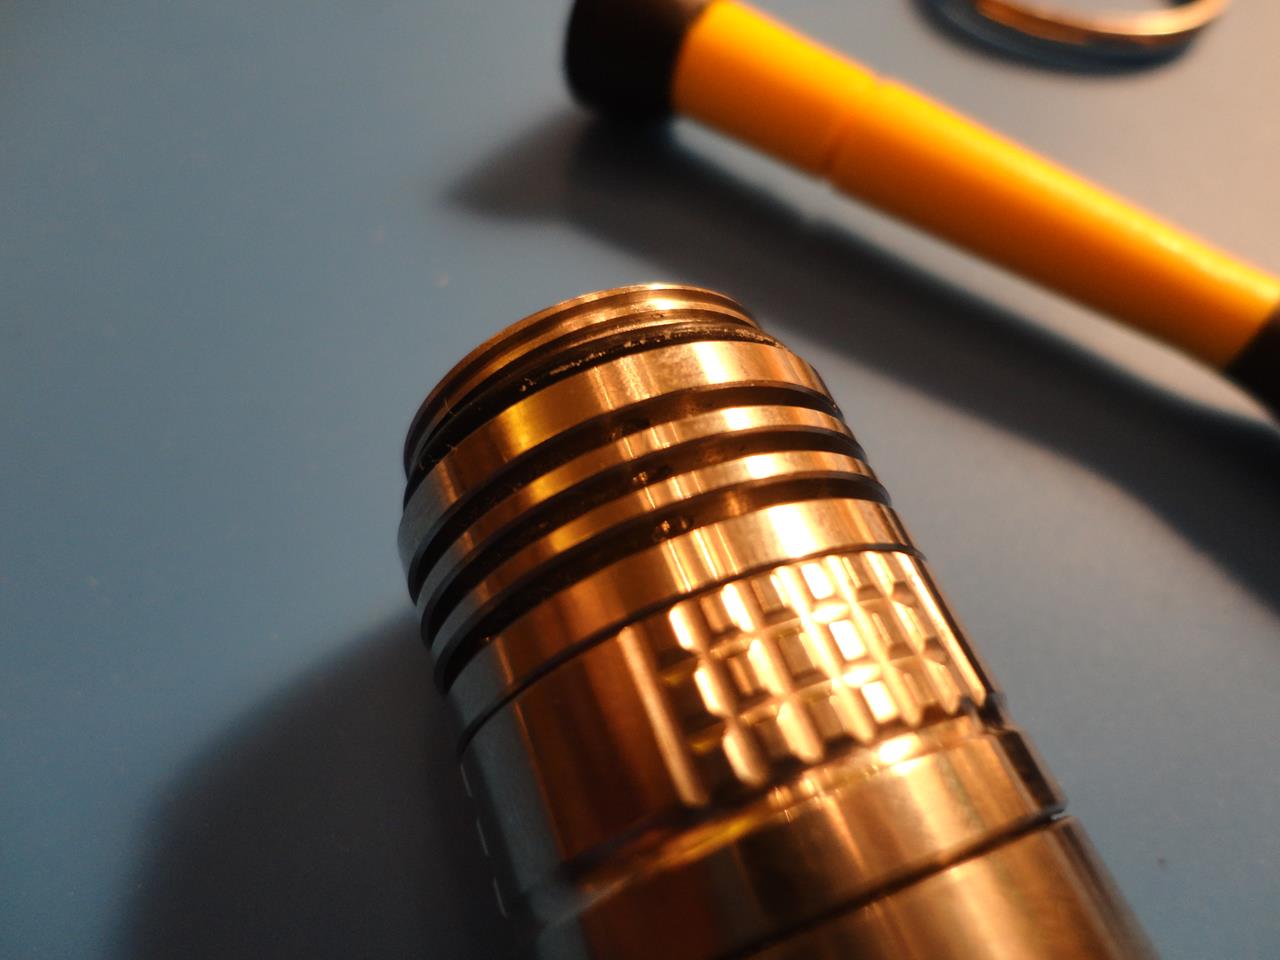
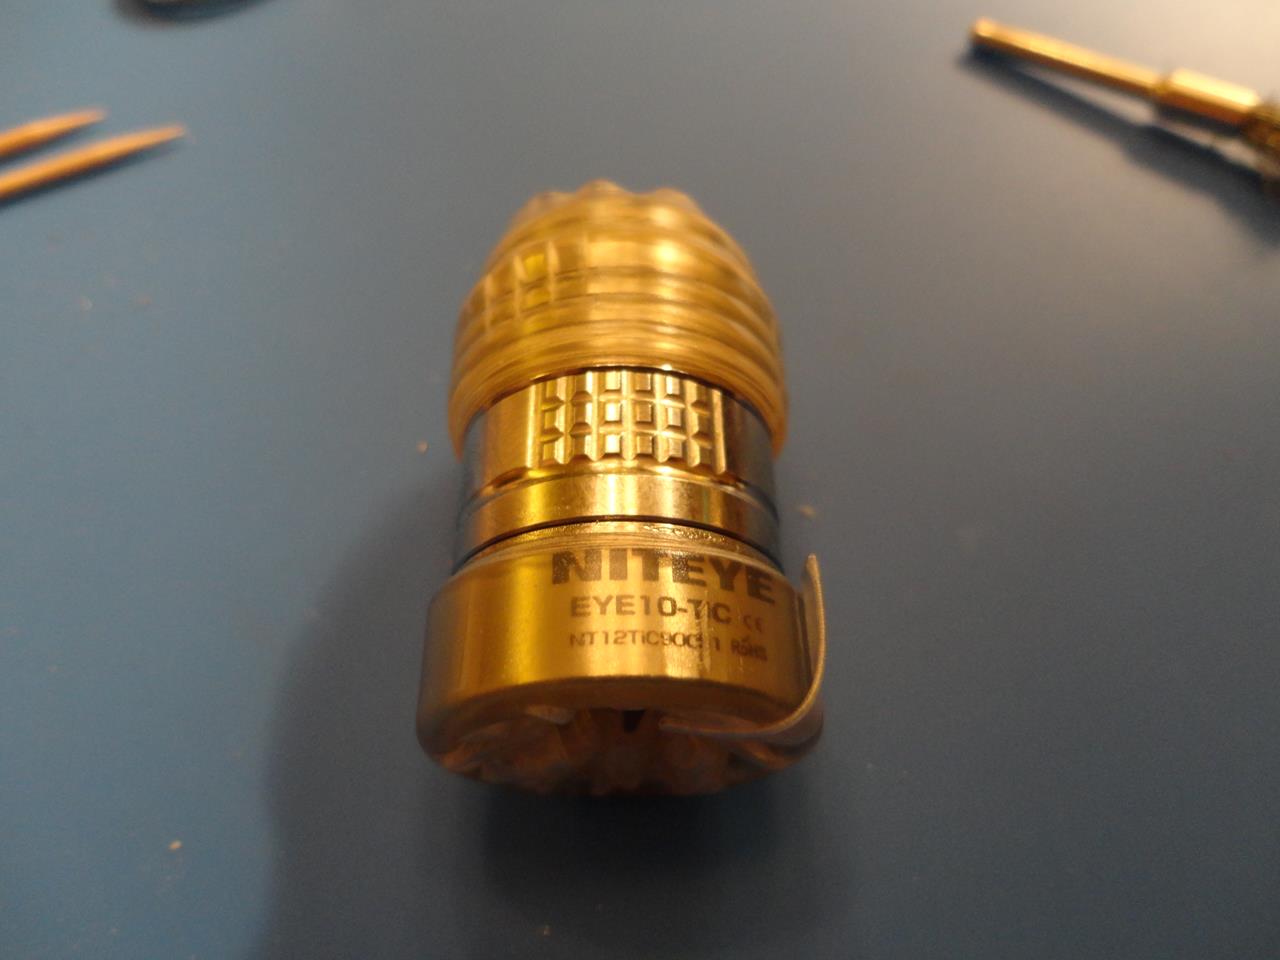
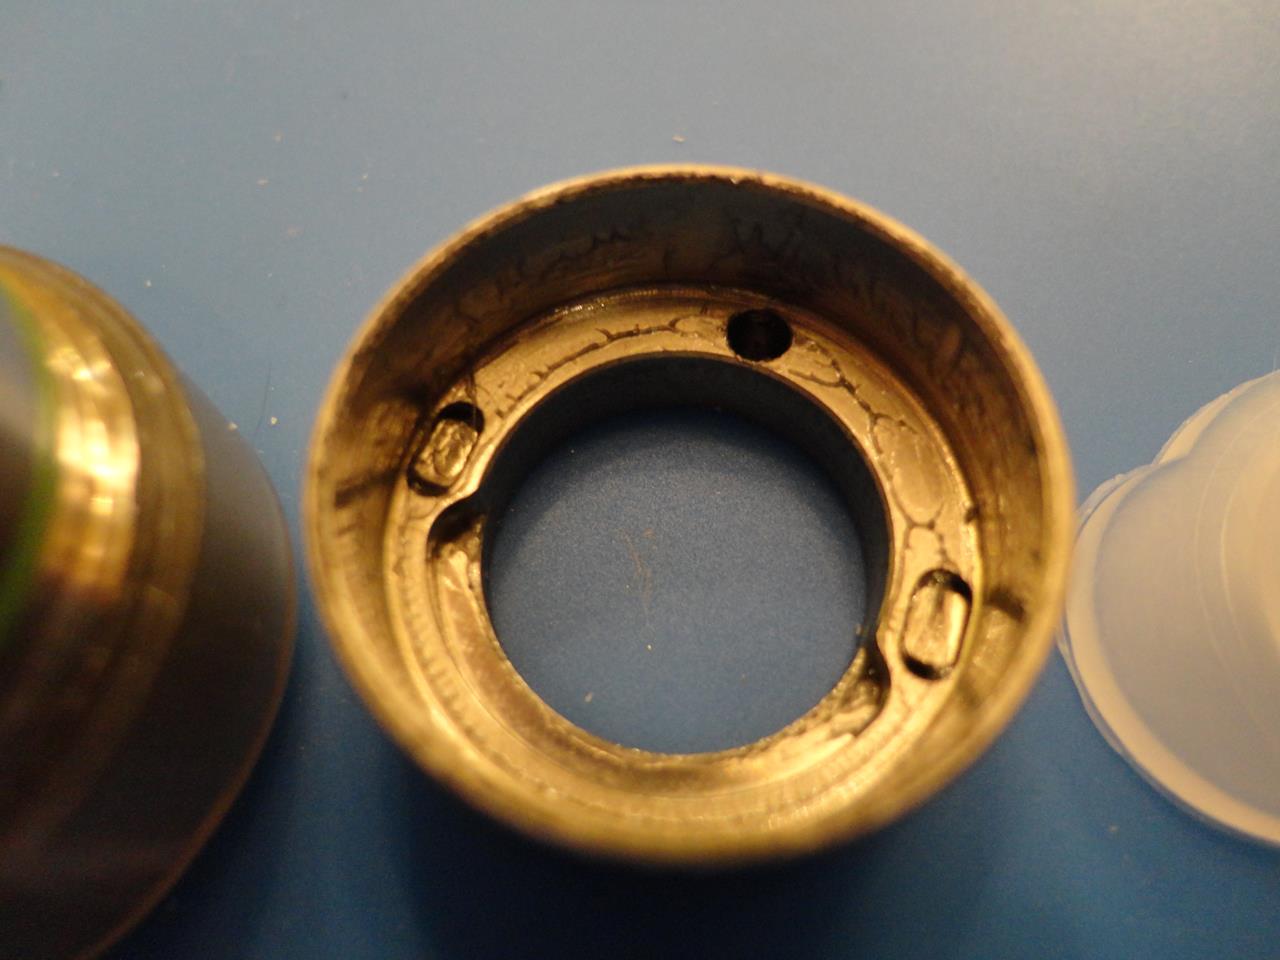
Here is the body without the head and the battery tube:
Here is a picture of the pre-drilled holes for what I can only imagine is intended to have gas lights installed:
At this point, I was a little confused as to how to continue, I knew there had to be a way to remove the magnetic ring, but I wasn't sure how it was all held together. I tried boiling the body again, but I could not twist it apart. Eventually, I wrapped a bunch of electrical tape around the cooling fins and body, and used 2 vice grips to twist them apart. Niteye used a lot of thread locker here, but they came apart pretty easily with the vice grips:
Here is the top and bottom. You can see there is a lot of thread locker, which again, I used a wire brush to get rid of. I also cleaned out the area with alcohol wipes after taking these pictures. You can see the pre-drilled holes in the cooling fins:
Top:
Bottom
Here is the bottom part with the magnetic ring removed, along with all of it's parts. There is a ball inside the magnetic ring on top of a small spring:
I cleaned up all of the magnetic ring parts and then re-lubed them with Nyogel.
I found that the 2×8mm gas lights would not fit, but they should, so I began to try and ream out the holes. I ended up buying some 2mm titanium coated drill bits from Walmart that I was able to use to bore out the holes and slide in the lights with no problems. You can see the lights in the respective holes in this picture:
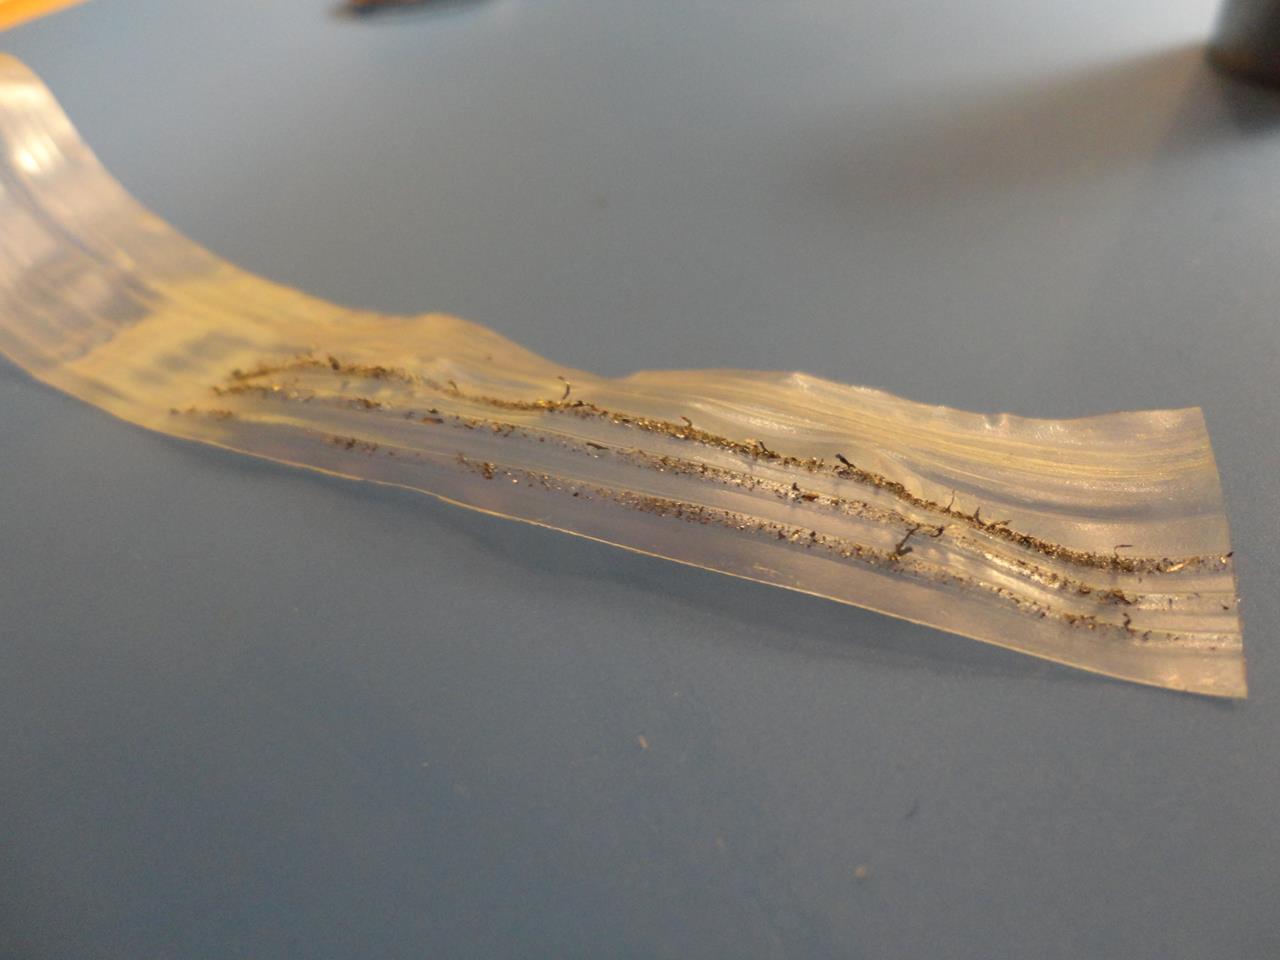
Here is a lot of the metal filings left over from reaming out the holes with the drill bit stuck to the tape:
I then put some (a lot) blue/medium thread lock on the threads that hold the two parts of the body together and screwed them back together. This was the root cause of my eventual failure.
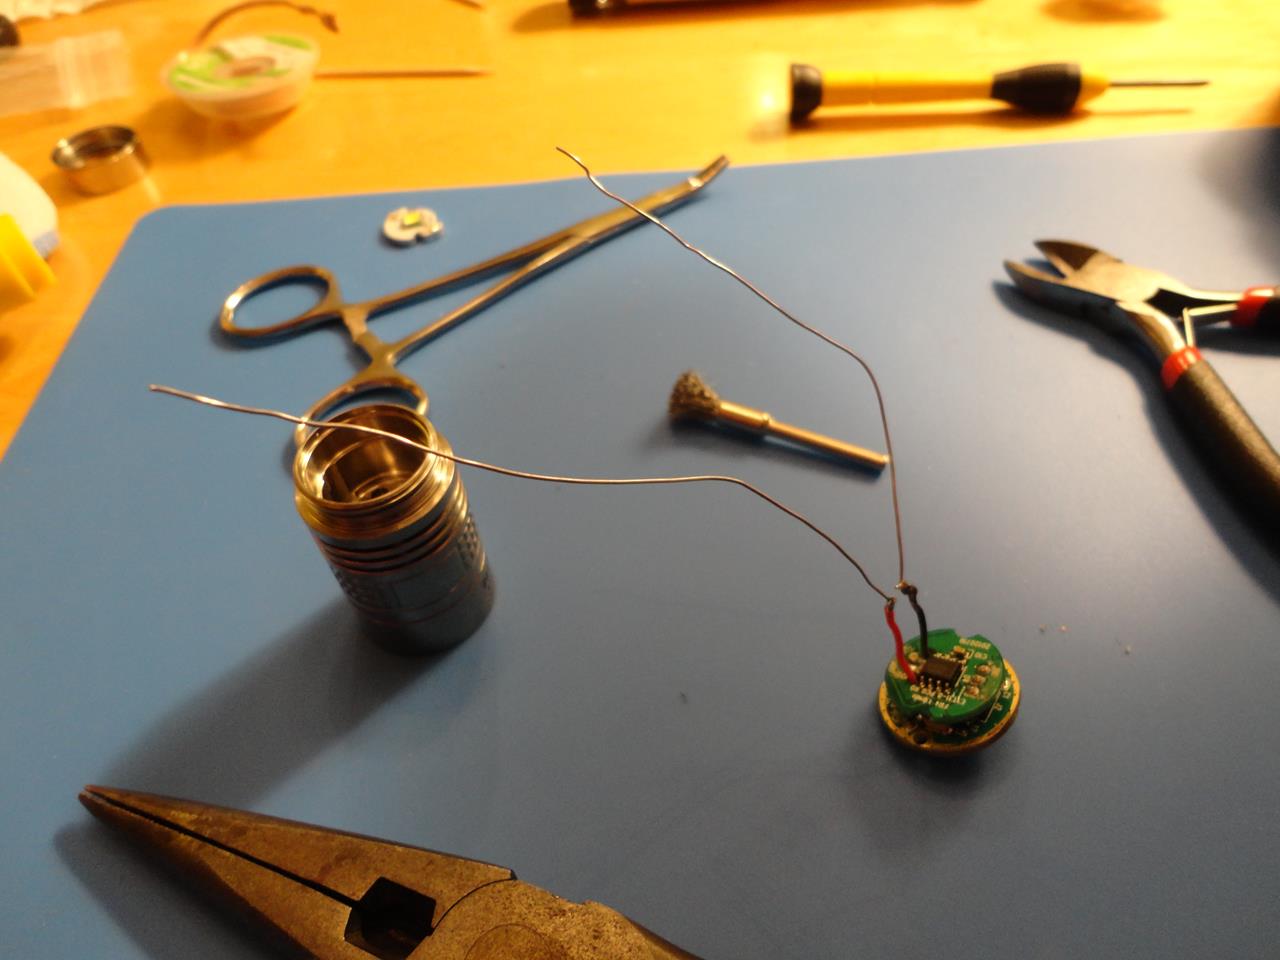
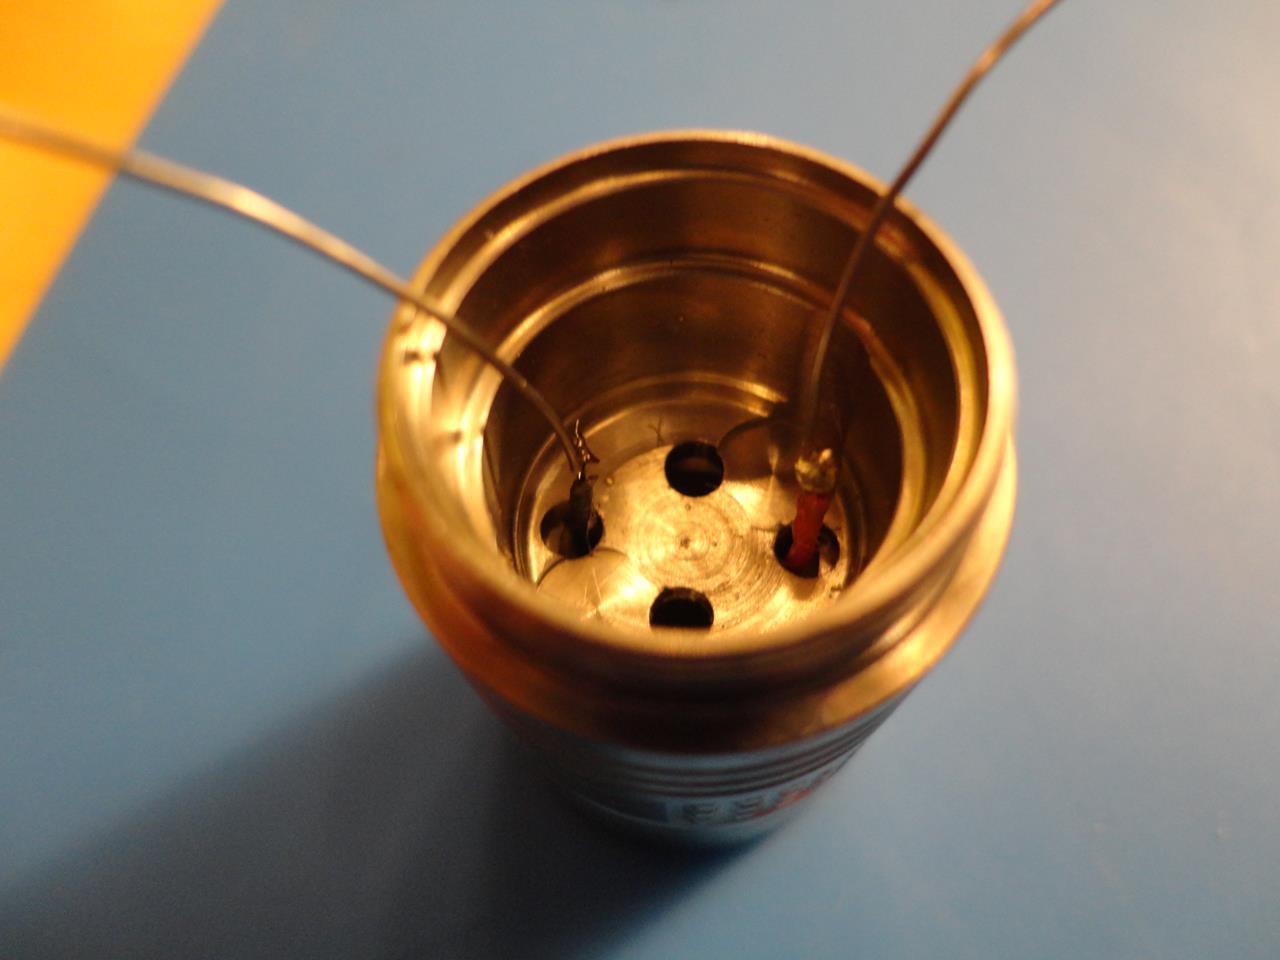
Next, I had to get the driver back in the body and the wires threaded through the tiny holes. I did this by soldering some of my solder wire to the leads to lengthen them and pull them through the holes. This part was quite tricky and required quite a bit of finesse because the solder wires would break off easily:
Finally…
I then had to fit the 16mm Noctigon MCPCB into the body. This required quite a bit of grinding and re-sizing. I used a rotary tool with a grinding wheel to remove material from the MCPCB until it would fit inside. I thought I had everything in at first and ended up soldering the leads back on to theMCPCB. I then tried to put the reflector in and it wouldn't go all the way in. I realized after putting back in the original MCPCB that I wasn't getting past the last tier of the body. There is a ring that you have to get the MCPCB past, which can be seen in the last picture. After finally removing enough material from the MCPCB, I was able to fit it in all the way. I put Arctic Silver 5 on the back of the MCPCB, set it in place, and soldered on the leads:
I screwed back on the driver plate and tested the light. It worked (keyword: "worked," not "works"):
At this point I was pretty proud of myself, as this was my first mod and everything was working. I found the control ring very difficult to turn and figured some of the blue thread lock I had used had gotten on it. I couldn't get it to move smoothly, so I very stupidly twisted the body of the light a little bit to see if it just needed to be loosened a little. Big mistake. I'm not sure what happened, but when I tried the light again, it wouldn't turn on. The body was very hot, so I quickly removed the battery, which was slightly warm, and began oh f**k mode. I completely disassembled the light again…Desoldered the MCPCB and removed the driver. The driver smelled burned, so I was pretty sure what had happened at that point. I managed to fry the driver somehow by turning the body of the light. After taking apart the light completely, I found that the thread locker had gotten on the control ring and is what was causing all the problems. I removed all of the thread locker, put on a small amount this time, and completely re-assembled the light. Still won't turn on. I have to contact Niteye about getting a new driver. I really hope they are cool about it, because it was not a cheap light and I can't harvest a driver from an RRT-01 or EYE10, because they are both constructed differently (I have both). I was not able to use the stock centering ring anymore. I think my crappy soldering job is to blame, so I need to figure out what to do there as well. I am probably just going to cut a piece of silicone electrical tape to size, but any suggestions would be appreciated.
In the meantime, here is a picture of the light with the gas lights installed:
So not a total failure, but I have to wait and see if Niteye will be cool and let me buy a new driver. Otherwise, I just burned a crapload of money and time. I will update this post if/when I hear back from Niteye and when I get the light working again.
Total cost:
Niteye EYE10 TiC from Doing Outdoor via eBay: $127.50
Noctigon 16mm direct thermal copper MCPCB w/ Cree XM-L2 U2 1A: $8.45 shipped w/ tracking
6 × 2×8mm ice-blue tritium gas lights from B@rt: $69 shipped with no tracking
————————————————
Total: $204.95 before incidentals (drill bits, rotary tool, thread lock, nyogel, hemostats, solder, solder vaccum, tears of sadness, etc)
Last edited: