RacinPason
Newly Enlightened
- Joined
- Dec 23, 2014
- Messages
- 28
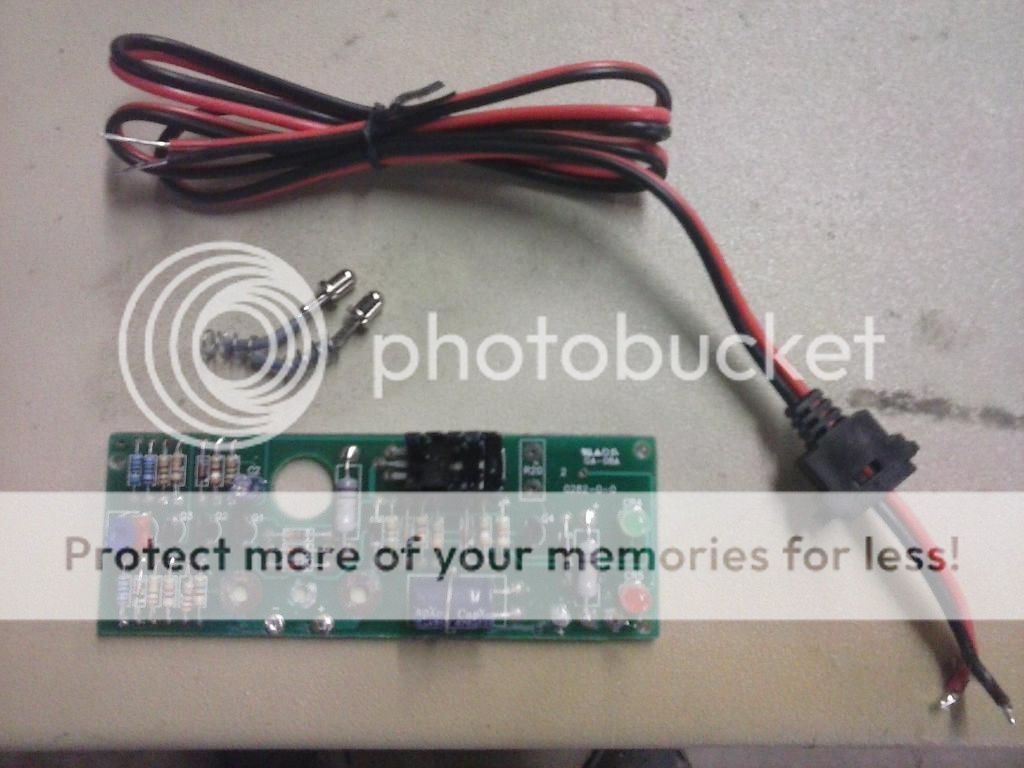
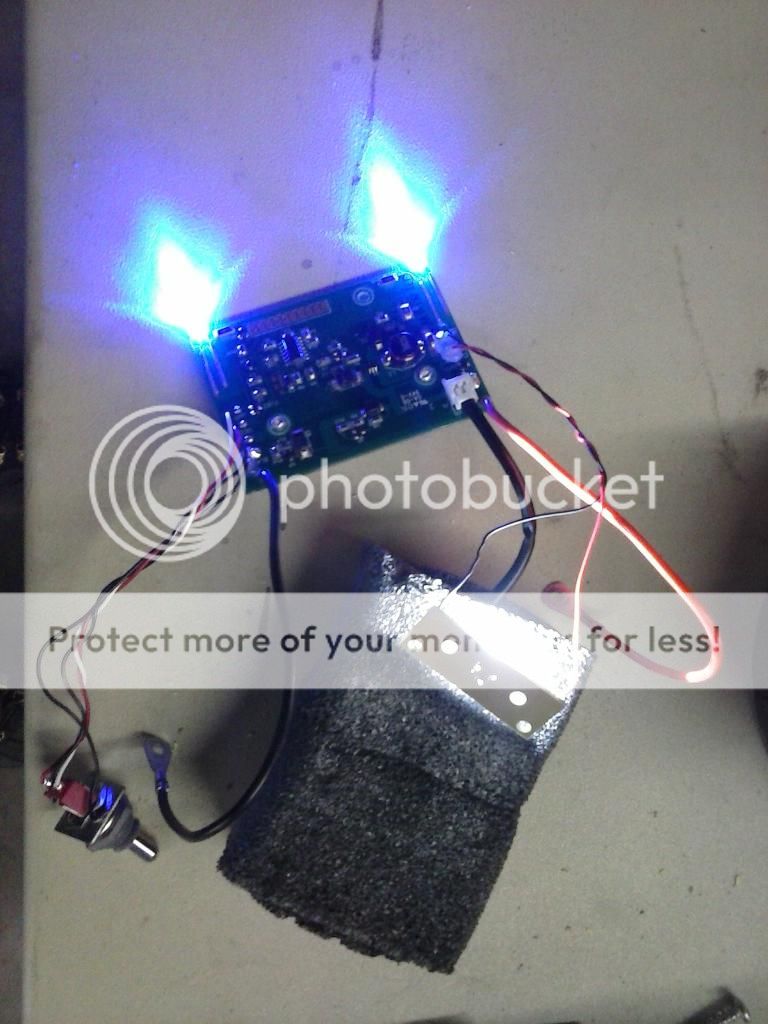
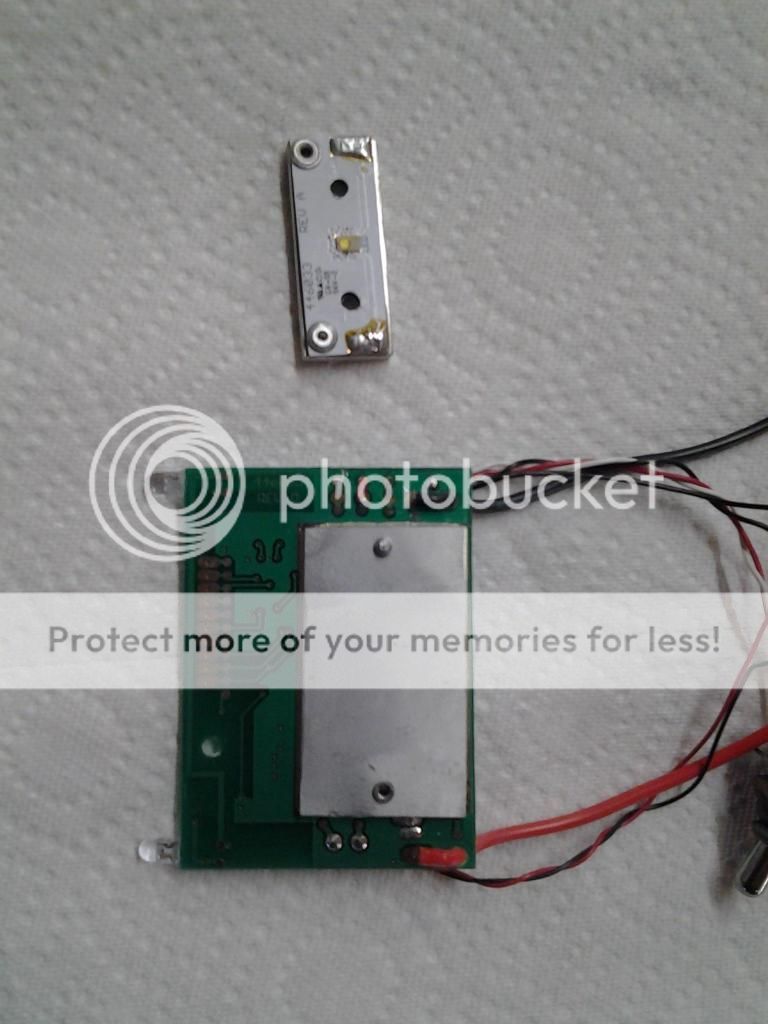
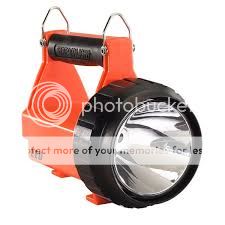
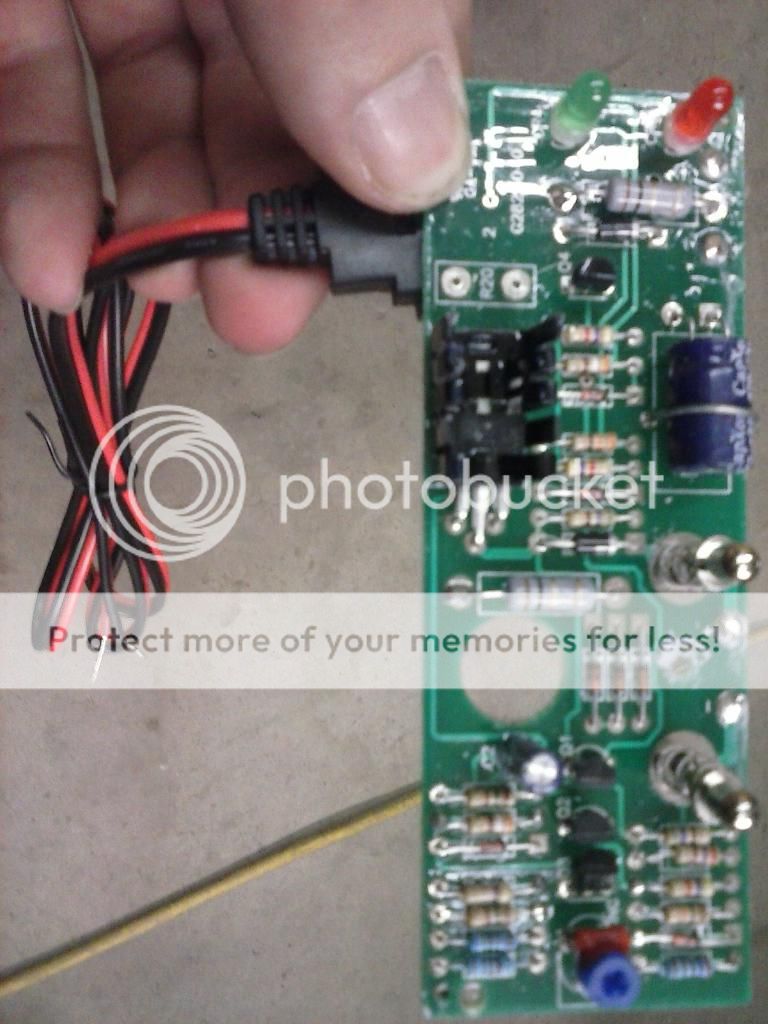
So a few weeks ago a friend of mine dropped the coin on a Streamlight Fire Vulcan LED. I was automatically inpressed with the amount and quality of the light! It's amazing that that much light can come from such a small package. Long story short, I hate the orange, plastic housing :green:
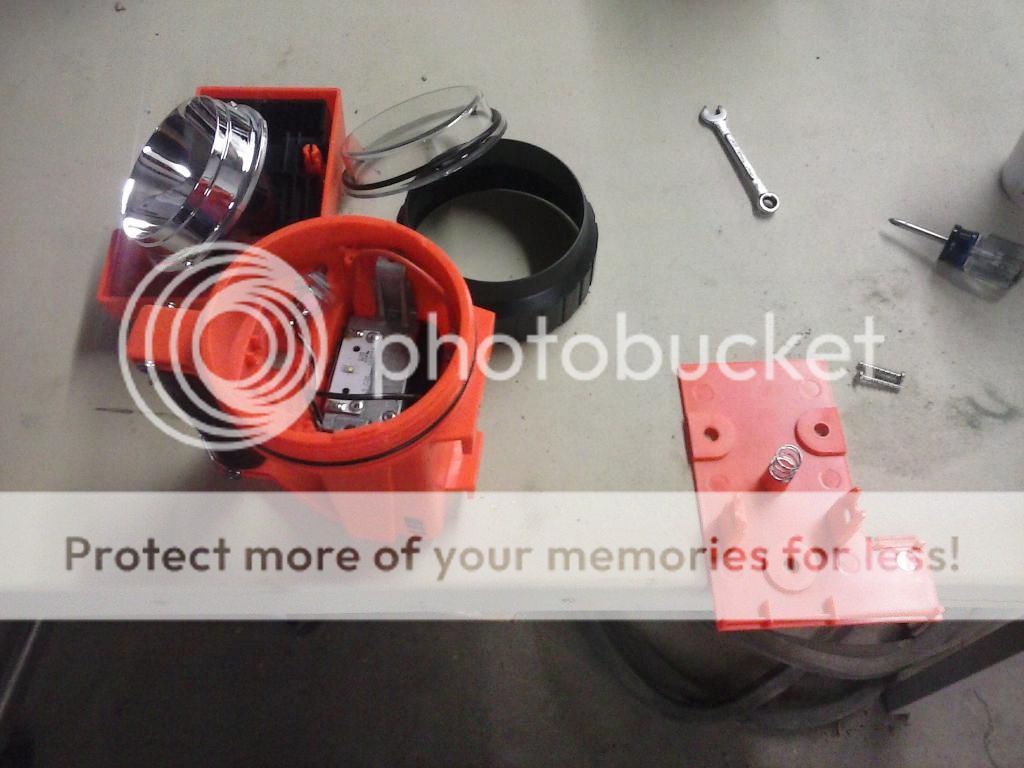
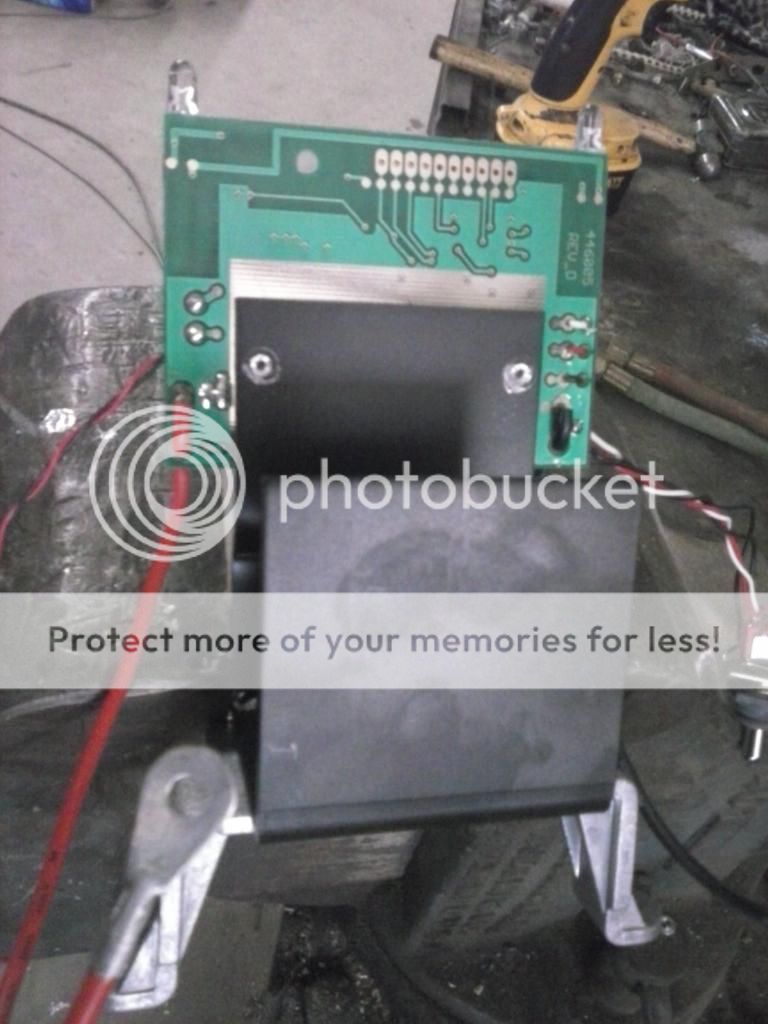
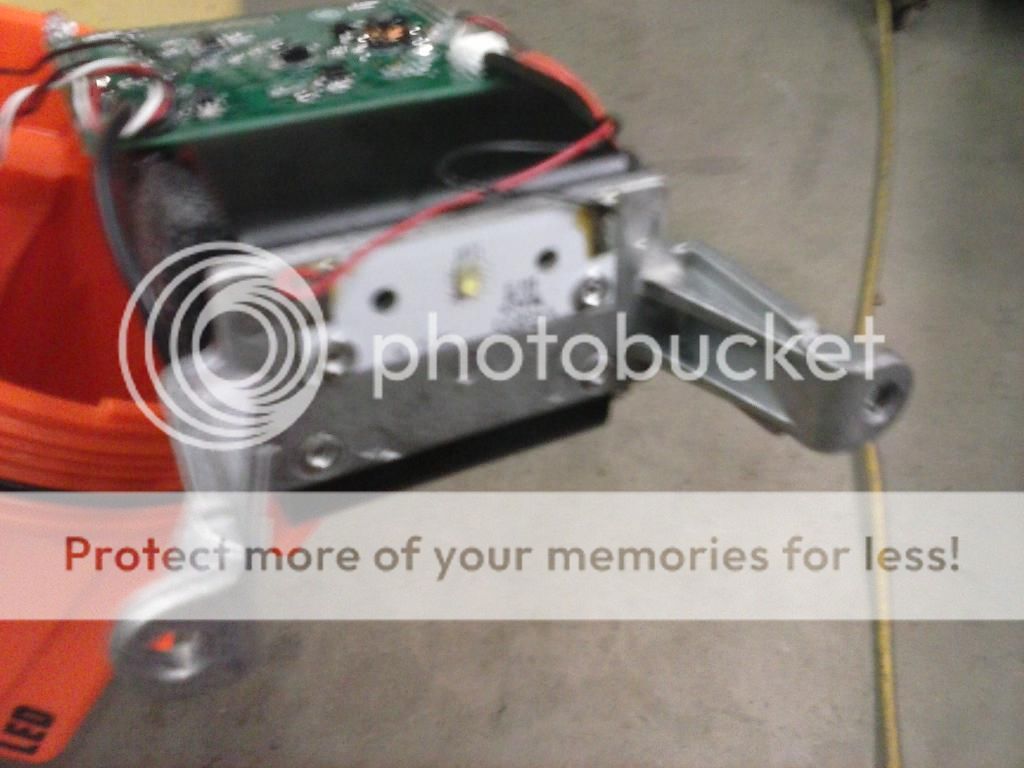
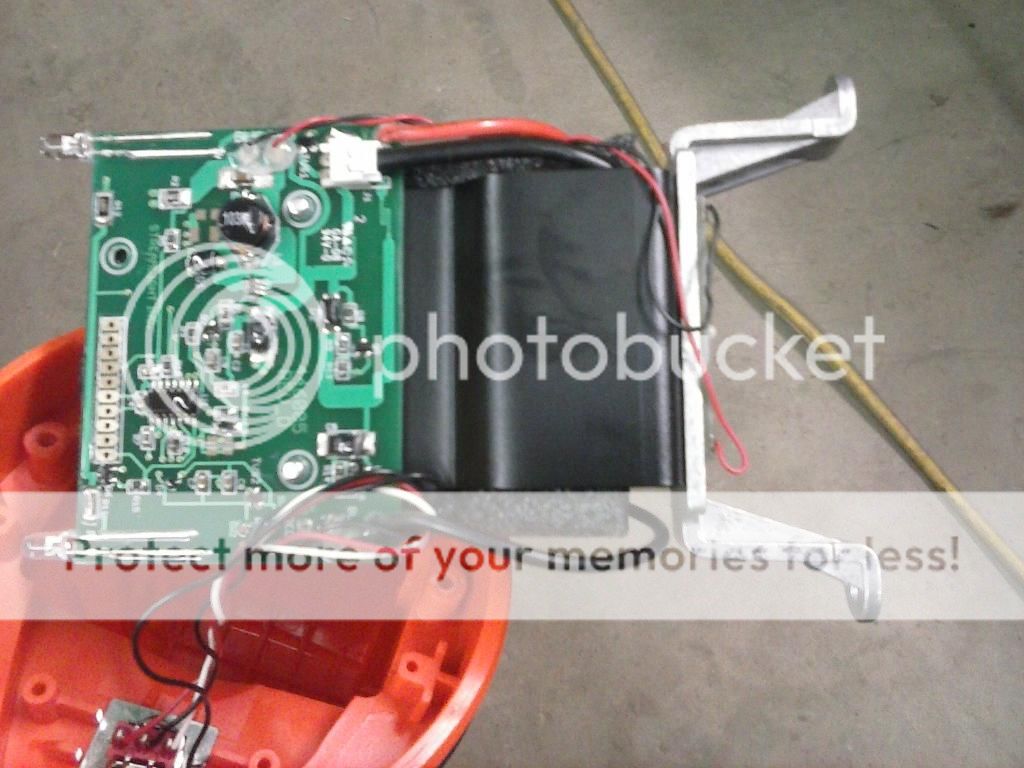
I have an old Big Beam 211 that is in nearly mint condition, which makes it hard to cannibalize. I might look for another on in a bit rougher shape for this project. The Plan: gut the Vulcan and transplant the goods to the Big Beam!:shakehead I'm still waiting for the Vulcan to show up but as soon as it does, it's Frankshine Tyme!
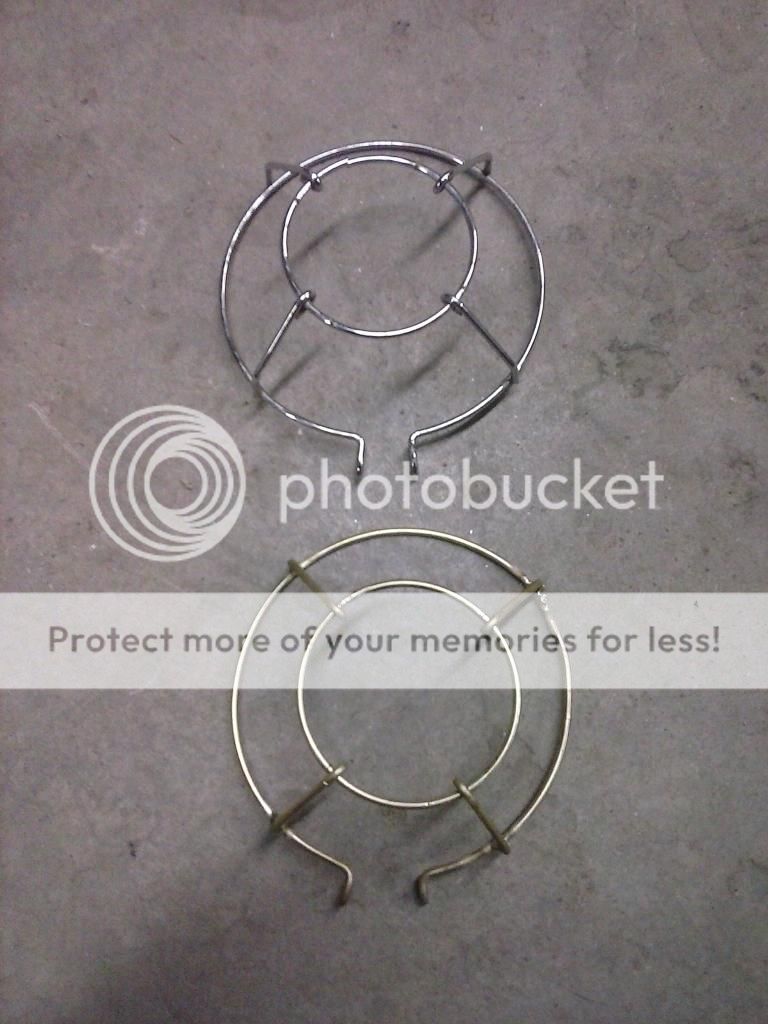
Here are the donors:
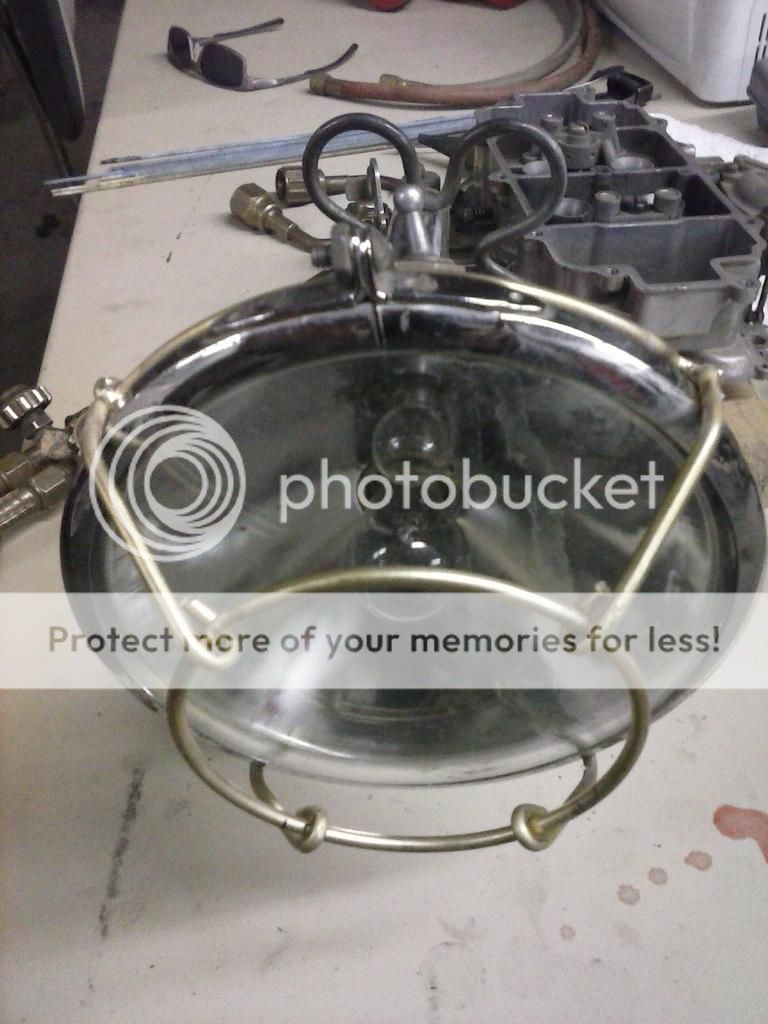
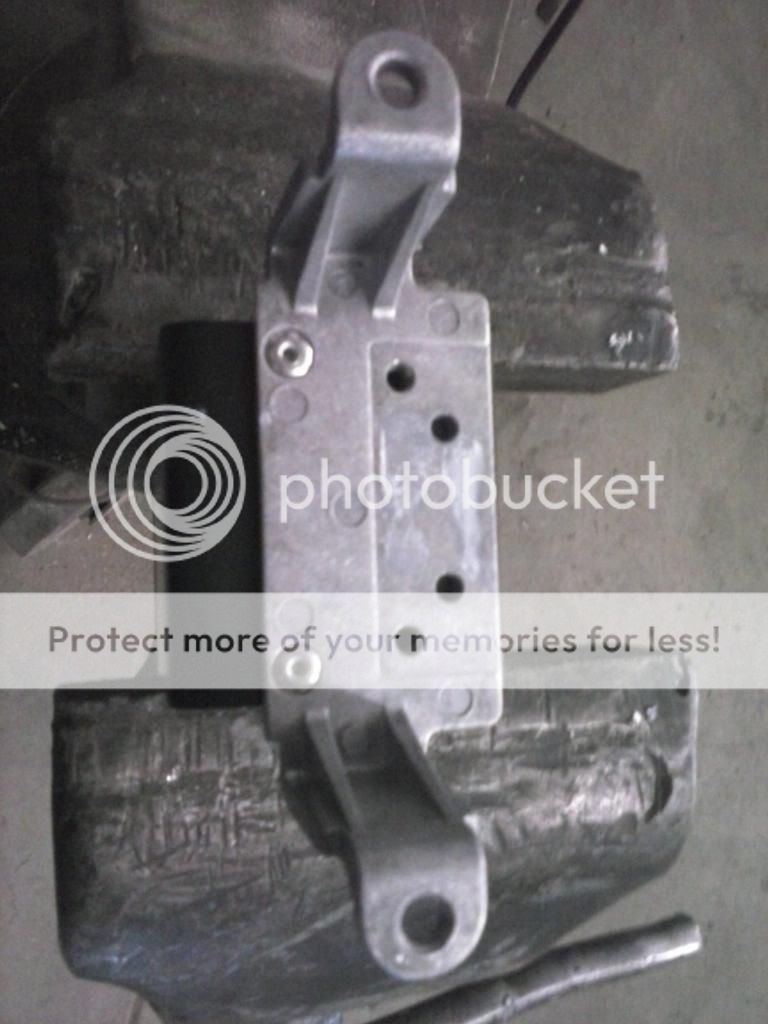
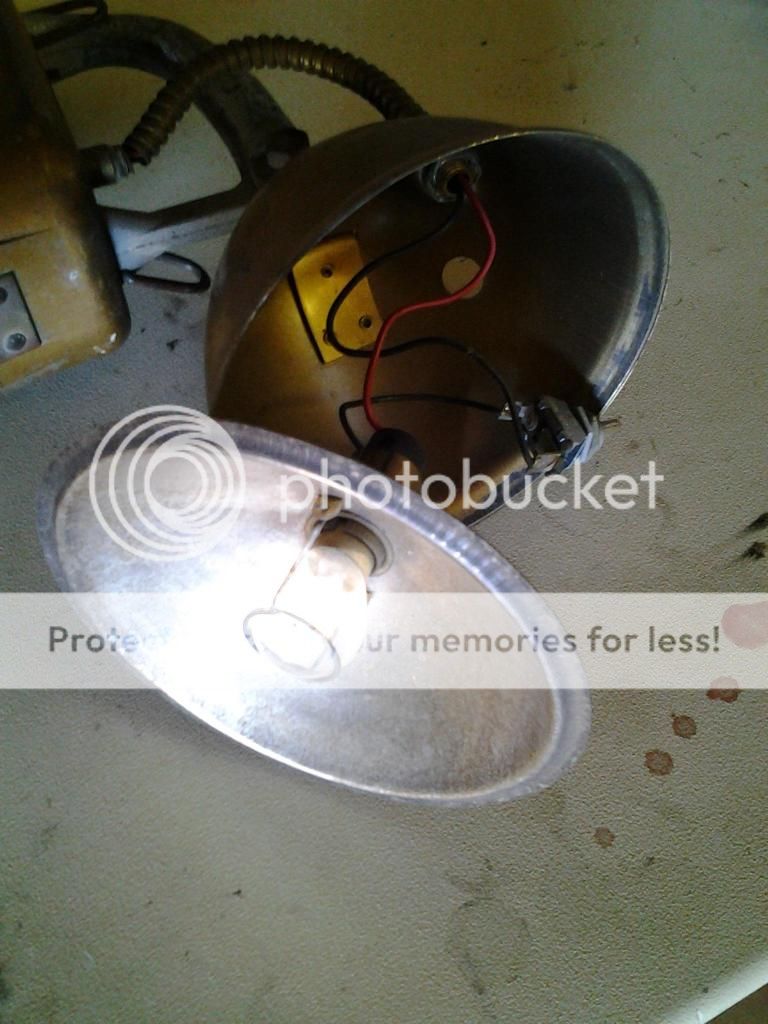
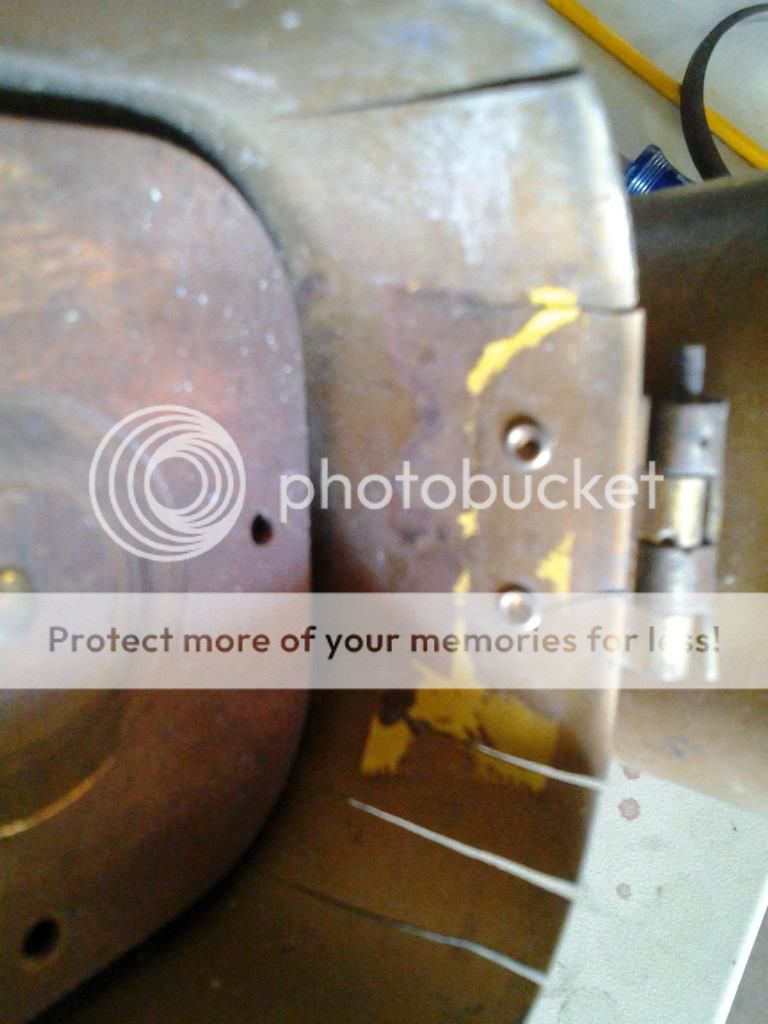
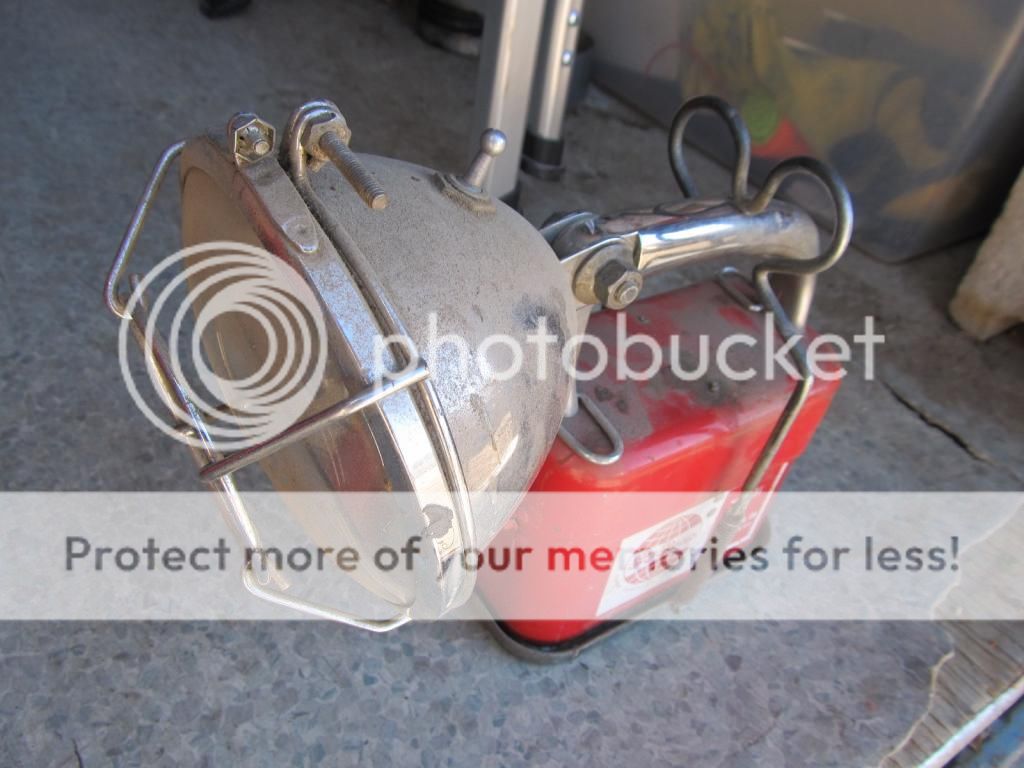
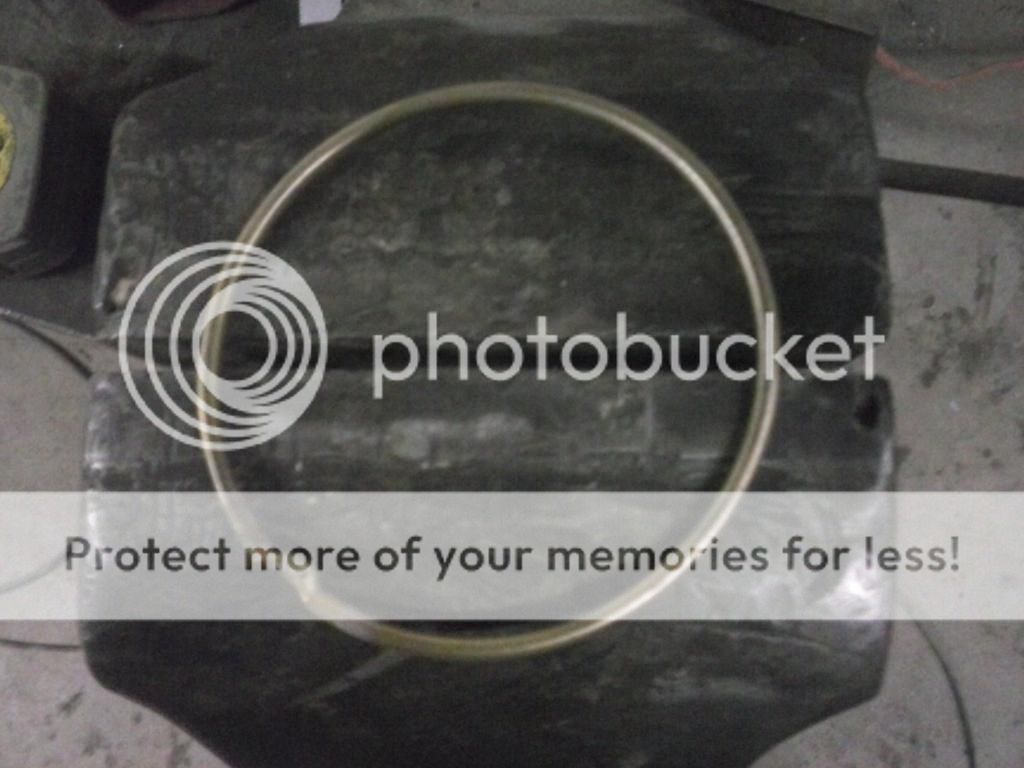
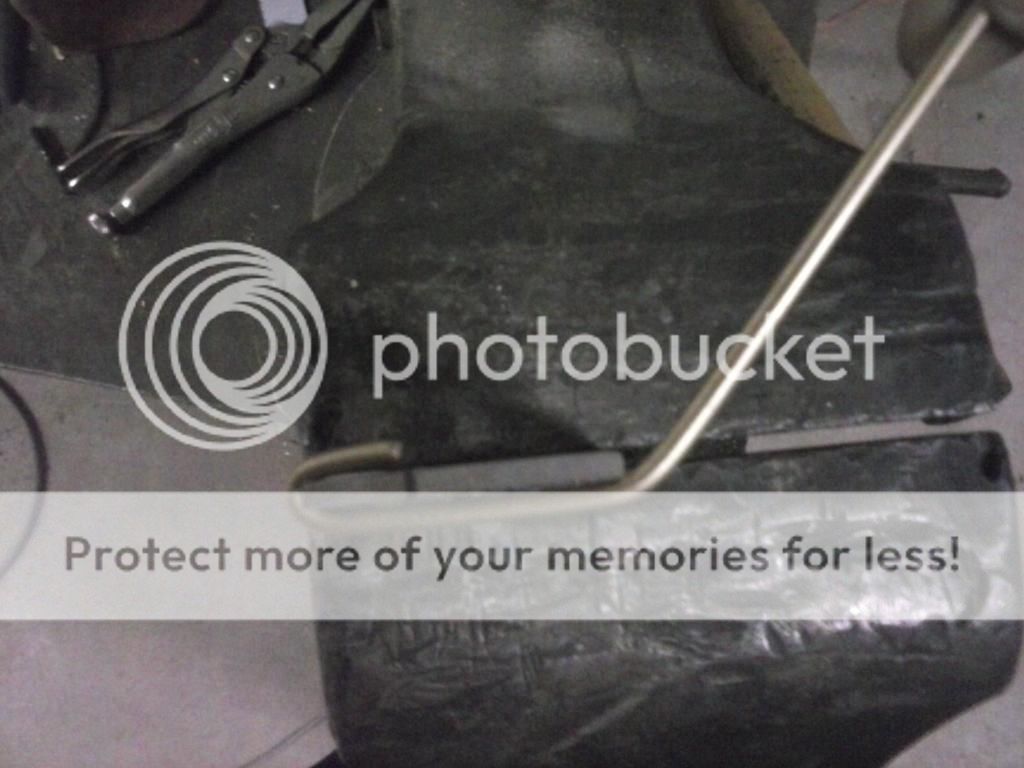
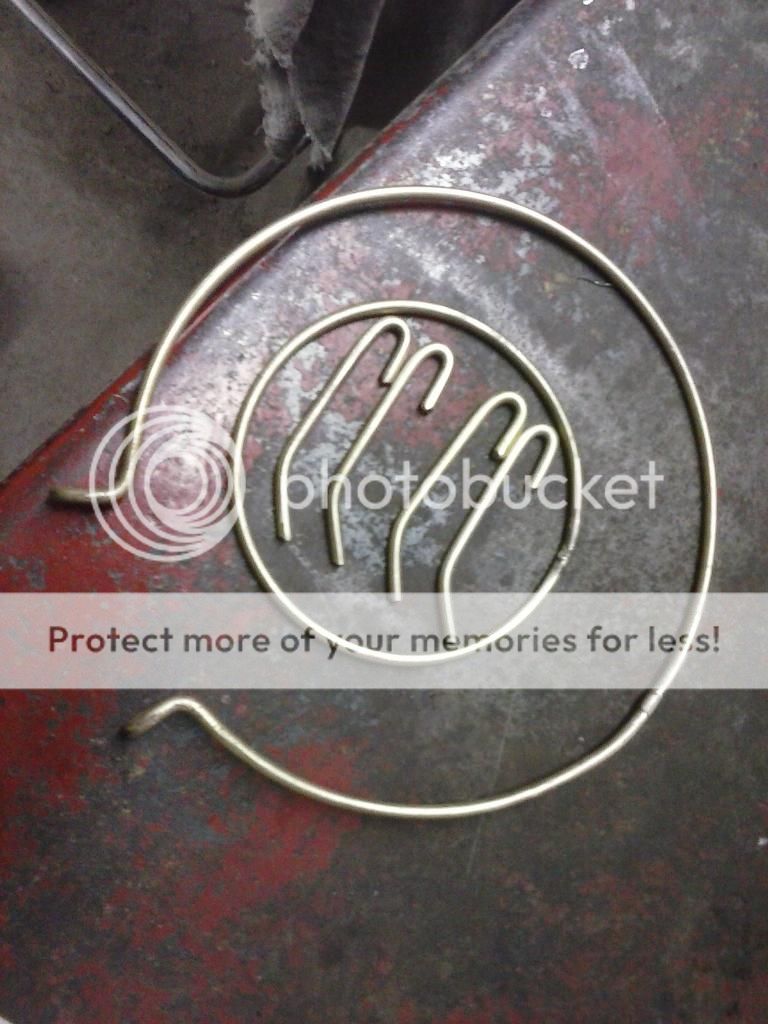
Under all the dirt is a near flawless 211. It is really front heavy without a battery(the Vulcan battery is very light) I may swap to a BB 166's shorter frame. We'll see once I remove the guts and glass lense of the 211 light housing.
http://cdn.chiefsupply.com/media/ca...eab33525d08d6e5fb8d27136e95/4/4/44454SL_2.jpg
See Rule #3 Do not Hot Link images. Please host on an image site, Imageshack or similar and repost – Thanks Norm
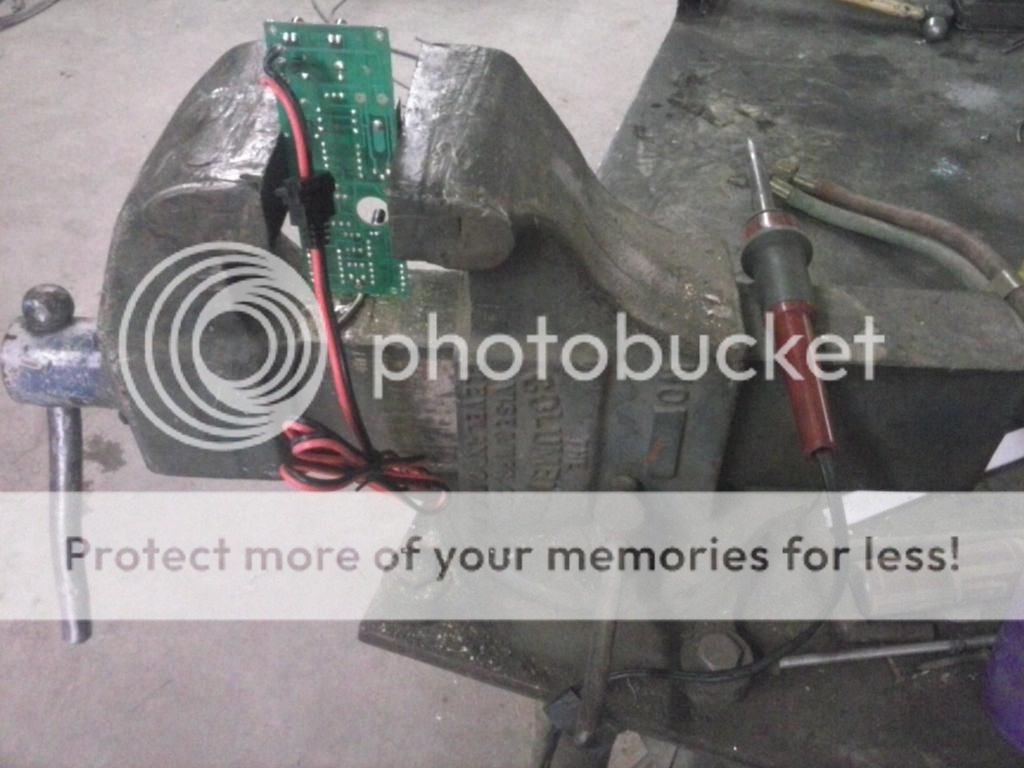
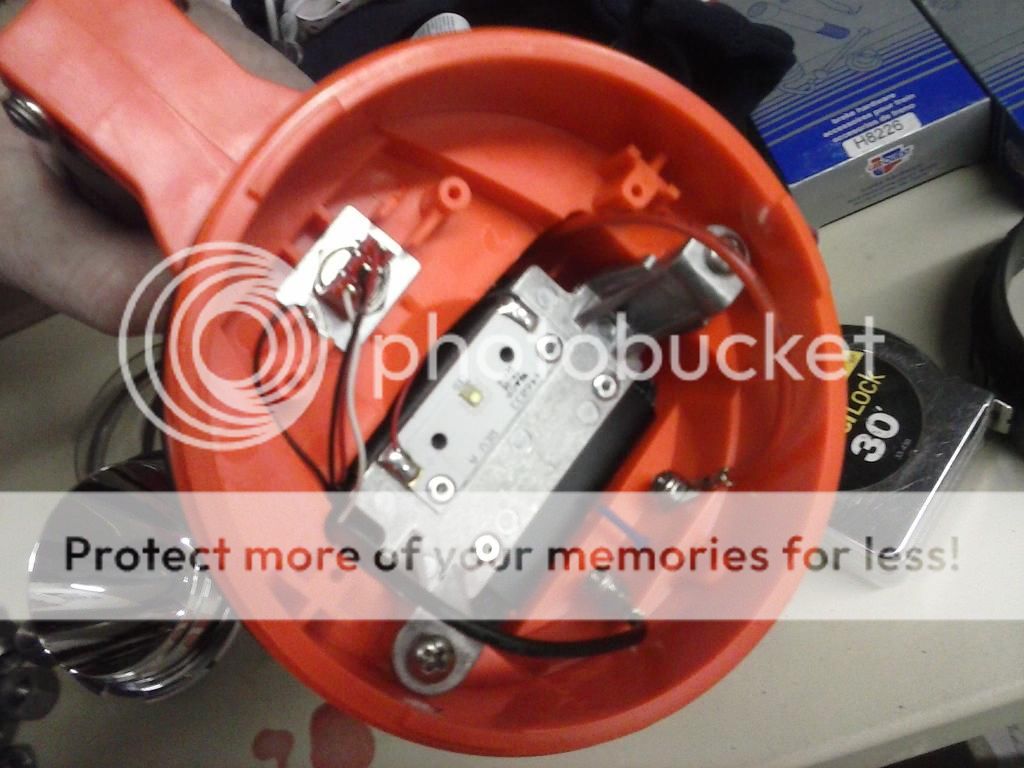
Does anyone know if the aluminum LED mount in the FV is a heatsink? I haven't been able to look too closely at the FV my friend has to see if it is just a mount of a heatsink.
I have an old Big Beam 211 that is in nearly mint condition, which makes it hard to cannibalize. I might look for another on in a bit rougher shape for this project. The Plan: gut the Vulcan and transplant the goods to the Big Beam!:shakehead I'm still waiting for the Vulcan to show up but as soon as it does, it's Frankshine Tyme!
Here are the donors:
Under all the dirt is a near flawless 211. It is really front heavy without a battery(the Vulcan battery is very light) I may swap to a BB 166's shorter frame. We'll see once I remove the guts and glass lense of the 211 light housing.
http://cdn.chiefsupply.com/media/ca...eab33525d08d6e5fb8d27136e95/4/4/44454SL_2.jpg
See Rule #3 Do not Hot Link images. Please host on an image site, Imageshack or similar and repost – Thanks Norm
Does anyone know if the aluminum LED mount in the FV is a heatsink? I haven't been able to look too closely at the FV my friend has to see if it is just a mount of a heatsink.
Last edited:


 :hairpull:
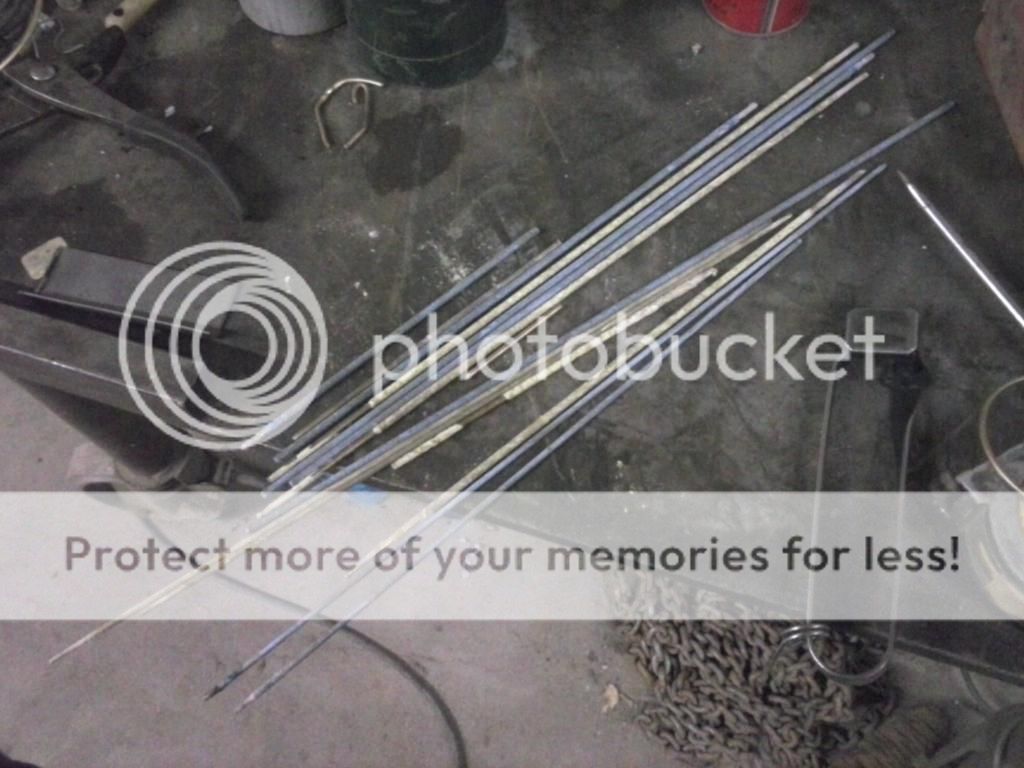


")