How to mount to LED's heat sink?

KidFrost

Newly Enlightened
Joined
Nov 30, 2015
Messages
13
I have my LEDs mocked up but I have a few questions. When they are all on the heat sink, and I apply power to one it is very dim, if I apply power to one off of the heat sink it is very bright... Why would that be?

Also, Can I solder the LED chips to the aluminum board they are getting mounted to or should I drill and tap holes and mount them with screws?


DIWdiver

Flashlight Enthusiast
Joined
Jan 27, 2010
Messages
2,725
Location
Connecticut, USA
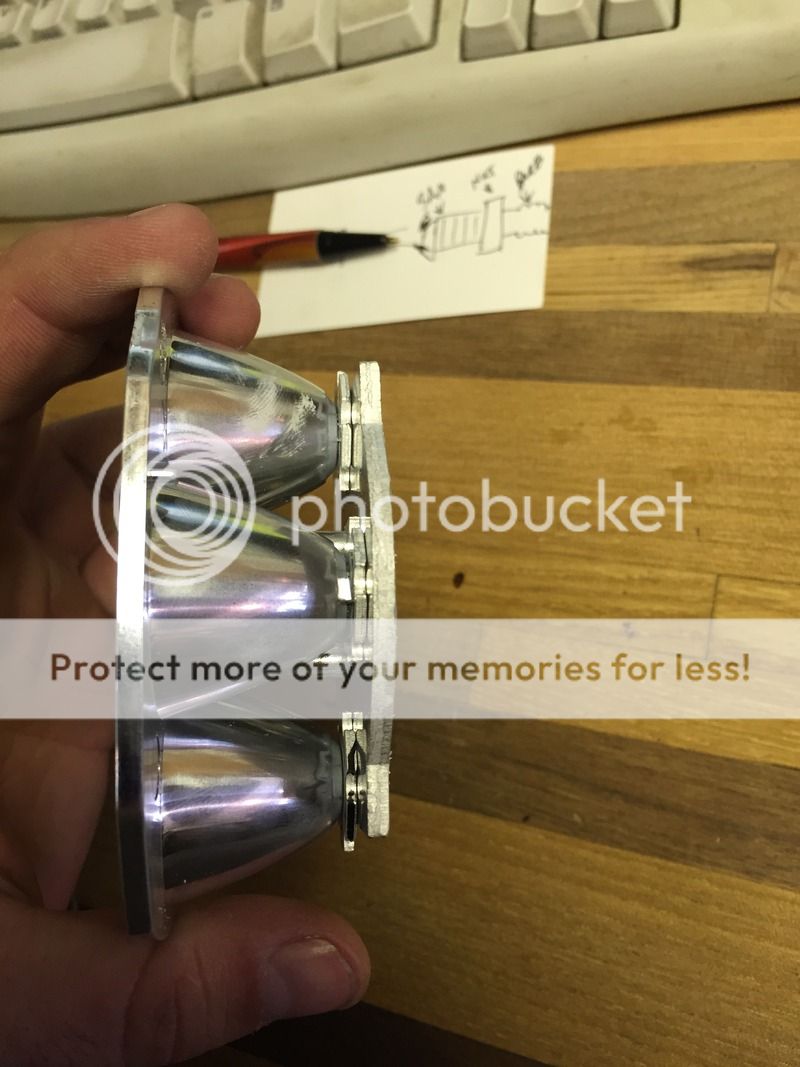
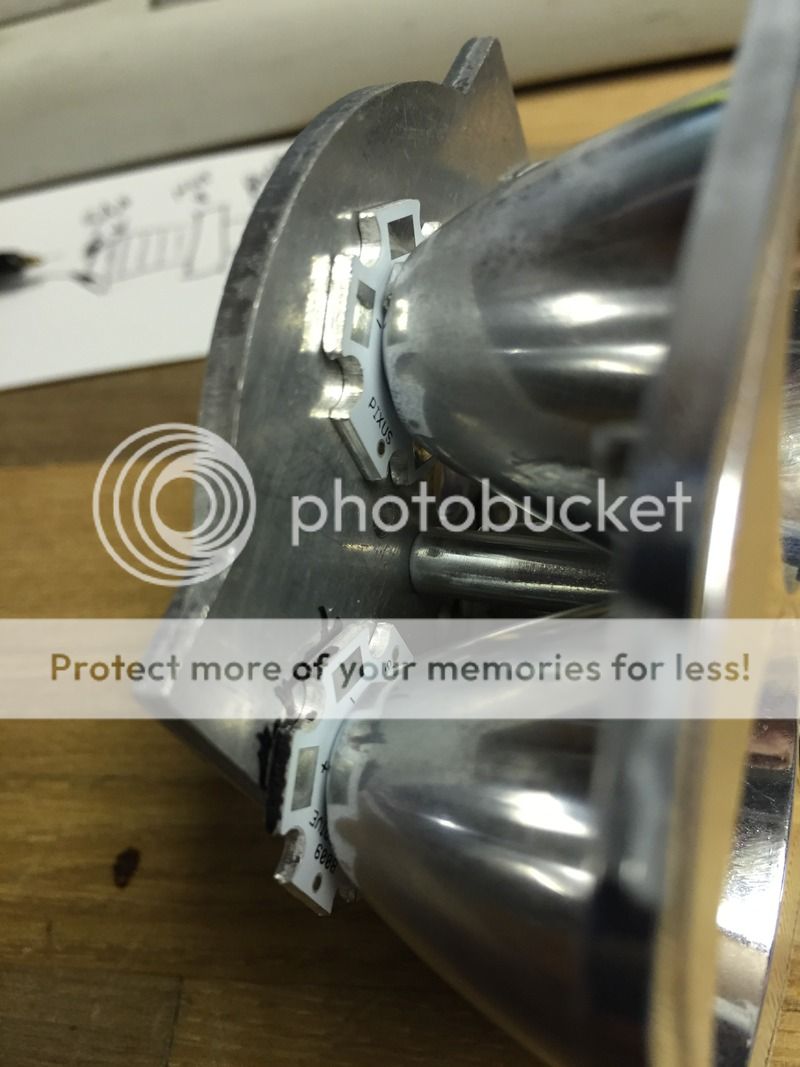
First of all, we would normally call those things 'stars' (because of the shape) or MCPCBs (Metal Core Printed Circuit Boards). The word 'chip' would more commonly refer to the little part soldered on top of the star.

It's not common, but it's possible that the LEDs are electrically connected to the metal of the stars. This can lead to electrical problems when multiple stars are mounted to a conductive surface.

I'm not aware that you can solder aluminum at temperatures low enough to avoid destroying the LEDs. If you could, you'd need to make sure that you had no 'voids', which are empty spots like bubbles, where air gets trapped and prevents the solder from flowing all the way through. Voids wreak havoc with the thermal transfer.

I know of three ways to attach the stars:
1. Pressure from the top. For example have the reflector press down on the star. This is probably the least effective, but if done well and/or you aren't driving the LEDs very hard, it can be okay.
2. Screws. Very effective, but hard to do sometimes.
3. Glue. Very effective, but also very permanent.

No matter the method you choose, you really should use a thermal interface material to ensure a good thermal connection between the star and the base plate.
If you choose glue, you need a good thermally conductive adhesive, specially made for this purpose. If you don't glue, you need thermal compound, which is a paste generally the consistency of toothpaste. Arctic Alumina and Arctic Alumina Adhesive are probably the best known, though neither the best nor the worst. There are also TIMs that come in sheets. They can be neater, but generally are less effective.

Hope this was helpful.
 

Fireclaw18

Flashlight Enthusiast
Joined
Mar 16, 2011
Messages
2,408
Another possibility is there's a short across the back of the reflector. Such a short could be robbing current from the LEDs. From your pictures it looks like you have the reflectors sitting directly on top of the stars, with nothing in between. That's a big no-no.

Make sure the bottom of each of the reflectors is electrically insulated from the stars. You can accomplish this a number of ways:
* you can buy small plastic disks or stickers that sit on the star and lift the reflector slightly above it preventing a short.
* you can take very thin plastic and cut your own insulating disks and place them between the stars and the reflector.
* you can spread a thin layer of arctic alumina thermal epoxy on the bottom of each reflector.
 

FRITZHID

Flashlight Enthusiast
Joined
Jun 20, 2011
Messages
2,500
Location
Icelandic wastelands of Monico, WI
If the reflectors are plastic with reflective coating, you can sand/scrape of the chrome where it touches the stars to prevent shorts. DIW is absolutely correct in the thermal transfer compounds. Arctic silver adhesive is what I would use in your situation. Use just enough to fully contact both star and heatsink but as thin a layer as possible, screw mounting will only help but only if reflector allows clearance.
Your other choice would be to go full copper, both stars and heatsink, then carefully reflow solder the stars to the heatsink, but that's ALLOT trickier than you'd think, espc with multiple emitters. Not recommended for novices.
 
Top