sunny_nites
Enlightened
I mentioned early on, in the G5 build post, that I had some side projects in mind to help fund development. Well, when you work on flashlight designs, there are hits and there are misses.
I was all set to let these projects go quietly into that good night but with all the time, effort and more than a small bit of $$ involved, I thought I would post them for a thought exercise or maybe just entertainment if nothing else. So read on if you're so inclined.
Project 1:
This was going to be a simple one. The idea was to offer a couple of small updates to an already awesome little light, the Nitecore Tube.
If you haven't heard of the Nitecore Tube, this is a slick little rechargeable light with a great interface. It has a 100mah lipo battery and a 45 lumen coolish neutral HKLeled LED (more on the HKJeleds in project 2). There are two brightness settings that cycle from low to high or instantly to high if the button is held instead of pressed and released.
My idea was to offer individual or combinations of three upgrades; magnets, beacons and or a warm version of the HKJeled.
Sorry for the blurry pics, they looked great in the viewfinder but you get the idea. Note the green beacon. The HKJeled doesn't exhibit the strange, green blocking phenomena that Nichias seem to exhibit. Went with a green beacon as the charge indicator for the battery was blue and a blue beacon made it hard to tell when the battery was charged.
These upgrades turned out really great; the warm version of the HKJeled looked warm, the beacons worked every bit as well, if not better than on the Micro ATL G series lights (because of the clear or mostly clear plastic housing) and the magnets did what magnets do.
The problem with this project turned out not to be technical but rather financial. Ie, what could I possibly charge for these upgrades to make a $10 light worth it to a customer to upgrade and worth it to me to invest the time and expense to do the upgrade?
Project 2:
This was actually two separate projects rolled into one.
Hoping to capitalize on my experience with the HKJeleds from the Nitecore Tube project, I came up with an idea for a HP versions of the Micro ATL G4 and a more HP version of the Micro ATL G2 ULE HP. Both lights would have been available in aluminum, copper and brass and outfitted with HKJeled LEDs.
If you're not familiar with HKJeleds, these are 5mm LEDs that have 5 dies within them and run at 100ma. The primary downside to using these LEDs in a flashlight, is that they are 60 degree rather than the traditional 15 degree LED typically found in flashlights. So, the HKJeleds produce a crazy bright and still very useful but floody beam. Was all set to post a pic of a HKJeled but realized I didn't take one. Look on the interweb and you can see what they look like. These look very similar to a typical 5mm LED but with a bit of heatsink at the tail end.
The Micro ATL G2 (version 3 or V3 was the working project name).
Note, these are just beautiful LEDs! I mean the package just looks fantastic, water clear epoxy, attractively colored dies, just a really well done 5mm package.
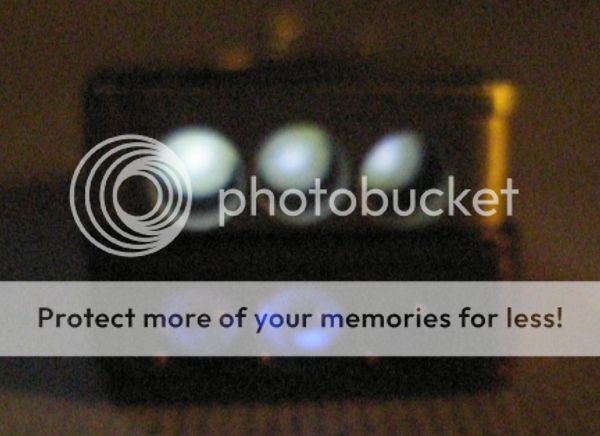
The chassis looked identical to the Micro ATL G2 ULE HP, until you hit the go button that is. There is just no denying 120 lumens. Beam shot from a prototype Micro ATL G2 V3 running three HKJeleds at 300ma and producing around 120 lumens of light in neutral cool and warm.


And the beacon.

Had high hopes for these! And it looked really good on the bench but the problems started showing up when testing the completed lights. The lights definitely got warm, 300ma or a bit over 1 watt in such a small package will make a decent hand warmer for sure. I had thought that metal in the chassis would help dissipate the heat but I think it did just the opposite; caused the heat to stay around the LEDs rather than drawing it away. Eventually, the LEDs would start to fail (the strobe of an expensive dying LED is a sad sight to behold). The neutral cool version seemed to be the most susceptible but the warms had failures as well.
I think this project could still be viable, sometime down the road but it would require some type of a metal heatsink attached to the LEDs heatsink at the tail. So the HP G2 and G4s are on hold for the foreseeable future.
So, it's back to the G5 full time. Look for several G5 build updates over the next couple of days and as always, thanks for looking!
I was all set to let these projects go quietly into that good night but with all the time, effort and more than a small bit of $$ involved, I thought I would post them for a thought exercise or maybe just entertainment if nothing else. So read on if you're so inclined.
Project 1:
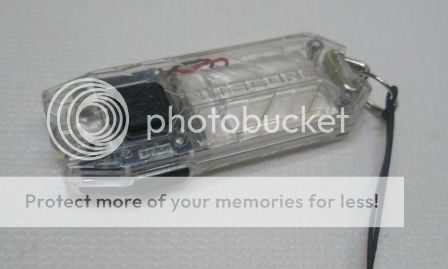
This was going to be a simple one. The idea was to offer a couple of small updates to an already awesome little light, the Nitecore Tube.
If you haven't heard of the Nitecore Tube, this is a slick little rechargeable light with a great interface. It has a 100mah lipo battery and a 45 lumen coolish neutral HKLeled LED (more on the HKJeleds in project 2). There are two brightness settings that cycle from low to high or instantly to high if the button is held instead of pressed and released.
My idea was to offer individual or combinations of three upgrades; magnets, beacons and or a warm version of the HKJeled.
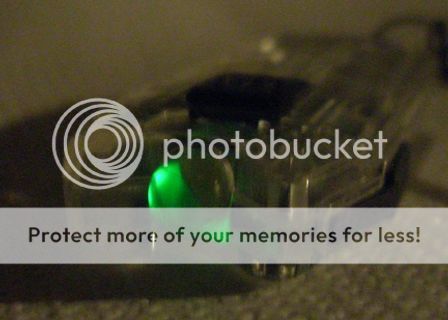
Sorry for the blurry pics, they looked great in the viewfinder but you get the idea. Note the green beacon. The HKJeled doesn't exhibit the strange, green blocking phenomena that Nichias seem to exhibit. Went with a green beacon as the charge indicator for the battery was blue and a blue beacon made it hard to tell when the battery was charged.
These upgrades turned out really great; the warm version of the HKJeled looked warm, the beacons worked every bit as well, if not better than on the Micro ATL G series lights (because of the clear or mostly clear plastic housing) and the magnets did what magnets do.
The problem with this project turned out not to be technical but rather financial. Ie, what could I possibly charge for these upgrades to make a $10 light worth it to a customer to upgrade and worth it to me to invest the time and expense to do the upgrade?
Project 2:
This was actually two separate projects rolled into one.
Hoping to capitalize on my experience with the HKJeleds from the Nitecore Tube project, I came up with an idea for a HP versions of the Micro ATL G4 and a more HP version of the Micro ATL G2 ULE HP. Both lights would have been available in aluminum, copper and brass and outfitted with HKJeled LEDs.
If you're not familiar with HKJeleds, these are 5mm LEDs that have 5 dies within them and run at 100ma. The primary downside to using these LEDs in a flashlight, is that they are 60 degree rather than the traditional 15 degree LED typically found in flashlights. So, the HKJeleds produce a crazy bright and still very useful but floody beam. Was all set to post a pic of a HKJeled but realized I didn't take one. Look on the interweb and you can see what they look like. These look very similar to a typical 5mm LED but with a bit of heatsink at the tail end.
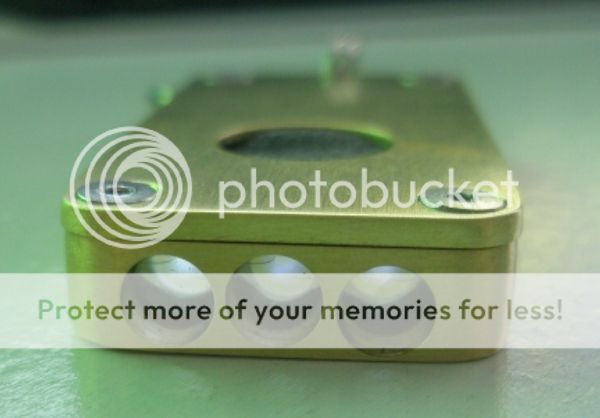
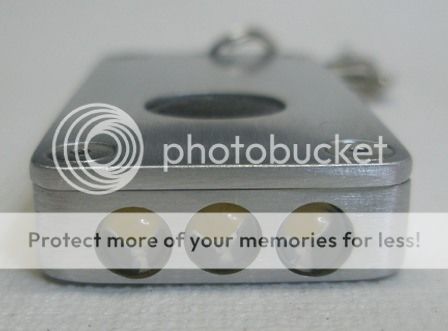
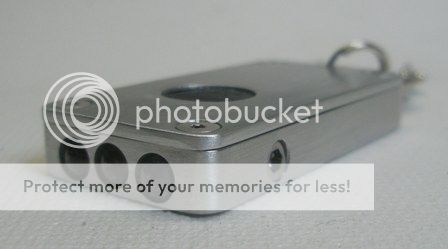
The Micro ATL G2 (version 3 or V3 was the working project name).
Note, these are just beautiful LEDs! I mean the package just looks fantastic, water clear epoxy, attractively colored dies, just a really well done 5mm package.
The chassis looked identical to the Micro ATL G2 ULE HP, until you hit the go button that is. There is just no denying 120 lumens. Beam shot from a prototype Micro ATL G2 V3 running three HKJeleds at 300ma and producing around 120 lumens of light in neutral cool and warm.
And the beacon.
Had high hopes for these! And it looked really good on the bench but the problems started showing up when testing the completed lights. The lights definitely got warm, 300ma or a bit over 1 watt in such a small package will make a decent hand warmer for sure. I had thought that metal in the chassis would help dissipate the heat but I think it did just the opposite; caused the heat to stay around the LEDs rather than drawing it away. Eventually, the LEDs would start to fail (the strobe of an expensive dying LED is a sad sight to behold). The neutral cool version seemed to be the most susceptible but the warms had failures as well.
I think this project could still be viable, sometime down the road but it would require some type of a metal heatsink attached to the LEDs heatsink at the tail. So the HP G2 and G4s are on hold for the foreseeable future.
So, it's back to the G5 full time. Look for several G5 build updates over the next couple of days and as always, thanks for looking!
Last edited:
")