
Well hello folks, I've bought the Nitenumen H01 headlamp, and I thought I'd give out a review of the headlamp for potential buyers to see. This, as I said in another thread, is going to be a not too professional review of this headlamp, so please forgive me if something is not up to the local quality standards. I'm going to break this up into multiple parts to save my sanity, and to reduce the workload to make this. I've never done this before, so once again, please forgive me if something does not come out right. On to the review!
Packaging, Unboxing, and First Impressions.
Well, the example I got was shipped from China, so the box isn't perfect, but it's not ruined either. Here's the front.
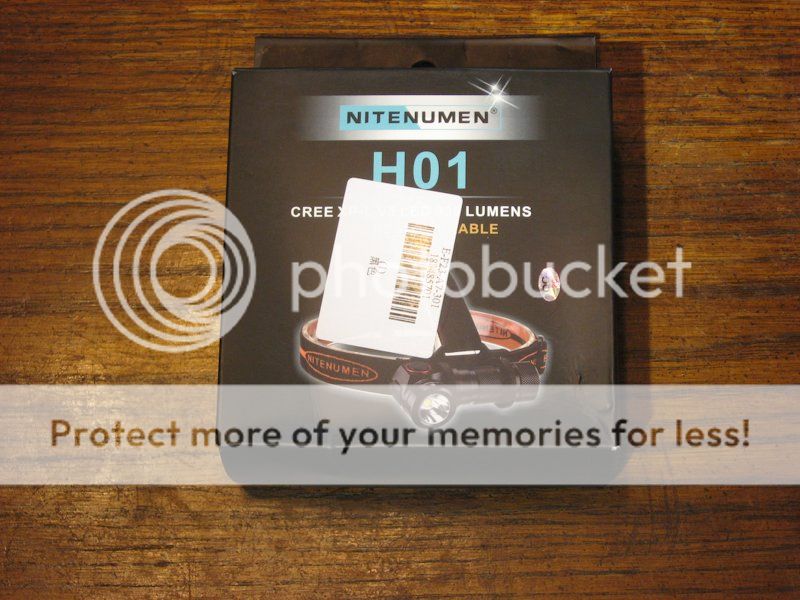
Well, the stocking label doesn't help, but the design of the box is simple, and has a matte finish. Here's the side.
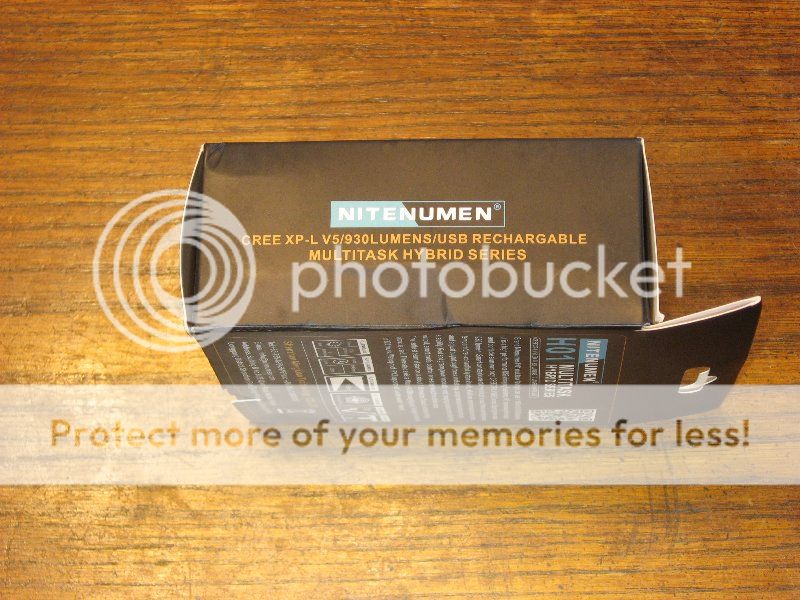
Once again, simple design, nothing flashy (no pun intended). Here is the back.
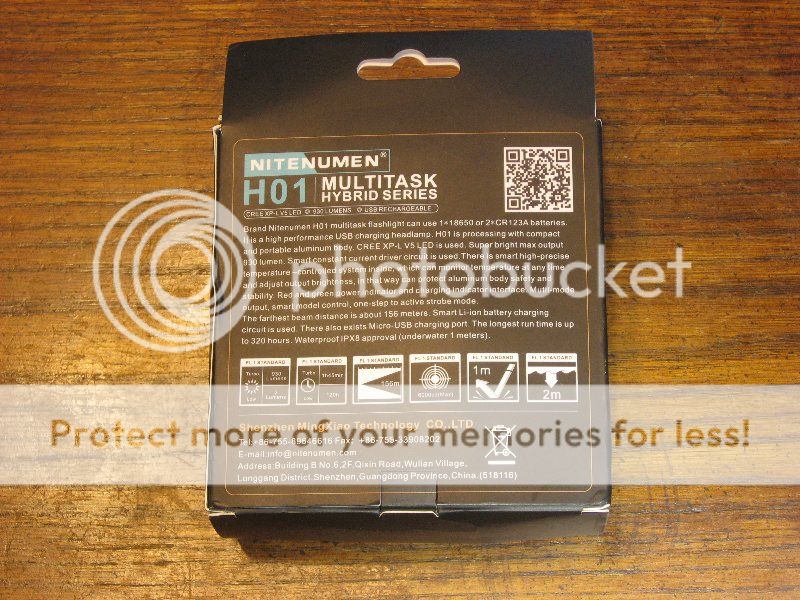
Still keeping it simple on the back, the box has plenty of information, albeit written in CHenglish, but that comes with the territory I guess. At least they translated it, and it is readable, if not grammatically correct. Time to unbox!
Everything in the box is packed around a plastic insert, and pushed into the box. I've seen better packaging, but at the same time, I've seen a LOT worse.
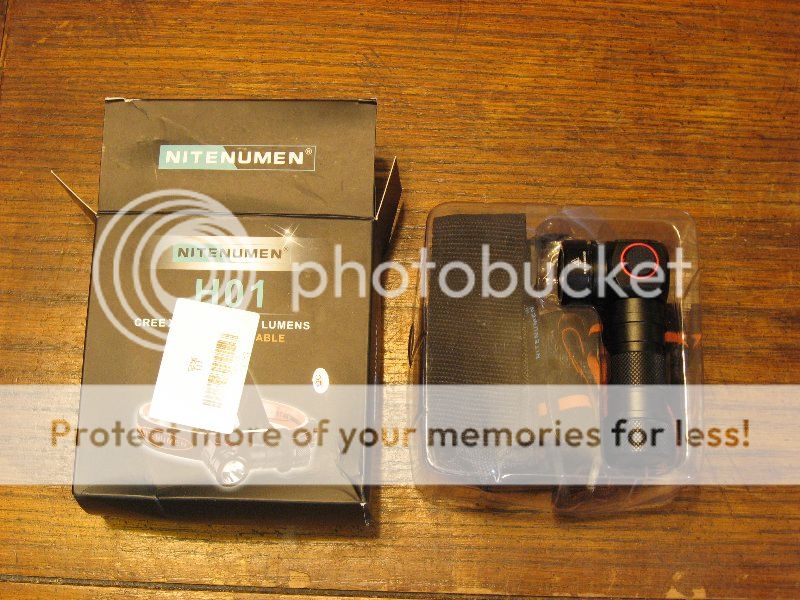
This is a pic of the back side of the package, along with the manual and the warranty card.
Here's a pic of all the stuff that's included. From top left to bottom right: The light itself, the belt holster, USB charging cable, a package of accessories, a silica moisture packet, and lastly, the headband.

Alright, before I get to the light, I figure I'd get to the accessories first.
First, we have the headband.

Here's what it looks like with the light in it.

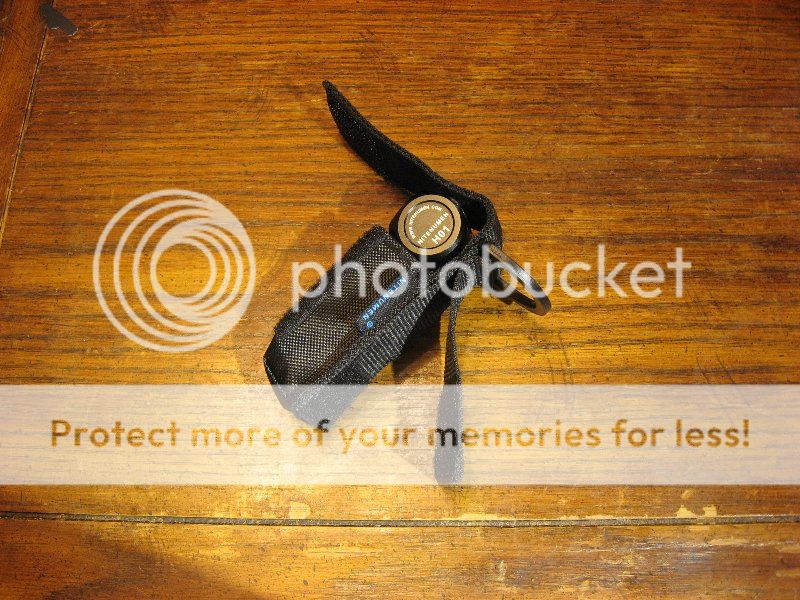
This is the belt holster with the light in it.

This is the back of the belt holster, showing the loop and the strap for a belt.
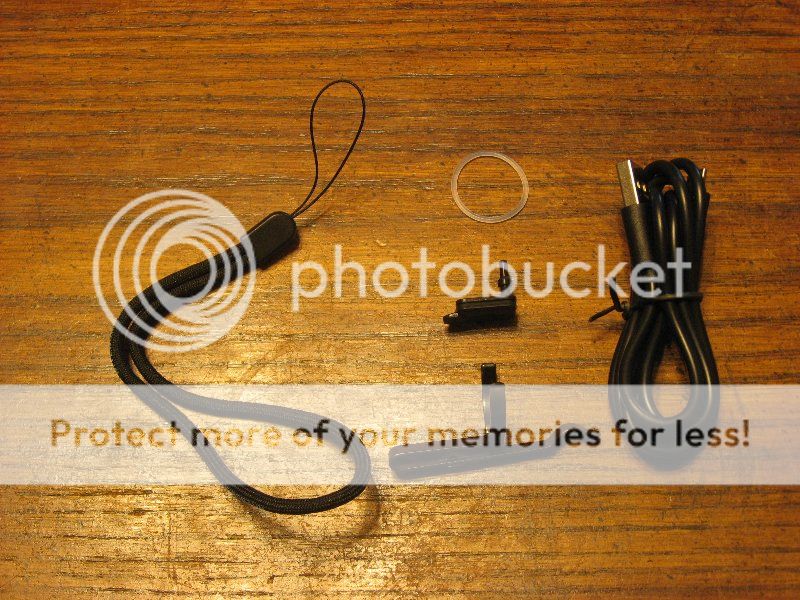
Here's a pic of the stuff in the bag. A lanyard, an extra gasket, an extra USB port cover, and a belt clip, along with the USB cord.
Now that that's over with, time for pics of the light itself!
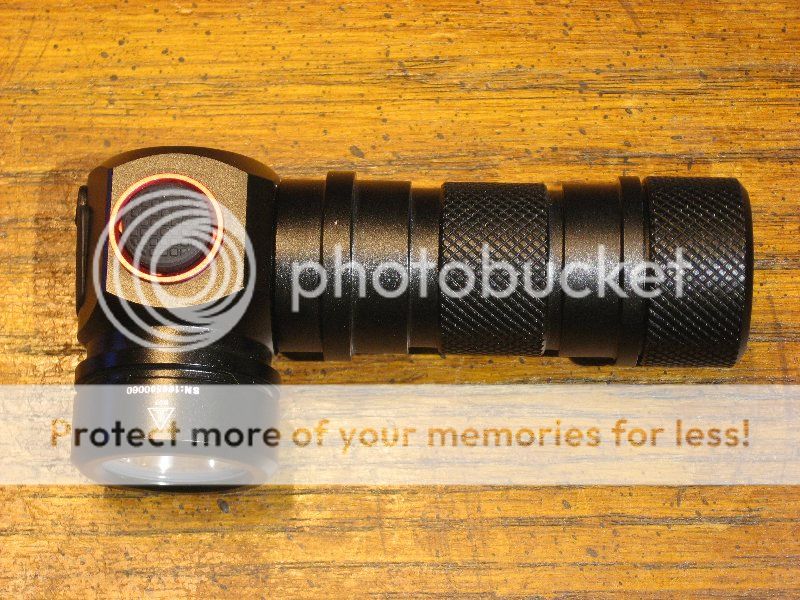
First, we have the top of the light.
Here's the front.
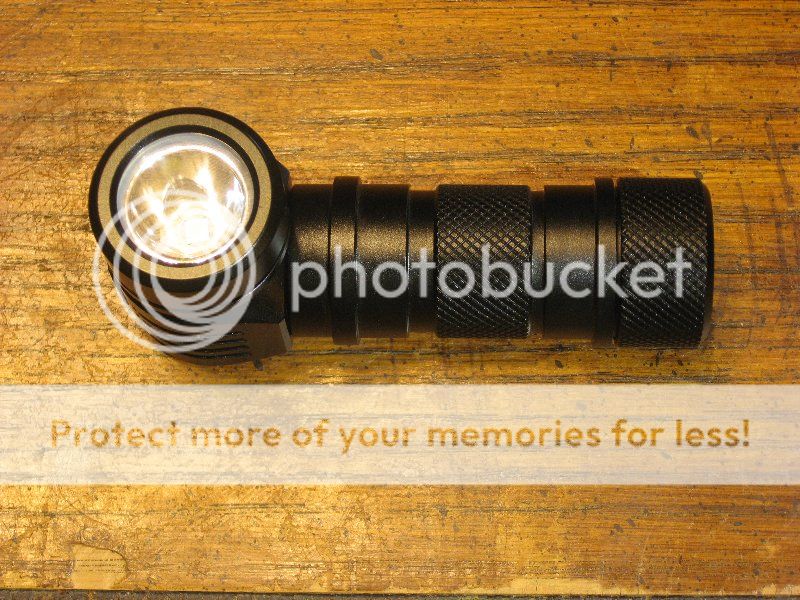
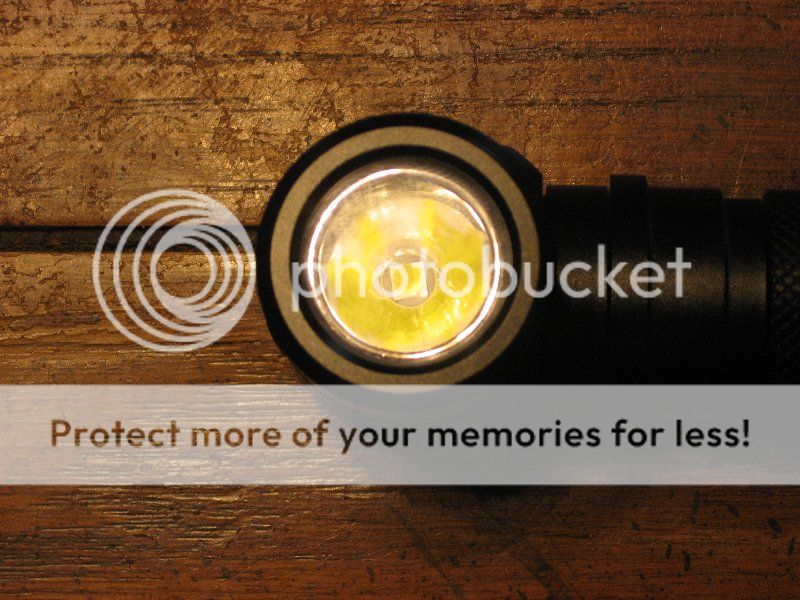
Here's a view inside the lens.
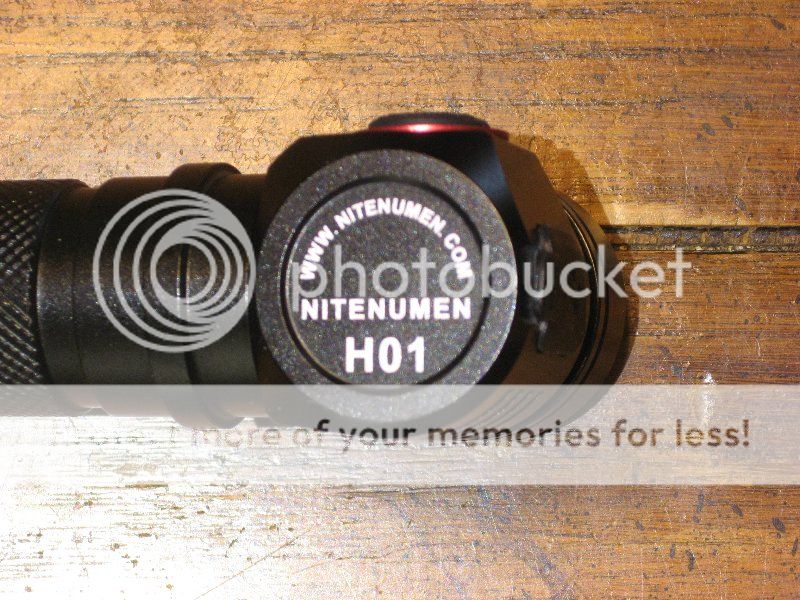
Here's the back of the head.
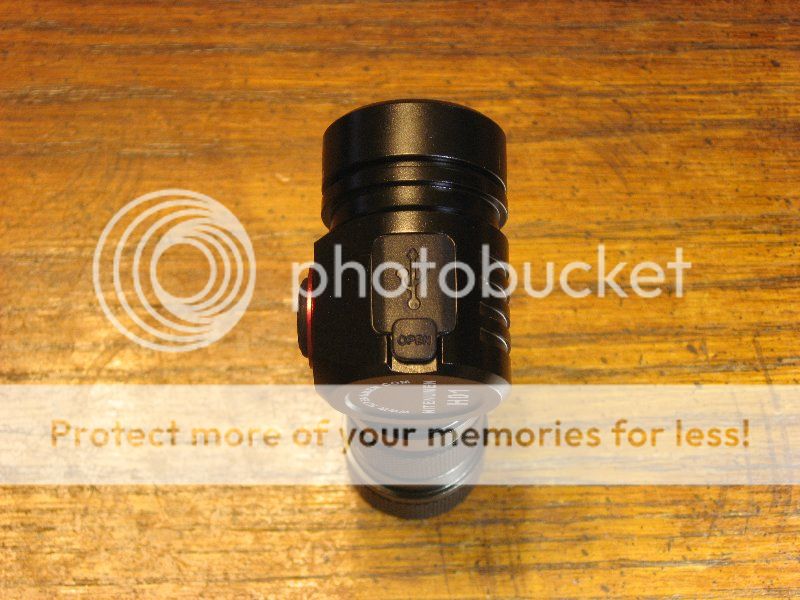
Here's one of the USB port cover.
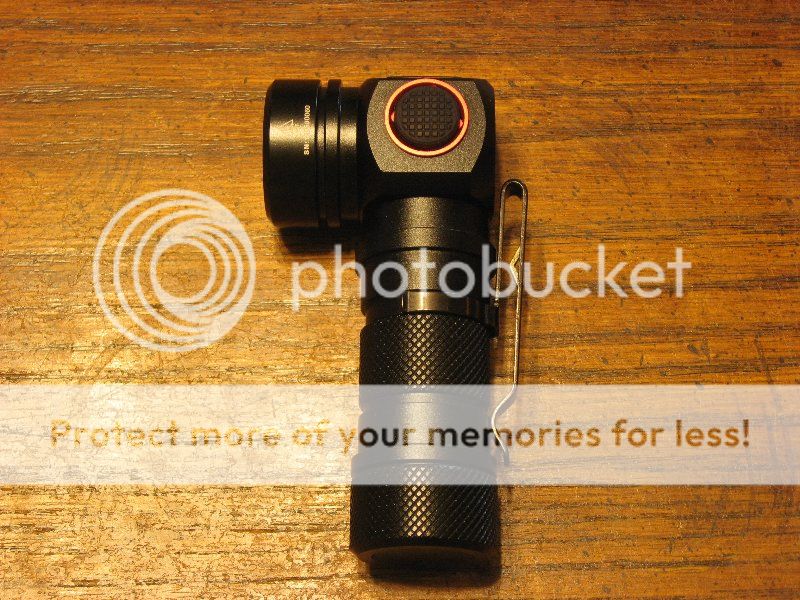
Here's a pic of the light with the clip on it.
Okay, now for first impressions. The headlamp comes with a good selection of accessories, and also comes with some spare parts! Build quality seems good, And I like the fit of the headband. I don't think I will use the belt holster, but it seems to be well made, and could be useful to those who would use it apart from the headband. I also like the clip that was sent with it, seems pretty sturdy, although I had to bend the ears out a little to make it fit the light. So far, very good.
Build quality, teardown, and Beamshots.
Well, I'm not going to tear the headlamp all the way down, but I do want to give you an idea of what's going on. I am going to tear it down as far as I can without damaging anything (I did buy this one to use it). Anyway, as far as I could tell, the build quality seems decent, and it doesn't seem to be a fire hazard. The threads seem to be cut well, no trash in them, no binding, and they are anodized. The anodizing is a good thing since this is a soft-off light. I think it is good practice to disconnect power from it if you're not planning to use it, simply by loosening the tailcap. The light has a low voltage warning feature, and a physical reverse polarity protection, although both do have some issues (more on that later). The headlamp appears to use a standard 16MM MCPCB, looks to be aluminium, affixed to the body with thermal glue. The driver board is somewhat weird, since it has a board attached at an angle containing the USB charging port and related hardware. The light has a smooth reflector. As far as mod-ability goes, You should be able to upgrade some things if you're willing to lose the USB charging function. Ok, on to some pics!
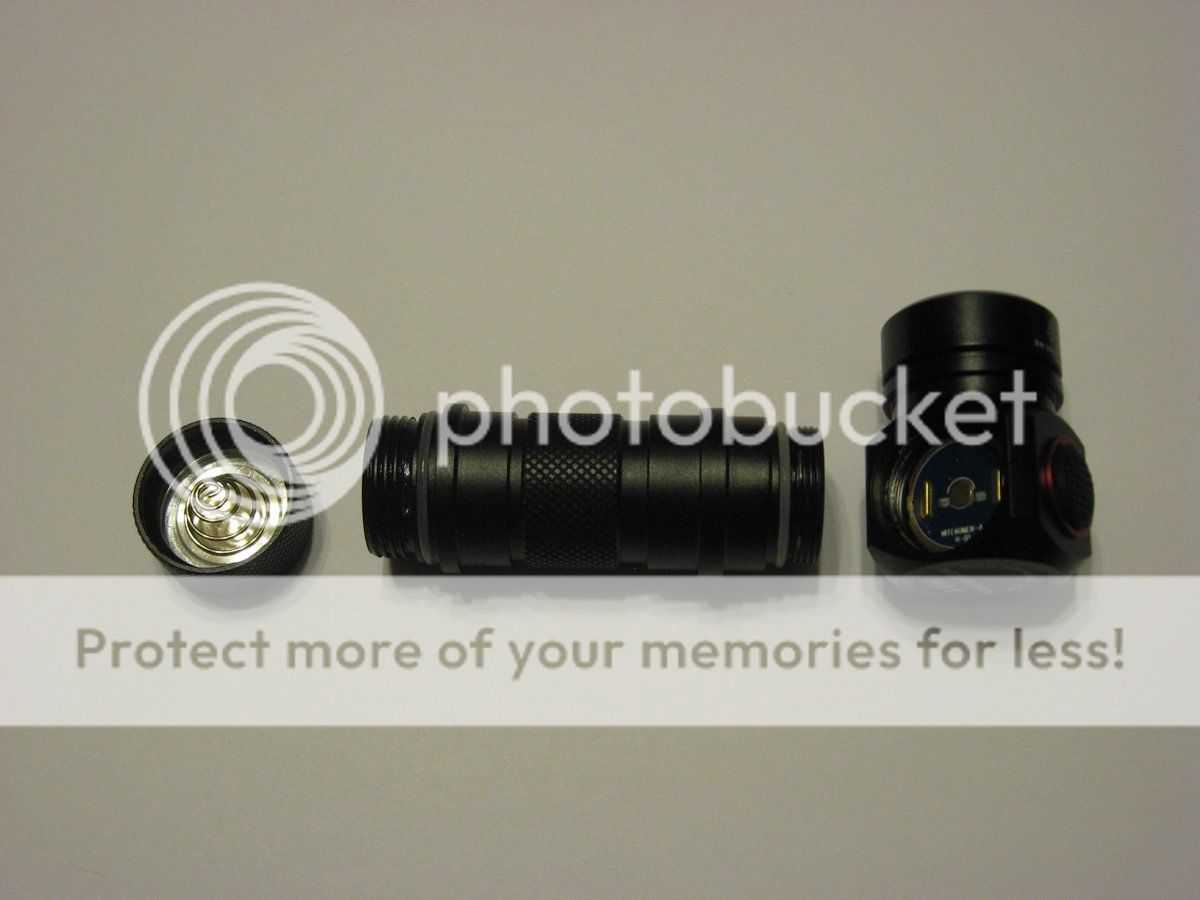
This is the first stage of disassembly, and so far, nothing unusual. The tailcap spring is retained by a groove machined into the tailcap. The barrel is nice and strong, with what appears to be silicone O rings, covered in a thin grease, In the head, you can see the bottom of the driver, and the reverse polarity protection.
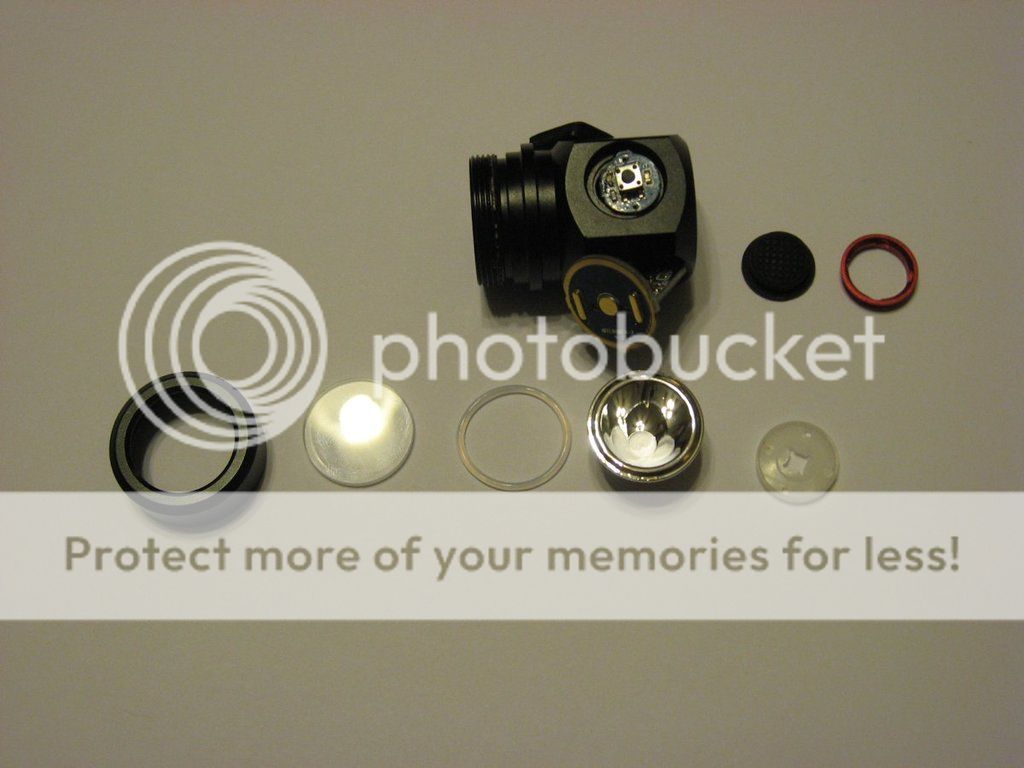
Here is the head, partially torn down. I did not want to go further, since I would have to start unsoldering things. Counterclockwise from bottom left is the bezel, lens, the O ring, reflector, Led spacer, and the button cover with it's retainer ring. You can see the second board attached to the driver, as well as the soft off switch.
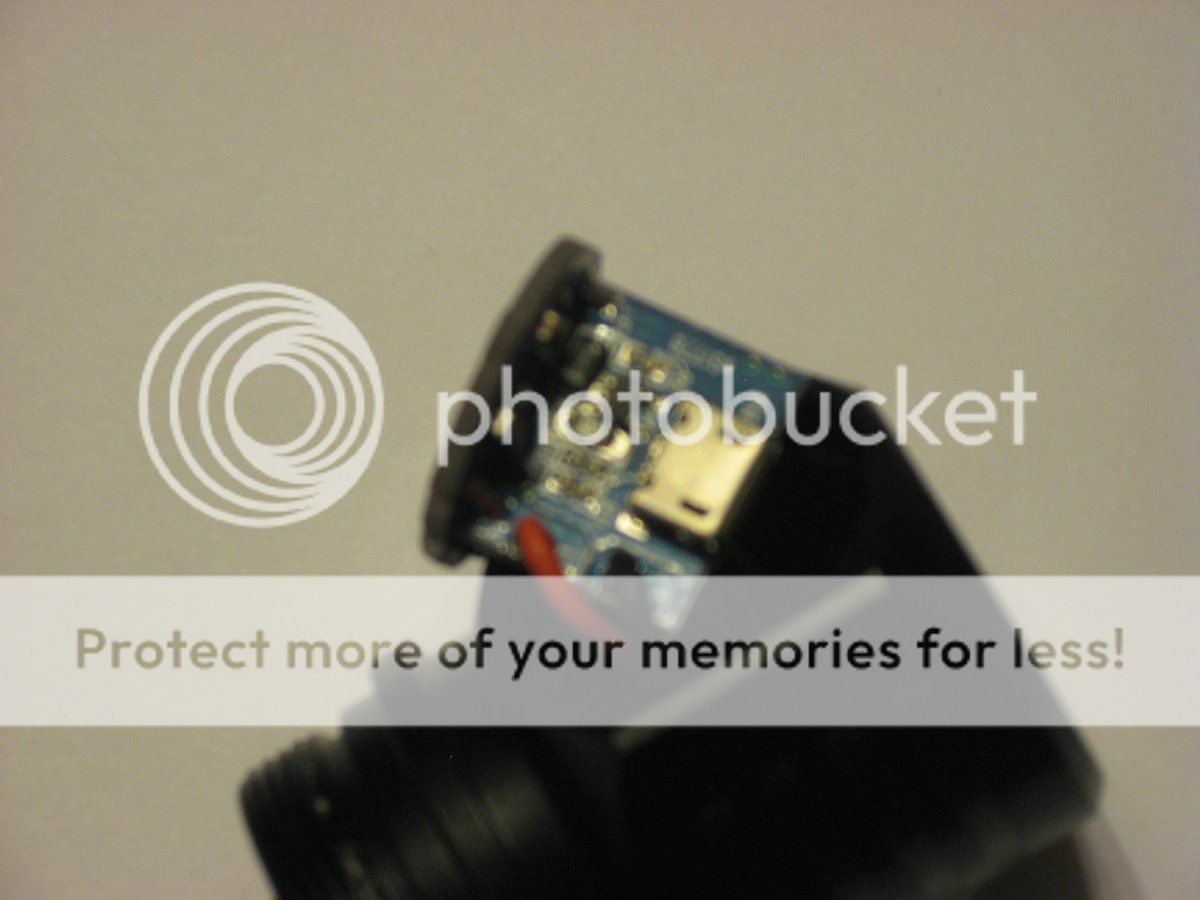
Here is a close up of the driver board. I don't think this is a standard part, so the only driver swaps you could do would eliminate the charging function.
I didn't get a pic of the emitter, but it doesn't seem to be a fake. As mentioned before, the star is glued to the head with thermal glue, and seems to sink away the heat effectively.
As for beamshots, I didn't get too many pics, but they should be good enough to get an idea of what this thing can do. This first pic shows the beams of 3 lights. The left light is my Convoy S2+ with a XM-L2 T6-4C emitter, the center one is the Nitenumen H01, and the right is my Dad's Convoy S2+ with a XM-L2 U2-1A emitter. All 3 lights are on low so as not to overload the camera.

This is a pic out in the yard, with my Dad's Convoy s2+ on the left, and the Nitenumen h01 on the right, both on high. You can barely tell that the S2+ is brighter here, which tells me that the Nitenumen light must be doing close to the 930 lumens stated on the package.

Electrical Characteristics, and Final Thoughts.
As far as electrics go, the situation is not bad, although for my use case I has to do a small mod. First, I think I need to go over the modes, and current draw in each mode
The UI is simple, and has no memory. When power is first applied, a blue led in the power button comes on for a few seconds, then turns off. It must be a power good light, as it turns on with the light as well. One click turns the light on low, then each successive click makes it one level brighter, until it cuts off when it reaches turbo. Pressing and holding the power button in any mode will turn the light off. Pressing and holding the power button while the light is off will activate the strobe, with one click going to SOS. When the battery gets low, the blue light will be replaced with a steady red light that will then flash when battery voltage is critical. Some problems with this low voltage warning is the light will not actually cut off, nor will it flash the main led to warn of potential battery damage. This issue is not as severe as another issue I noticed about the low voltage warning feature: turning the light off will cause the red led to turn on solid, and will not turn off unless you loosen the tailcap! This could drain the cell to the point of permanent damage. Not a deal breaker though, since I can loosen the tailcap to prevent any phantom power draw. For those who may be prone to leaving the light unattended I suggest protected cells. I guess that is the curse of a soft off light. Another issue is for those who use cells without any button on the positive side, the reverse polarity protection will be a problem. It consist of a small button in the center of the driver board with 2 rectangular pieces of metal on each side that prevent a flat battery from contacting the center contact. I simply unsoldered all 3 pieces of metal and soldered in a small spring to the center pad. Like I said, this is only a problem for those of us who use cells without any buttons on them. I have a mixed opinion about the charging function it has. First, is charges very slowly, And I don't think it fully charges the battery either. Here is some more pics, showing the indicator lights, and the mod I made.
P.S. One thing I forgot to mention is the PWM flicker is noticeable on moving objects at low light levels, but goes away at high light levels.
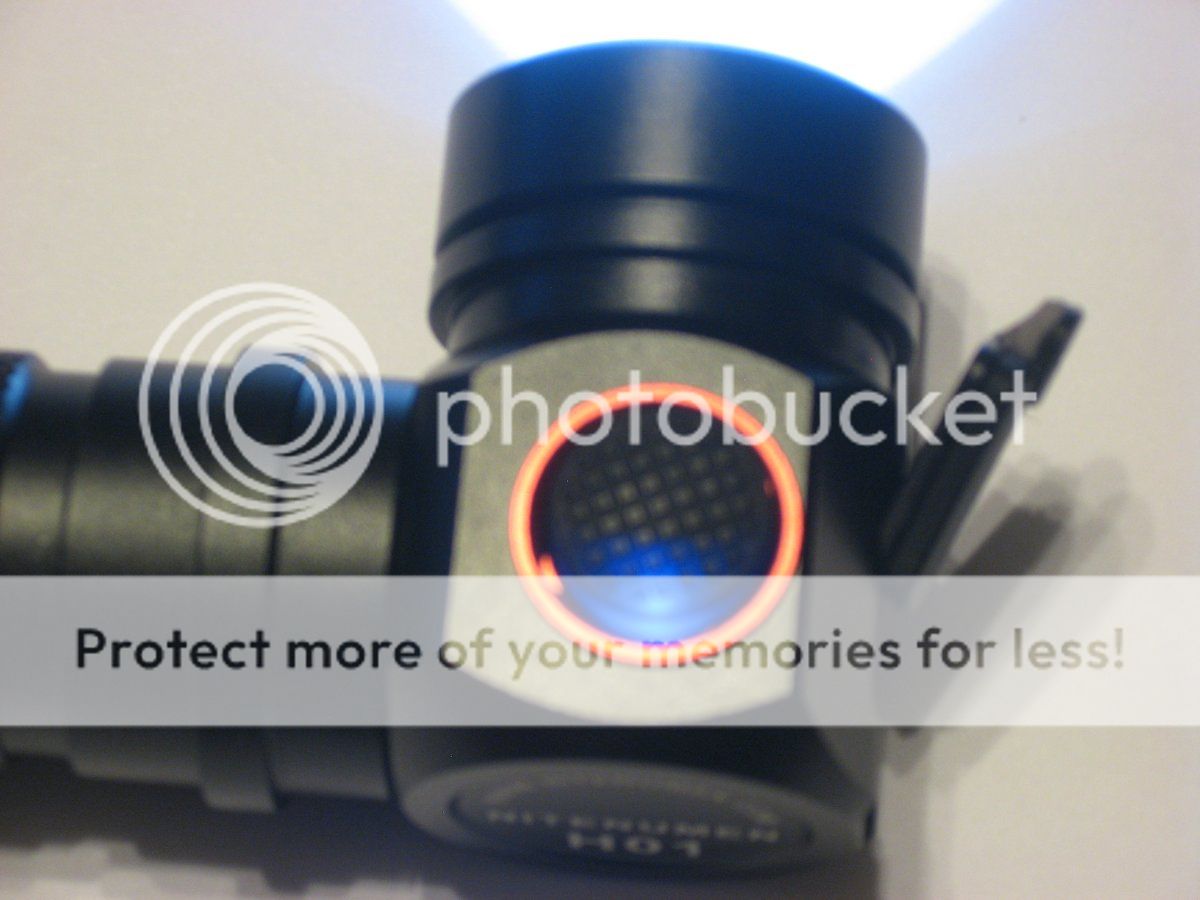
This is what the blue light looks like.
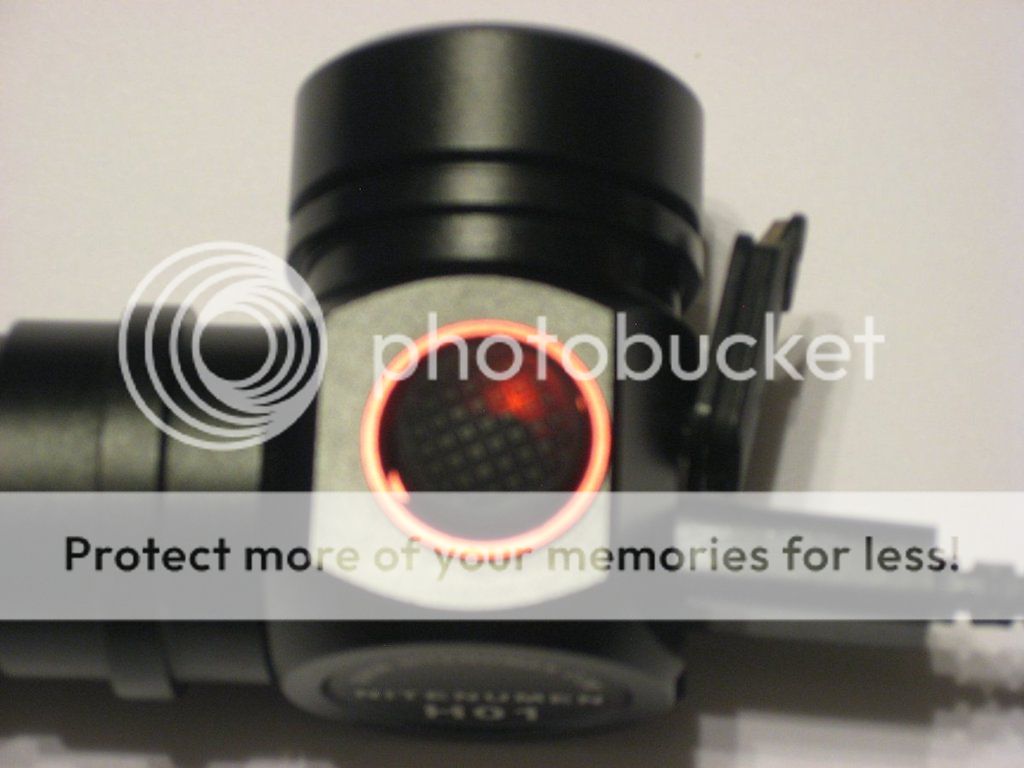
This is what the red light looks like. It flashes during charging.
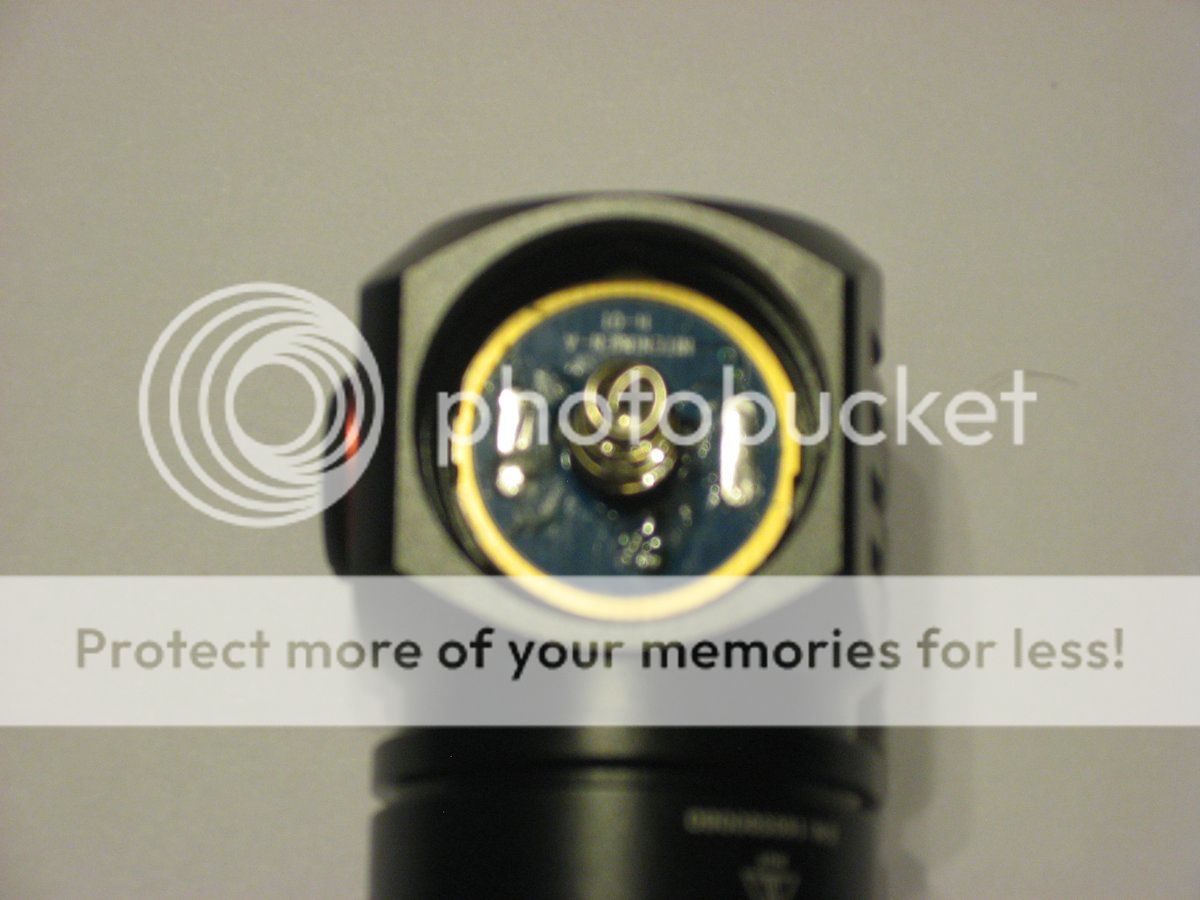
You can see here how I replaced the 3 contacts with a single spring, eliminating the reverse polarity protection.
And now, for my final thoughts. Overall, I have to say I like this light. Sure, there is a lot of better lights you could buy, but this one is the only one I could find that was priced reasonably, and wasn't a poor quality light. It seems that a budget headlamp is hard to come by, but this light does pretty well. Considering most of the sub- $50 headlamps are low quality things that usually have half the lumen output they claim, and that those lights are usually fire hazards, I think this one knocks it out of the park for a budget light. My only problems with it are minor, and may not be an issue for some, while they may be deal-breakers for others. For instance, I didn't buy the light for the charging function, so I don't care if it charges the battery completely or not, while someone else would not consider buying this because of that one issue alone. I think it comes with a decent ammount of accessories, even more than my Convoy S2+. The light seems like it would be fairly waterproof, the only weak spot being the usb charging door. overall build quality is good. I guess that is it, feel free to ask questions about the light, and I will try to answer them. Sorry this took so long to post.
I'm going to break this up into multiple parts to save my sanity, and to reduce the workload to make this. I've never done this before, so once again, please forgive me if something does not come out right. On to the review!Packaging, Unboxing, and First Impressions.
Well, the example I got was shipped from China, so the box isn't perfect, but it's not ruined either. Here's the front.
Well, the stocking label doesn't help, but the design of the box is simple, and has a matte finish. Here's the side.
Once again, simple design, nothing flashy (no pun intended). Here is the back.
Still keeping it simple on the back, the box has plenty of information, albeit written in CHenglish, but that comes with the territory I guess. At least they translated it, and it is readable, if not grammatically correct. Time to unbox!
Everything in the box is packed around a plastic insert, and pushed into the box. I've seen better packaging, but at the same time, I've seen a LOT worse.
This is a pic of the back side of the package, along with the manual and the warranty card.
Here's a pic of all the stuff that's included. From top left to bottom right: The light itself, the belt holster, USB charging cable, a package of accessories, a silica moisture packet, and lastly, the headband.
Alright, before I get to the light, I figure I'd get to the accessories first.
First, we have the headband.
Here's what it looks like with the light in it.
This is the belt holster with the light in it.
This is the back of the belt holster, showing the loop and the strap for a belt.
Here's a pic of the stuff in the bag. A lanyard, an extra gasket, an extra USB port cover, and a belt clip, along with the USB cord.
Now that that's over with, time for pics of the light itself!
First, we have the top of the light.
Here's the front.
Here's a view inside the lens.
Here's the back of the head.
Here's one of the USB port cover.
Here's a pic of the light with the clip on it.
Okay, now for first impressions. The headlamp comes with a good selection of accessories, and also comes with some spare parts! Build quality seems good, And I like the fit of the headband. I don't think I will use the belt holster, but it seems to be well made, and could be useful to those who would use it apart from the headband. I also like the clip that was sent with it, seems pretty sturdy, although I had to bend the ears out a little to make it fit the light. So far, very good.
Build quality, teardown, and Beamshots.
Well, I'm not going to tear the headlamp all the way down, but I do want to give you an idea of what's going on. I am going to tear it down as far as I can without damaging anything (I did buy this one to use it). Anyway, as far as I could tell, the build quality seems decent, and it doesn't seem to be a fire hazard. The threads seem to be cut well, no trash in them, no binding, and they are anodized. The anodizing is a good thing since this is a soft-off light. I think it is good practice to disconnect power from it if you're not planning to use it, simply by loosening the tailcap. The light has a low voltage warning feature, and a physical reverse polarity protection, although both do have some issues (more on that later). The headlamp appears to use a standard 16MM MCPCB, looks to be aluminium, affixed to the body with thermal glue. The driver board is somewhat weird, since it has a board attached at an angle containing the USB charging port and related hardware. The light has a smooth reflector. As far as mod-ability goes, You should be able to upgrade some things if you're willing to lose the USB charging function. Ok, on to some pics!
This is the first stage of disassembly, and so far, nothing unusual. The tailcap spring is retained by a groove machined into the tailcap. The barrel is nice and strong, with what appears to be silicone O rings, covered in a thin grease, In the head, you can see the bottom of the driver, and the reverse polarity protection.
Here is the head, partially torn down. I did not want to go further, since I would have to start unsoldering things. Counterclockwise from bottom left is the bezel, lens, the O ring, reflector, Led spacer, and the button cover with it's retainer ring. You can see the second board attached to the driver, as well as the soft off switch.
Here is a close up of the driver board. I don't think this is a standard part, so the only driver swaps you could do would eliminate the charging function.
I didn't get a pic of the emitter, but it doesn't seem to be a fake. As mentioned before, the star is glued to the head with thermal glue, and seems to sink away the heat effectively.
As for beamshots, I didn't get too many pics, but they should be good enough to get an idea of what this thing can do. This first pic shows the beams of 3 lights. The left light is my Convoy S2+ with a XM-L2 T6-4C emitter, the center one is the Nitenumen H01, and the right is my Dad's Convoy S2+ with a XM-L2 U2-1A emitter. All 3 lights are on low so as not to overload the camera.
This is a pic out in the yard, with my Dad's Convoy s2+ on the left, and the Nitenumen h01 on the right, both on high. You can barely tell that the S2+ is brighter here, which tells me that the Nitenumen light must be doing close to the 930 lumens stated on the package.
Electrical Characteristics, and Final Thoughts.
As far as electrics go, the situation is not bad, although for my use case I has to do a small mod. First, I think I need to go over the modes, and current draw in each mode
- mode button press current draw
- moonlight 1st click 40 mA
- low 2nd click 250 mA
- medium 3rd click 900 mA
- high 4th click 1800 mA
- turbo 5th click 2600 mA
- strobe press N hold while off
- SOS click during strobe
The UI is simple, and has no memory. When power is first applied, a blue led in the power button comes on for a few seconds, then turns off. It must be a power good light, as it turns on with the light as well. One click turns the light on low, then each successive click makes it one level brighter, until it cuts off when it reaches turbo. Pressing and holding the power button in any mode will turn the light off. Pressing and holding the power button while the light is off will activate the strobe, with one click going to SOS. When the battery gets low, the blue light will be replaced with a steady red light that will then flash when battery voltage is critical. Some problems with this low voltage warning is the light will not actually cut off, nor will it flash the main led to warn of potential battery damage. This issue is not as severe as another issue I noticed about the low voltage warning feature: turning the light off will cause the red led to turn on solid, and will not turn off unless you loosen the tailcap! This could drain the cell to the point of permanent damage. Not a deal breaker though, since I can loosen the tailcap to prevent any phantom power draw. For those who may be prone to leaving the light unattended I suggest protected cells. I guess that is the curse of a soft off light. Another issue is for those who use cells without any button on the positive side, the reverse polarity protection will be a problem. It consist of a small button in the center of the driver board with 2 rectangular pieces of metal on each side that prevent a flat battery from contacting the center contact. I simply unsoldered all 3 pieces of metal and soldered in a small spring to the center pad. Like I said, this is only a problem for those of us who use cells without any buttons on them. I have a mixed opinion about the charging function it has. First, is charges very slowly, And I don't think it fully charges the battery either. Here is some more pics, showing the indicator lights, and the mod I made.
P.S. One thing I forgot to mention is the PWM flicker is noticeable on moving objects at low light levels, but goes away at high light levels.
This is what the blue light looks like.
This is what the red light looks like. It flashes during charging.
You can see here how I replaced the 3 contacts with a single spring, eliminating the reverse polarity protection.
And now, for my final thoughts. Overall, I have to say I like this light. Sure, there is a lot of better lights you could buy, but this one is the only one I could find that was priced reasonably, and wasn't a poor quality light. It seems that a budget headlamp is hard to come by, but this light does pretty well. Considering most of the sub- $50 headlamps are low quality things that usually have half the lumen output they claim, and that those lights are usually fire hazards, I think this one knocks it out of the park for a budget light. My only problems with it are minor, and may not be an issue for some, while they may be deal-breakers for others. For instance, I didn't buy the light for the charging function, so I don't care if it charges the battery completely or not, while someone else would not consider buying this because of that one issue alone. I think it comes with a decent ammount of accessories, even more than my Convoy S2+. The light seems like it would be fairly waterproof, the only weak spot being the usb charging door. overall build quality is good. I guess that is it, feel free to ask questions about the light, and I will try to answer them. Sorry this took so long to post.
Last edited: