toastystuff
Enlightened
- Joined
- Apr 12, 2013
- Messages
- 652
So I just picked up a user Mr. Bulk VIP for cheap. Does anybody know what's the most modern led that could be swapped in? I see the lux 3 Ied looks easily accessible.

")
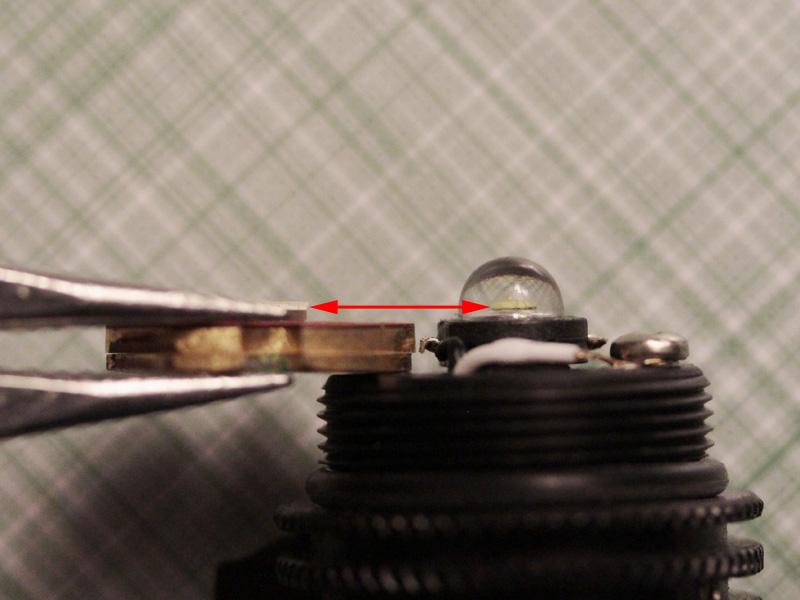
Yes....pedestal thing.
 .
.Yeah, that's something extra with lights with side switches like the VIP. Sounds like you've got it covered with a notch. It's the detail devil I mentioned previously.... Unfortunately the ground wire is in the way. It's hard to properly position the star even after notching the star...

Was there any infamous "magic smoke", the stuff that gives modders nightmare? Did the LED light output turn a color or burn differently for a split second, what is often referred to asOK well I got the new mcpcb and I solderd it in place, unfortunately it lit of for a few seconds then stopped working I'm not sure what happened but it won't turn on.
 ." These will be tell-tale signs of what might have happened. Or were you just try'n to live up to your handle
  (Sorry I coulnd't resist.)