
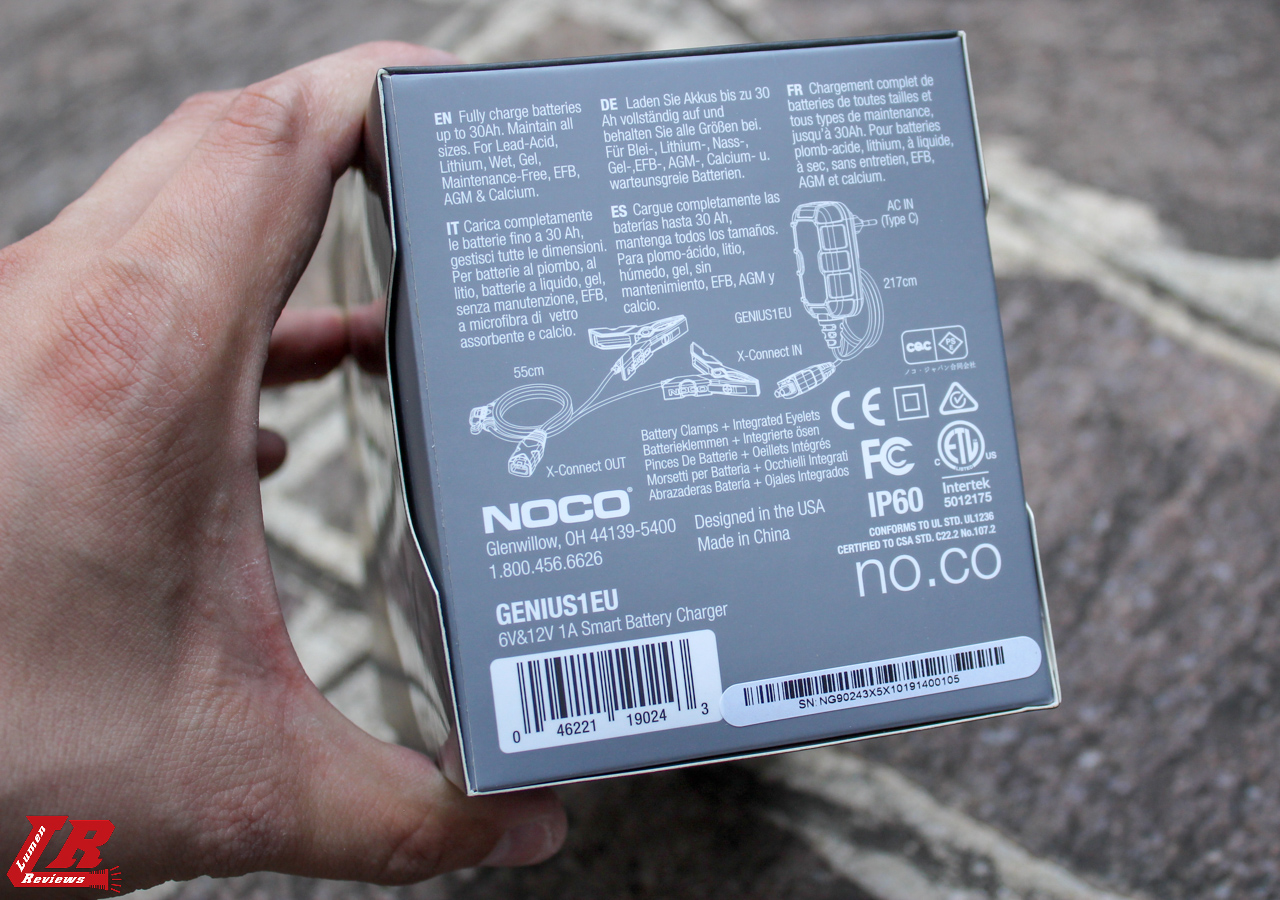
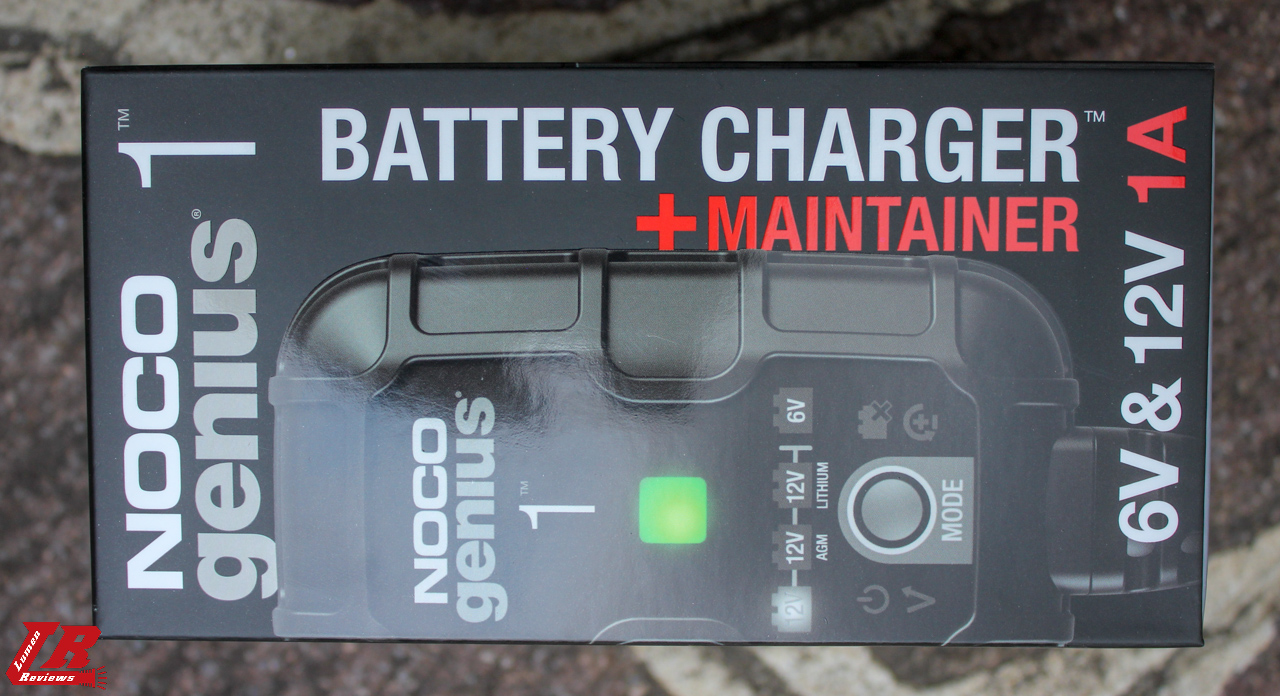
The Noco Genius 1 is a battery charger and maintainer, for 6 and 12 volt lead batteries.
I have almost no knowledge about electronic, however, I've been using flashlights, batteries and chargers for 10+ years as a consumer. So, in this thread I'll give you my honest opinion on this product as a user, considering that I have been using car battery chargers for more than 5 years.
I needed a charger to replace the low charging current feature present on the CTEK MXS 5.0 (that I owned for more than 5 years, and now I replaced with a charger that doesn't have it), and ideally it would need to have these features:
- Small size
- Regular EU type plug
- Long built in cables
- Lithium phosphate battery support
- Automatic temperature detection.
I heard Noco mentioned amongst friends and relatives as a producer of car battery boosters, and just recently I found out that they had also a line of chargers.
After some research, I gave some of their models a go.
In particular, I found the Genius 1 to be the model best suited for my needs (and an amazon sale on their line pushed my indecision).
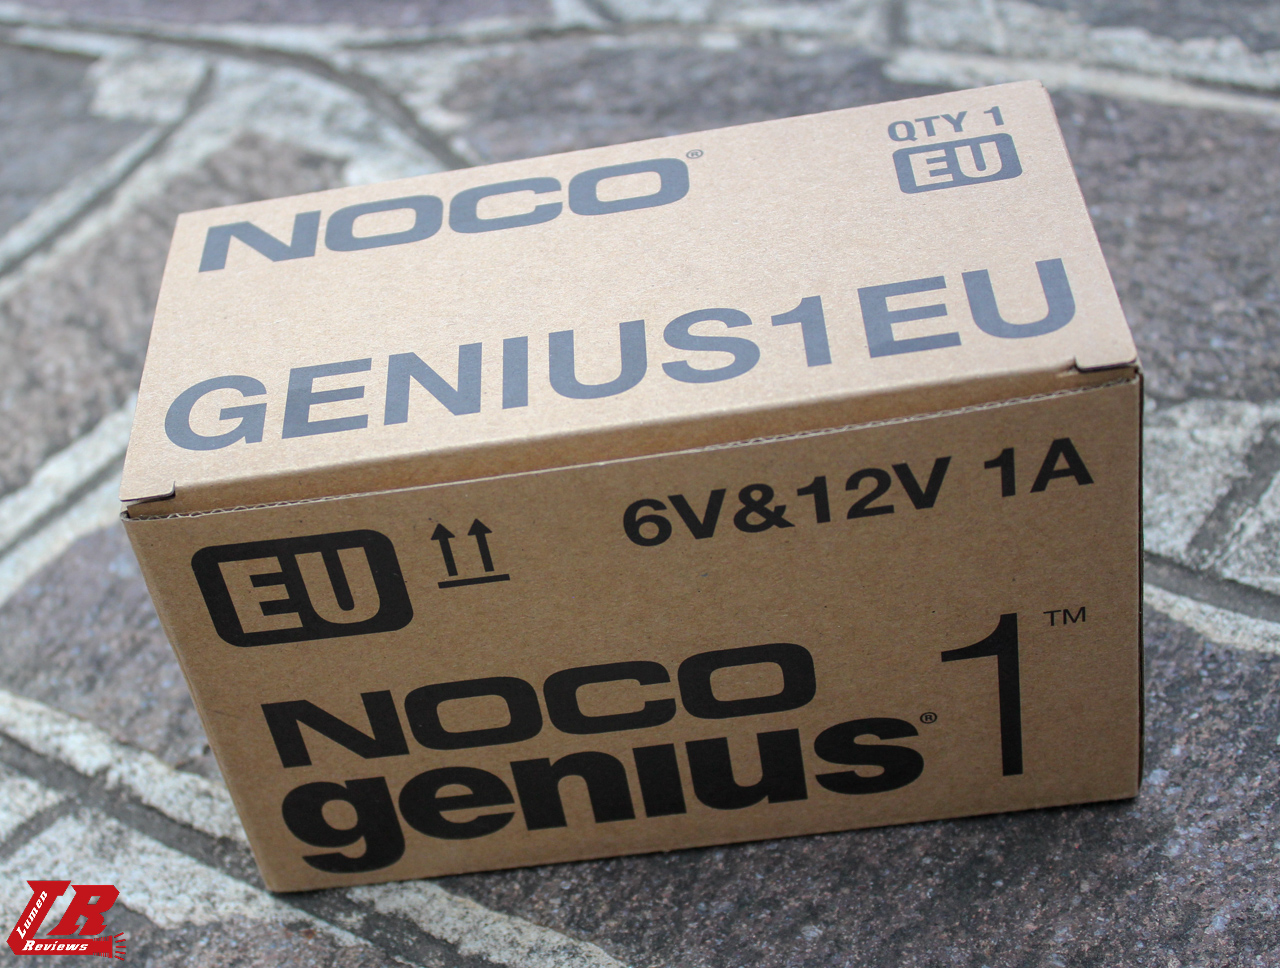
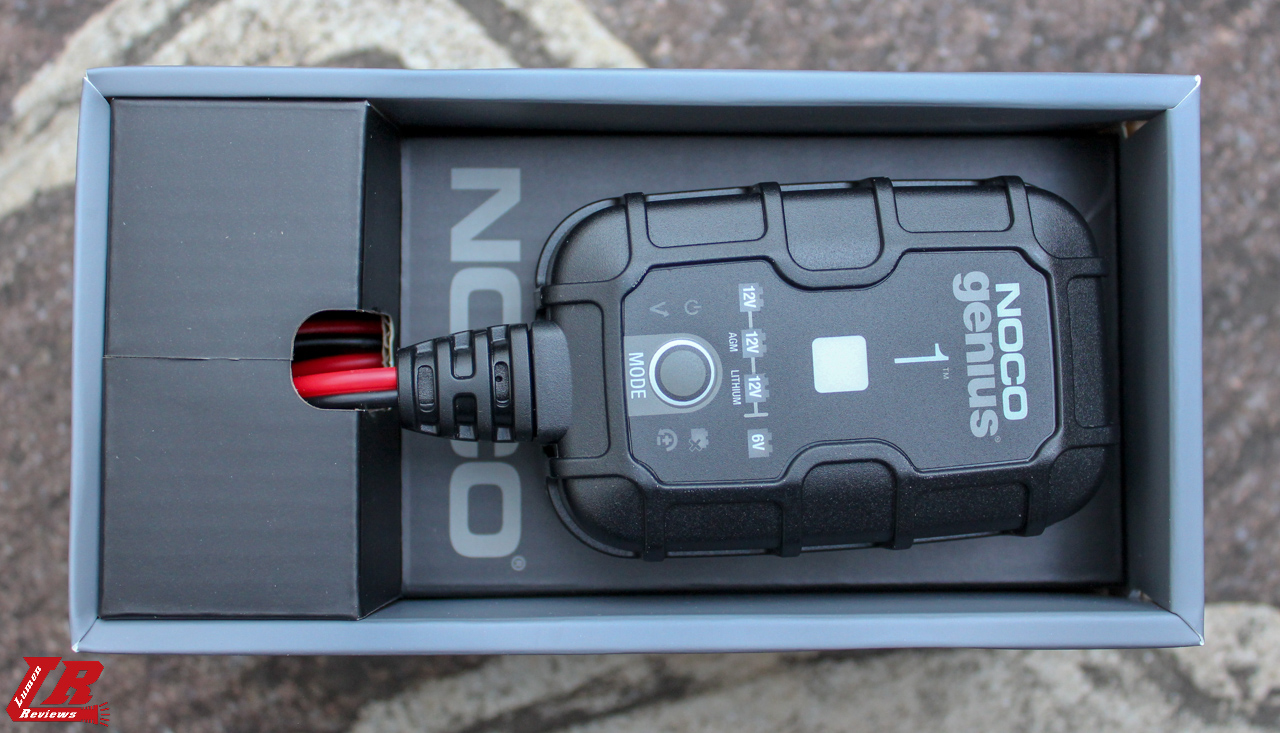
The charger comes in a simple cardboard box with an industrial design.
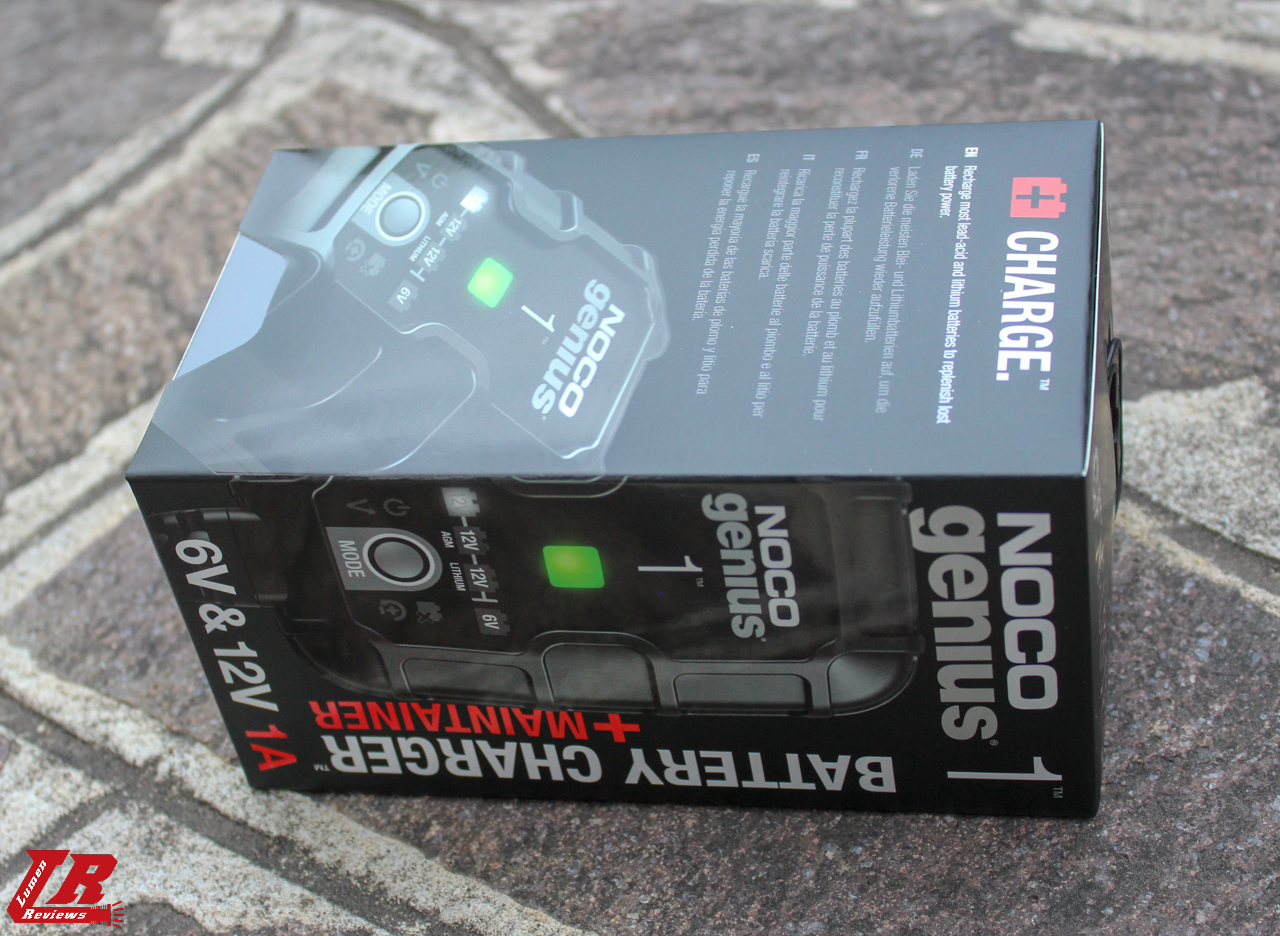
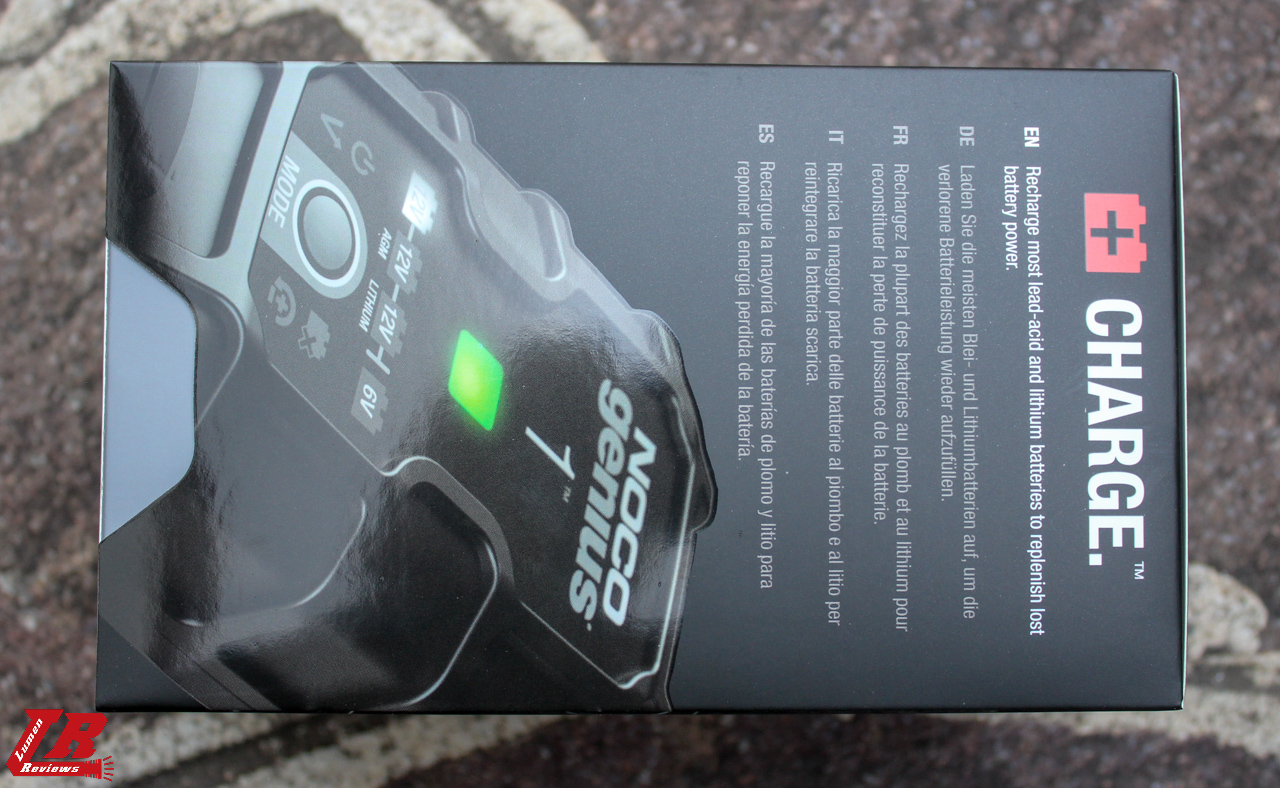
Under this box there's another one, with images of the charger, specs, etc.


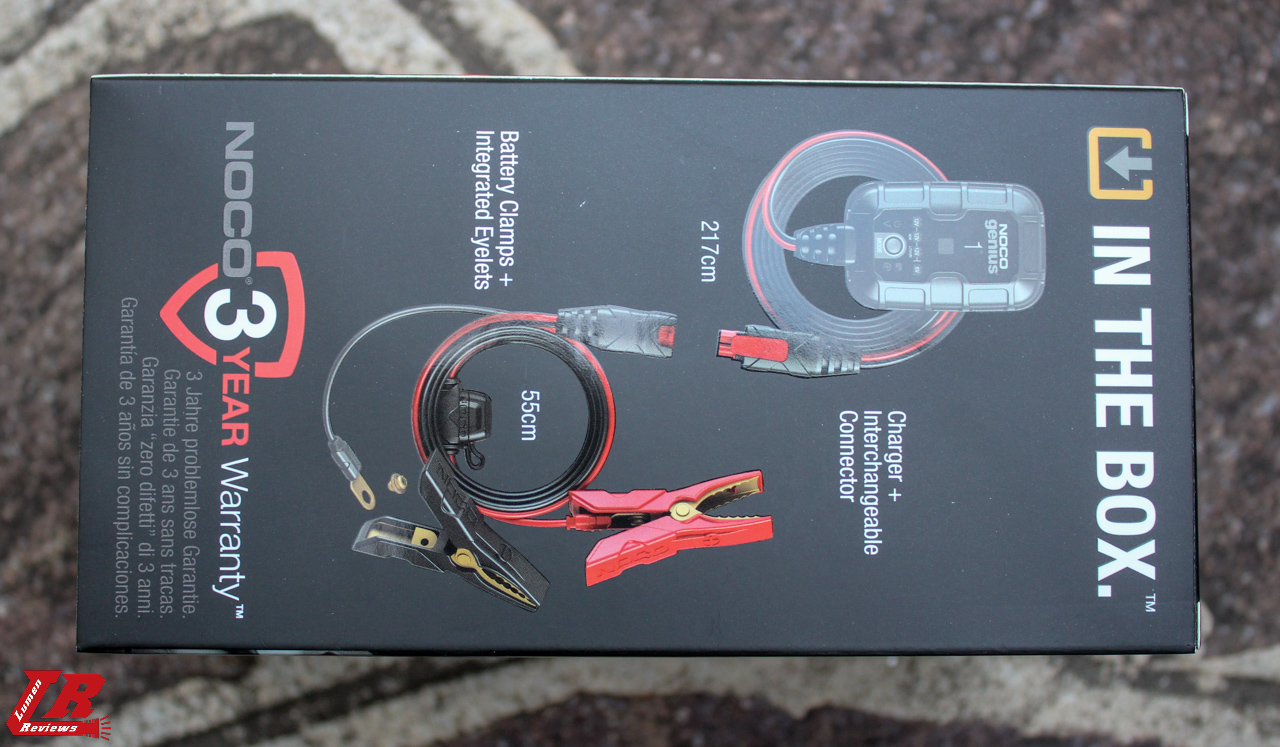
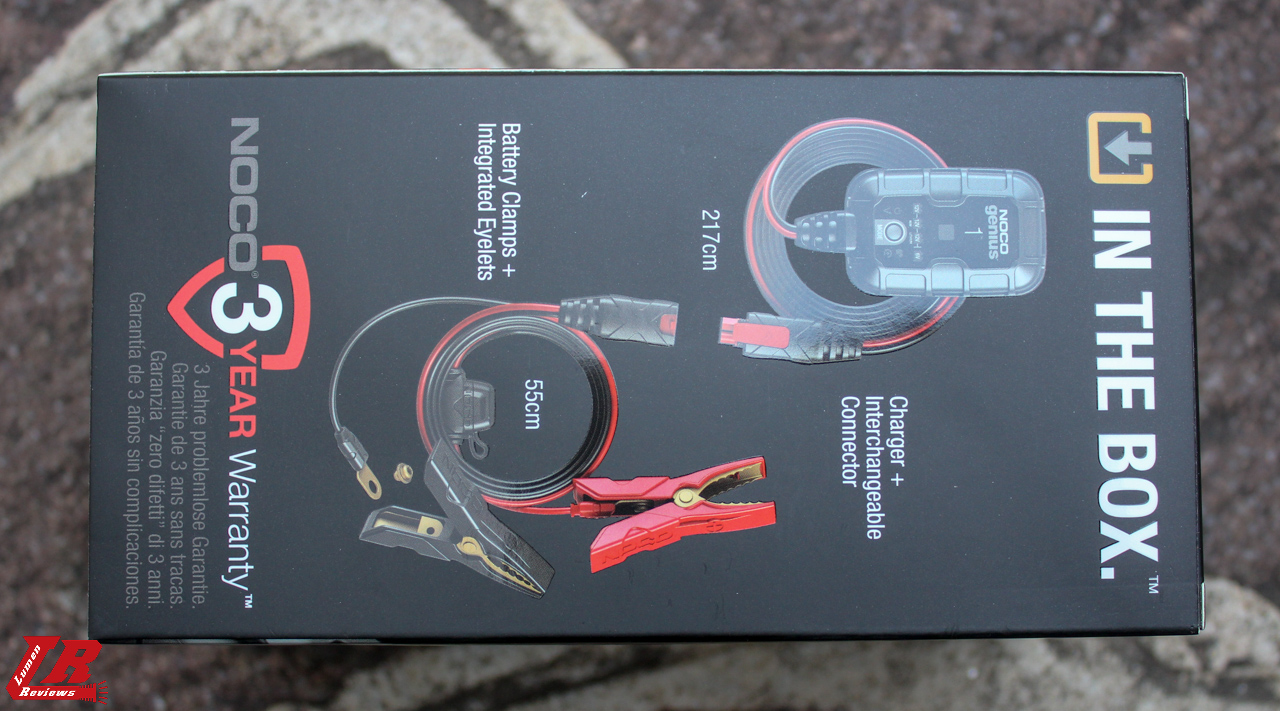
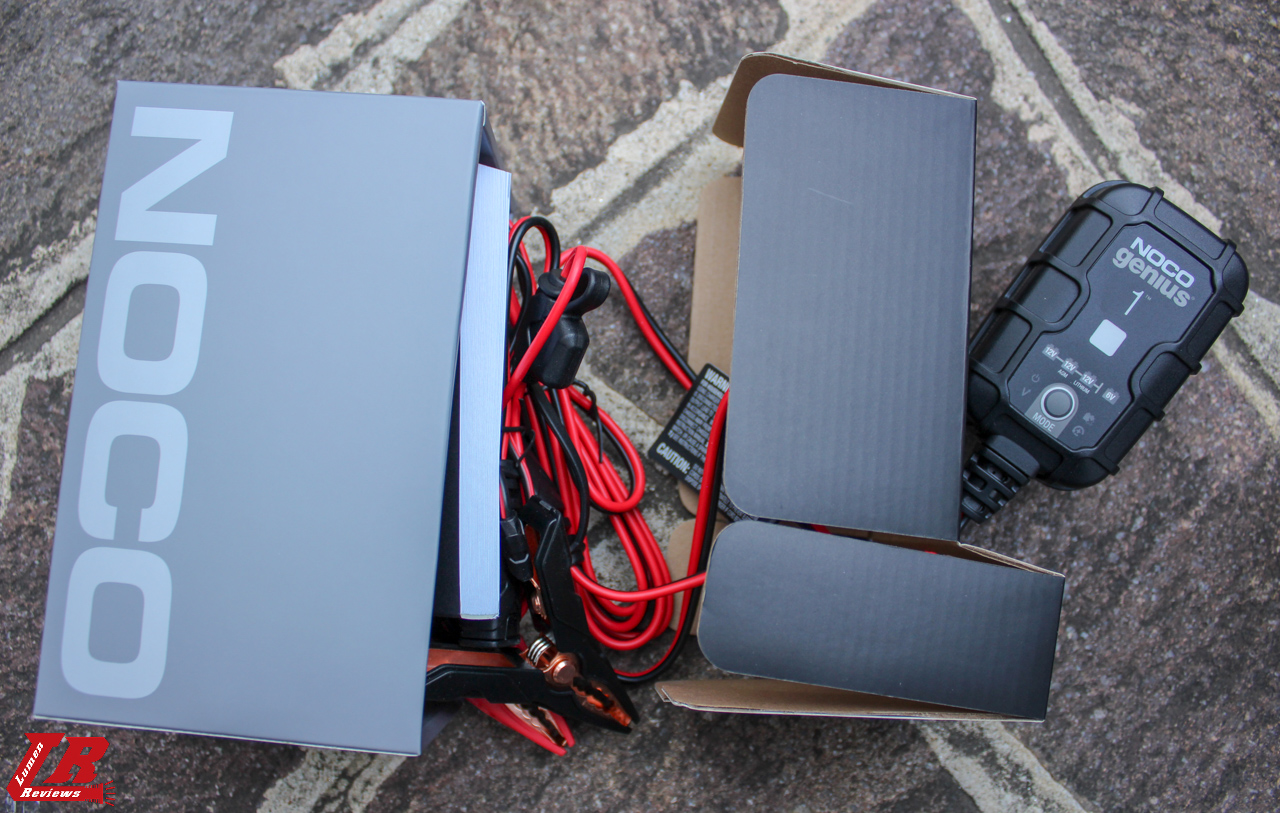
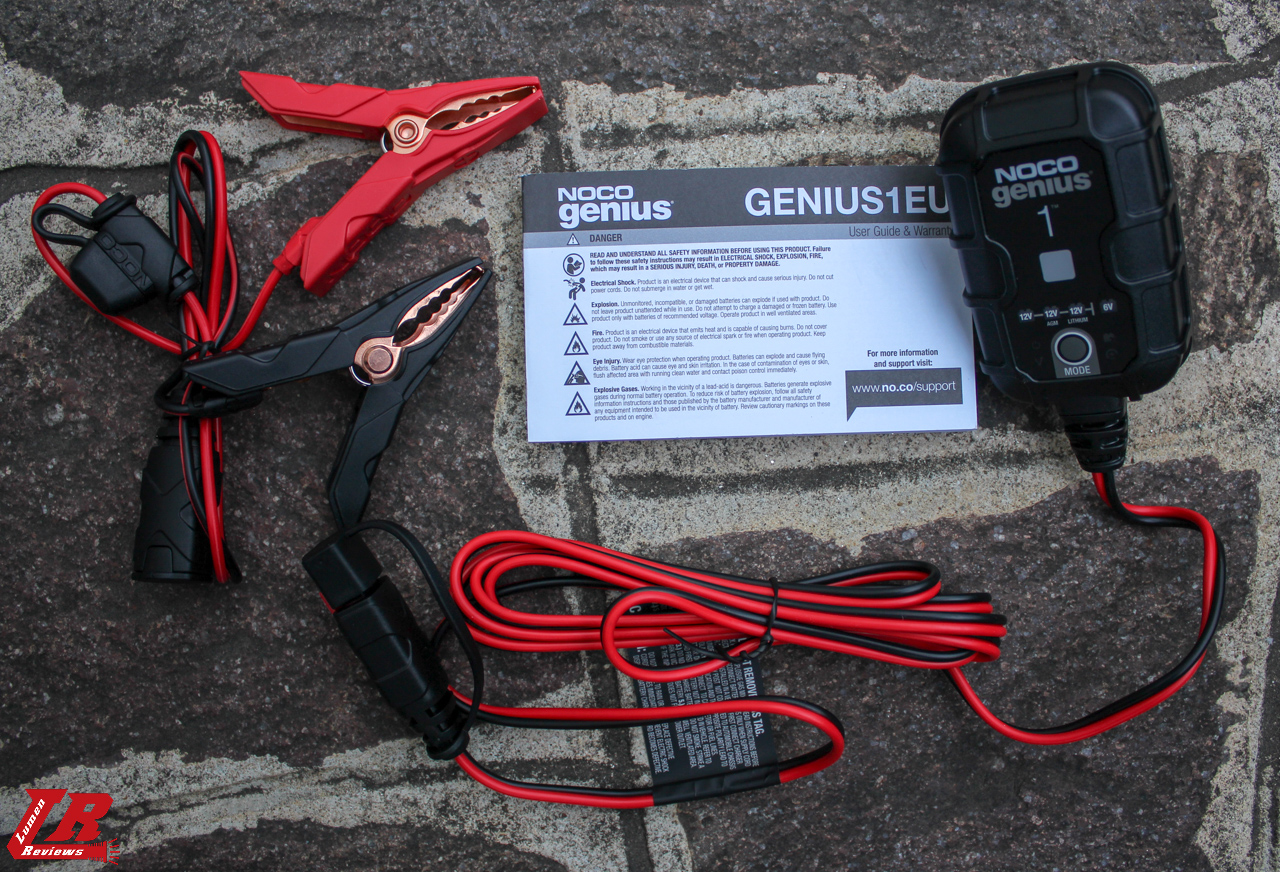
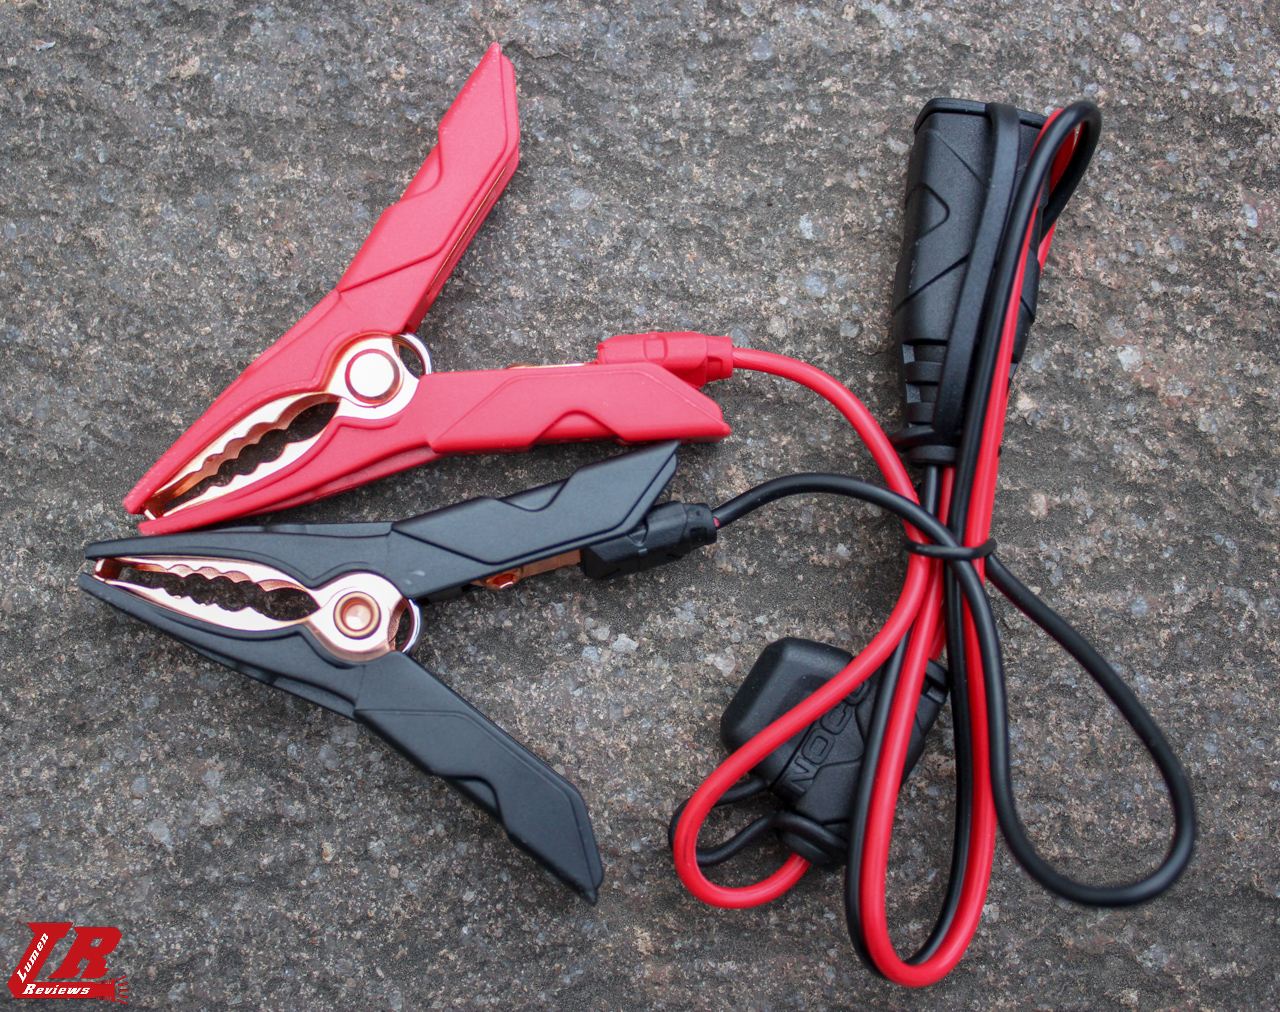
The Genius 1 comes with battery clamp connectors and manual.
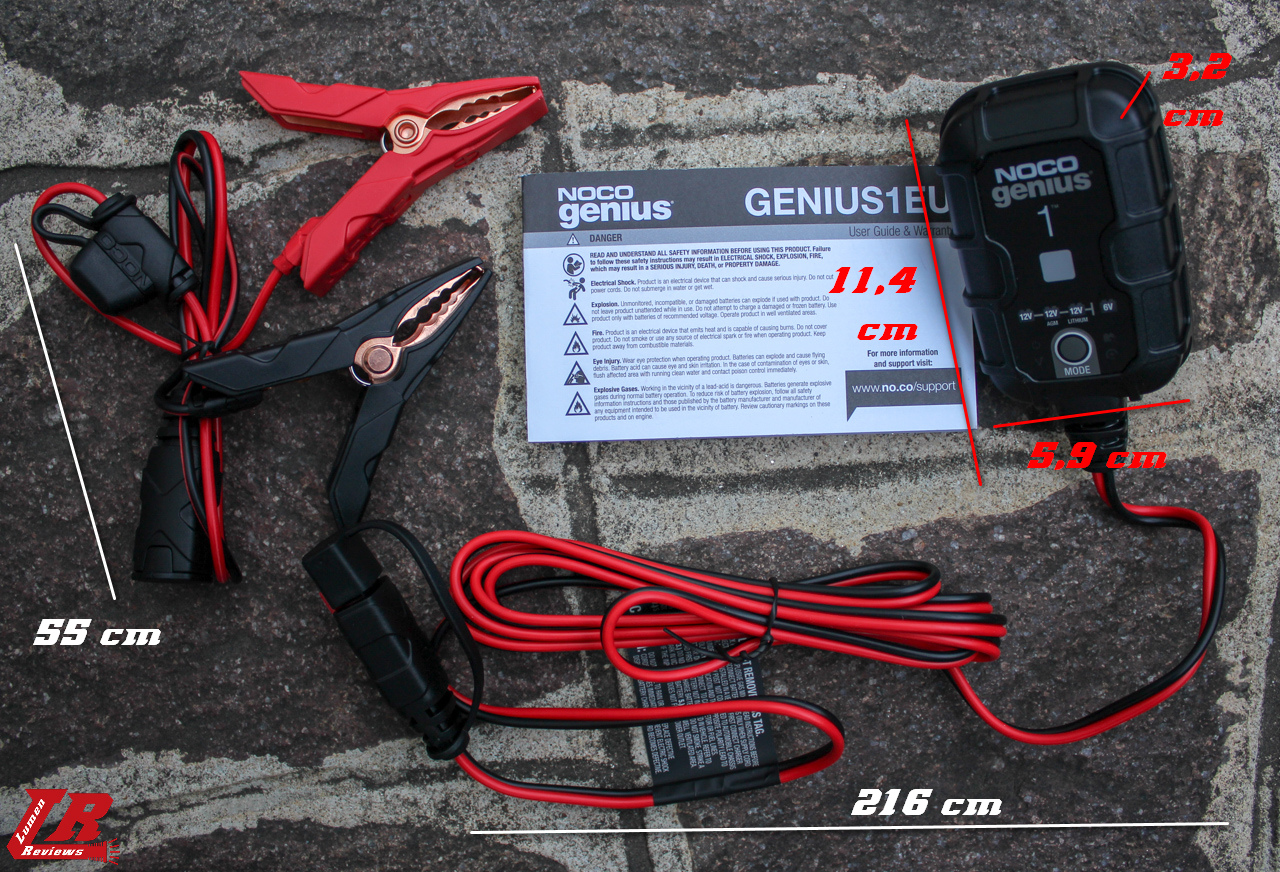
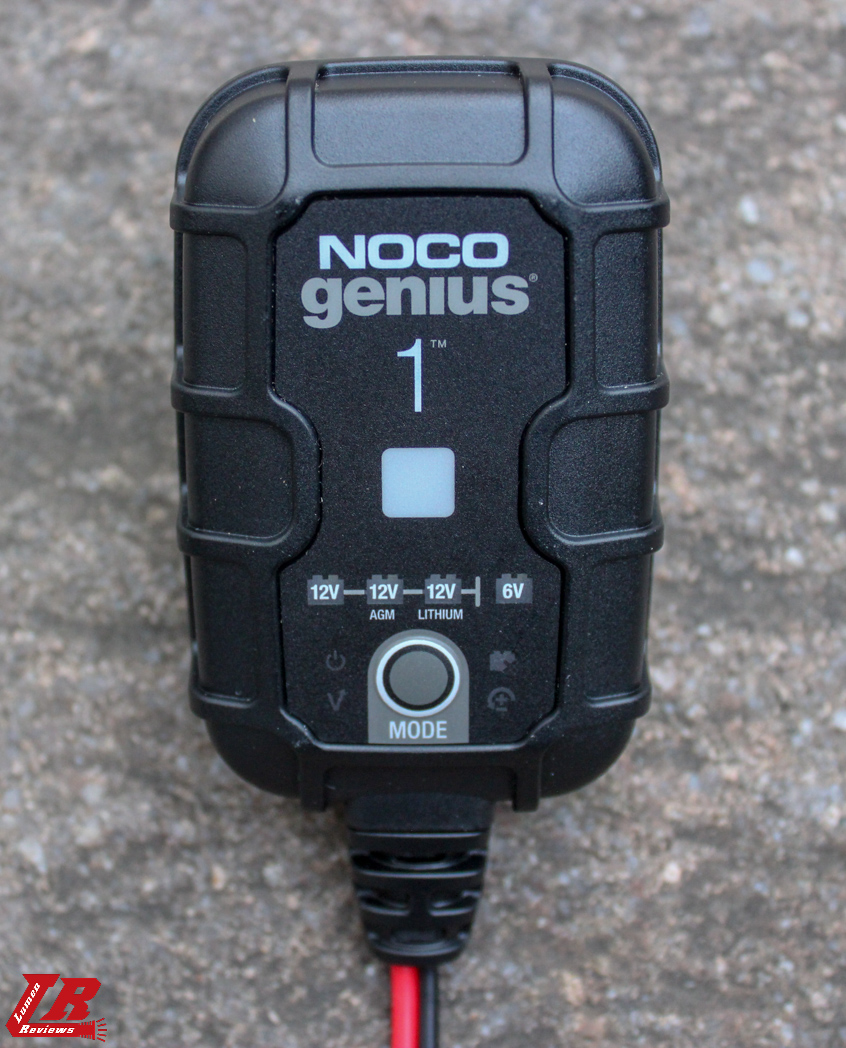
The main unit is fairly compact, and has an EU Plug.

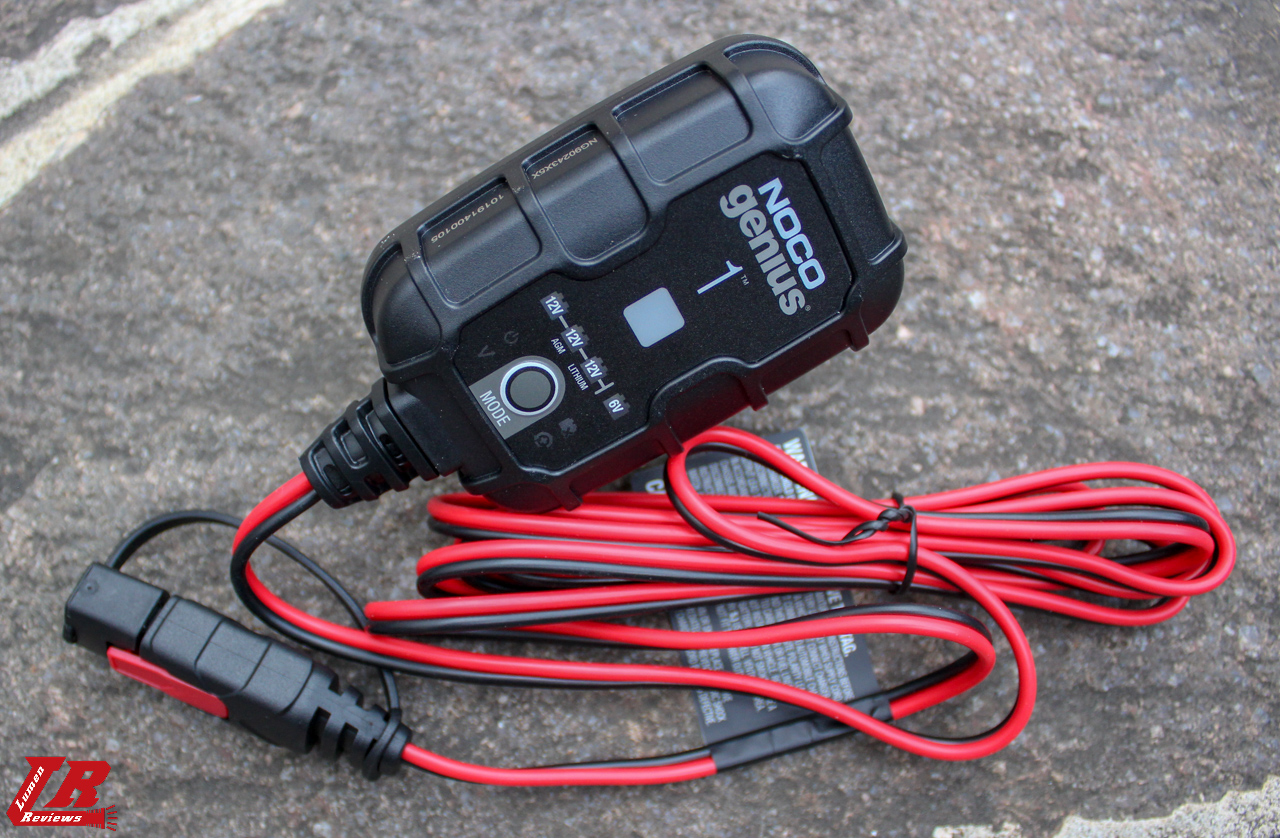
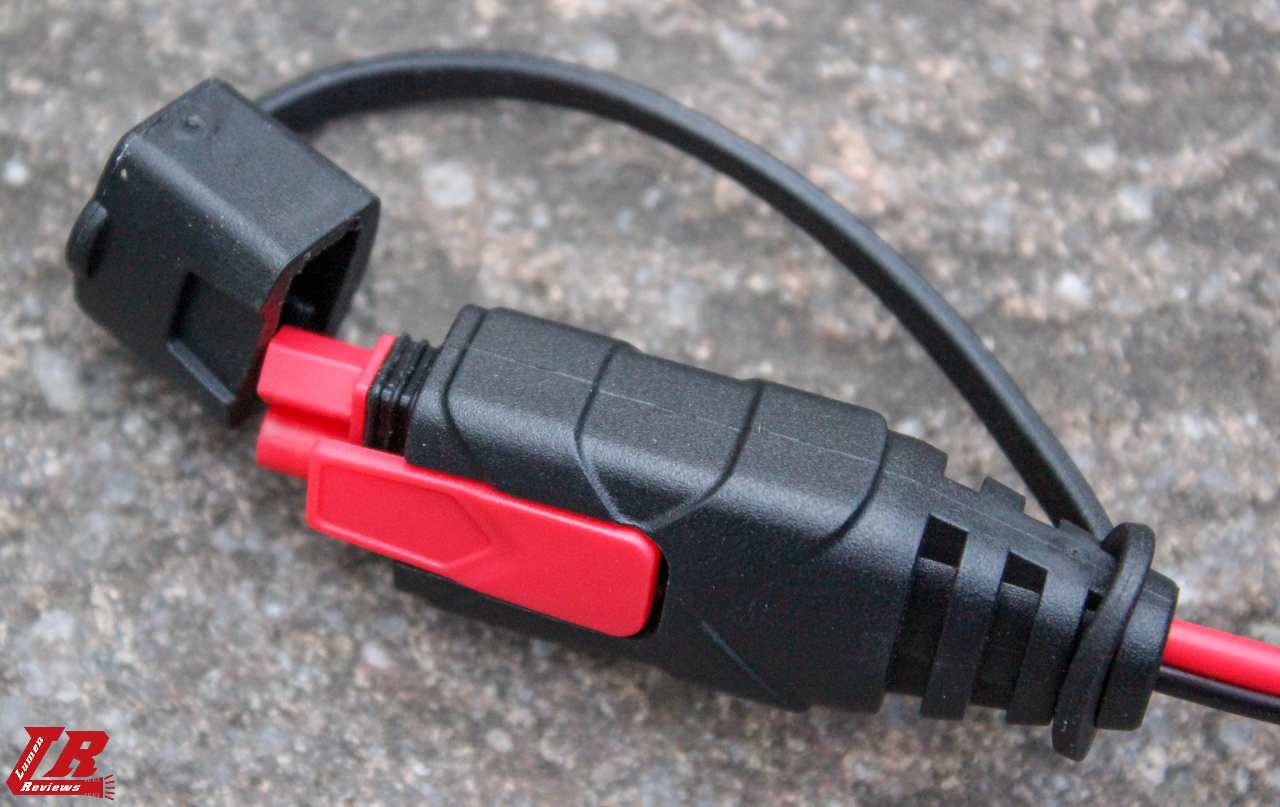
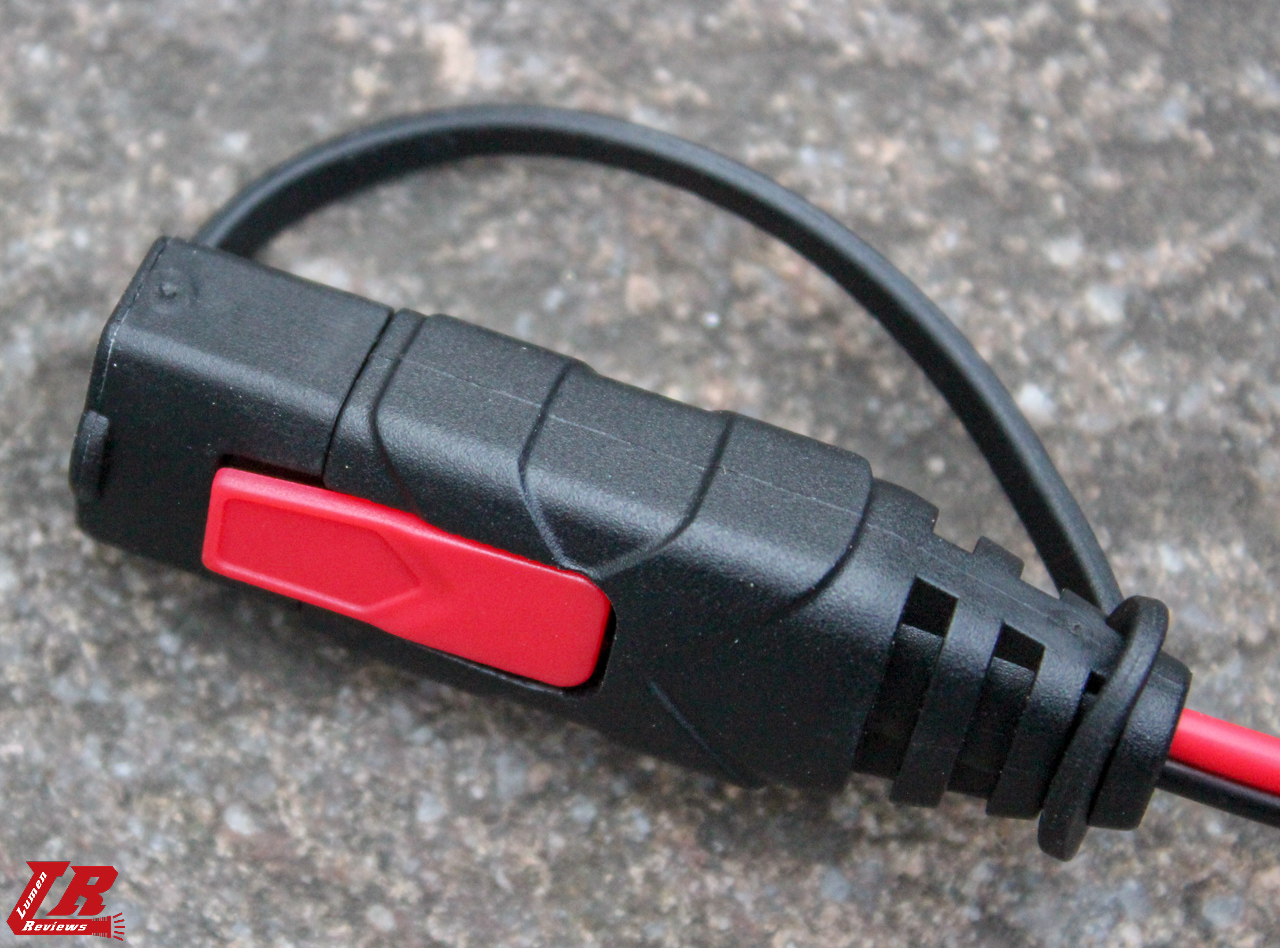
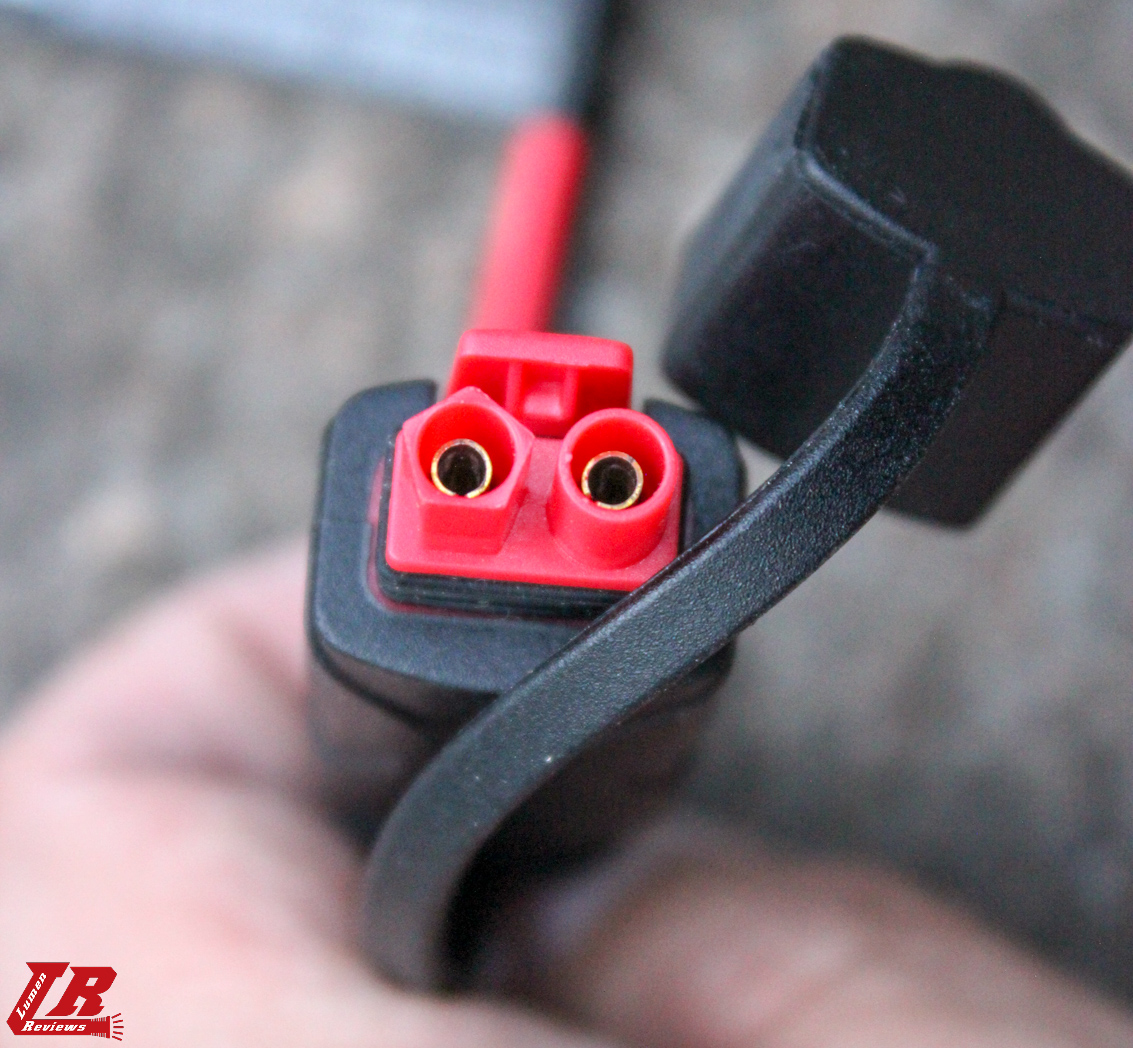
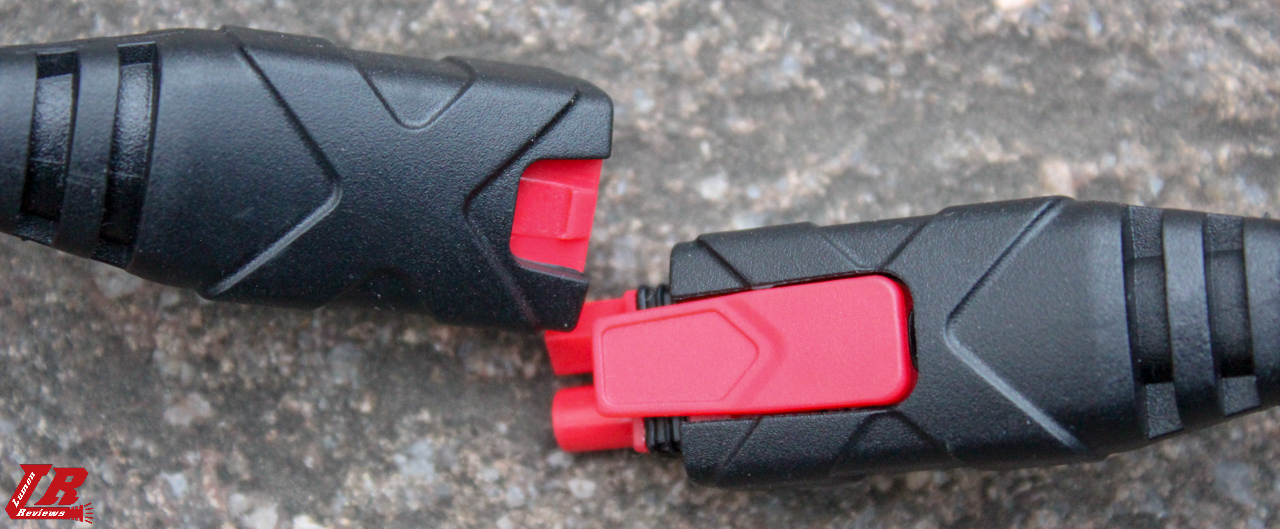
Both male and female connections have a rubber port cover, to protect the contacts from dust and water (the NOCO Genius 1 is rated IP65). The connectors inside have a different shape, so only NOCO accessories will work.
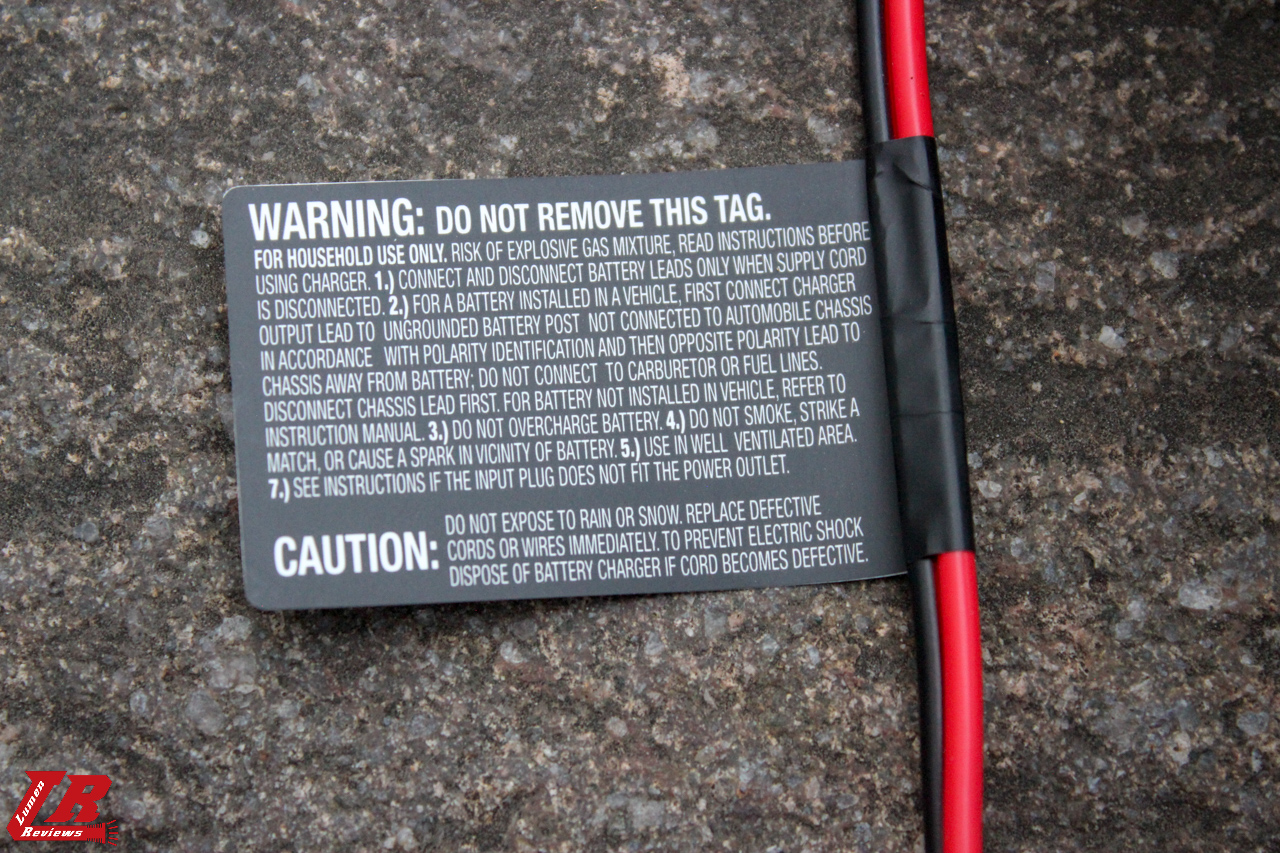
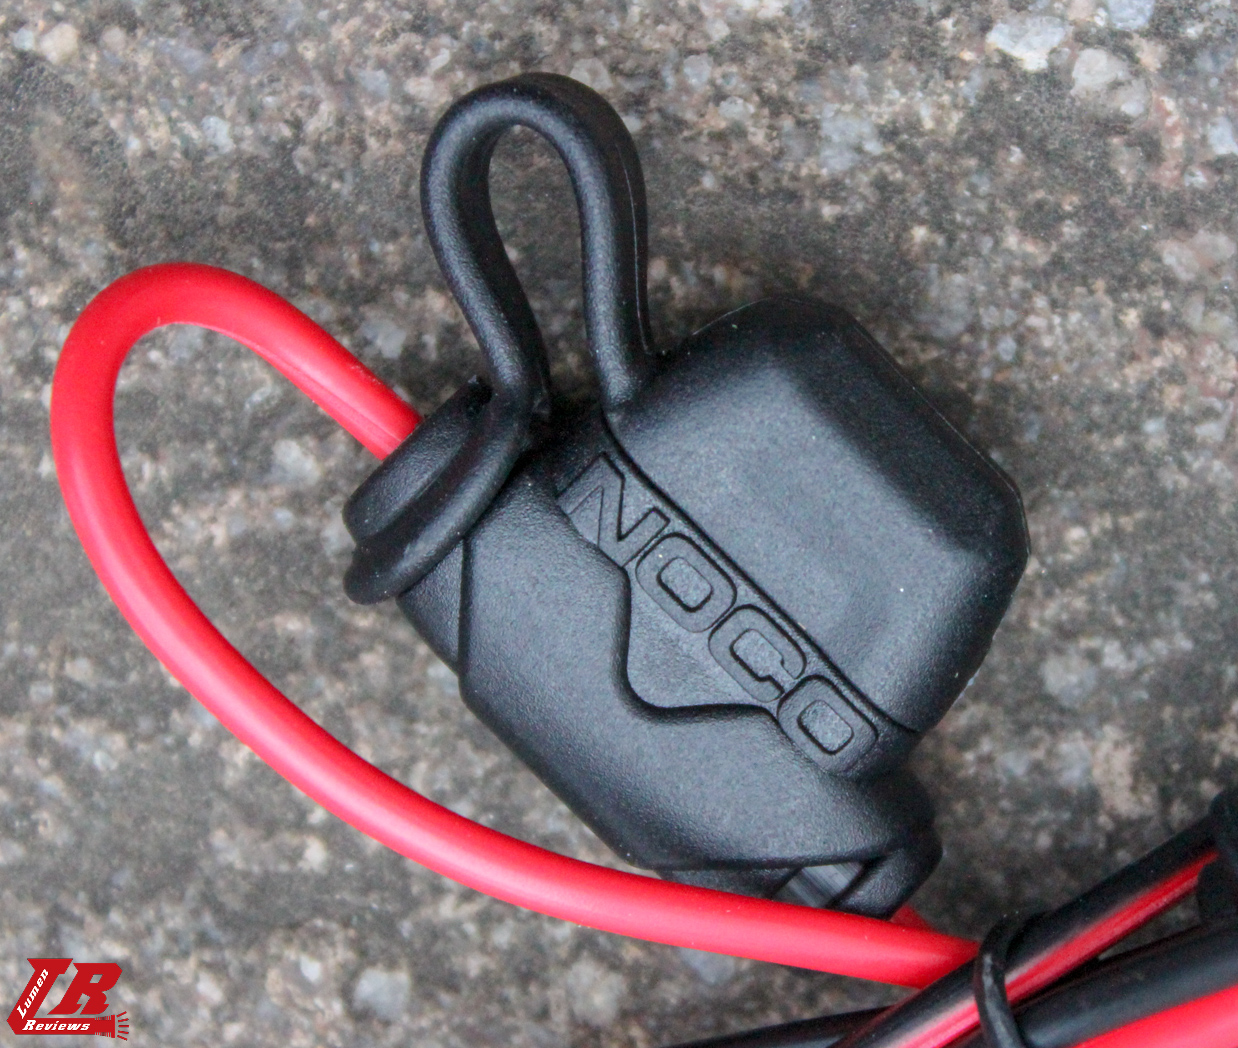
The disclaimer on the cable.
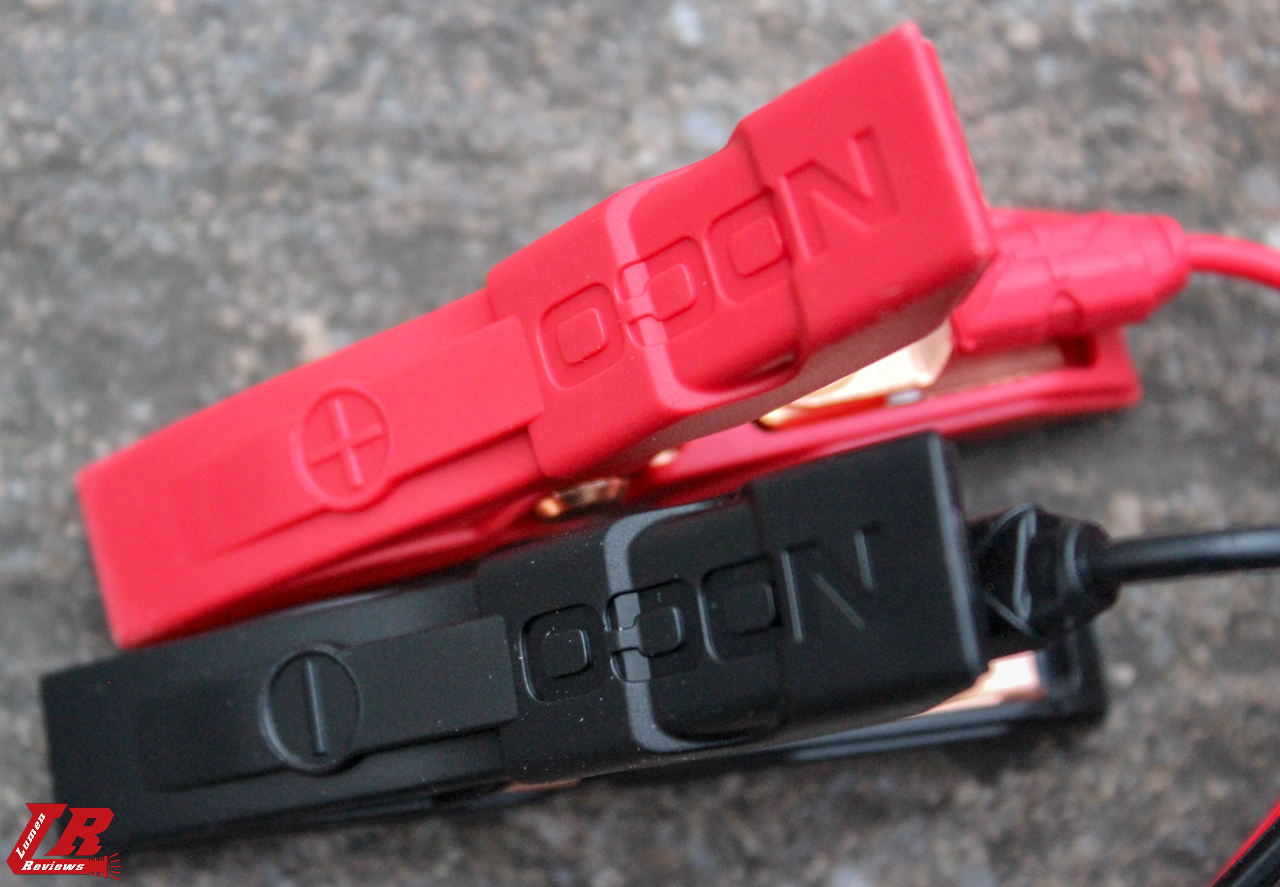
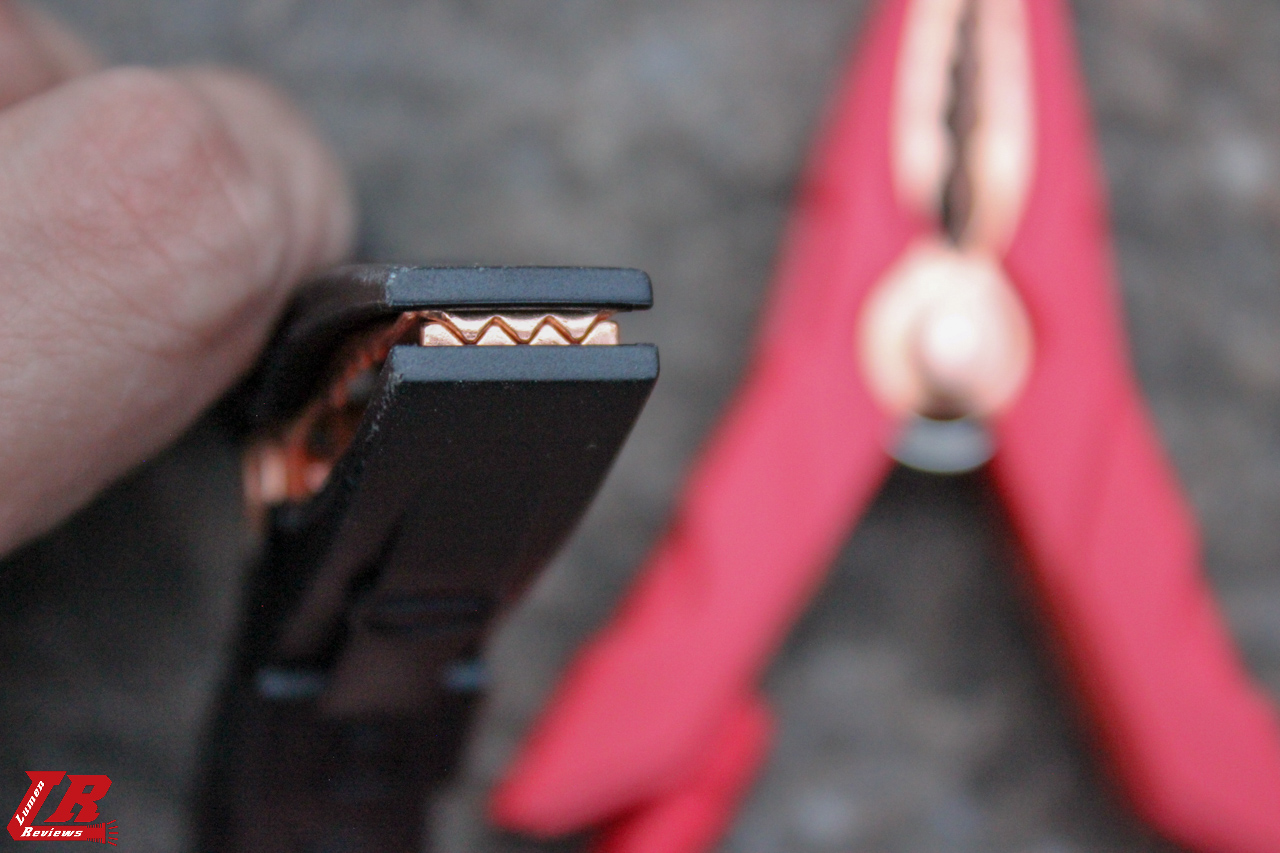
What can I say about the battery clamps? They are very, very well built (and they are the same as the one you find on the Noco Genius 5). They look like they are sturdy, massive, metal clamps with a plastic cover built around them. The cables are attached to the clamps with a screw, and if you don't need to use the battery clamps, you can disconnect the cable and screw it directly on the battery, like a regular eyelet cable.
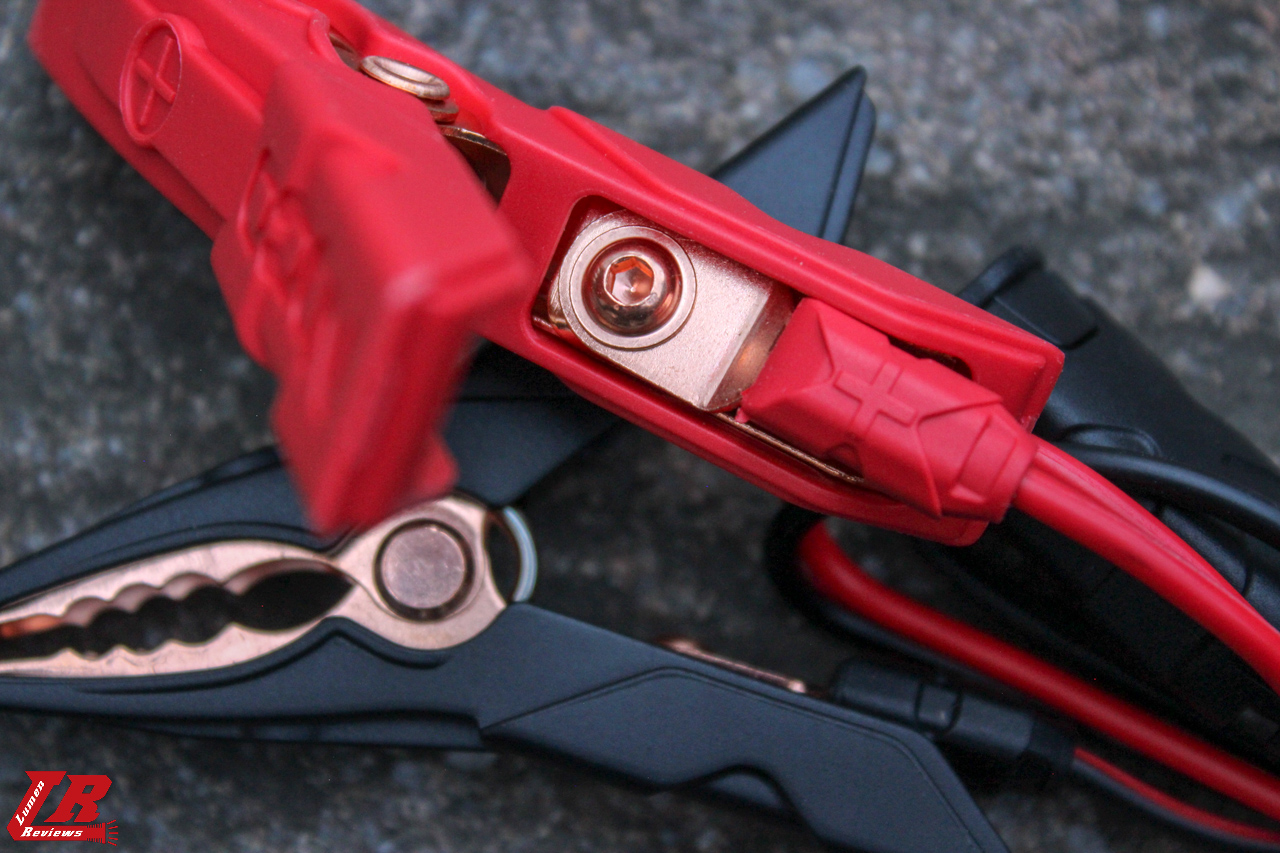

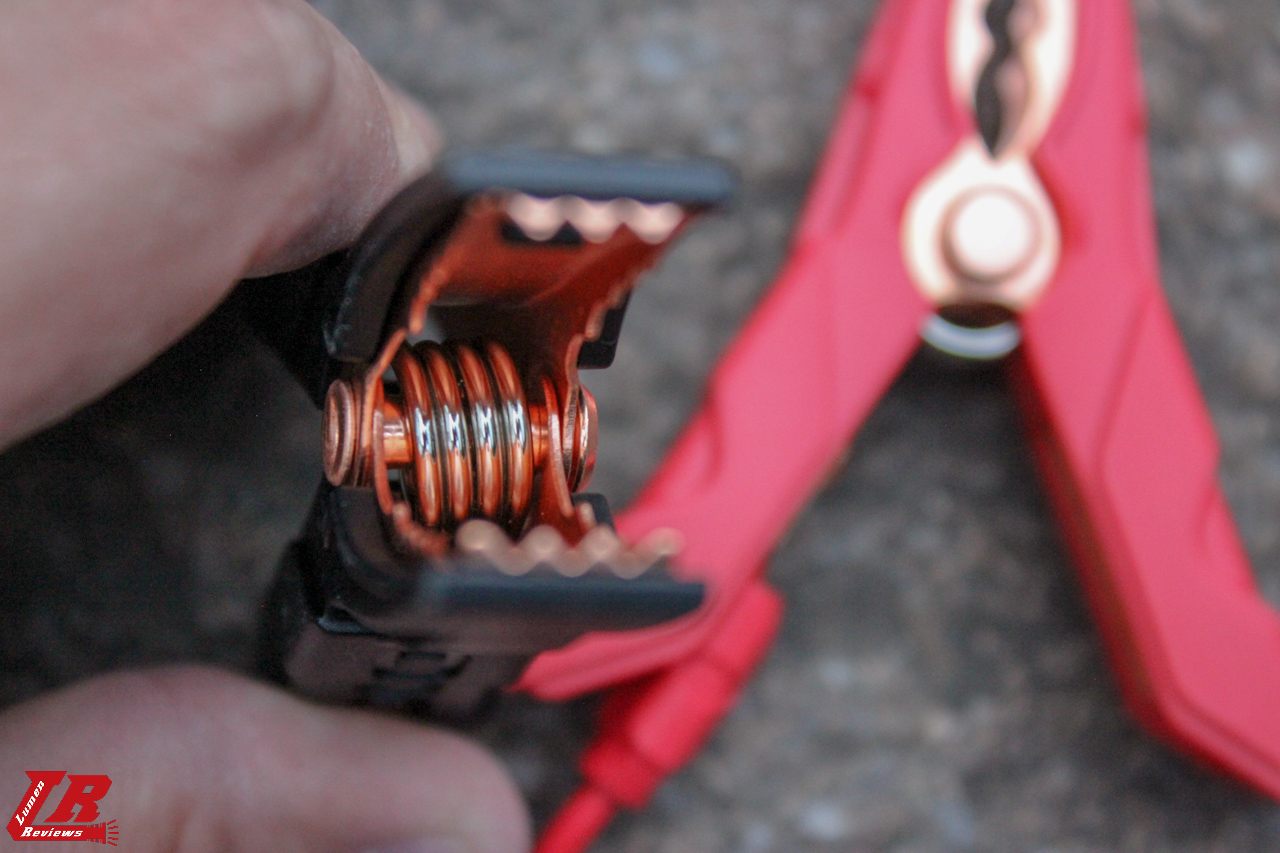
On the positive cable of the battery clamps, there is a 10 Amp replaceable fuse.
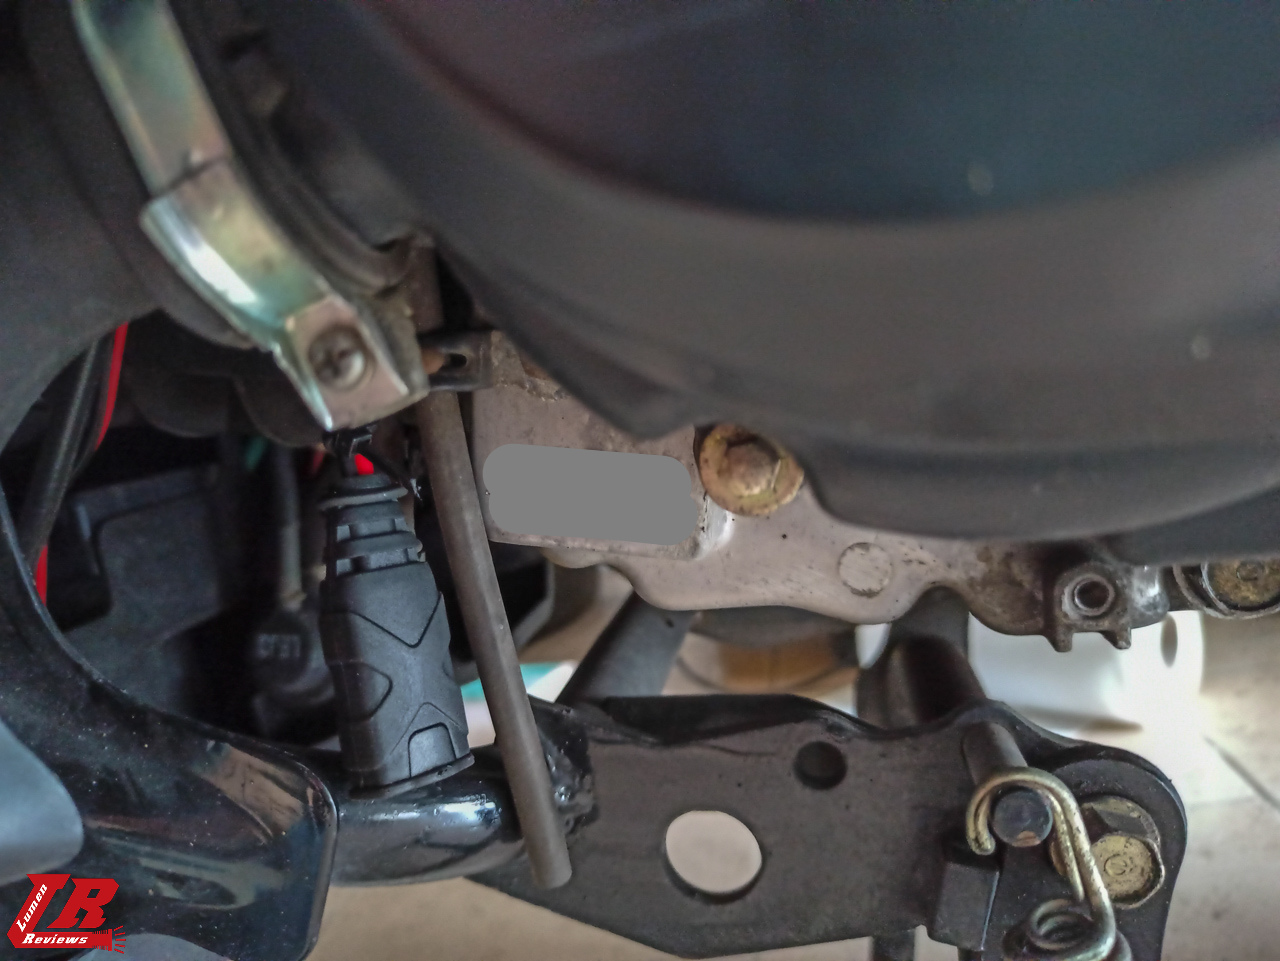
On my motorbike the battery is not hard to reach: all I need to do is unscrew 3 screws and I have access to it. Compared to other bikes, it's quite an easy access.
Nonetheless, I decided to purchase an additional eyelet connector, positioning it under the bike so that I can charge the battery without any tool and at any time.

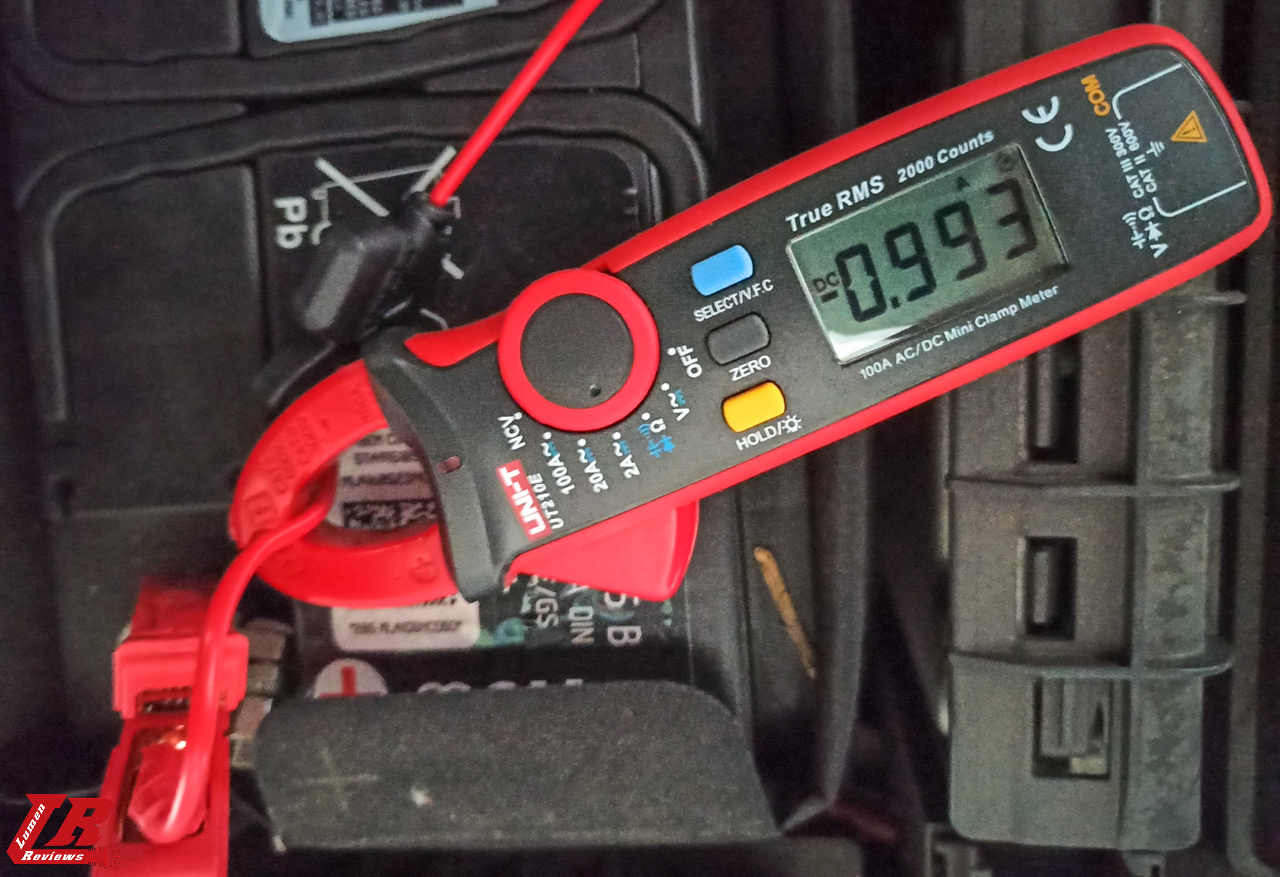
I tested the current charge and on my sample I have a reading that's basically 1A.
The UI
There are 6 programs (all with 1A charging current):
- 12 V (For charging 12-volt Wet Cell, Gel Cell, Enhanced Flooded, Maintenance-Free and Calcium batteries)
- 12 V AGM
- 12 V Lithium (lithium iron phosphate).
- 6 V
- Force Mode (attempt to increase the voltage of batteries that do not get detected because they are under 1 V)
Memory: The charger has built in auto-memory and will return to the last charge mode when connected. To change modes after the first use, press the mode button.
Press the switch to cycle between 12V, 12V AGM and 12 V lithium, in loop.
Keep the switch pressed 3 seconds to access 6 V mode.
Keep the switch pressed 5 seconds to access force mode.
Keep the switch pressed for 3 seconds with the terminals connected to the battery to start 12V repair mode.
There is a big status icon for every mode, and the one active will have the LED underneath it on. Hard to miss.
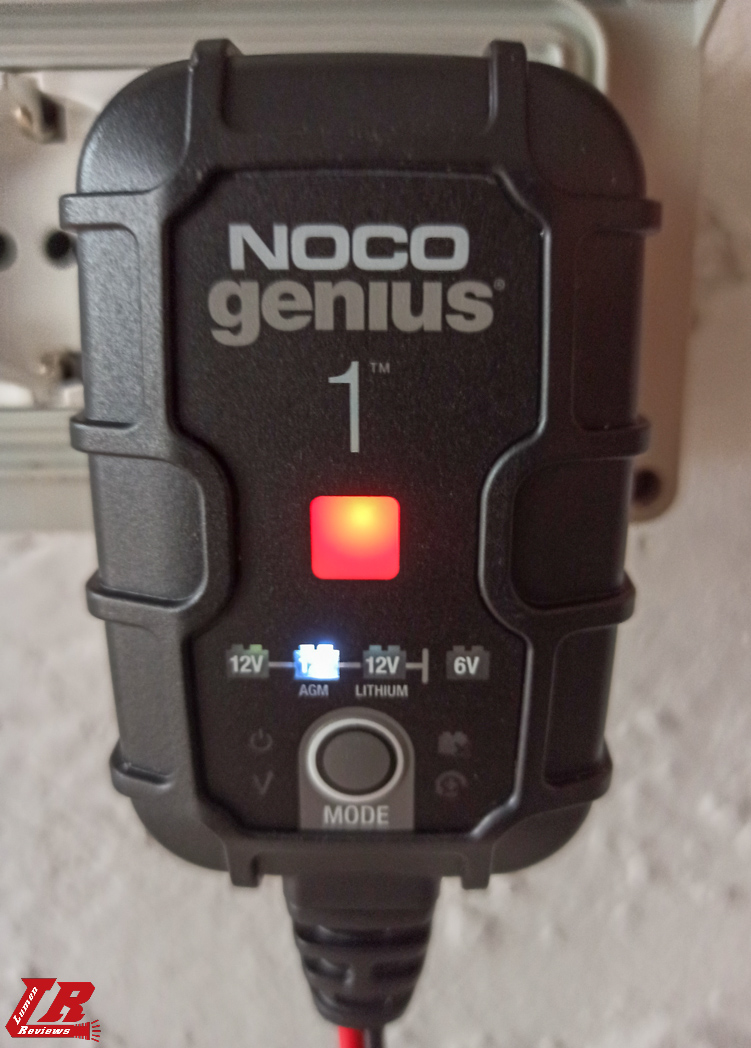
The level of the charge is indicated by one central LED, that will be:
- Blinking red when battery is less than 75%
- Blinking green when the main charging process is completed, and the optimization is in process
- Constant green when the charging process has completed
- Slowly blinking green when the battery is being maintained. The battery can be left in this status for a long period of time.
There are other LEDs:
- Top left: Standby, select a charging mode.
- Bottom left: Battery voltage is too high for the selected charge mode. Check the battery and charge mode.
- Top right: Possible battery short / Battery will not hold a charge. Have battery checked by a professional.
- Bottom right: Reverse polarity. Reverse the battery connections.
If the internal temperature is too high or low, the 3 error LEDs will blink at the same time.
My thoughts
I bought this charger only for charging and maintaining small batteries (mainly my motorbike lithium battery) and I'm happy with what I got from the Genius 1.
The very small size of the charger allows me to carry it under the seat of my bike without sacrificing much space.
If I wanted, I could have got a different eyelet connector, the GBC007, that still allows to charge the battery, but also to jumpstart it with a Noco Battery Booster. This connector has much thicker cables (8AWG) to allow the necessary current needed to start the bike.
Given that I now have a lithium phosphate battery, I hope to not need this feature.
But if you are worried of finding yourself without power and need to jumpstart a not so accessible battery while on a hurry, this accessory can be of help.
I really wish this charger had a repair mode, but given the small size, it is an understandable lack. Also small batteries are cheaper to replace than bigger batteries.
I am impressed with what I can see from this charger.
I have almost no knowledge about electronic, however, I've been using flashlights, batteries and chargers for 10+ years as a consumer. So, in this thread I'll give you my honest opinion on this product as a user, considering that I have been using car battery chargers for more than 5 years.
I needed a charger to replace the low charging current feature present on the CTEK MXS 5.0 (that I owned for more than 5 years, and now I replaced with a charger that doesn't have it), and ideally it would need to have these features:
- Small size
- Regular EU type plug
- Long built in cables
- Lithium phosphate battery support
- Automatic temperature detection.
I heard Noco mentioned amongst friends and relatives as a producer of car battery boosters, and just recently I found out that they had also a line of chargers.
After some research, I gave some of their models a go.
In particular, I found the Genius 1 to be the model best suited for my needs (and an amazon sale on their line pushed my indecision).
The charger comes in a simple cardboard box with an industrial design.
Under this box there's another one, with images of the charger, specs, etc.
The Genius 1 comes with battery clamp connectors and manual.
The main unit is fairly compact, and has an EU Plug.
Both male and female connections have a rubber port cover, to protect the contacts from dust and water (the NOCO Genius 1 is rated IP65). The connectors inside have a different shape, so only NOCO accessories will work.
The disclaimer on the cable.
What can I say about the battery clamps? They are very, very well built (and they are the same as the one you find on the Noco Genius 5). They look like they are sturdy, massive, metal clamps with a plastic cover built around them. The cables are attached to the clamps with a screw, and if you don't need to use the battery clamps, you can disconnect the cable and screw it directly on the battery, like a regular eyelet cable.
On the positive cable of the battery clamps, there is a 10 Amp replaceable fuse.
On my motorbike the battery is not hard to reach: all I need to do is unscrew 3 screws and I have access to it. Compared to other bikes, it's quite an easy access.
Nonetheless, I decided to purchase an additional eyelet connector, positioning it under the bike so that I can charge the battery without any tool and at any time.
I tested the current charge and on my sample I have a reading that's basically 1A.
The UI
There are 6 programs (all with 1A charging current):
- 12 V (For charging 12-volt Wet Cell, Gel Cell, Enhanced Flooded, Maintenance-Free and Calcium batteries)
- 12 V AGM
- 12 V Lithium (lithium iron phosphate).
- 6 V
- Force Mode (attempt to increase the voltage of batteries that do not get detected because they are under 1 V)
Memory: The charger has built in auto-memory and will return to the last charge mode when connected. To change modes after the first use, press the mode button.
Press the switch to cycle between 12V, 12V AGM and 12 V lithium, in loop.
Keep the switch pressed 3 seconds to access 6 V mode.
Keep the switch pressed 5 seconds to access force mode.
Keep the switch pressed for 3 seconds with the terminals connected to the battery to start 12V repair mode.
There is a big status icon for every mode, and the one active will have the LED underneath it on. Hard to miss.
The level of the charge is indicated by one central LED, that will be:
- Blinking red when battery is less than 75%
- Blinking green when the main charging process is completed, and the optimization is in process
- Constant green when the charging process has completed
- Slowly blinking green when the battery is being maintained. The battery can be left in this status for a long period of time.
There are other LEDs:
- Top left: Standby, select a charging mode.
- Bottom left: Battery voltage is too high for the selected charge mode. Check the battery and charge mode.
- Top right: Possible battery short / Battery will not hold a charge. Have battery checked by a professional.
- Bottom right: Reverse polarity. Reverse the battery connections.
If the internal temperature is too high or low, the 3 error LEDs will blink at the same time.
My thoughts
I bought this charger only for charging and maintaining small batteries (mainly my motorbike lithium battery) and I'm happy with what I got from the Genius 1.
The very small size of the charger allows me to carry it under the seat of my bike without sacrificing much space.
If I wanted, I could have got a different eyelet connector, the GBC007, that still allows to charge the battery, but also to jumpstart it with a Noco Battery Booster. This connector has much thicker cables (8AWG) to allow the necessary current needed to start the bike.
Given that I now have a lithium phosphate battery, I hope to not need this feature.
But if you are worried of finding yourself without power and need to jumpstart a not so accessible battery while on a hurry, this accessory can be of help.
I really wish this charger had a repair mode, but given the small size, it is an understandable lack. Also small batteries are cheaper to replace than bigger batteries.
I am impressed with what I can see from this charger.
Last edited: