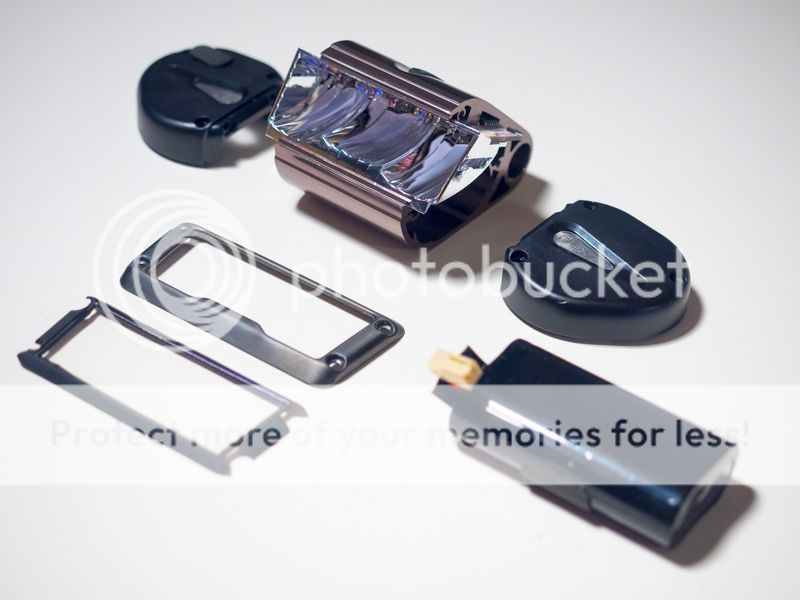
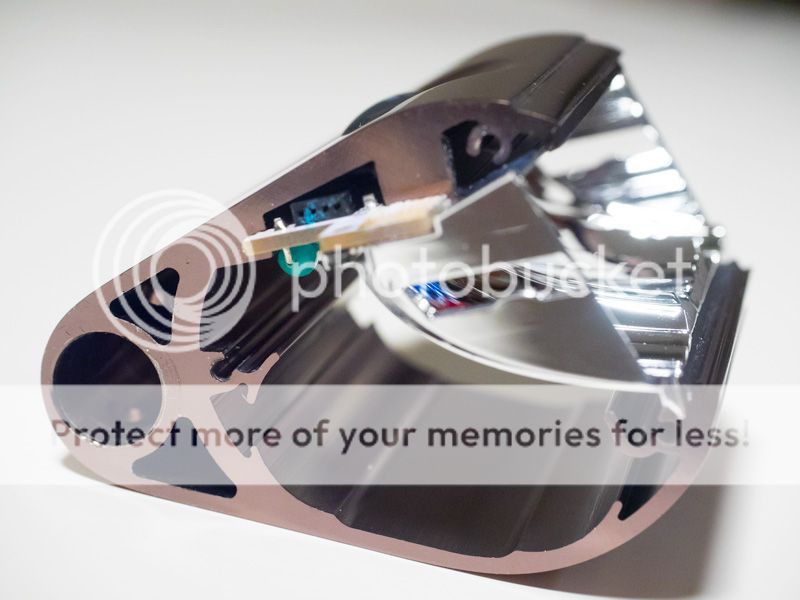
I've had some folks ask about the possibility of taking the Flux Expert HL apart to replace the batteries and/or upgrade the LEDs, so I gave it shot. It turns out it's not hard at all. There are 4 hex screw holding on the front bezel, and then 3 hex screws holding on each end cap, plus, Specialized made it easy to remove the end cap with the USB plug by not wiring it directly to the board, but rather having pins in the end cap that plug into the board, a nice touch.
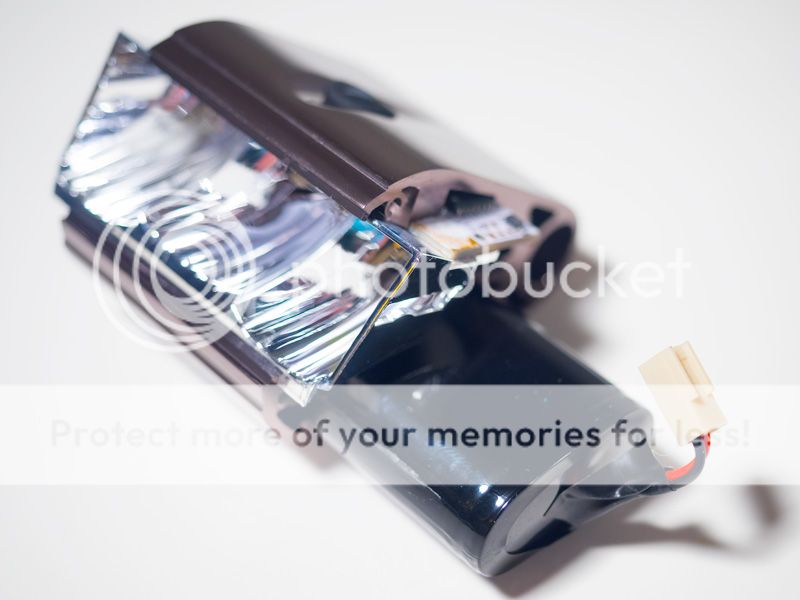
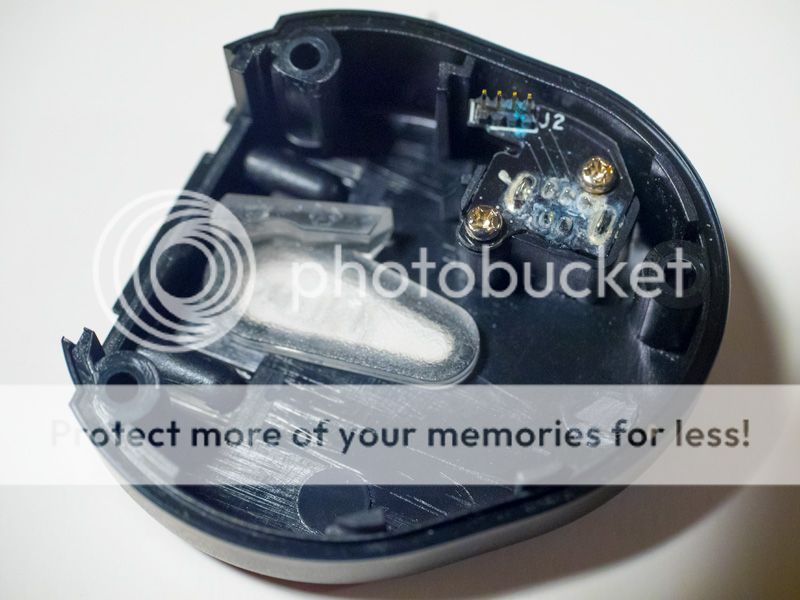
Also, they've made it VERY easy to remove the battery pack by having it wired so that you simply unplug it from the board. Neat!
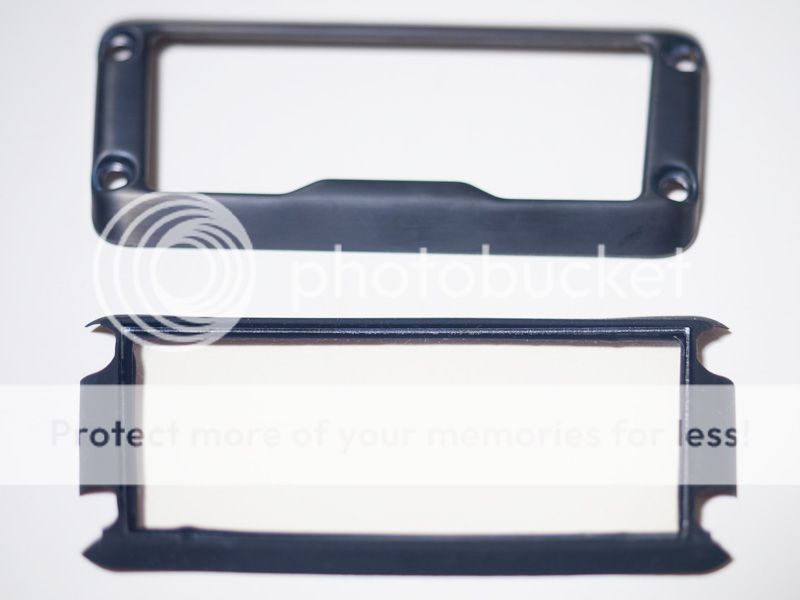
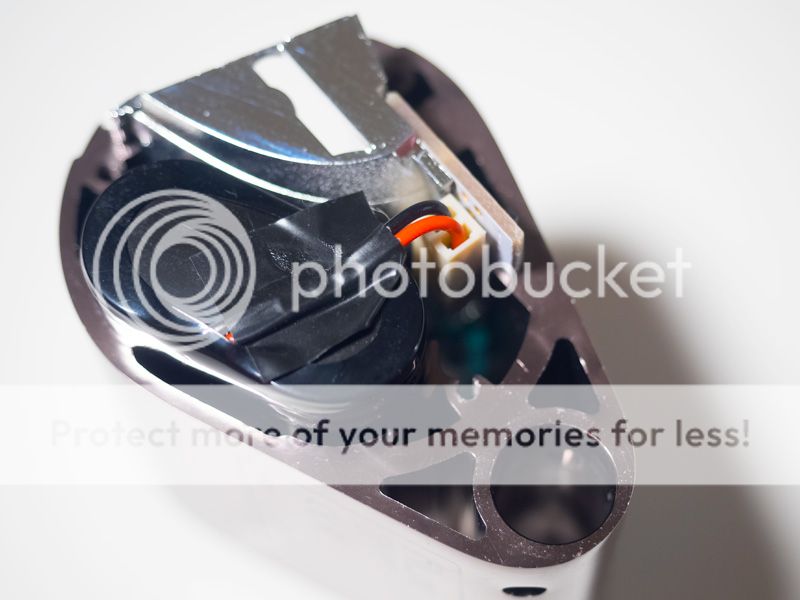
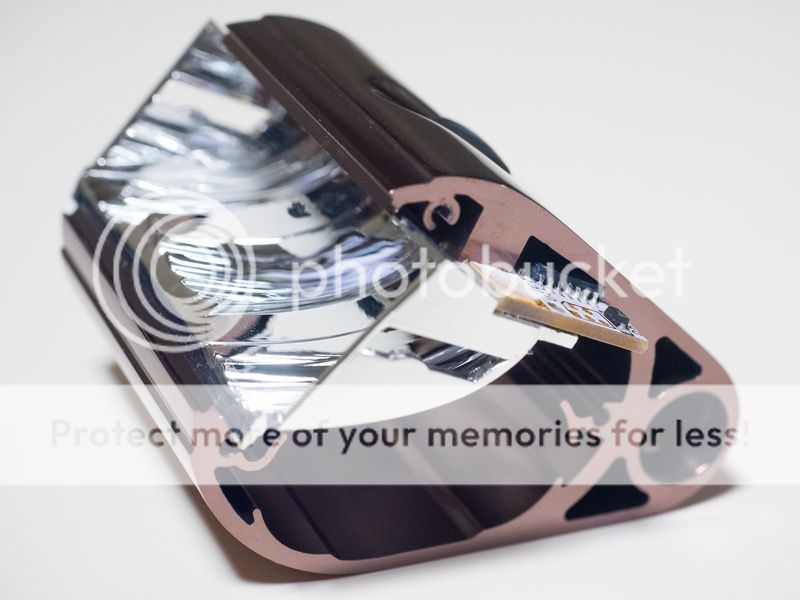
The clear acrylic front cover has a rubber gasket permanently attached, and that fits inside the front bezel to provide a very good seal. If you look closely at the shot of the inside of the end cap, you can see the O-ring groove around the edge. I had removed the O-ring before the shot, but will say that it seems kind of small and flimsy to me, but it does work, so I guess that's what counts.
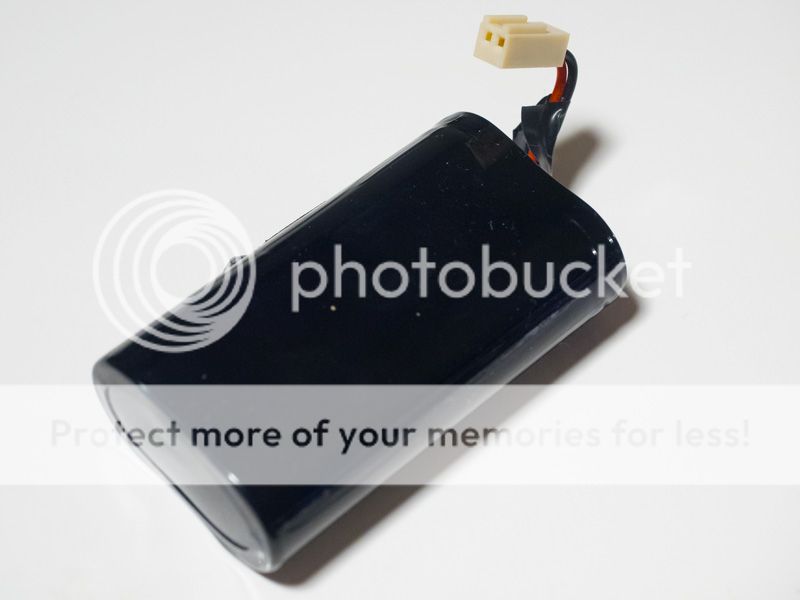
The two 18650 batteries are wrapped in a flexible plastic cover. I didn't want to unwrap them, but it looks like it wouldn't be much trouble to get in there and replace them with larger cells in you wanted to. I'm also not quite sure how the main board is attached, whether it's press fit or what, so I'm not sure how much effort it would take to get at it, but over all, this light seems pretty mod friendly.
Anyway, there you go. I hope the photos help:
Flux Expert HL - Apart
Bezel and Front Clear Acrylic Cover with Rubber Gasket Attached Around Edge
Left Side - Battery Connection
Left Side - Battery Disconnected and Slid Half-Way Out
2x18650 Wrapped Battery Pack
Left Side
\
Right Side
Ride Side End Cap Showing O-ring groove (O-ring removed), USB Connection, and Pin Connection to the Main Board
Happy Trails!~

") I'd need to come up with some shims to fit it to a 22.2mm bar diameter, since I use a bar that's straight 22.2mm all the way across, with a shim at the stem (old Bontrager/Titec titanium bar).
I'd need to come up with some shims to fit it to a 22.2mm bar diameter, since I use a bar that's straight 22.2mm all the way across, with a shim at the stem (old Bontrager/Titec titanium bar).