
This is a short and easy guide to start your home-made anodizing on a budget
I got the question of how to do the anodizing I did on my ITP A3 eos titanium here.
So this is my little guide..
Do you have a titanium light sitting on your shelf, and want to give it a make over...
You probably have most of the stuff already at home to do this....
What you need:
Here is what I did:
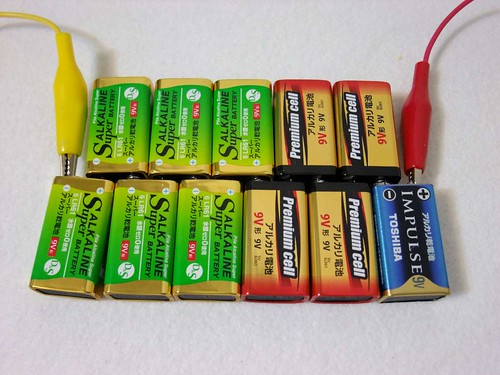
2. Then connect 1 of the alligator clips on the farthest Positive of the series of batteries, and the other on the farthest Negative side of the batteries..
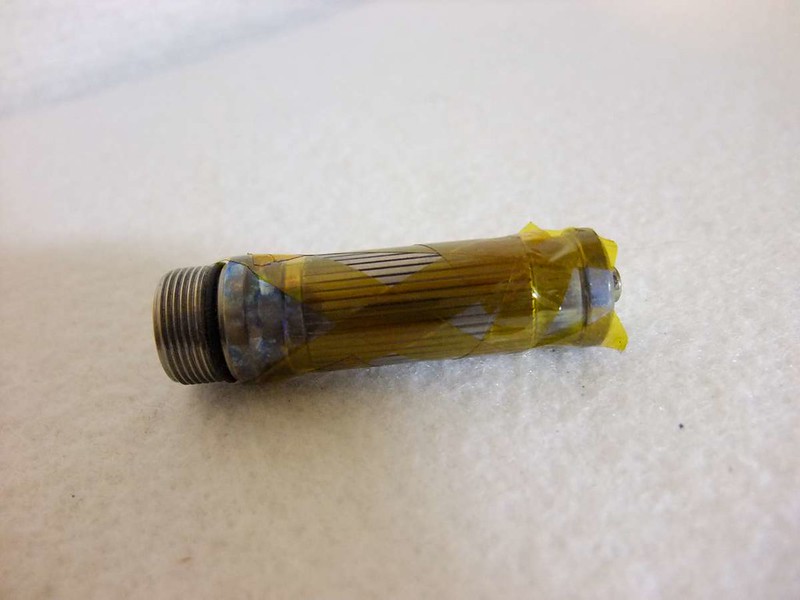
3. Now connect the positive Alligator clip to the titanium piece. In my case, an ITP A3 titanium.
(I took pictures after playing with it)

4. On the Negative side, attach a piece of cloth/sponge (see above)
5. Now put the piece of cloth into the Pepsi
6. Touch the cloth/sponge to the titanium, and keep it until the color has set..
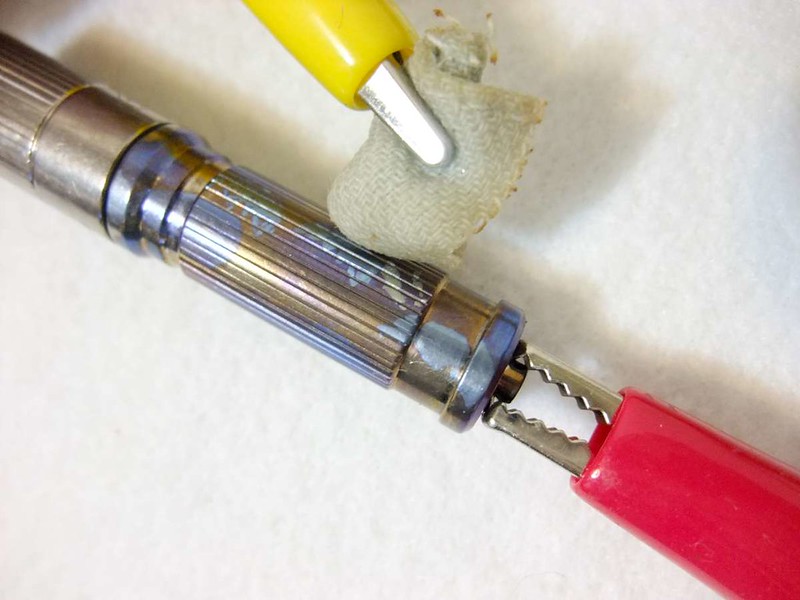
7. and you are "painting" your titanium.
I started with only 1 battery, and added 1 each time... Every time you will notice a slight change in color.
Depending on the materials you use, you can use the following picture as a guide line.

Be careful not to touch the Negative alligator clip to the Titanium as it will result in a short.(bright sparks, and it will want to solder itself onto the material)
It happened to me about 3 times... nothing major.
Please wear rubber hand gloves for your own safety.
2. Second way of doing it:
You can also dip the light into a jar/glass etc to get an even color all over.
I have only done that for a short time...
See the following picture; very shallow in my case
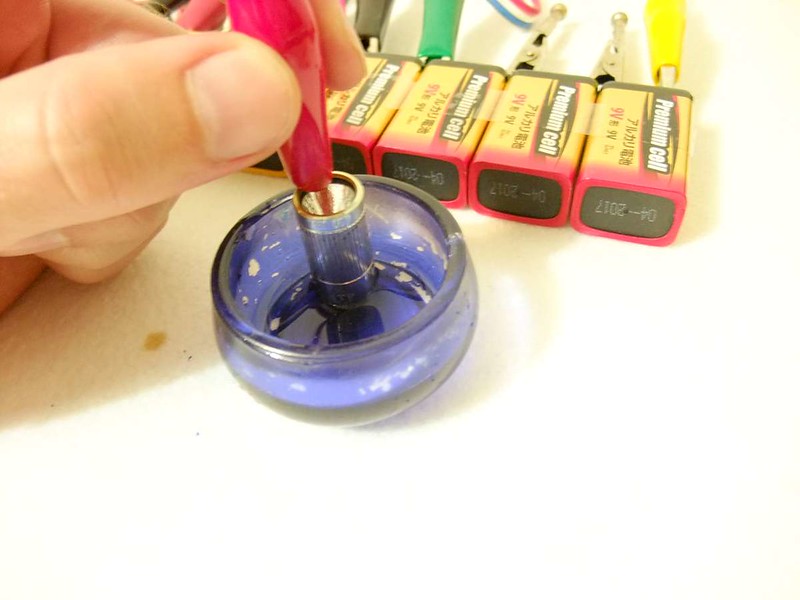
In that case, just put the wet piece of cloth, that is attached to the Negative alligator clips into the coke.
This will give an more even result.
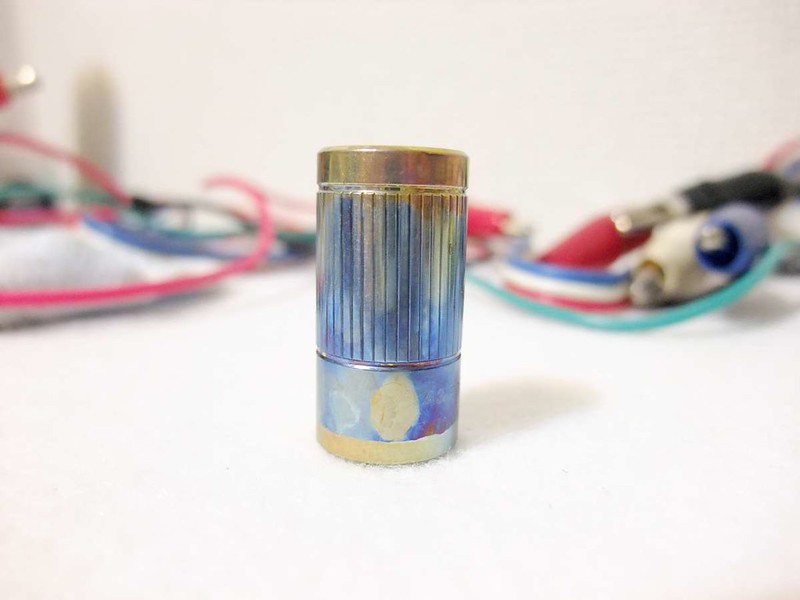
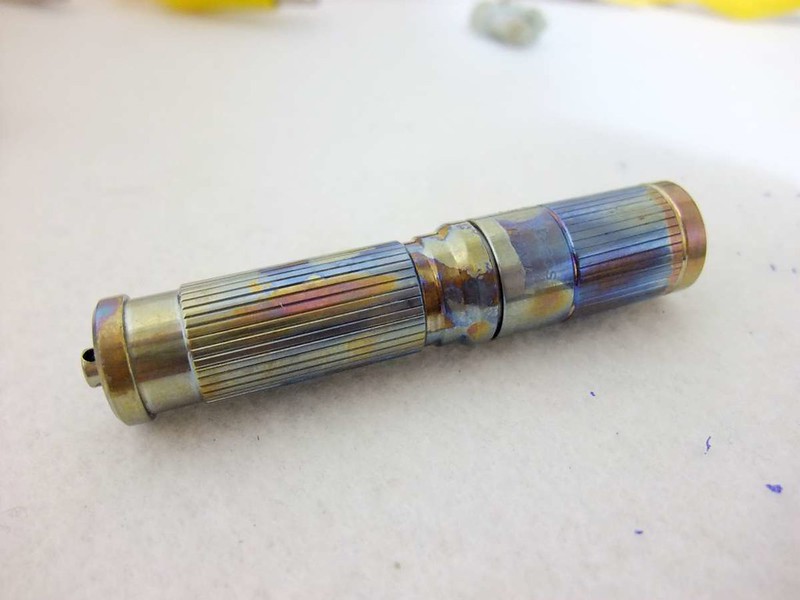
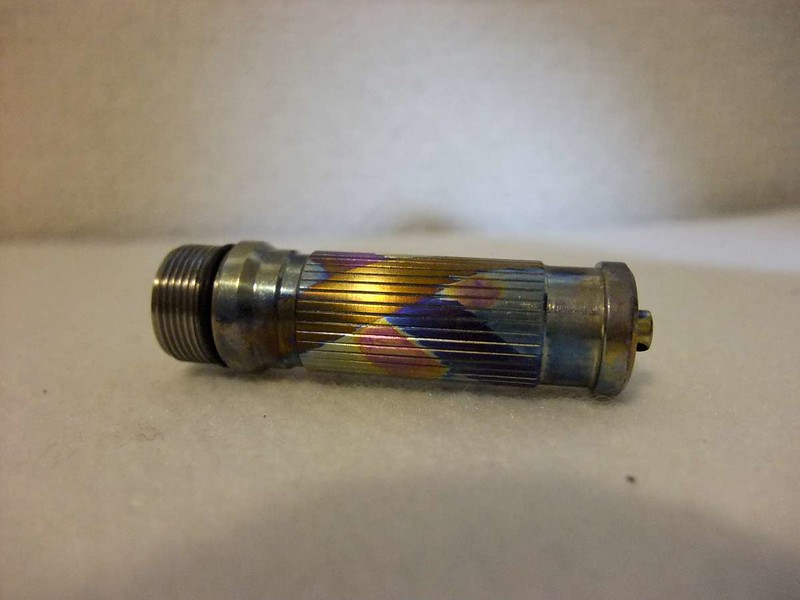
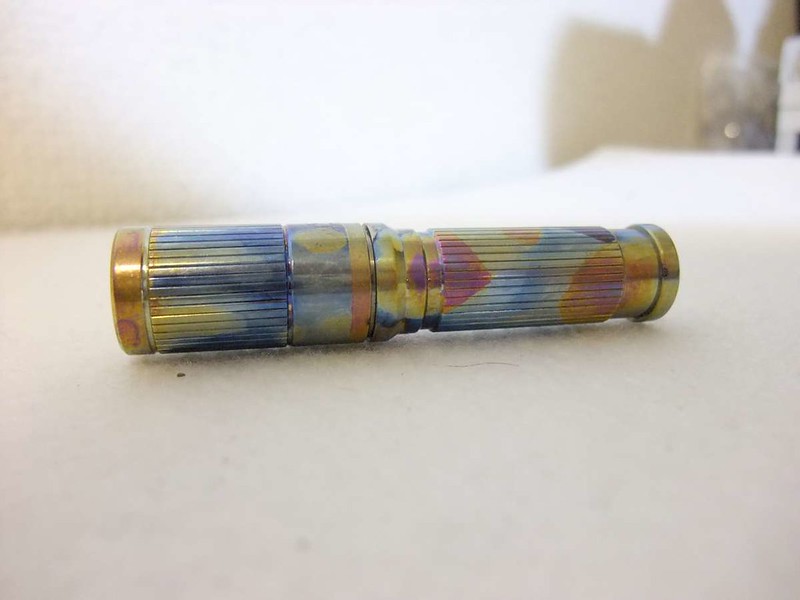
Here my results of my first try......
When you do this, you have to start with the highest Volt.. as the lower volts will not change the color of the higher volts! but visa versa they do.
I want to thank Guy from MBI for his great tips and ideas and of some helpful links.
He is anodizing titanium professionally, and his stuff looks gorgeous, not done with pepsi.
Hopefully you will find this helpful, as an alternative to baking aluminum lights")
USEFUL LINKS:
I got the question of how to do the anodizing I did on my ITP A3 eos titanium here.
So this is my little guide..
Do this at your own risk. It could be dangerous, or harmful!!
There are probably better materials/ingredients to do this with, but this is just an easy guide.
hopefully we can get some discussion going about TIPS and help.
A basic budget guide to (paint) anodize Titanium!
There are probably better materials/ingredients to do this with, but this is just an easy guide.
hopefully we can get some discussion going about TIPS and help.
A basic budget guide to (paint) anodize Titanium!
Do you have a titanium light sitting on your shelf, and want to give it a make over...
What you need:
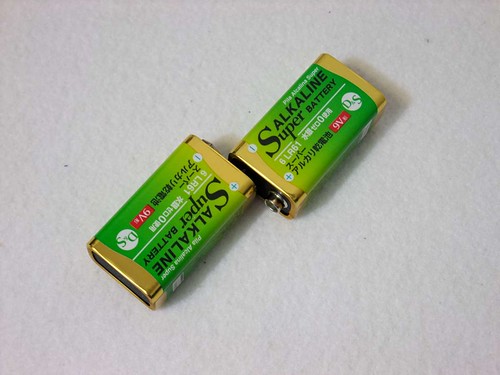
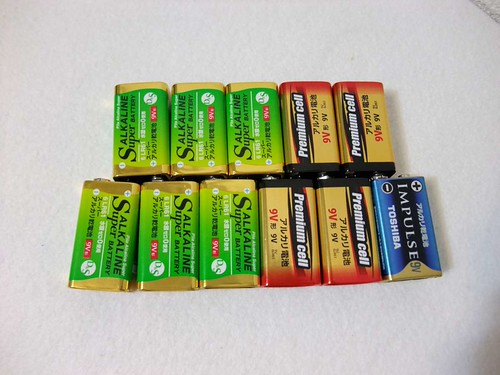
- A bunch of 9V batteries
- Pepsi coke
- piece of cloth
- Alligator clips
- jar/can that will work as a bath
- rubber hand gloves
- And last but not least, something made of Titanium
Here is what I did:
- First connect some batteries together, in Series.
once you start off with lower voltage, you can see the different colors when you keep attaching more batteries!
2. Then connect 1 of the alligator clips on the farthest Positive of the series of batteries, and the other on the farthest Negative side of the batteries..
3. Now connect the positive Alligator clip to the titanium piece. In my case, an ITP A3 titanium.
(I took pictures after playing with it)
4. On the Negative side, attach a piece of cloth/sponge (see above)
5. Now put the piece of cloth into the Pepsi
6. Touch the cloth/sponge to the titanium, and keep it until the color has set..
7. and you are "painting" your titanium.
Please only do this at your own risk. It can be dangerous, and harmful!
Each color has its own voltage. I started with only 1 battery, and added 1 each time... Every time you will notice a slight change in color.
Depending on the materials you use, you can use the following picture as a guide line.
Be careful not to touch the Negative alligator clip to the Titanium as it will result in a short.(bright sparks, and it will want to solder itself onto the material)
It happened to me about 3 times... nothing major.
Please wear rubber hand gloves for your own safety.
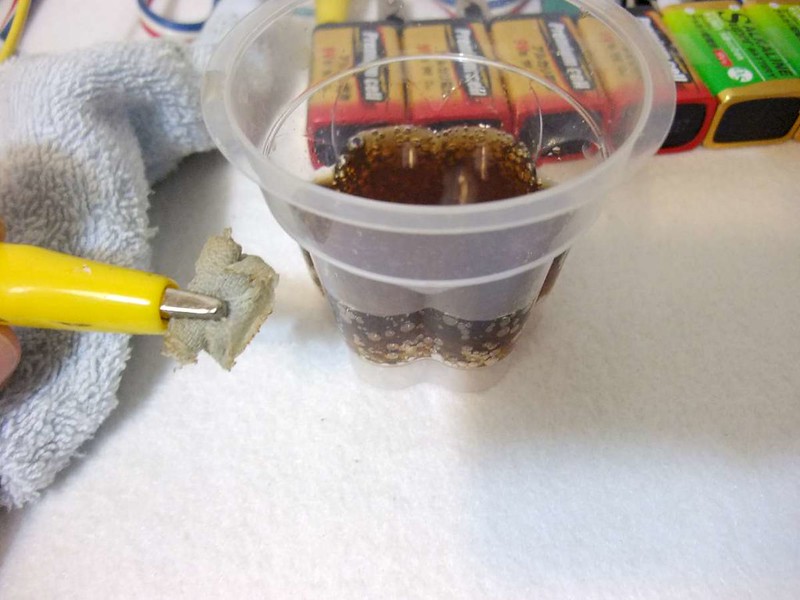
2. Second way of doing it:
You can also dip the light into a jar/glass etc to get an even color all over.
I have only done that for a short time...
See the following picture; very shallow in my case
In that case, just put the wet piece of cloth, that is attached to the Negative alligator clips into the coke.
This will give an more even result.
Here my results of my first try......
- Another great thing about this style of anodizing is that it is reversible. You can bring it back to its old look, by polishing it or use a metal cleaner.
When you do this, you have to start with the highest Volt.. as the lower volts will not change the color of the higher volts! but visa versa they do.
I want to thank Guy from MBI for his great tips and ideas and of some helpful links.
He is anodizing titanium professionally, and his stuff looks gorgeous, not done with pepsi.
Hopefully you will find this helpful, as an alternative to baking aluminum lights
USEFUL LINKS:
- McGizmo link with video on anodizing titanium
- Another guide by member Tom Anderson, a little more complicated, and missing pictures
- Anodize titanium instructables
- Mr Titanium
Last edited:


