
I have a 2 girls - 4 and 5. Bought some GID paint and applied to ceilings in their bedrooms.
Supplies:
Paint: UltraGreen V10 from Glowinc.com. I bought two 1/2 pints but one would have been sufficient for both ceilings. Also bought 2 oz. of Ultra Blue but I don't really recommend that one because green is brighter and also because you can't really tell the colors apart very well at night except when fully "charged."
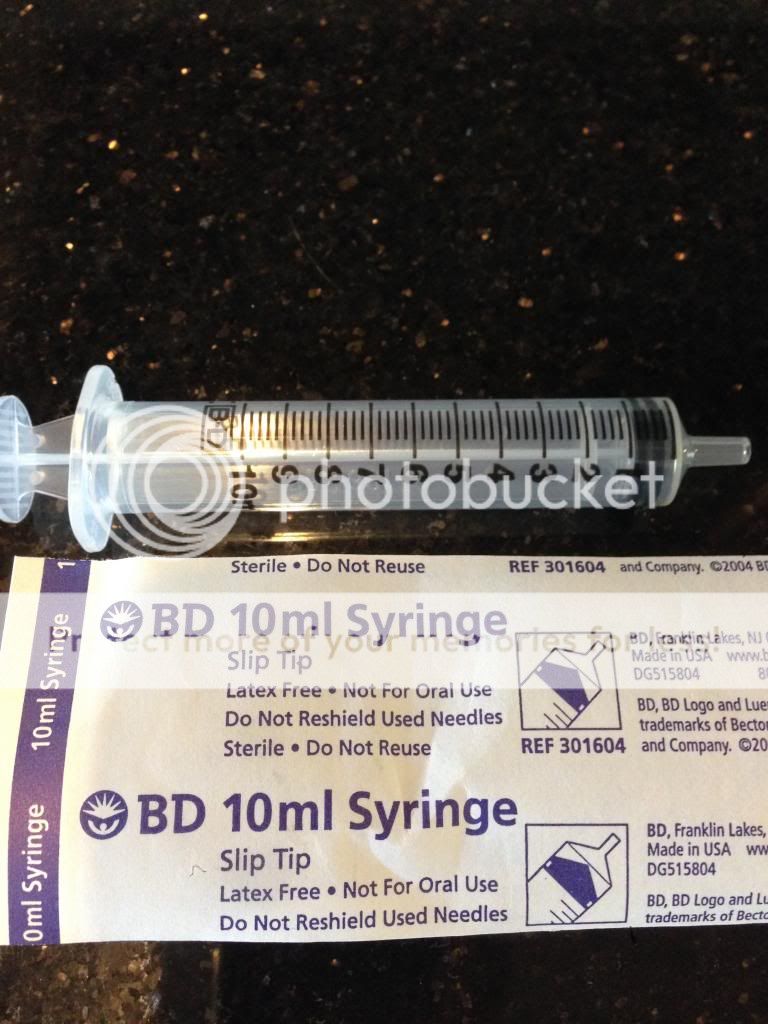
Applicator for stars: 10 mL slip tip syringe. You can get these on Amazon or you can sweet talk your doctor or nurse for a couple of these. Larger sizes work fine but smaller is easier and neater.
Wooden dowels to stir the paint. Plastic knife would do just as well.
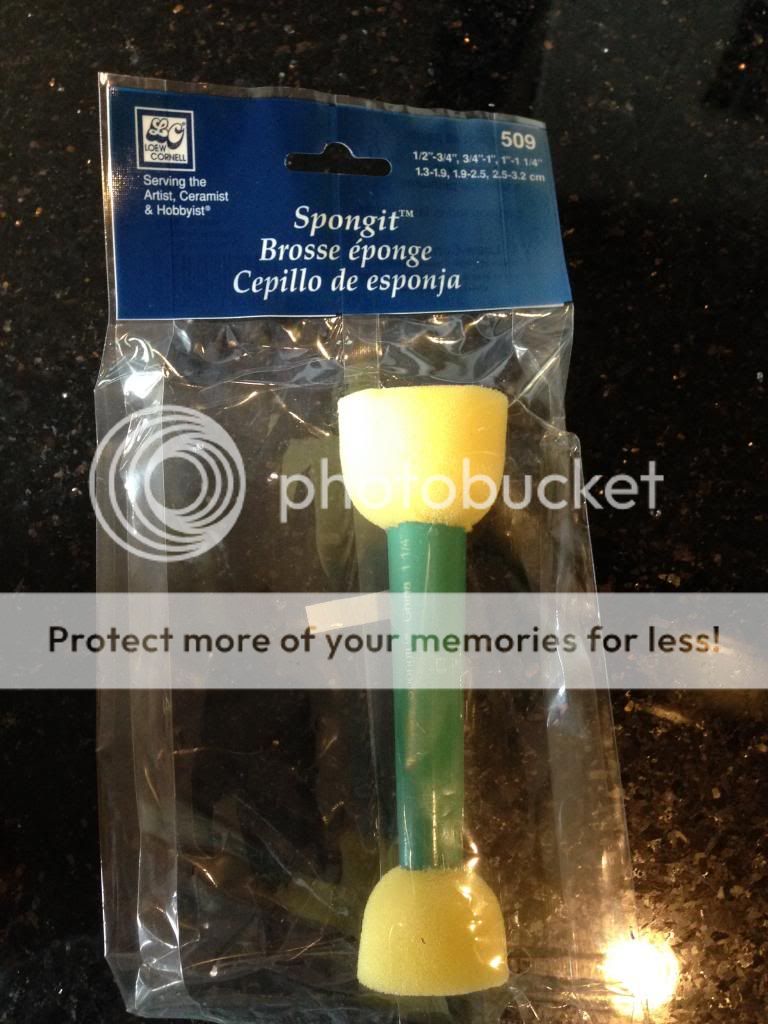
Spongit round sponges in assorted sizes: smaller is better. Widely available at hobby stores or hobby section of Walmart type stores. This is definitely optional:
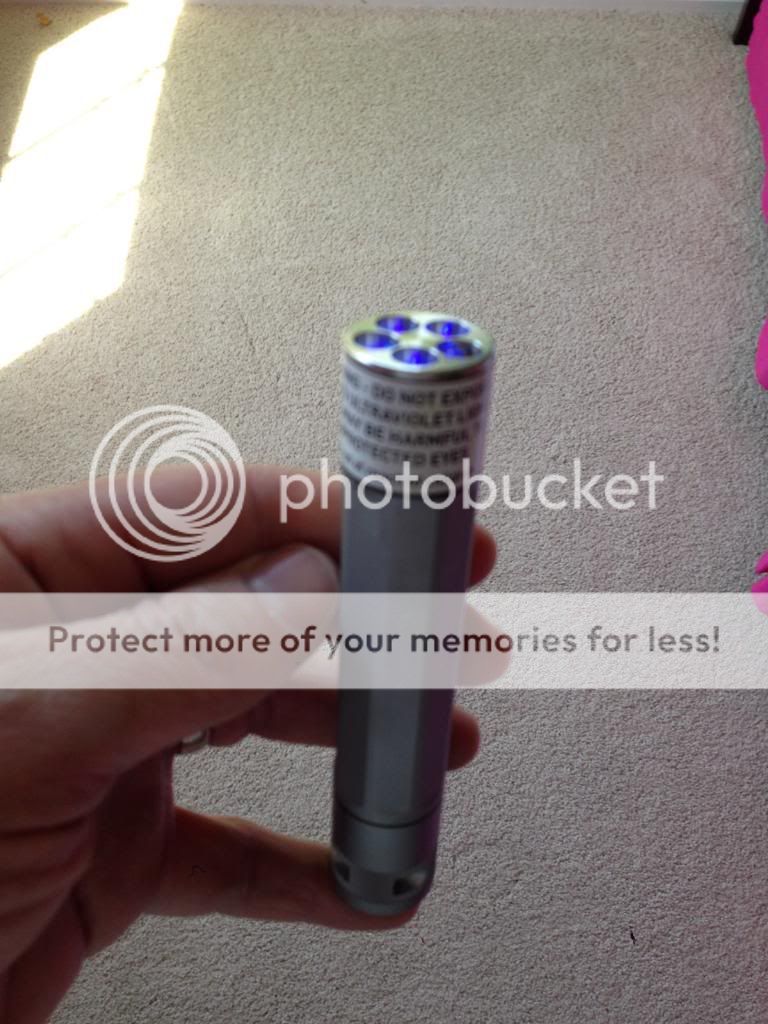
Innova X5MT WUVT high powered ultraviolet LED light to "charge" the paint at night. This too is optional as any high output white light will do. But this is fun and more efficient and an excuse to buy another light.
Here is the painted ceiling during the day (can see a few white dots of GID paint):
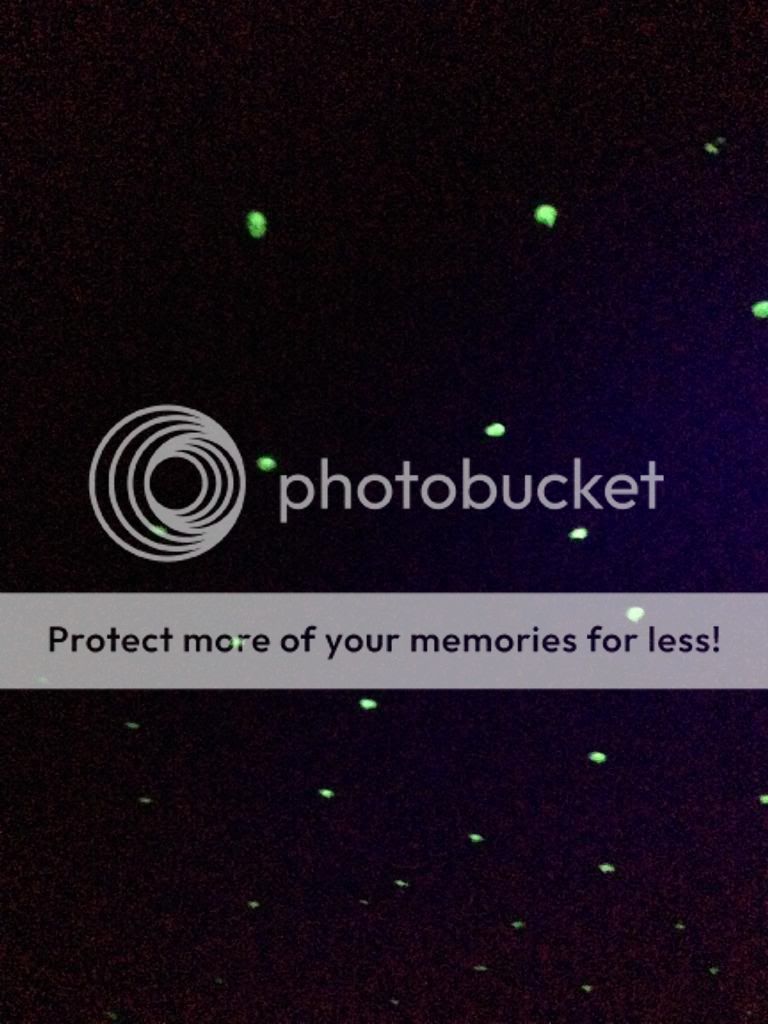
At night below. Each "star" is just a small glob of paint, about the size of a chocolate chip, that I put on the ceiling using the slip tip syringe above. If you do it a few times, you'll get the hang of it. Don't leave a long "tip" of paint (top of chocolate chip) or you will see it during the day.
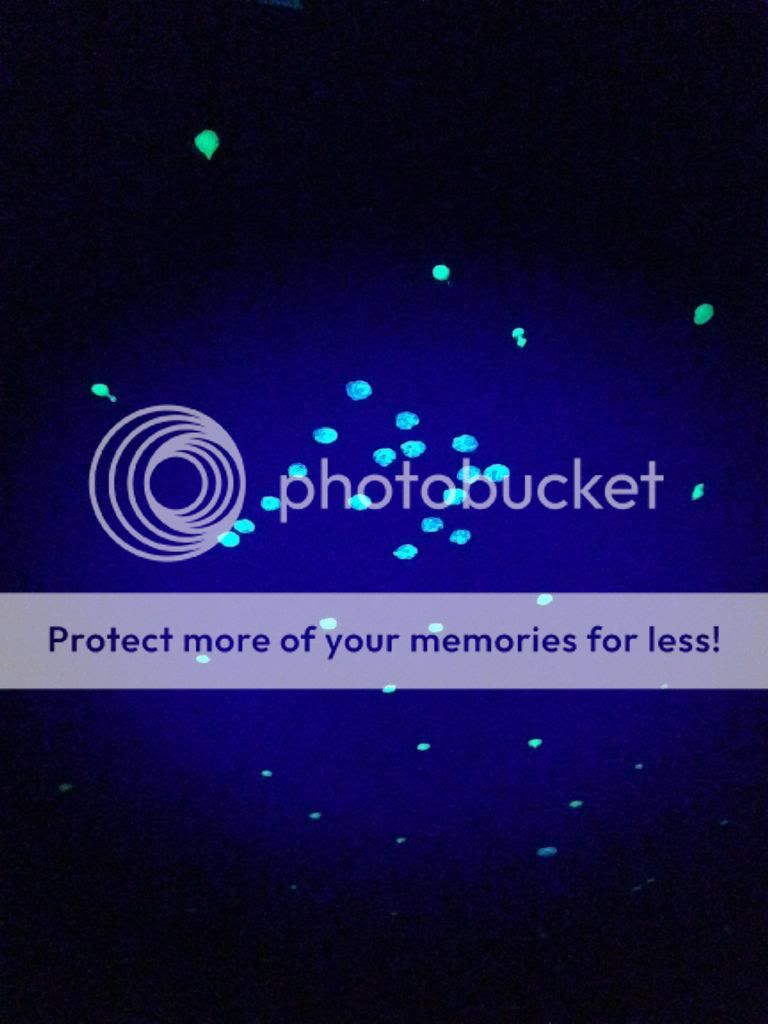
I looked up a few constellations and tried to reproduce them. I forgot which one this is. I used the blue paint and the smaller sponge to do the constellation pictured. Used a pencil first to mark the ceiling. Big and little dipper were easier (not pictured).
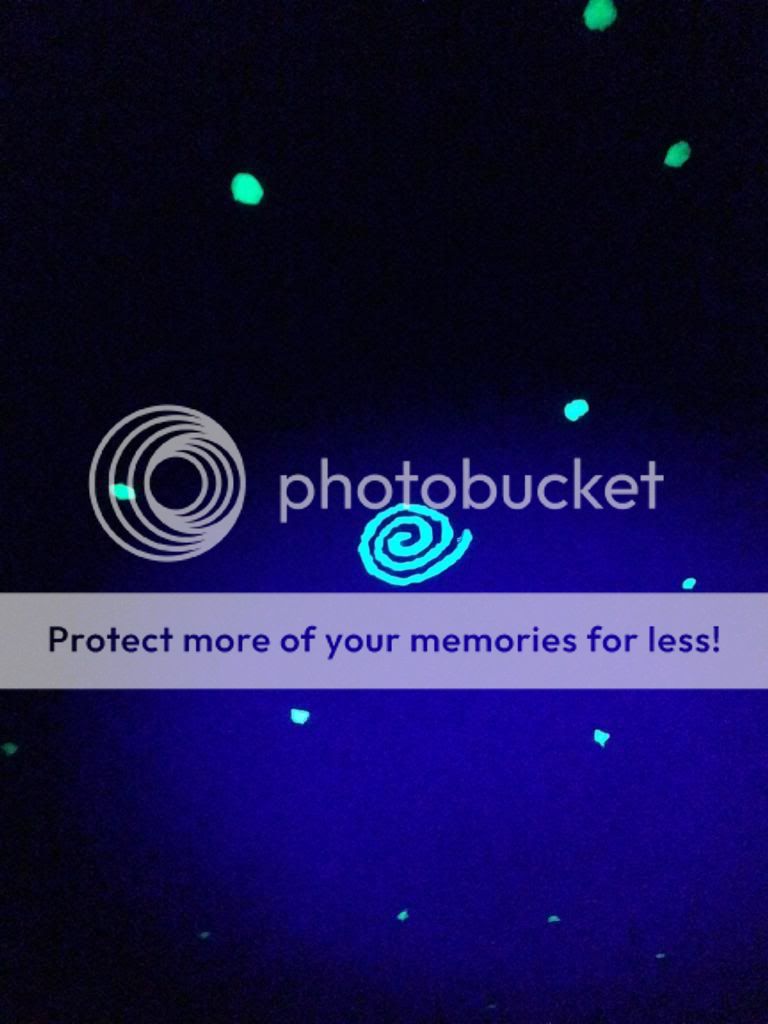
Here I again used the slip tip syringe to do a spiral galaxy:
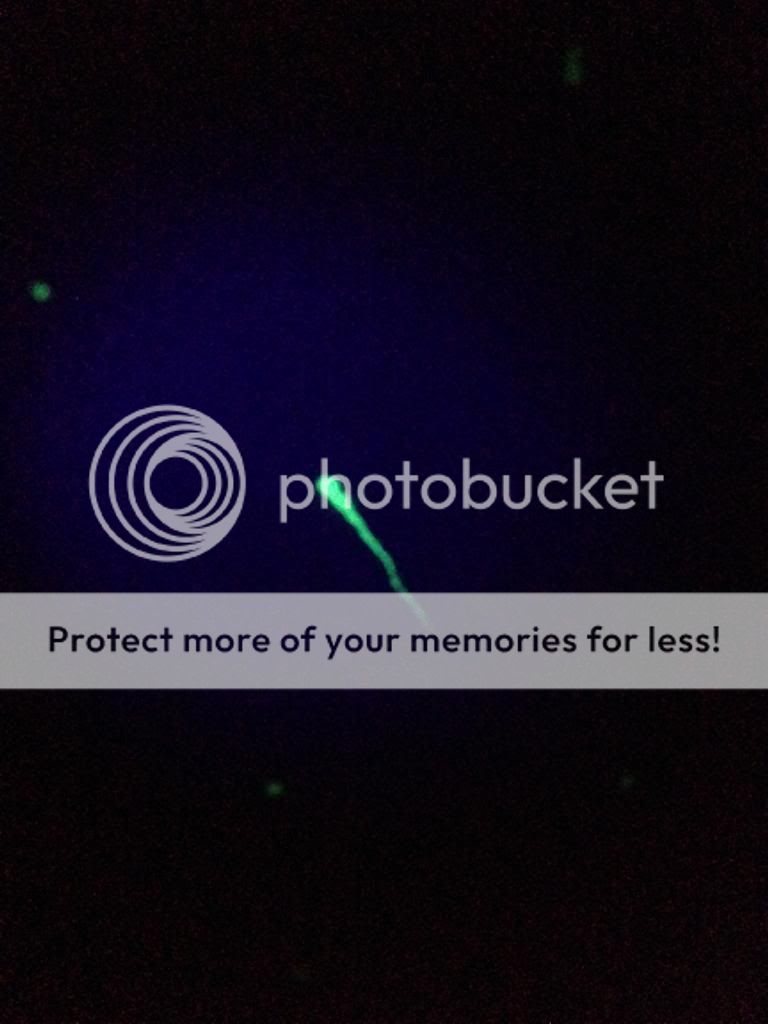
Dragged the syringe a little for a shooting star:
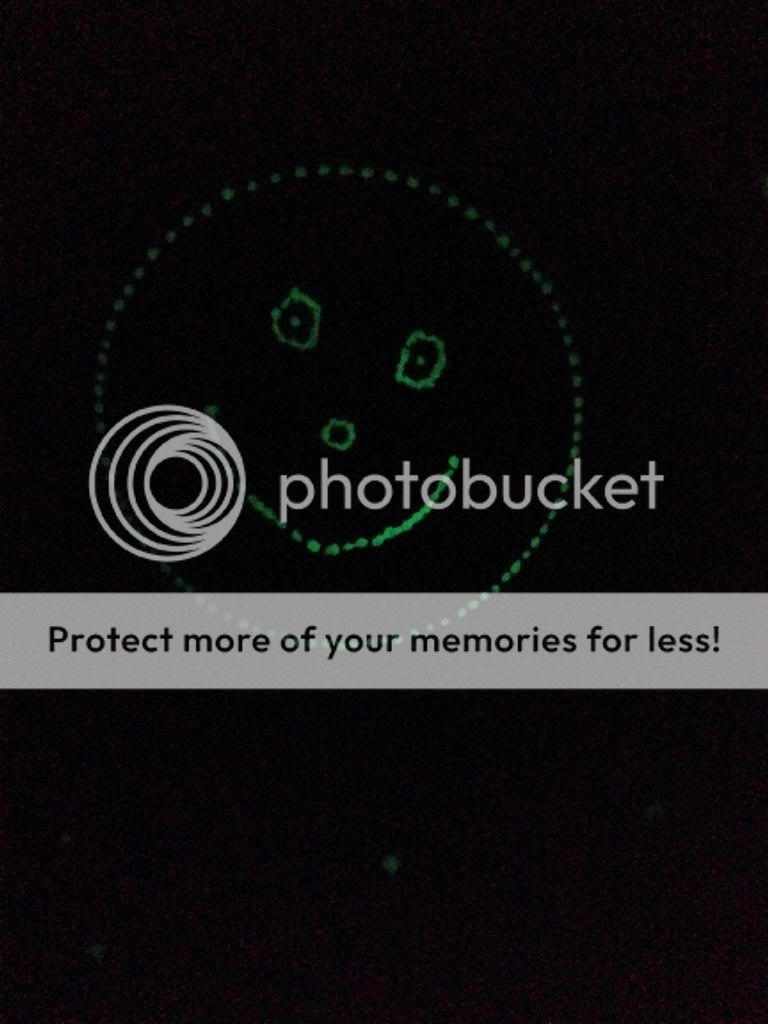
There is a round speaker in the ceiling that I made into a smily face (means "Daddy loves you.") She said it looks like a pumpkin. Oh well.
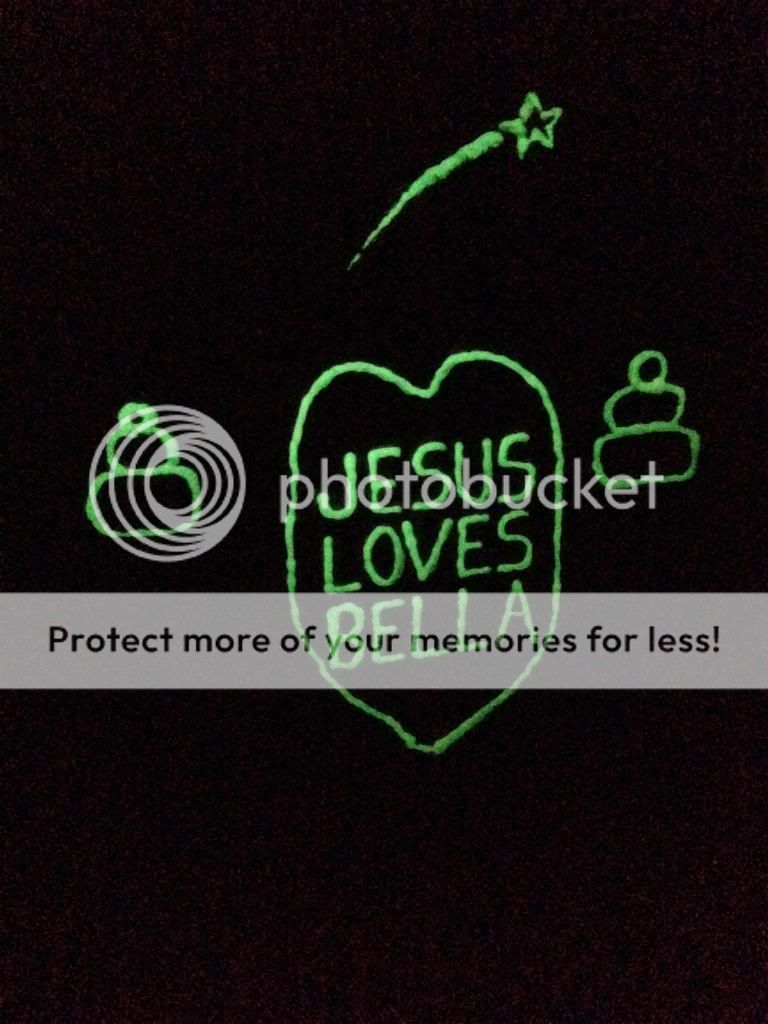
A little surprise on the closet wall (all done with syringe):
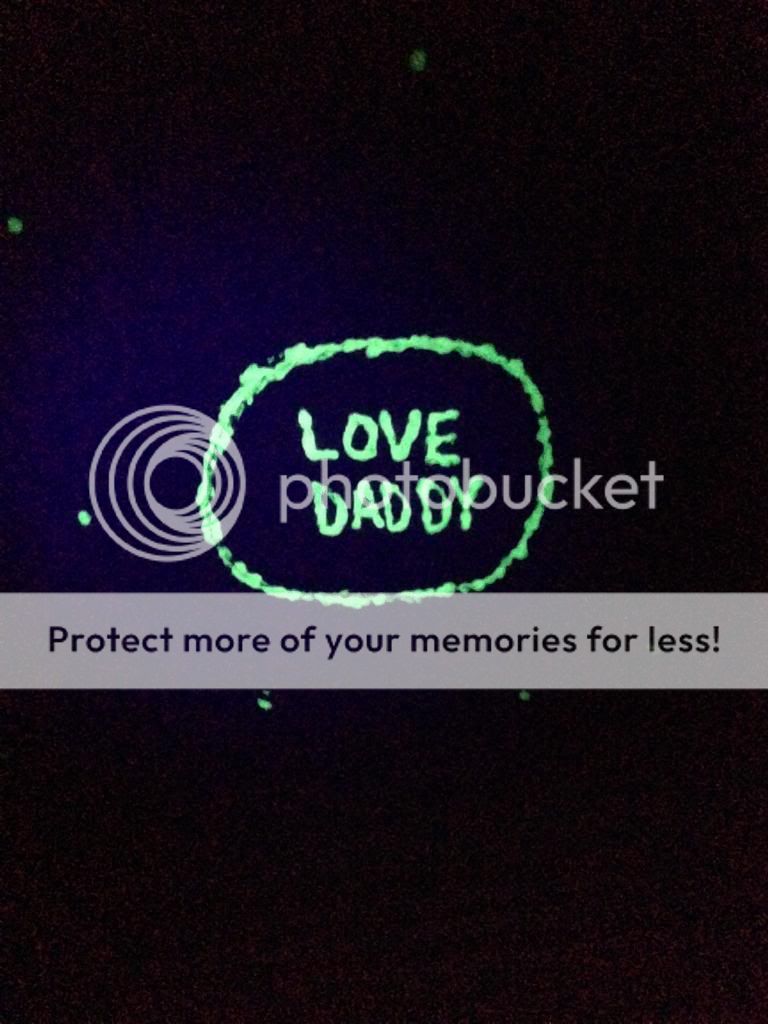
The artist must sign his work:
Went nuts with paint and painted a few other things:
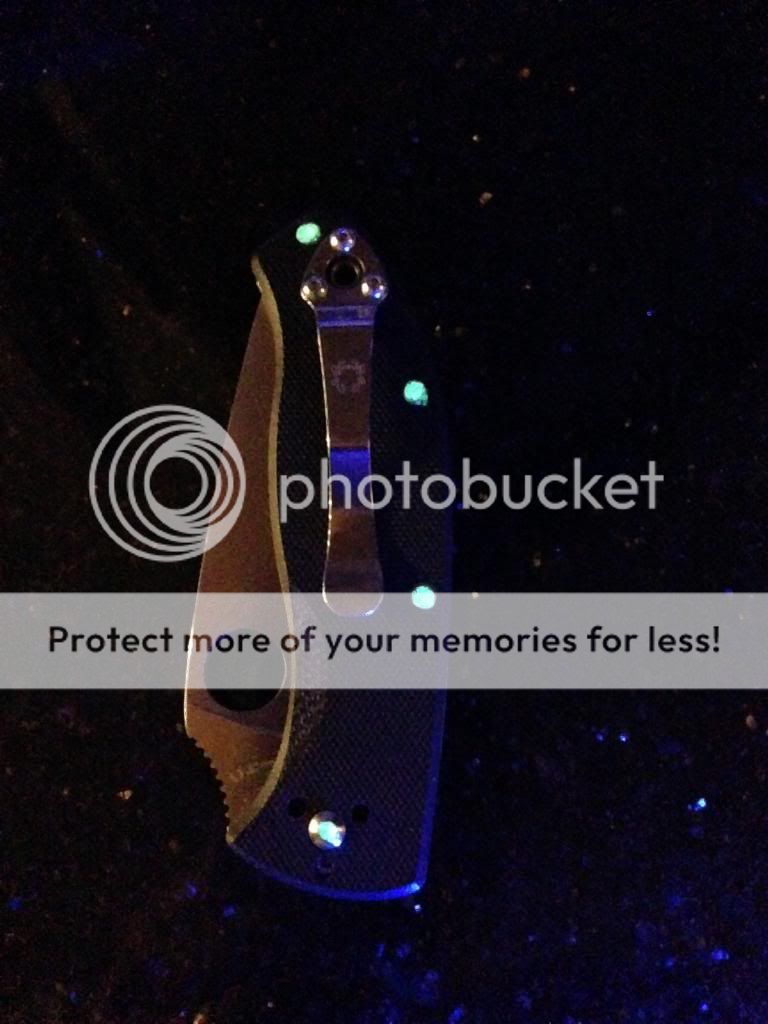
Spyderco (screws only):
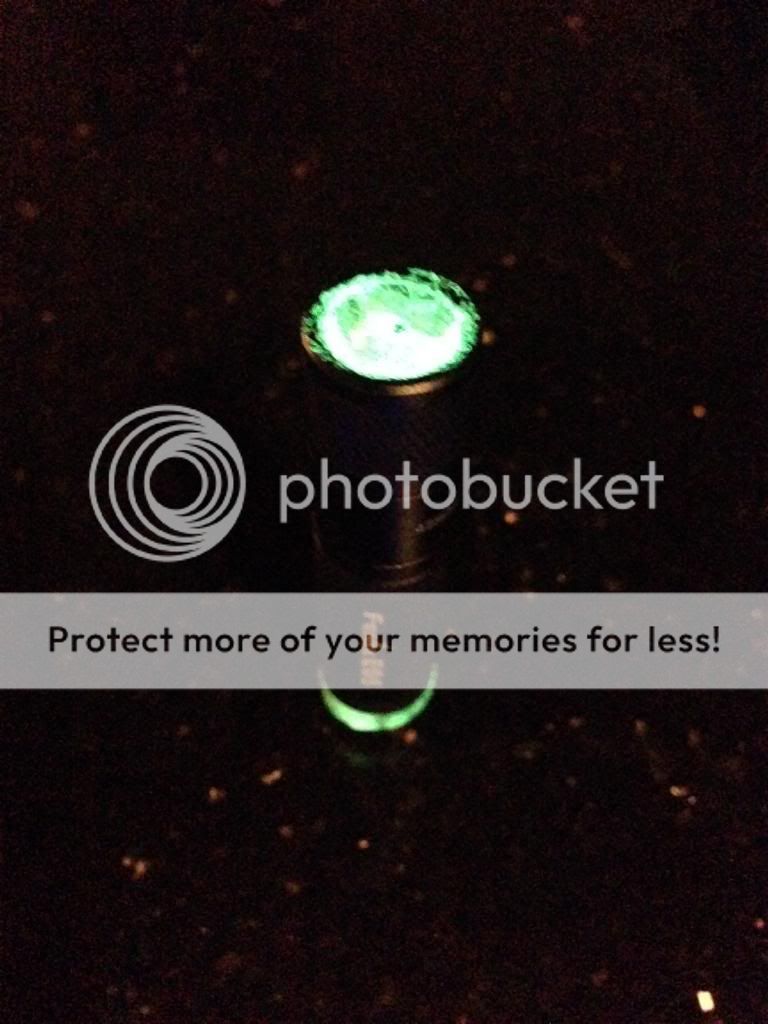
Fenix E05. I painted stripe around the base (using painters tape) and also painted the lens. I don't recommend that as it decreases light output considerably:
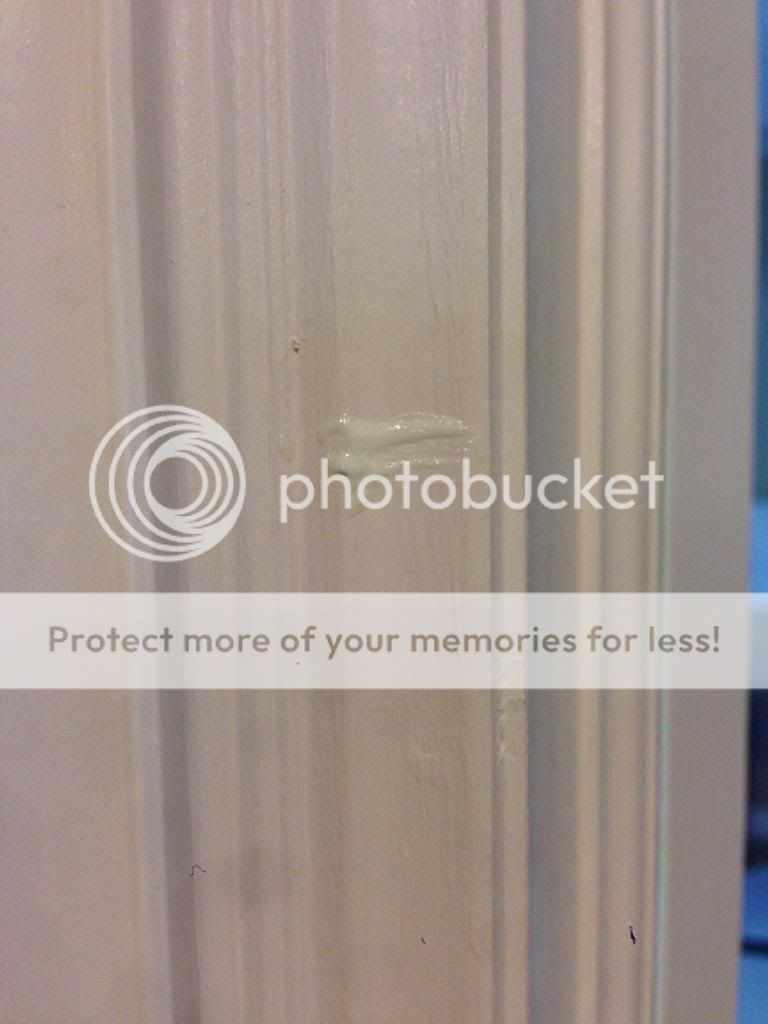
Painted stripe on each side of door frame at eye level so I don't run into it at night (much neater if you use painter's tape, which I did the second time). Also painted stripe on the edge of the door.
Cheers!
Supplies:
Paint: UltraGreen V10 from Glowinc.com. I bought two 1/2 pints but one would have been sufficient for both ceilings. Also bought 2 oz. of Ultra Blue but I don't really recommend that one because green is brighter and also because you can't really tell the colors apart very well at night except when fully "charged."
Applicator for stars: 10 mL slip tip syringe. You can get these on Amazon or you can sweet talk your doctor or nurse for a couple of these. Larger sizes work fine but smaller is easier and neater.
Wooden dowels to stir the paint. Plastic knife would do just as well.
Spongit round sponges in assorted sizes: smaller is better. Widely available at hobby stores or hobby section of Walmart type stores. This is definitely optional:
Innova X5MT WUVT high powered ultraviolet LED light to "charge" the paint at night. This too is optional as any high output white light will do. But this is fun and more efficient and an excuse to buy another light.
Here is the painted ceiling during the day (can see a few white dots of GID paint):
At night below. Each "star" is just a small glob of paint, about the size of a chocolate chip, that I put on the ceiling using the slip tip syringe above. If you do it a few times, you'll get the hang of it. Don't leave a long "tip" of paint (top of chocolate chip) or you will see it during the day.
I looked up a few constellations and tried to reproduce them. I forgot which one this is. I used the blue paint and the smaller sponge to do the constellation pictured. Used a pencil first to mark the ceiling. Big and little dipper were easier (not pictured).
Here I again used the slip tip syringe to do a spiral galaxy:
Dragged the syringe a little for a shooting star:
There is a round speaker in the ceiling that I made into a smily face (means "Daddy loves you.") She said it looks like a pumpkin. Oh well.
A little surprise on the closet wall (all done with syringe):
The artist must sign his work:
Went nuts with paint and painted a few other things:
Spyderco (screws only):
Fenix E05. I painted stripe around the base (using painters tape) and also painted the lens. I don't recommend that as it decreases light output considerably:
Painted stripe on each side of door frame at eye level so I don't run into it at night (much neater if you use painter's tape, which I did the second time). Also painted stripe on the edge of the door.
Cheers!