Techjunkie
Enlightened
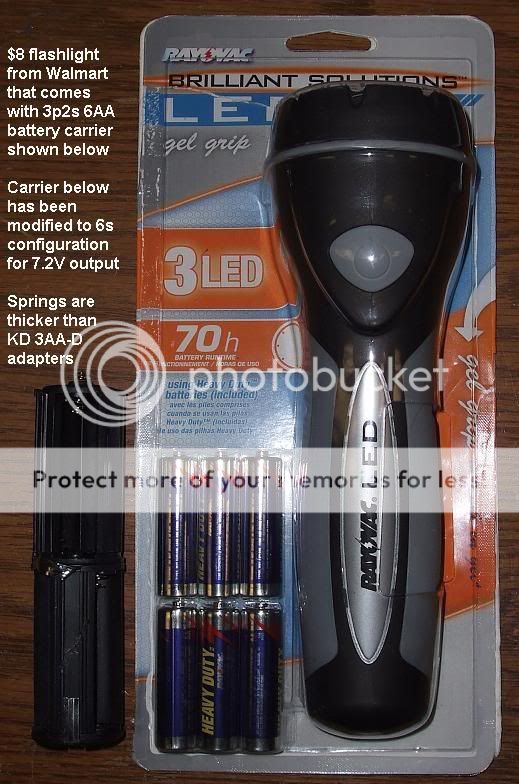
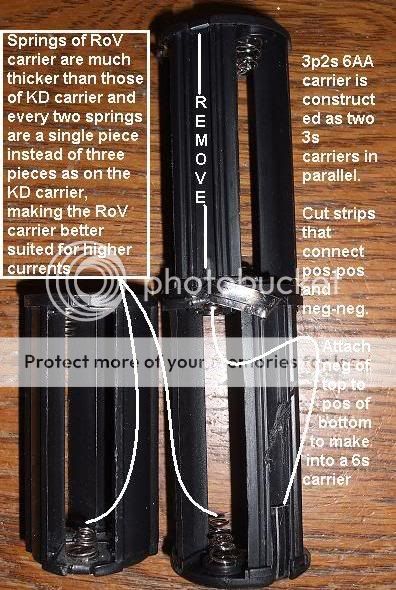
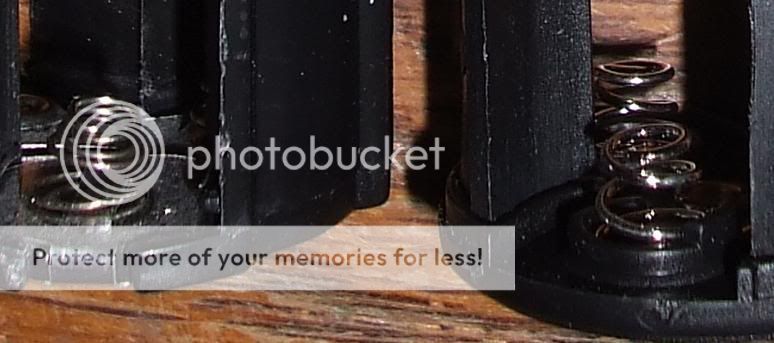
I had a bunch of CREE Q5 stars laying around that I pulled from various torches (to upgrade them to MC-E) and felt like putting together a multi Q5 torch. Also in my box of left over parts were a metal slab to use as a heatsink, two P7/MC-E 3A buck drivers from DX, two 3AA-D battery carriers and a tactical forward click switch from KD (not to mention all sorts of springs, wire, epoxies, screws, etc.) and six Duraloop AAs.
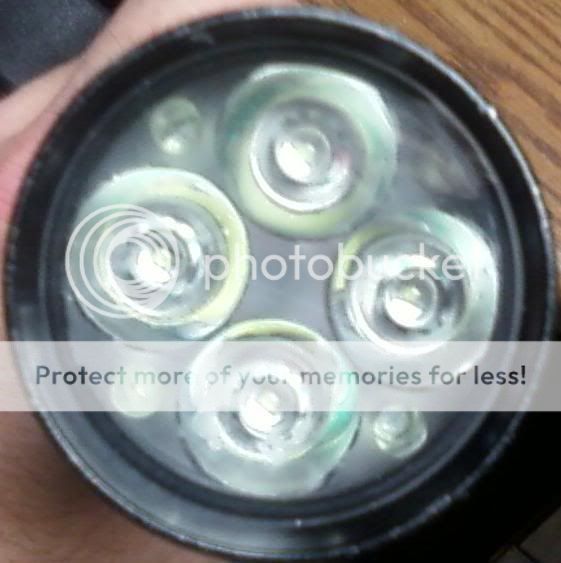
For ~$4 I got a quad CREE collimator lens from DX that I had always been curious about. (I always liked the TaskForce 2C and other single CREE+collimator flashlights.)
I had originally intended to throw all this into a new (red) Mag 2D, but looking at my collection decided I needed to diversify a bit more than just a color change. For about the same price, I picked up a beat-up old Streamlight TwinTask 2D torch.
I'd heard how the higher end aluminum Streamlight torches are built like Sherman tanks so I figured I'd give it a go. Getting the 10 LED + 1 Xenon light assembly out of the TwinTask took some effort, it was epoxed in at the factory. Unfortunately, replacing the polycarb lens for glass was a no-go. On this model, the lens is press fit with a beveled edge and must be flexed into place. Not a big deal, the collimator is plastic also, so this kind of continues on the theme. The lens is pretty scratched up but it's completely unbreakable and hides a couple of small marks I carelessly made on the quad collimator lens.
I removed the driver board that the stock 3-way switch is mounted on and replaced it with the KD tactical switch shimmed by some clear tubing and a woodwn dowel. A machine screw runs through the dowel, holding the spring I used for positive contact in place, secured on top with a nut to keep the whole switch assemby together. That kind of switch is capable of surprisingly high current. When testing for a short beyond one of those switches with a multimeter, I once measured (briefly) 18A. I quickly removed the leads, corrected the short and found the switch no worse for the wear.
I tapped a hole on the inside of the head on a diagonal, at the top of the switch assembly. The screw holds the assembly in place and also serves as the ground contact. PC-Farenheit heat-proof putty epoxy coveres everything, leaving only the two lead wires exposed. At this point, I could drop some serious power into this host, but that poly lens beckons me to continue with the quad Q5 collimator combo.
I test first with two drivers, each powering two Q5's in parallel. Too much heat and one driver whistles. The drivers are already puttied together to protect from shorts so I simply desolder one entirely and connect all four LED leads to the other. Bingo. Heat I can live with and about an hour of runtime off 6AAs. It works just as well with six Alkaline batteries so this torch can easily be given to a non-flashaholic in the future.
:EDIT: I rewired the LEDs in series and replaced the drivers describe above with a DX 26106 boost driver described in post #5 below
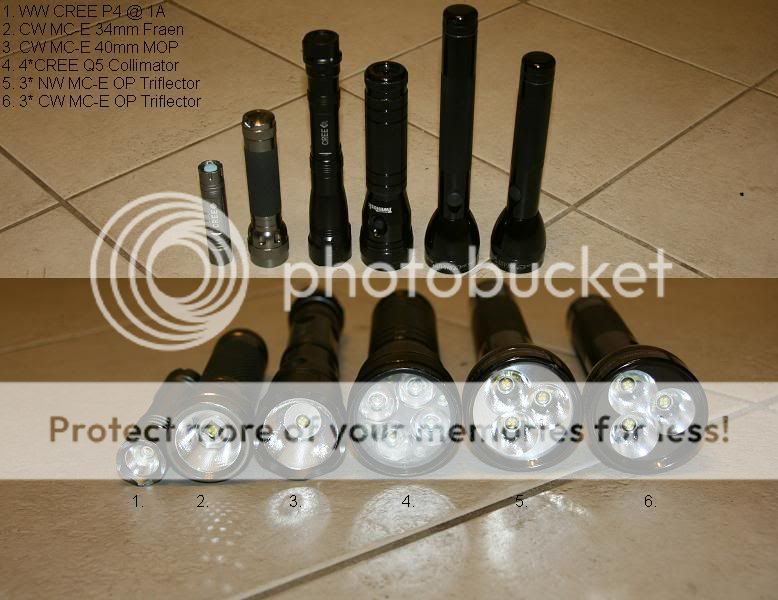
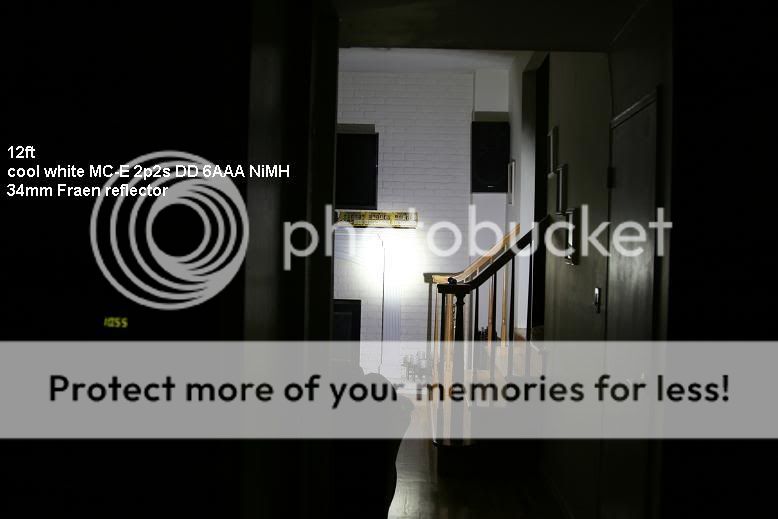
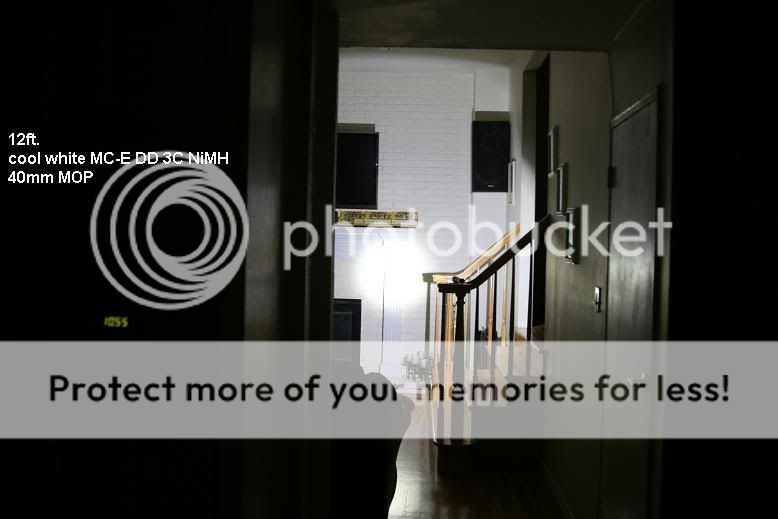
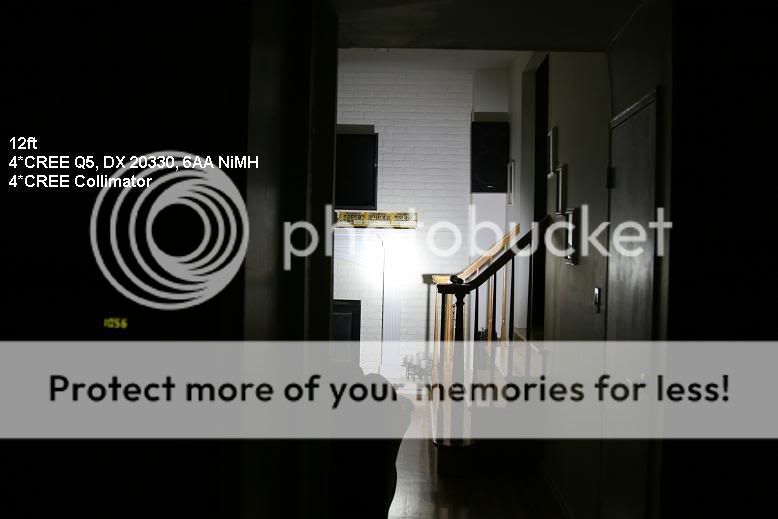
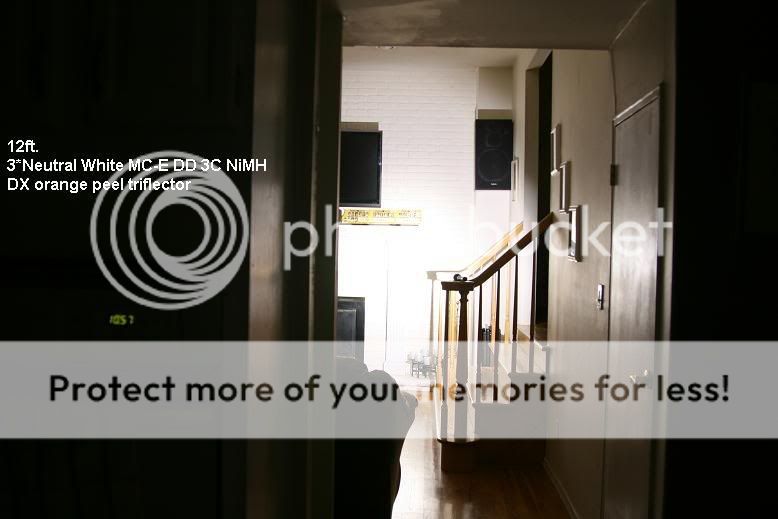
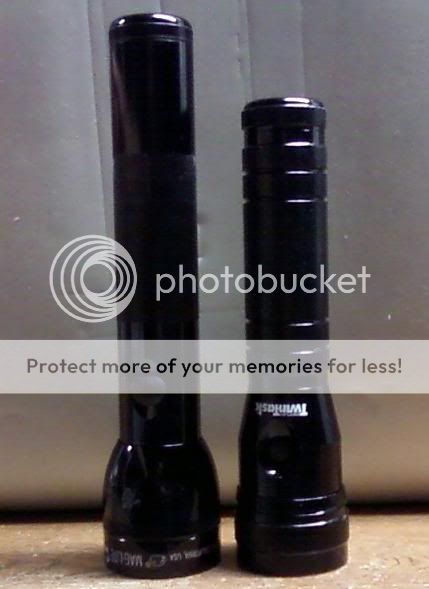
This well worn tank of a light is smaller than a Mag 2D, brighter than one or two of my weaker MC-E torches and has a really nice beam pattern - super tight spot, but much to my surprise a nice bright spill not unlike a good reflector. Every other collimator I've had before was all spot and no spill.
Some pics:
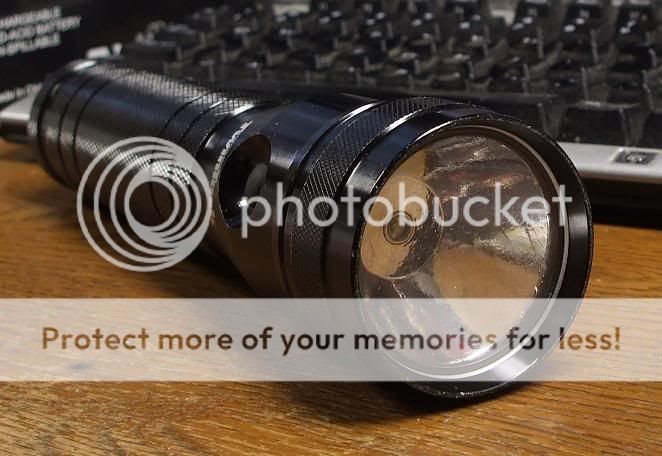
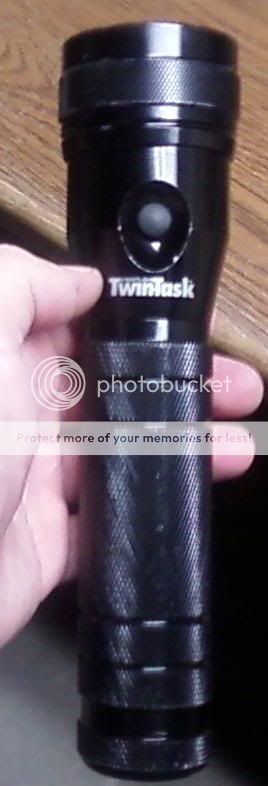
The Host:
Compared to Mag 2D:
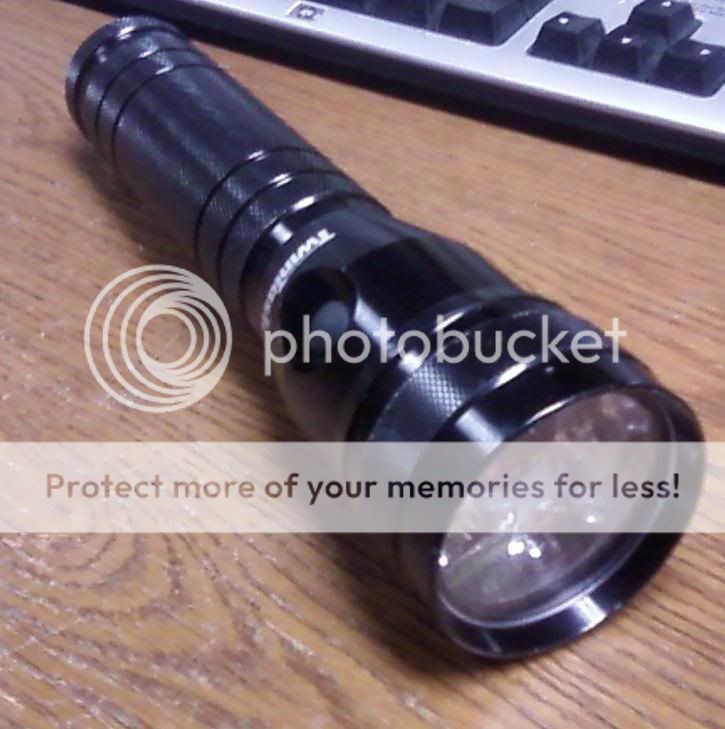
Completed:
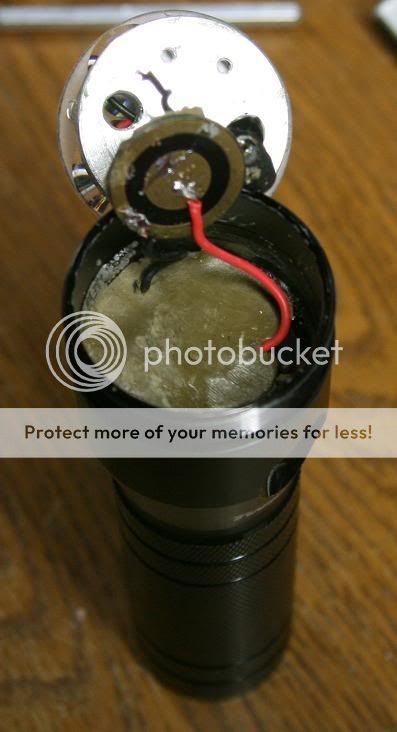
Pos contact replaced with spring:
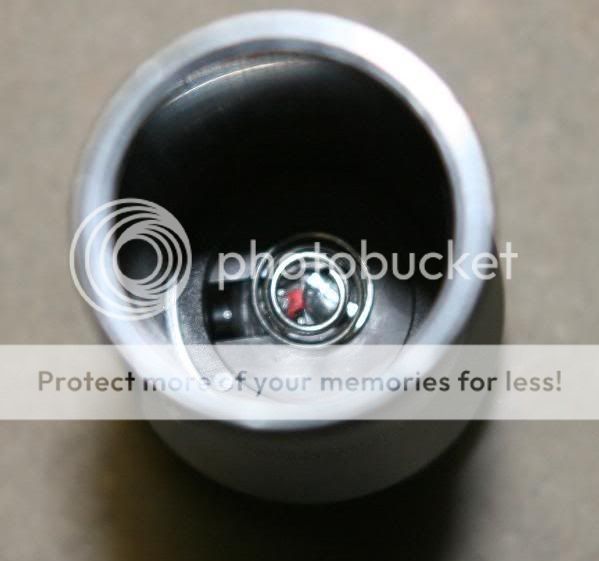
Rebuilt switch assembly:
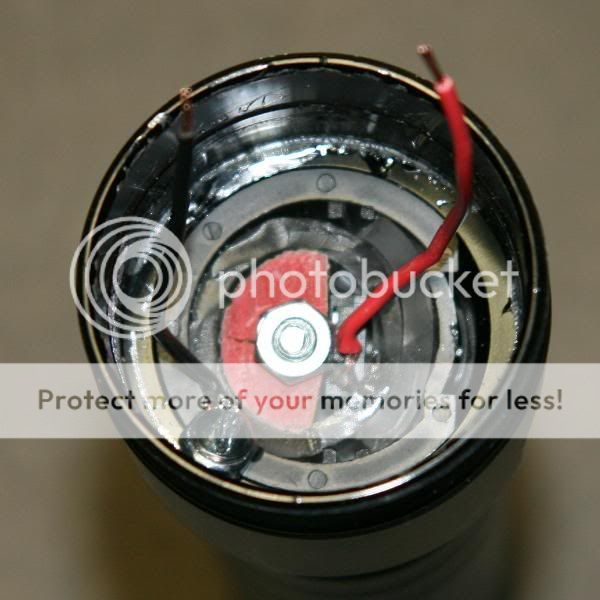
Putty epoxy (PC-Fahrenheit) isolates from shorts:
Quad collimator Q5s:
(Most of these pics were taken with my phone.)
For ~$4 I got a quad CREE collimator lens from DX that I had always been curious about. (I always liked the TaskForce 2C and other single CREE+collimator flashlights.)
I had originally intended to throw all this into a new (red) Mag 2D, but looking at my collection decided I needed to diversify a bit more than just a color change. For about the same price, I picked up a beat-up old Streamlight TwinTask 2D torch.
I'd heard how the higher end aluminum Streamlight torches are built like Sherman tanks so I figured I'd give it a go. Getting the 10 LED + 1 Xenon light assembly out of the TwinTask took some effort, it was epoxed in at the factory. Unfortunately, replacing the polycarb lens for glass was a no-go. On this model, the lens is press fit with a beveled edge and must be flexed into place. Not a big deal, the collimator is plastic also, so this kind of continues on the theme. The lens is pretty scratched up but it's completely unbreakable and hides a couple of small marks I carelessly made on the quad collimator lens.
I removed the driver board that the stock 3-way switch is mounted on and replaced it with the KD tactical switch shimmed by some clear tubing and a woodwn dowel. A machine screw runs through the dowel, holding the spring I used for positive contact in place, secured on top with a nut to keep the whole switch assemby together. That kind of switch is capable of surprisingly high current. When testing for a short beyond one of those switches with a multimeter, I once measured (briefly) 18A. I quickly removed the leads, corrected the short and found the switch no worse for the wear.
I tapped a hole on the inside of the head on a diagonal, at the top of the switch assembly. The screw holds the assembly in place and also serves as the ground contact. PC-Farenheit heat-proof putty epoxy coveres everything, leaving only the two lead wires exposed. At this point, I could drop some serious power into this host, but that poly lens beckons me to continue with the quad Q5 collimator combo.
I test first with two drivers, each powering two Q5's in parallel. Too much heat and one driver whistles. The drivers are already puttied together to protect from shorts so I simply desolder one entirely and connect all four LED leads to the other. Bingo. Heat I can live with and about an hour of runtime off 6AAs. It works just as well with six Alkaline batteries so this torch can easily be given to a non-flashaholic in the future.
:EDIT: I rewired the LEDs in series and replaced the drivers describe above with a DX 26106 boost driver described in post #5 below
This well worn tank of a light is smaller than a Mag 2D, brighter than one or two of my weaker MC-E torches and has a really nice beam pattern - super tight spot, but much to my surprise a nice bright spill not unlike a good reflector. Every other collimator I've had before was all spot and no spill.
Some pics:
The Host:
Compared to Mag 2D:
Completed:
Pos contact replaced with spring:
Rebuilt switch assembly:
Putty epoxy (PC-Fahrenheit) isolates from shorts:
Quad collimator Q5s:
(Most of these pics were taken with my phone.)
Last edited:
")