Single XM-L to TRIPLE XM-L - build log of 3000-lumen light...

Chicago X

Enlightened
Joined
May 6, 2010
Messages
439
I really like this torch. There's nothing wrong with it in stock form, but what couldn't be made better by upping the power four- to fivefold ? :)
The plan is to yank out the guts, replace with billet aluminum, then cram in a TRIPLE XM-L U2 setup with a 4-5A Turbo DRY driver. Can you say 3000 lumen out-the front ? Hehe...
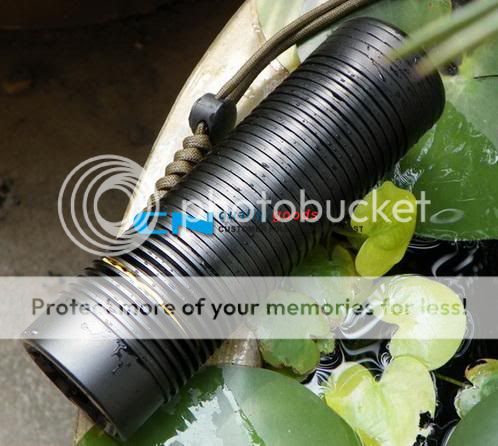
Here's a seller pic as a reminder:
1207_P_1311865568798.jpg

Link to TORCH here: http://www.cnqualitygoods.com/goods.php?id=1207
Link to HOST here: http://www.cnqualitygoods.com/goods.php?id=1208
http://www.cnqualitygoods.com/goods.php?id=1208Link to REVIEW here:

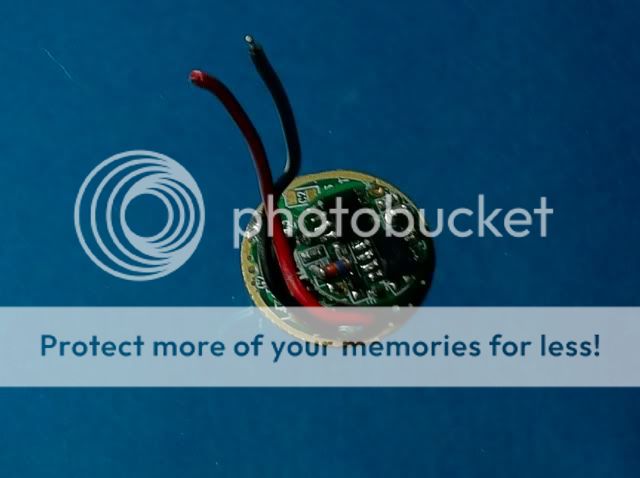
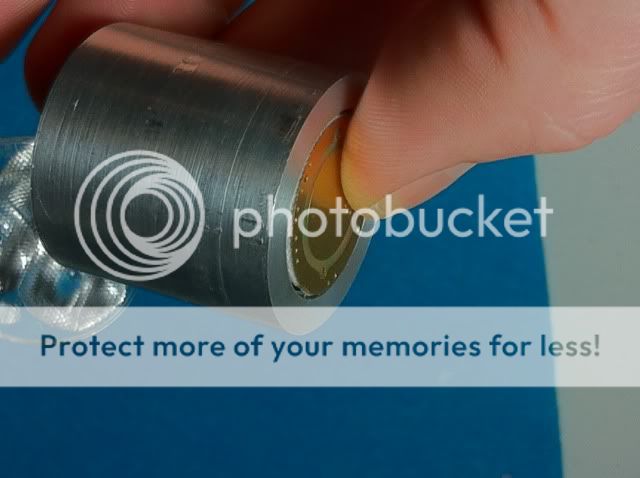
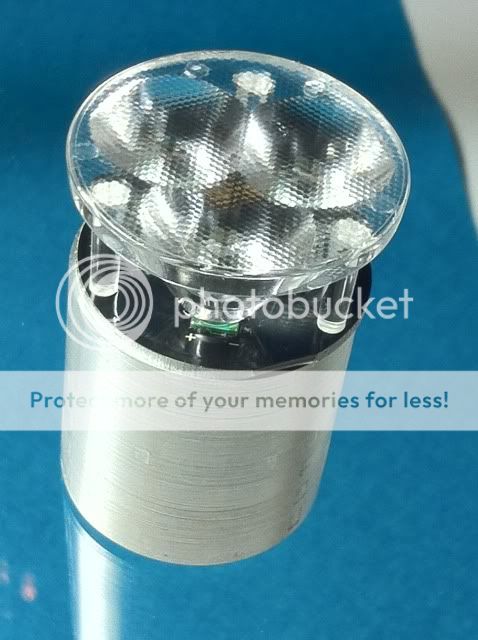
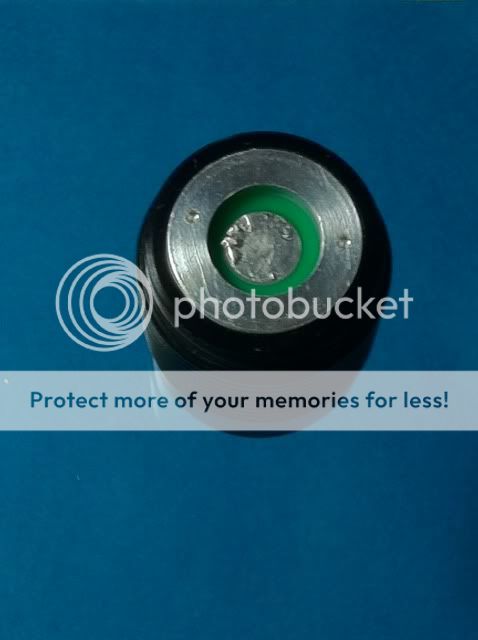
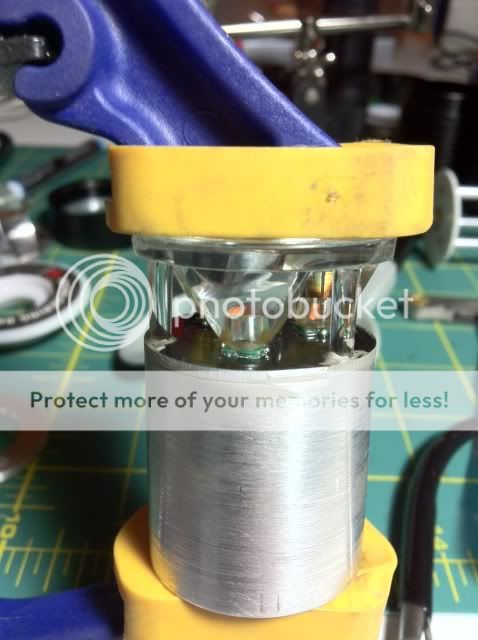
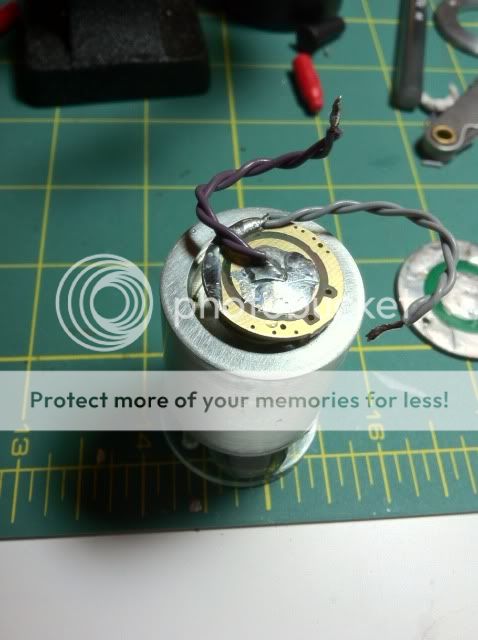
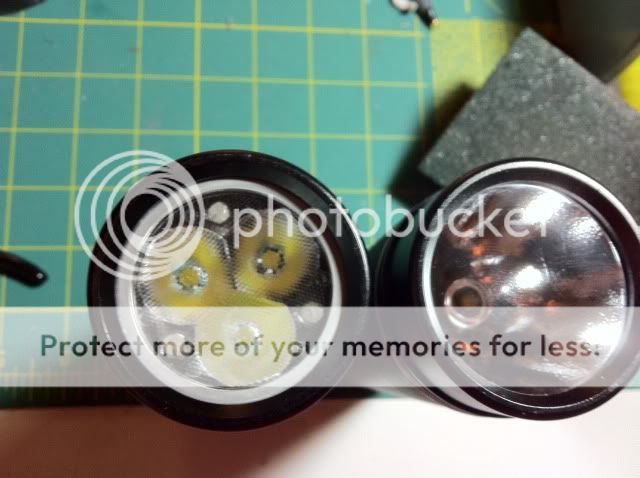
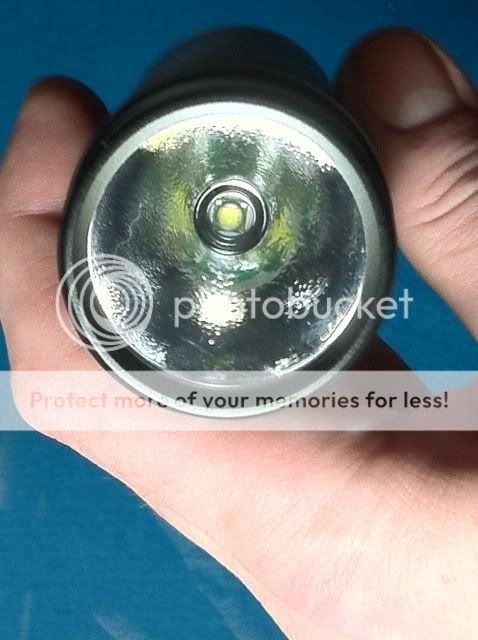
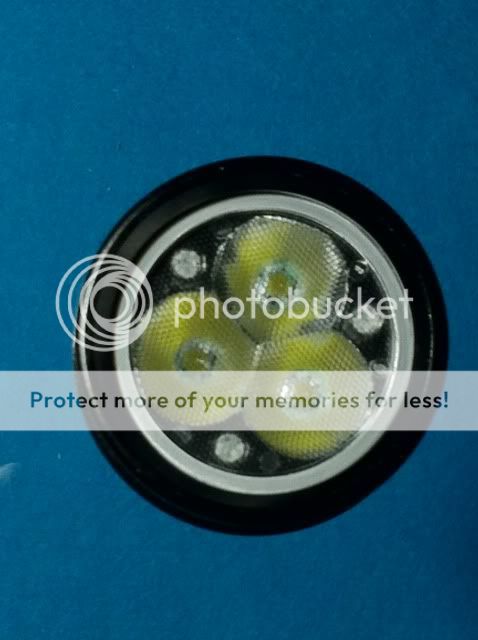
Here's a shot of the stock emitter, stock reflector.
photo26-2.jpg


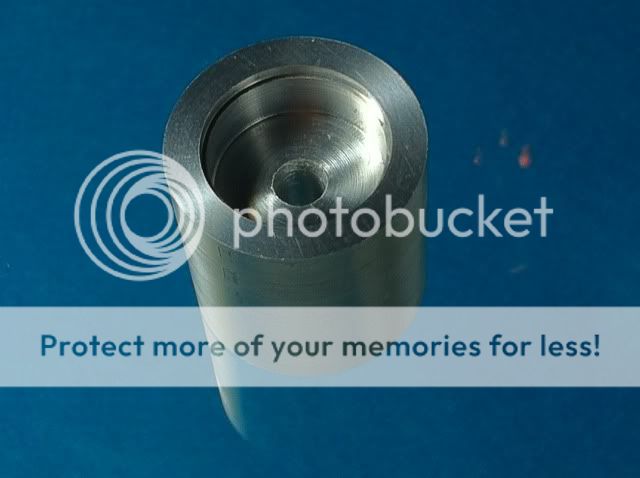
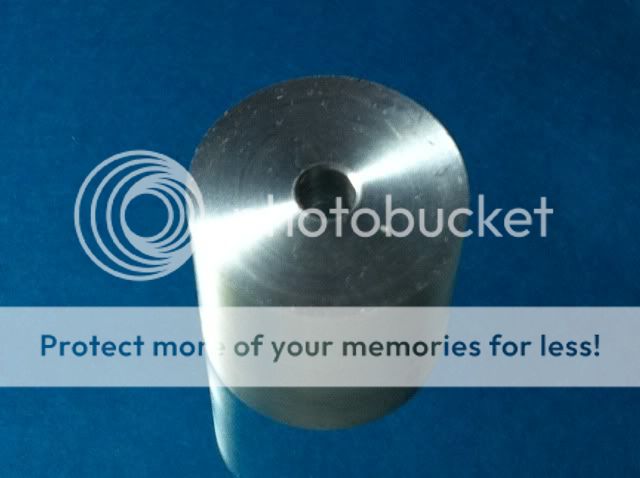
Since I wanted the mass of the "pill" to be as much as possible, I worked from the bezel, rearward.
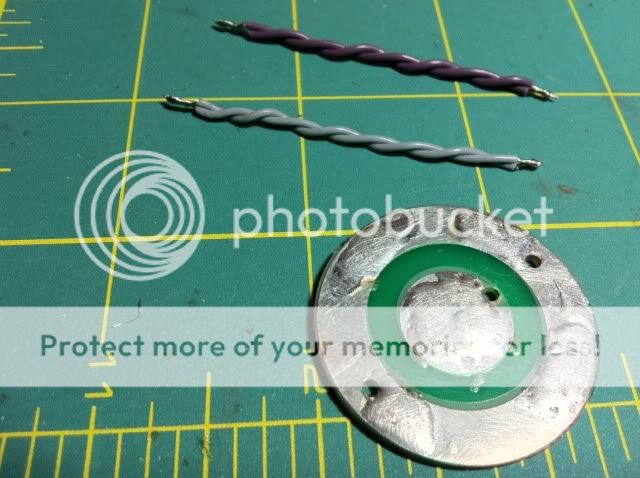
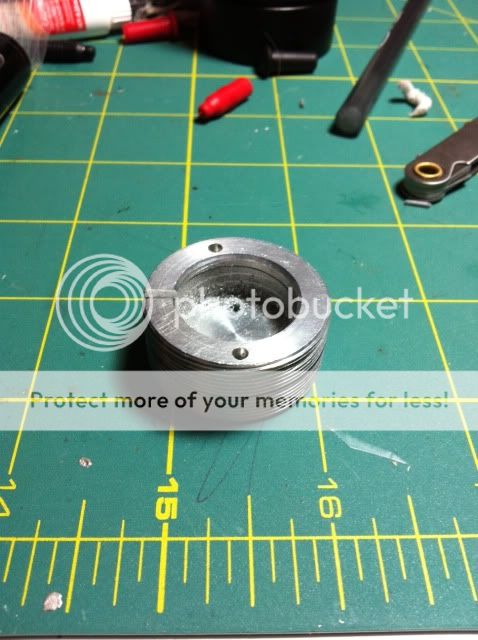
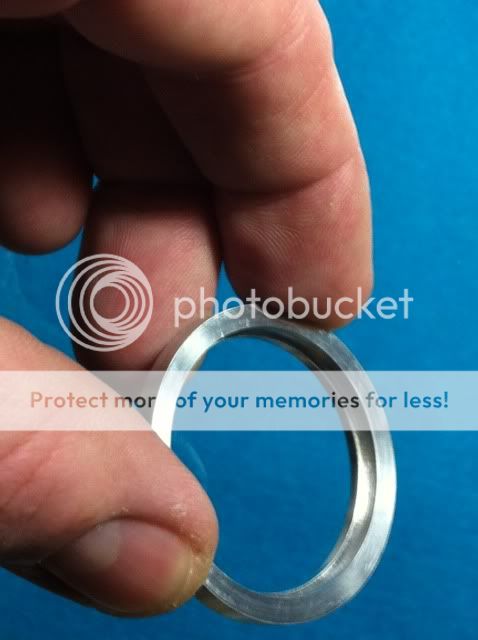
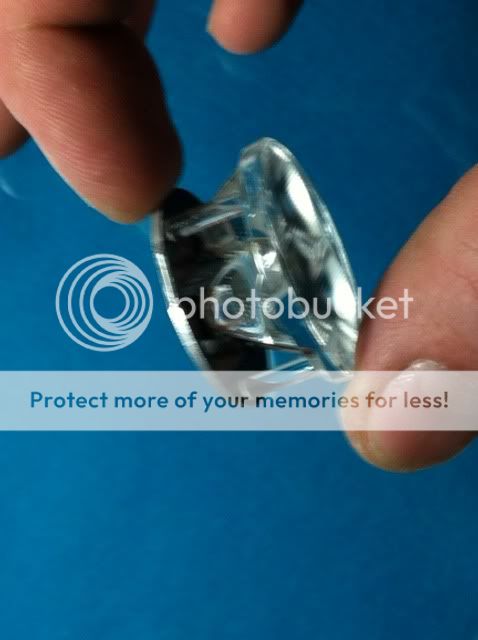
I cut a ring out of 6061 Aluminum, then cut a beveled edge to hold the optic:
photo22-2.jpg

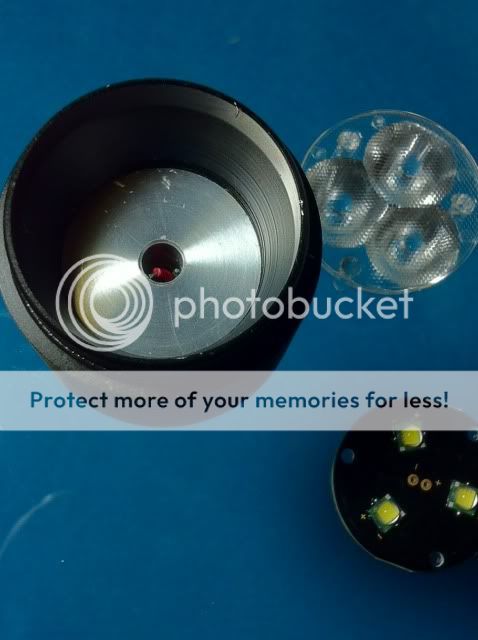
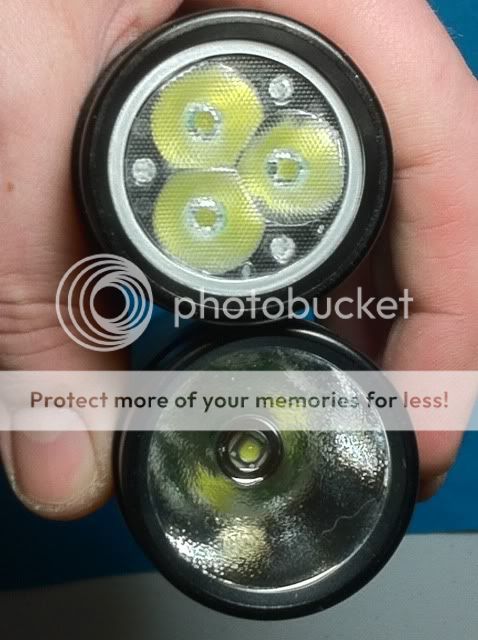
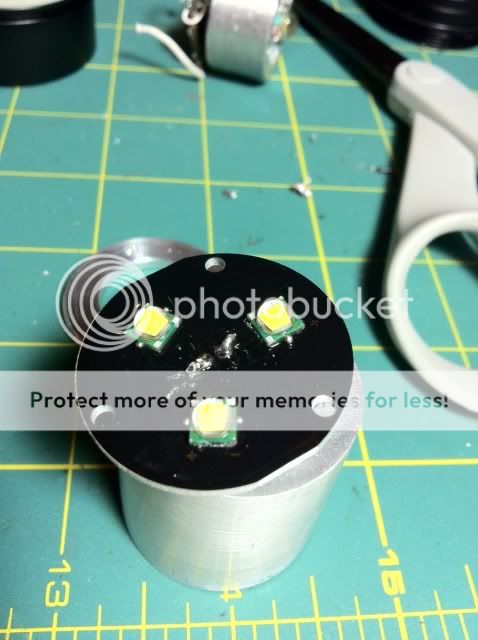
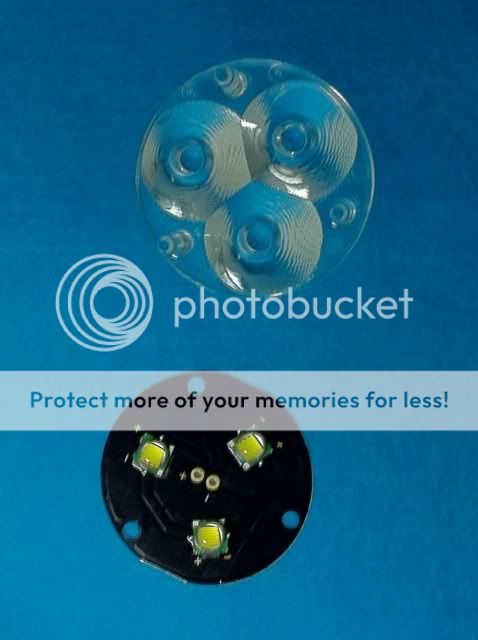
Here's the optic and triple XM-L board from www.Cutter.au :
photo25-2.jpg


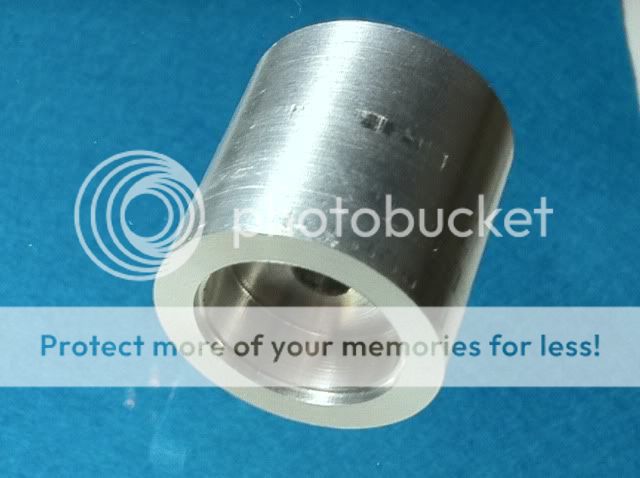
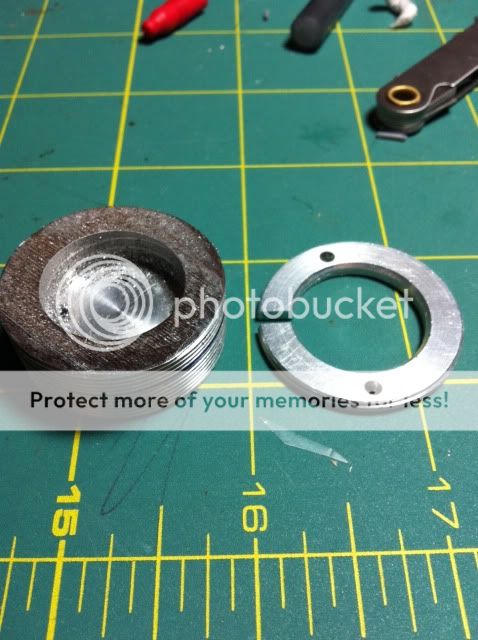
Optic in new retainer ring:
photo30-2.jpg
photo21-2.jpg


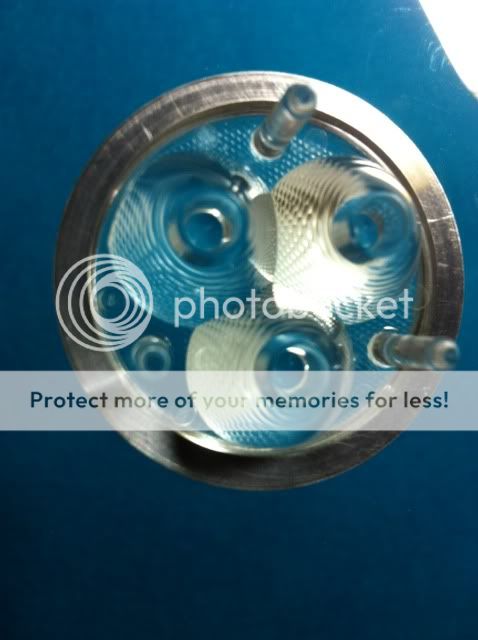
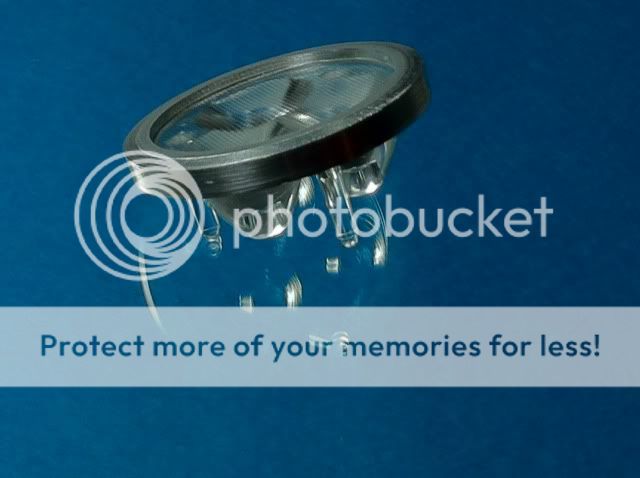
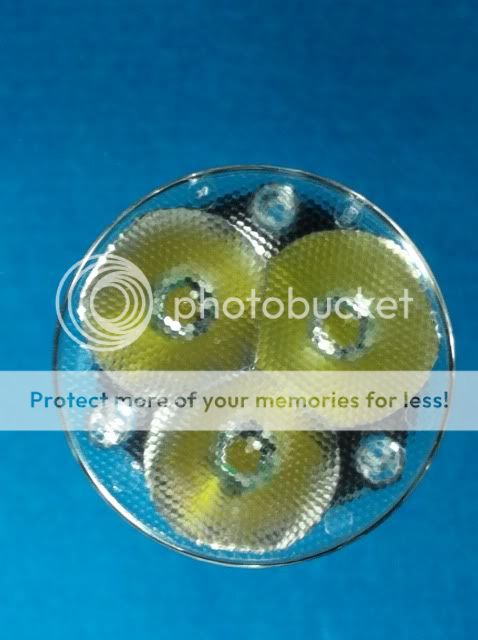
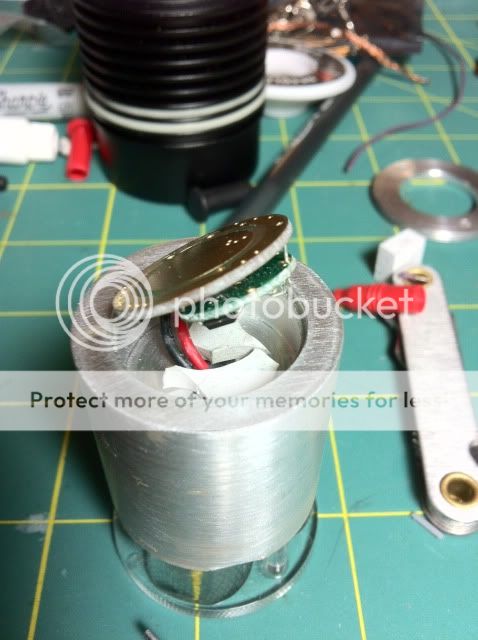
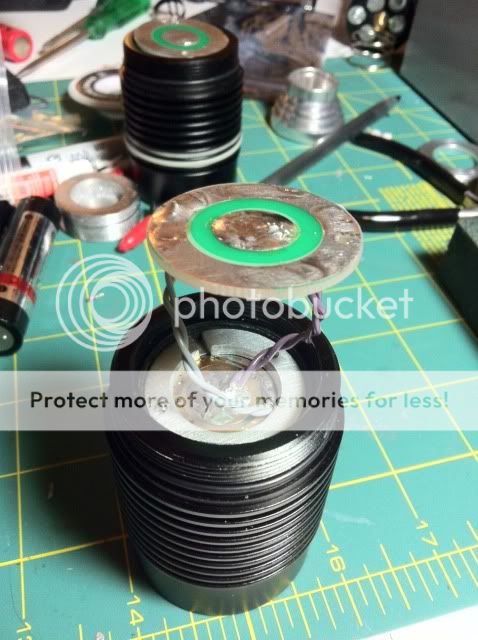
Here's what it looks like, test-fit in the bezel :
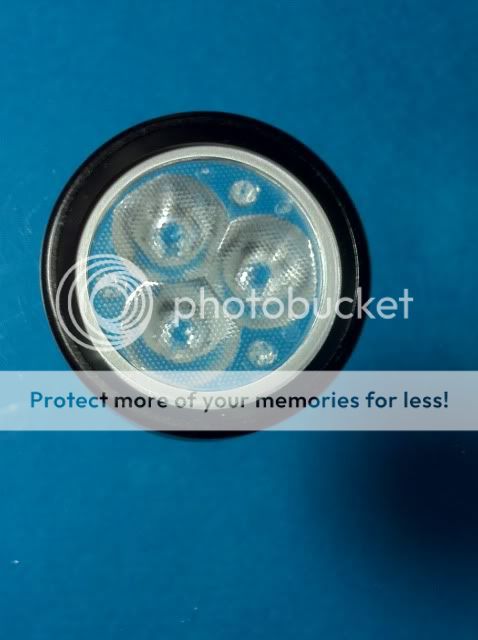
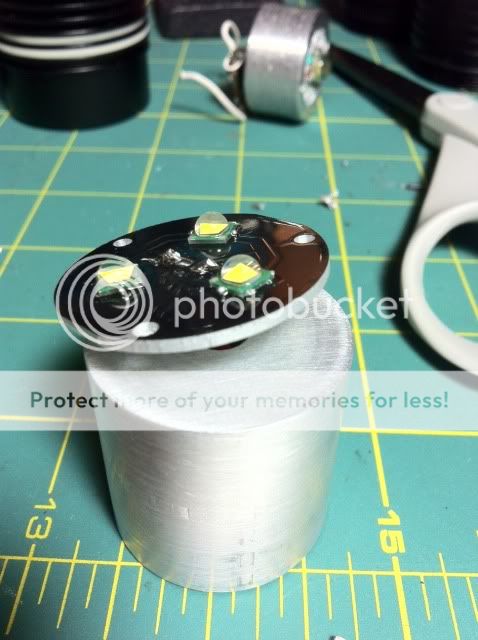
photo13-3.jpg

With LED board:
photo23-2.jpg

photo11-2.jpg


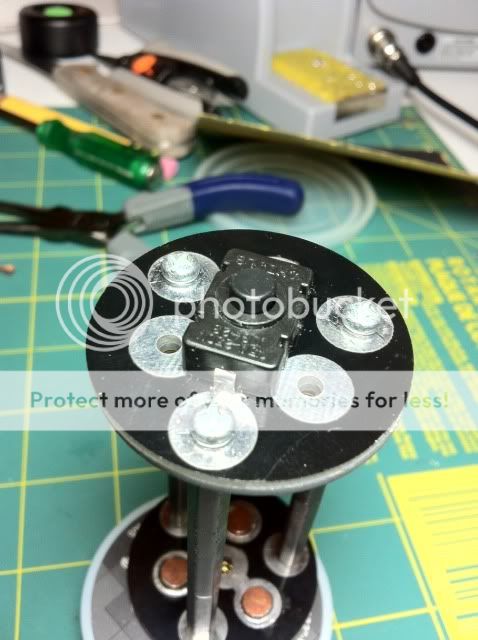
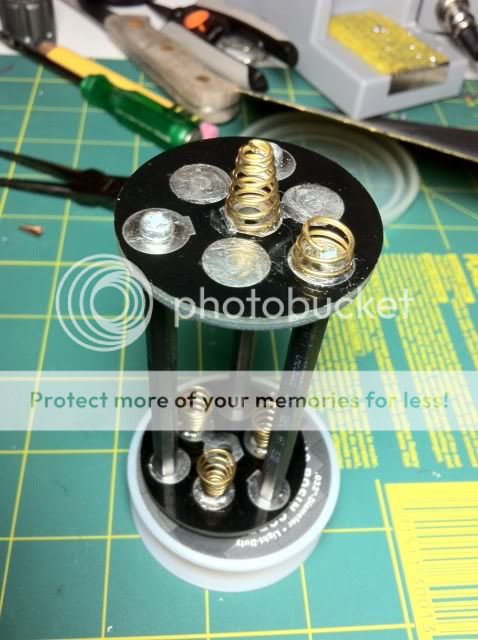
Coming up, the pill.
 
Last edited by a moderator:

Chicago X

Enlightened
Joined
May 6, 2010
Messages
439
Here's the DRY Turbo driver, from Ric at CNQG:
photo20-2.jpg

Here's the battery side (bottom) of the billet heatsink, also from 6061 Aluminum:
photo19-2.jpg

Top:
photo18-3.jpg

Side (with chuck marks):
photo17-3.jpg

Here's the driver, seated in the heatsink:
photo16-3.jpg

Here's the light engine:
photo15-3.jpg

photo24-1.jpg


Here's the heatsink fit in the head of the torch:
photo14-3.jpg


Buttoned-up in the rear for a good fit:
photo12-2.jpg


New vs. old:
photo10-1.jpg


Next, comes the battery-holder mods and soldering.
Stay tuned !!!
 

Chicago X

Enlightened
Joined
May 6, 2010
Messages
439
Here are the details of the battery holder mods.
Overview: Converting a 3x18650 battery holder from parallel to series operation.
Here are a few pics of the stock battery holder:
photo36-1.jpg

photo37-1.jpg

photo35-1.jpg

As you can see, the holder needs to bring both + and - to the top end, as the body does not have a ground path...it's entirely anodized.
The first modification was to cut the trace on the PCB, linking two spots on each one. I failed to notice these initially, and this led to a short (and melted springs.)
Working from the switch to the top spring, linking + and -, requires a bit of wire:
photo39-1.jpg

photo38.jpg

The extra wires are used to make for a better negative pathway:

photo40-1.jpg

Here you can see the addition of 2 contact points to the negative (ground) ends:
photo41-1.jpg


Here's a look at the modded holder, reading 12.61 volts:

photo43-1.jpg


Next round will be the assembly/wiring of the Light Engine.
 

Chicago X

Enlightened
Joined
May 6, 2010
Messages
439
The 3-up board has been soldered to the driver:
photo58.jpg

photo59.jpg


A thin film of Arctic Silver adhesive was placed under the board, then the optic placed on the board, then the whole assembly put under light pressure. The AS should hold the optic in place, obviating the need for CA glue.
photo60.jpg

Next will be affixing the driver to the light engine.
 

Chicago X

Enlightened
Joined
May 6, 2010
Messages
439
Since this thing is going to pull 4-5 amps at 12.6v, I wanted to upgrade the wiring I had on-hand. I used some silver plated copper Teflon-coated wire:
photo62.jpg


Here's the upgrade:
photo61.jpg


Some heatsink stuff from another light was placed in the driver pocket:

photo63.jpg


The modified wiring was then soldered:
photo67.jpg


Since the original pill screwed into the head, I needed a way to provide positive pressure to the bottom of the new light engine. The original pill was used:
photo69.jpg


I cut a ring from the heatsink, then notched it for wire clearance. I may want to upgrade some day. :)
photo70.jpg


photo71.jpg
 

Chicago X

Enlightened
Joined
May 6, 2010
Messages
439
Here's the battery plate soldered on:
photo72.jpg


Buttoned up, stock and modded:
photo73.jpg

Before, without cells:
photo74.jpg


After, no cells:

photo75.jpg


Testing.......IT'S ALIVE !!!!!


photo68.jpg


Next come the night-ending beamshots.
 

Chicago X

Enlightened
Joined
May 6, 2010
Messages
439
Here's a quick iPhone pic. On the right is the stock 700 lumen single XM-L CQG light at 2.8A, on the left the modded 3 x U2 XM-L at ~4A (turbo) estimated at ~3000 OTF.
Even my wife said "wow" at the new torch.
photo76.jpg


I will get some outdoor beamshots soon, comparing this to some well-known lights.
__________________
 

Chicago X

Enlightened
Joined
May 6, 2010
Messages
439
Thanks, guys !

With these optics, it's all flood after about 30 feet. This is the proverbial "wall of light" like I've never seen...it simply illuminates EVERYTHING around you, evenly.
 

Chicago X

Enlightened
Joined
May 6, 2010
Messages
439
Reliability testing is ongoing, with about 1 hour of nightly use. (Walking dogs)

The light only gets hot on Turbo. It gets just a bit warm on High mode, and the estimated 2400 lumen output is plenty.

This host continues to impress me.
 

CyberCT

Enlightened
Joined
May 10, 2010
Messages
633
I'm new to modding and I can understand what you did the first halfway though ... but you lost me on the whole battery carrier and how to mod it. That's beyond my comprehension at this time (I understand the concept but not how to put it in place from parallel to series). Did that tripple LED board come that way or did you reflow them on? I would love to do the same but with neutral XMLs
 

yifu

Enlightened
Joined
Oct 15, 2011
Messages
713
Location
Australia
Wow, nice work! The LEDs attached to the heatsink looks very much like a P60 triple drop in! I wonder if someday we will get triple XML P60 drop ins. Heat might be an issue, but not really if you've got a FiveMega Beefy heat sink!
 

Illum

Flashaholic
Joined
Apr 29, 2006
Messages
13,053
Location
Central Florida, USA
Beautiful mod, well done! :clap:
4-5 amps at 12.6v :thinking:
Those Panasonic 18650s might complain if you leave it on too long
 
Top