
PhotonFanatic
Flashlight Enthusiast
UPDATE 1/21/09:
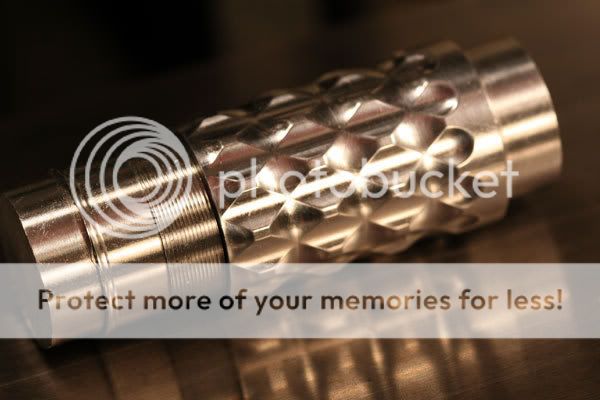
The Double Grooved Ti Light is finished.
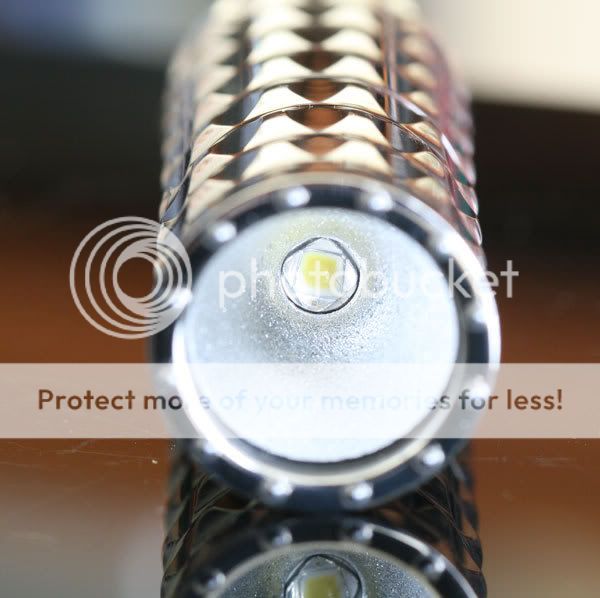
This twisty used a Seoul P4, bin U2SW0H, driven by a NG750 driver, which can accept either primary, or rechargeable CR123 batteries. It has a 2mm thick mineral glass lens, O-rings, and a Khatod stippled 20mm reflector. In the front of the light 12 silicon nitride precision ball bearings were inserted, not only for looks, but to safequard against the light being left on accidentally while placed on its head. The body of the light is 6AL4V Titanium.
Sitting on a mirror, to show the light escapement. There is really only one layer of ball bearings. :devil:
Hopefully the customer likes it and pays for it. :devil:
If not, it goes on eBay.
++++++++++++++++++++++++
Eventually this will be a twisty Ti RCR123 powered light, with a 20mm reflector installed, along with a P4.
The feel in the hand is sublime. :devil: Whatever that means.
And, that's not fully polished yet, either--just a quick buff with some tripoli to get rid of most of the machining marks.
********************
Update 1/5/09:
Yesterday and today, I worked on the Ti pieces for the DG light. Here are a few pics to show the progress:
Here the final axial groove, one of twelve, is ready to be cut.

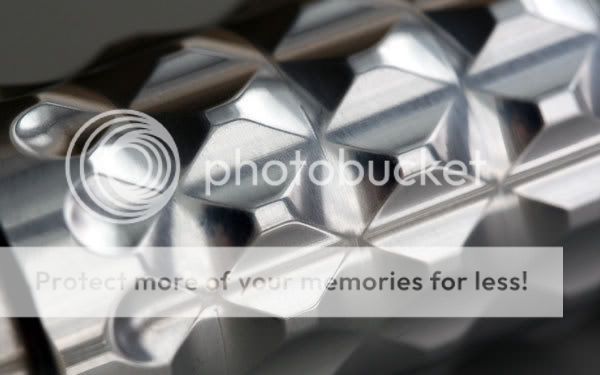
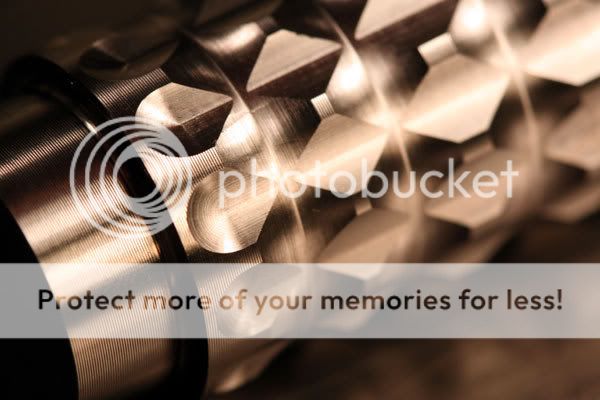
All done on the axial grooves, now it need the circuferential grooves added:
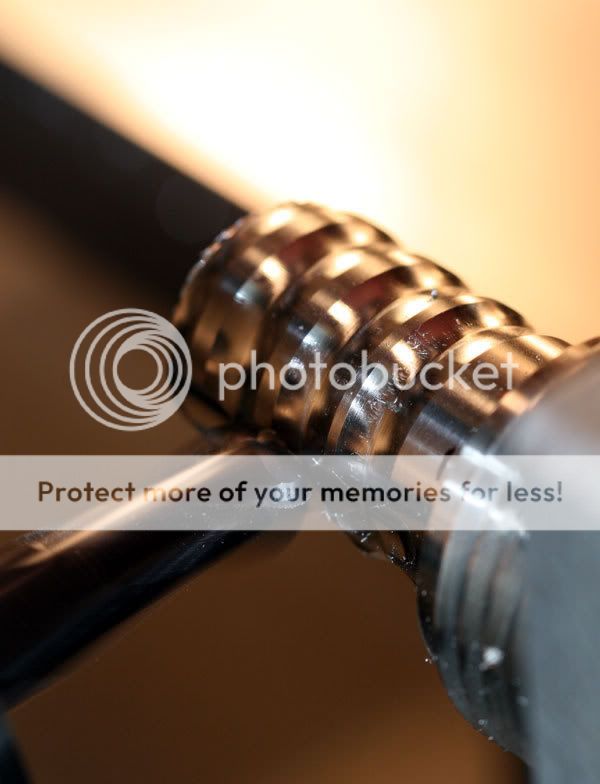
While there are fewer of those grooves, going around the piece, they take longer to do, since the length is quite long! Plus, I do each groove at varying depths of cut, with the final passes being the thinner cuts.
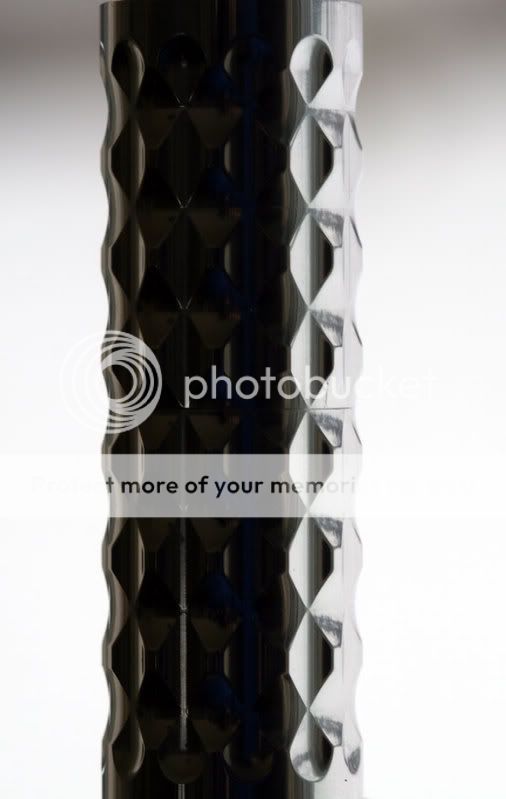
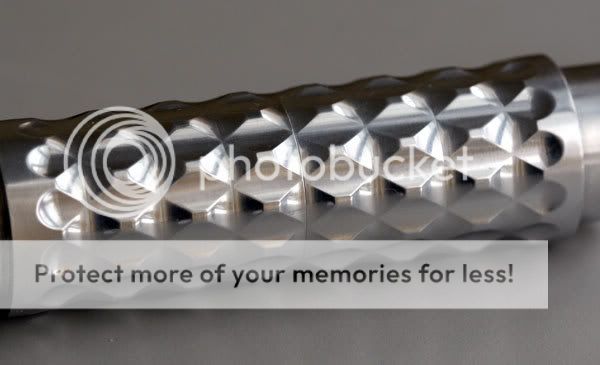
And here's how the two grooves intersect:
And the two pieces screwed together:
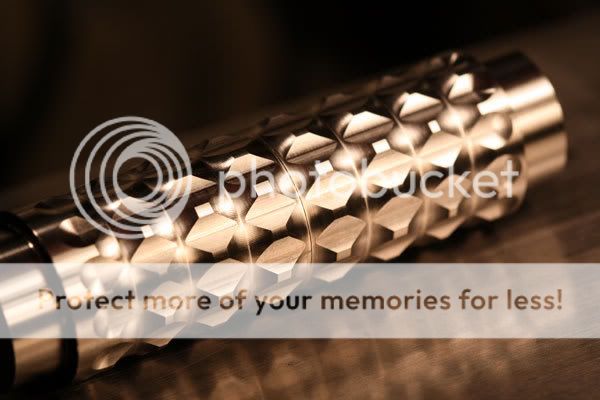
Ultimately, when buffed and polished all those lines will be obliterated. :devil:
BTW, see the difference between the AL and the Ti versions--besides the fact that the AL was polished?
********************
Update 1/7/09:
Nothing too exciting, just some work on the LE today:
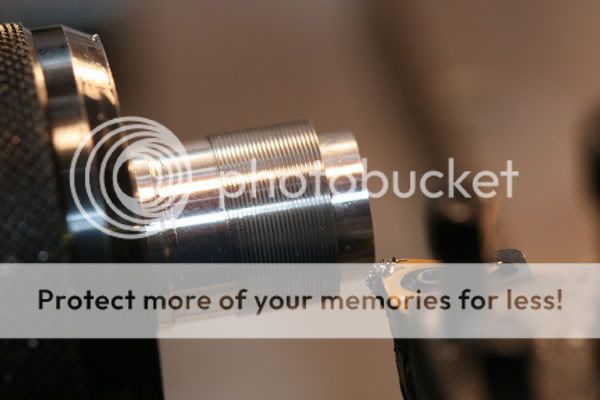
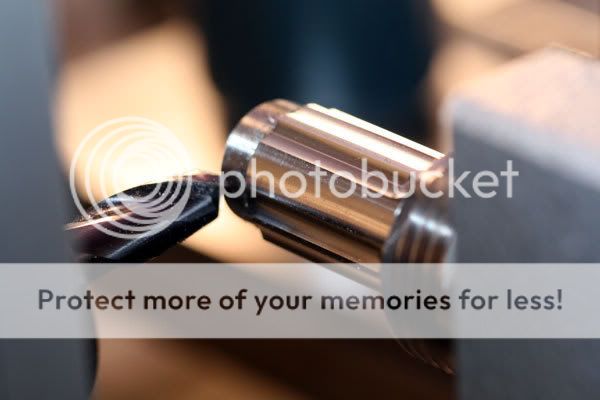
Cutting the threads on the driver module, aka Light Engine or LE.
Quick test of the fit of the threads--tried to keep it snug for better heat transfer.

Last action was to bore the space for the driver board, including the lip for the PCB to rest on.
Would have done more, but I'm awaiting some tooling. Plus, something else arrived which distracted me--unfortunately it wasn't my wife. :devil:
++++++++++++++++++++++++++
UPDATE 1/18/09:
Today I got around to parting the head and the battery tube from their stubs. First up was the battery tube, which had been sitting still for lack of a tool, which finally arrived. Here is the completed battery tube, after being parted off from the stub, and then screwed into the head:
Then, the head was similarly parted from its stub and the light exit bore was enlarged to its final size:
And here are both parts fitted together again, but without the stubs:
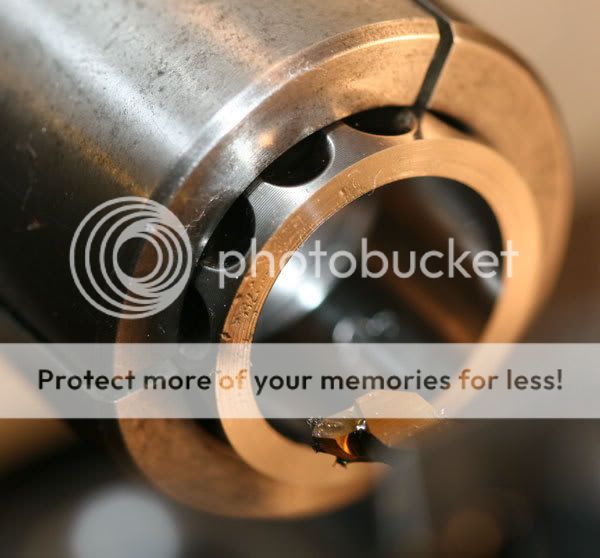
Next up was to drill some holes that would be home to some silicon nitride ball bearings on the front of the head:
Next, the front of the light was sanded down and polished, since once the ball bearings are installed, you can't do much more work on the metal. The light was then cleaned and was ready for the installation of the ball bearings. Here is a shot shortly after I had started that:
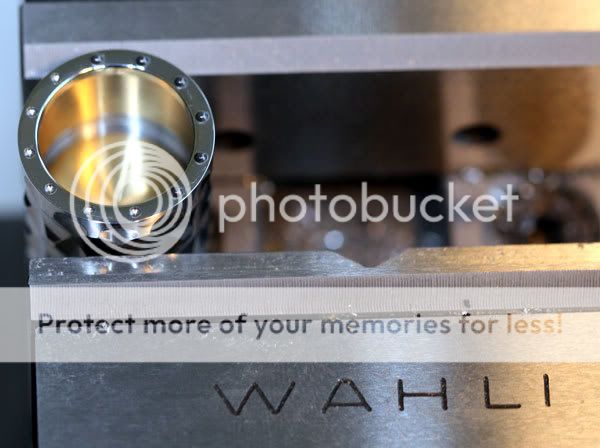
In case you are wondering what Wahli means, that is the name of the manufacturer of my lathe.
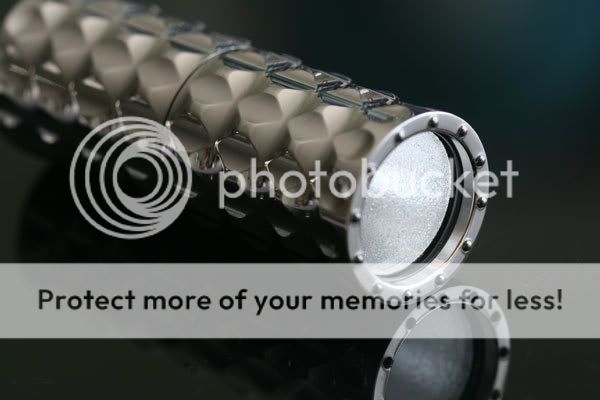
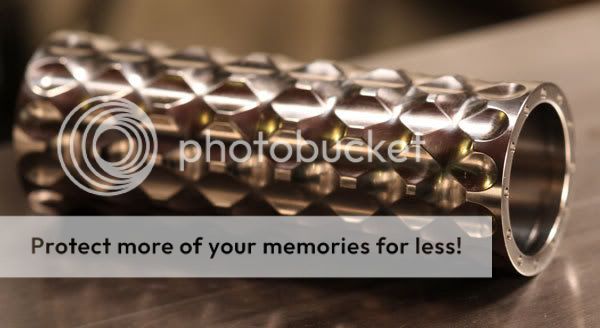
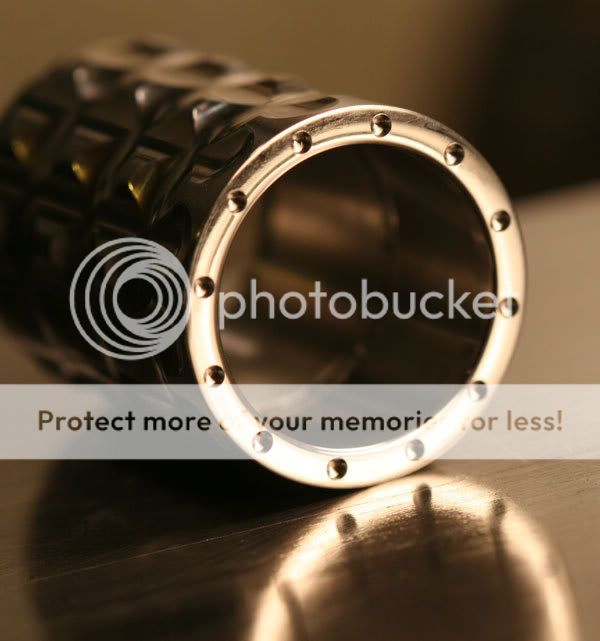
And this is the front of the light after all the bearings were installed:
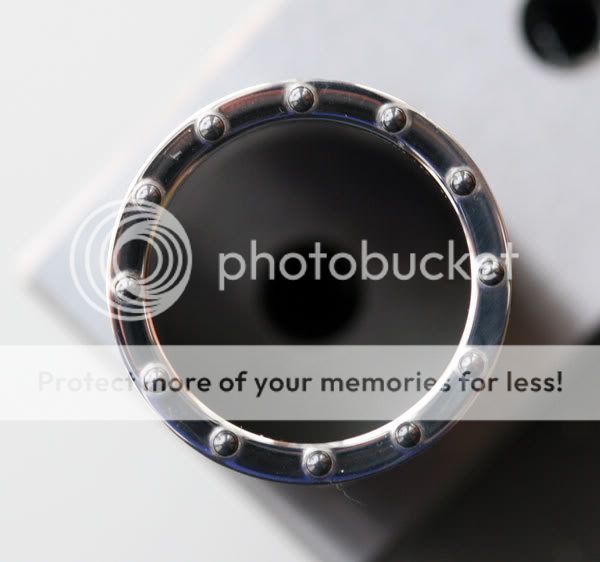
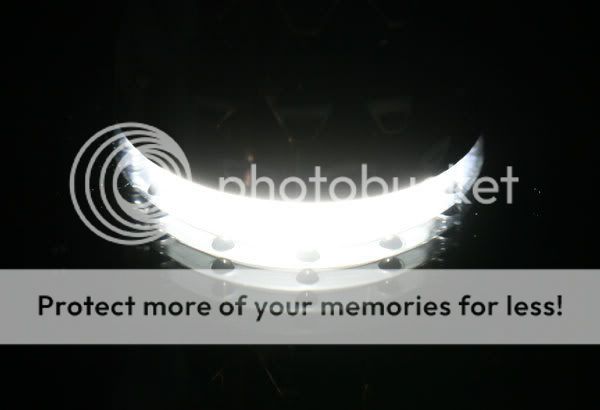
The idea, of course, is that if you place this light head-down, and accidentally leave it on, the light will leak out from under the head, thanks to the gap created by the ball bearings:
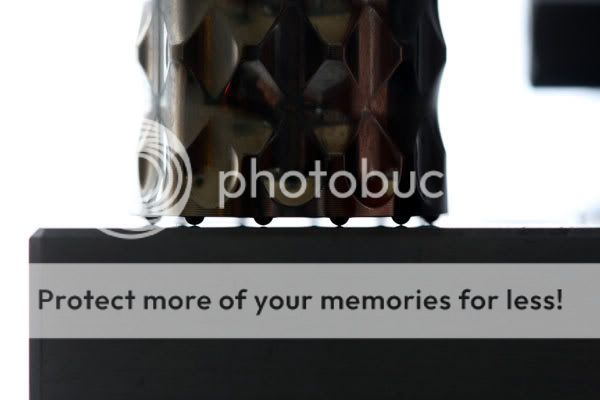
Miniature crenellations, anyone?
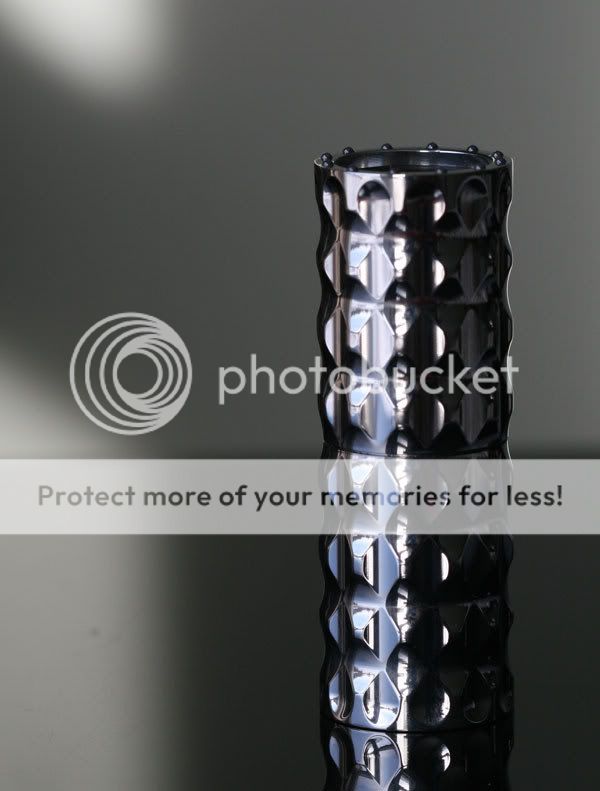
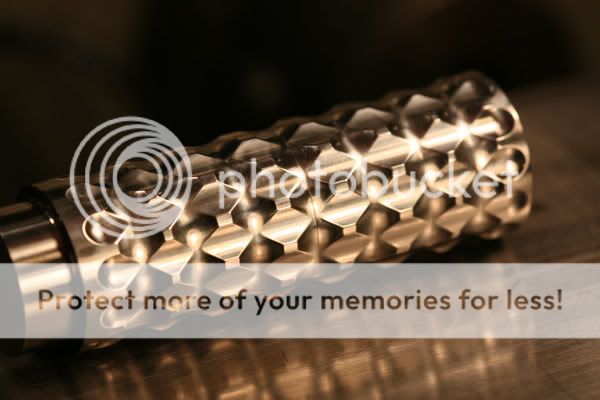
Next comes the building and installation of the converter and the lens and reflector, but for now, here's the almost completed light:

The Double Grooved Ti Light is finished.
This twisty used a Seoul P4, bin U2SW0H, driven by a NG750 driver, which can accept either primary, or rechargeable CR123 batteries. It has a 2mm thick mineral glass lens, O-rings, and a Khatod stippled 20mm reflector. In the front of the light 12 silicon nitride precision ball bearings were inserted, not only for looks, but to safequard against the light being left on accidentally while placed on its head. The body of the light is 6AL4V Titanium.
Sitting on a mirror, to show the light escapement. There is really only one layer of ball bearings. :devil:
Hopefully the customer likes it and pays for it. :devil:
If not, it goes on eBay.
++++++++++++++++++++++++
Eventually this will be a twisty Ti RCR123 powered light, with a 20mm reflector installed, along with a P4.
The feel in the hand is sublime. :devil: Whatever that means.
And, that's not fully polished yet, either--just a quick buff with some tripoli to get rid of most of the machining marks.
********************
Update 1/5/09:
Yesterday and today, I worked on the Ti pieces for the DG light. Here are a few pics to show the progress:
Here the final axial groove, one of twelve, is ready to be cut.
All done on the axial grooves, now it need the circuferential grooves added:
While there are fewer of those grooves, going around the piece, they take longer to do, since the length is quite long! Plus, I do each groove at varying depths of cut, with the final passes being the thinner cuts.
And here's how the two grooves intersect:
And the two pieces screwed together:
Ultimately, when buffed and polished all those lines will be obliterated. :devil:
BTW, see the difference between the AL and the Ti versions--besides the fact that the AL was polished?
********************
Update 1/7/09:
Nothing too exciting, just some work on the LE today:
Cutting the threads on the driver module, aka Light Engine or LE.
Quick test of the fit of the threads--tried to keep it snug for better heat transfer.
Last action was to bore the space for the driver board, including the lip for the PCB to rest on.
Would have done more, but I'm awaiting some tooling. Plus, something else arrived which distracted me--unfortunately it wasn't my wife. :devil:
++++++++++++++++++++++++++
UPDATE 1/18/09:
Today I got around to parting the head and the battery tube from their stubs. First up was the battery tube, which had been sitting still for lack of a tool, which finally arrived. Here is the completed battery tube, after being parted off from the stub, and then screwed into the head:
Then, the head was similarly parted from its stub and the light exit bore was enlarged to its final size:
And here are both parts fitted together again, but without the stubs:
Next up was to drill some holes that would be home to some silicon nitride ball bearings on the front of the head:
Next, the front of the light was sanded down and polished, since once the ball bearings are installed, you can't do much more work on the metal. The light was then cleaned and was ready for the installation of the ball bearings. Here is a shot shortly after I had started that:
In case you are wondering what Wahli means, that is the name of the manufacturer of my lathe.
And this is the front of the light after all the bearings were installed:
The idea, of course, is that if you place this light head-down, and accidentally leave it on, the light will leak out from under the head, thanks to the gap created by the ball bearings:
Miniature crenellations, anyone?
Next comes the building and installation of the converter and the lens and reflector, but for now, here's the almost completed light:
Last edited:


 :devil:
  :huh: :thumbsup:
  :naughty: :twothumbs:
  :rock::bow: :buddies: