mobile1
Flashlight Enthusiast
A note to everyone who has a GatLight
We finally found the best solution regarding lubrication of the knob. For those who ordered first they got their GatLights with a very unique special ORING lubrication.. intended to make the knob operation easier.
Unfortunately it turned out to be the worst lubricant you can think off, it hardens after a while (which we didn't notice since we tested it right after we put it on) so then when it is hard it is very hard to turn and it turns non conductive. Of course non of that was written on the label... according to the label it is the perfect ORing lubricant... but quite honestly it sucks even for that.
So those who got that lubricant on their lights we suggested to clean the threads and completely remove that lubricant.
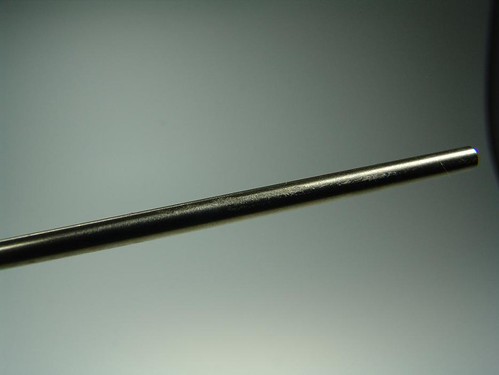
However we still wanted a lubricant to work with the ORing and get maximum conductivity on the threads - even though the threads don't need a lubricant because the knob thread is a self lubricating alloy. However we purchased the most conductive lubricant you can find - it basically is ground up silver... and costs a FORTUNE. So we decided to also put that lubricant onto the threads - we figured even though its not needed it can't hurt. The result was it worked... so we shipped the next batch out containing that silver lubricant.
However we than found out that the IDEAL solution is to NOT put any lubricant onto the threads, and just put a little bit of the silver (or any other lubricant) onto the ORing but none onto the threads. For some reason it works the best... very smooth operation.
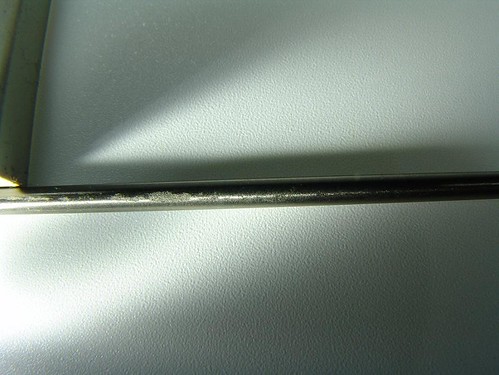
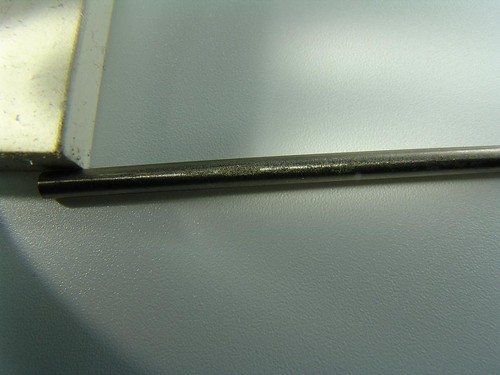
So if you got your GatLight with one of these lubricants on the threads if you remove the lubricant from the threads it improves the function. The best way to remove the lubricants from the threads I found is to take a paper tissue, remove the knob and the ORing on the knob... than put the tissue around your finger and put the finger nail into thread - at the end of it. Than rotate the thread so your fingernail (with the tissue) moves from the end of the thread - where the battery makes contact to the beginning of the thread. Repeat this process a couple of times. Than wipe off the threads on the light. Than screw in the knob again and out and re-clean the threads with the fingernail technique. Also clean the lubrication in the grove where the ORing goes. Than put a little bit of lubrication (either the silver stuff if your gat came with that - or your own one - don't use the clear lubricant of the first batch Gats) onto the ORing and make sure none of it gets onto the threads. Than put the knob back in and your Gat will work like a champ.... especially if you do this with a first batch light it's a major difference.
Again sorry for us not figuring this out earlier... or better not testing that ORing Lubricant - However we're glad that this is fairly easy to do.
We finally found the best solution regarding lubrication of the knob. For those who ordered first they got their GatLights with a very unique special ORING lubrication.. intended to make the knob operation easier.
Unfortunately it turned out to be the worst lubricant you can think off, it hardens after a while (which we didn't notice since we tested it right after we put it on) so then when it is hard it is very hard to turn and it turns non conductive. Of course non of that was written on the label... according to the label it is the perfect ORing lubricant... but quite honestly it sucks even for that.
So those who got that lubricant on their lights we suggested to clean the threads and completely remove that lubricant.
However we still wanted a lubricant to work with the ORing and get maximum conductivity on the threads - even though the threads don't need a lubricant because the knob thread is a self lubricating alloy. However we purchased the most conductive lubricant you can find - it basically is ground up silver... and costs a FORTUNE. So we decided to also put that lubricant onto the threads - we figured even though its not needed it can't hurt. The result was it worked... so we shipped the next batch out containing that silver lubricant.
However we than found out that the IDEAL solution is to NOT put any lubricant onto the threads, and just put a little bit of the silver (or any other lubricant) onto the ORing but none onto the threads. For some reason it works the best... very smooth operation.
So if you got your GatLight with one of these lubricants on the threads if you remove the lubricant from the threads it improves the function. The best way to remove the lubricants from the threads I found is to take a paper tissue, remove the knob and the ORing on the knob... than put the tissue around your finger and put the finger nail into thread - at the end of it. Than rotate the thread so your fingernail (with the tissue) moves from the end of the thread - where the battery makes contact to the beginning of the thread. Repeat this process a couple of times. Than wipe off the threads on the light. Than screw in the knob again and out and re-clean the threads with the fingernail technique. Also clean the lubrication in the grove where the ORing goes. Than put a little bit of lubrication (either the silver stuff if your gat came with that - or your own one - don't use the clear lubricant of the first batch Gats) onto the ORing and make sure none of it gets onto the threads. Than put the knob back in and your Gat will work like a champ.... especially if you do this with a first batch light it's a major difference.
Again sorry for us not figuring this out earlier... or better not testing that ORing Lubricant - However we're glad that this is fairly easy to do.
") . poop now:devil
. poop now:devil